How to Draw a Heartfelt Mother’s Day Card: Easy Step-by-Step
Looking for a meaningful, screen-free activity to celebrate Mom? This guide is perfect for artists ages 5 and up to create a custom greeting card. All you need is a pencil, an eraser, and your favorite markers or crayons to bring this floral heart design to life.
🎯 Final Result

Step-by-Step Instructions
Step 1: Sketching the Heart Blossoms

Start by drawing three hearts of varying sizes. Let the smaller ones slightly overlap the sides of the large center heart. Teacher's Tip: Keep your pencil lines light and loose so they are easy to adjust if you want to change the spacing.
Step 2: Layering the Hearts

Add two more hearts tucked behind the first group. Then, draw a smaller heart inside two of the larger ones to create depth. Teacher's Tip: Drawing 'hidden' shapes behind others is a great way to practice spatial awareness.
Step 3: Adding Texture and the Ribbon Base
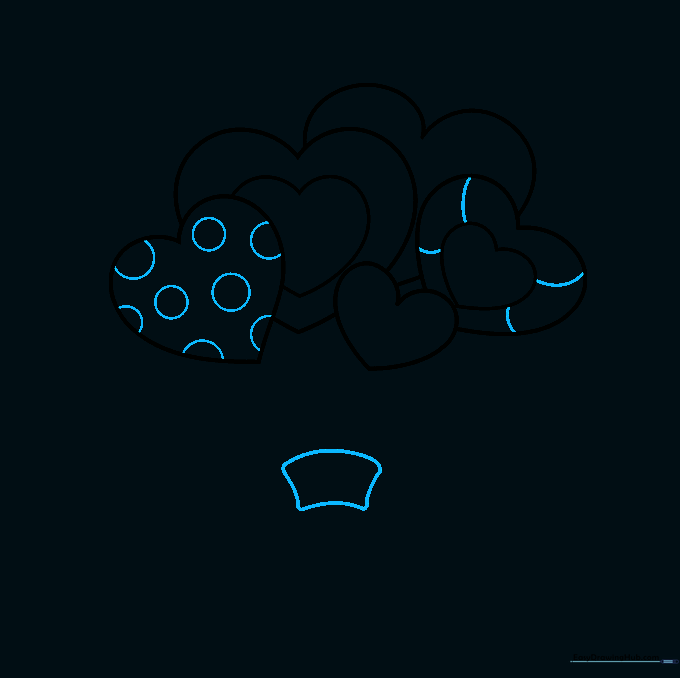
Decorate one heart with small polka-dot circles and add curved lines to the edge of another for texture. Below the hearts, draw a rounded trapezoid shape. Teacher's Tip: This trapezoid is the knot of your ribbon—keep it centered to balance the bouquet.
Step 4: Drawing the Bow and Stems
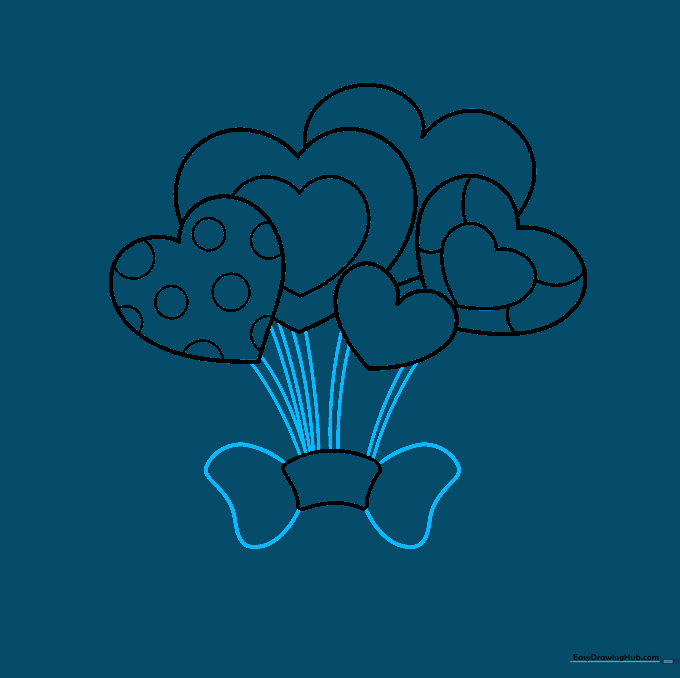
Sketch irregular heart shapes on either side of the ribbon knot to form the bow loops. Connect the hearts to the ribbon with pairs of curved lines for stems. Teacher's Tip: Use a steady, fluid motion for the stems to make them look natural.
Step 5: Adding Leaves and Extending Stems
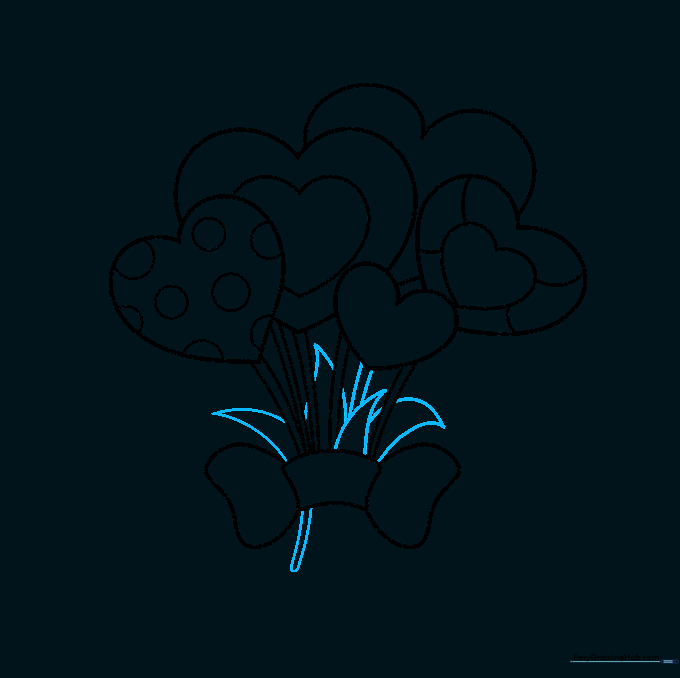
Add sharp, triangular leaves along the stems. Continue the stems downward past the ribbon using parallel curved lines. Teacher's Tip: Leaves look best when they point in slightly different directions to create movement.
Step 6: Sketching Butterflies
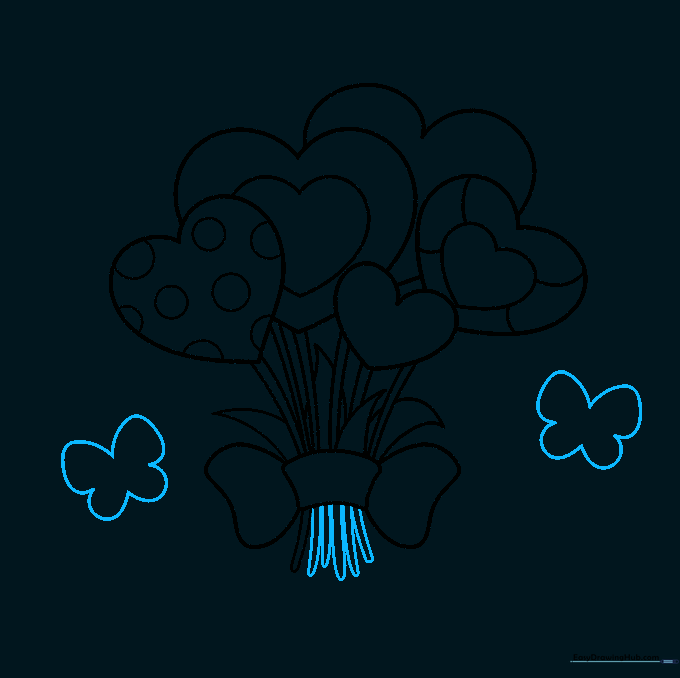
Finish the stems, then draw the outlines of two butterflies using four connected curved lines for the wings. Teacher's Tip: Butterflies are symmetrical, so try to make the left and right wings mirror each other.
Step 7: Adding Decorative Hearts

Complete your butterfly outlines and fill the empty space around the flowers with small, floating hearts. Teacher's Tip: Vary the size and angle of the hearts to make the design look like they are drifting in the air.
Step 8: Adding the Greeting
Carefully write the word "Happy" in bold, clear letters at the top of your card. Teacher's Tip: Use a pencil to lightly trace your letters first so you don't run out of room!
Step 9: Finalizing the Text

Complete your greeting by writing "Mother's Day" at the bottom. Teacher's Tip: If you want to get fancy, try using bubble letters or adding a small heart inside the 'O' of Mother.
Step 10: Adding Color

Bring your card to life with vibrant colors! Use different shades for the background to make the flowers pop. Teacher's Tip: Use a light wash of color for the background so your main design remains the focal point.
More Tutorials


