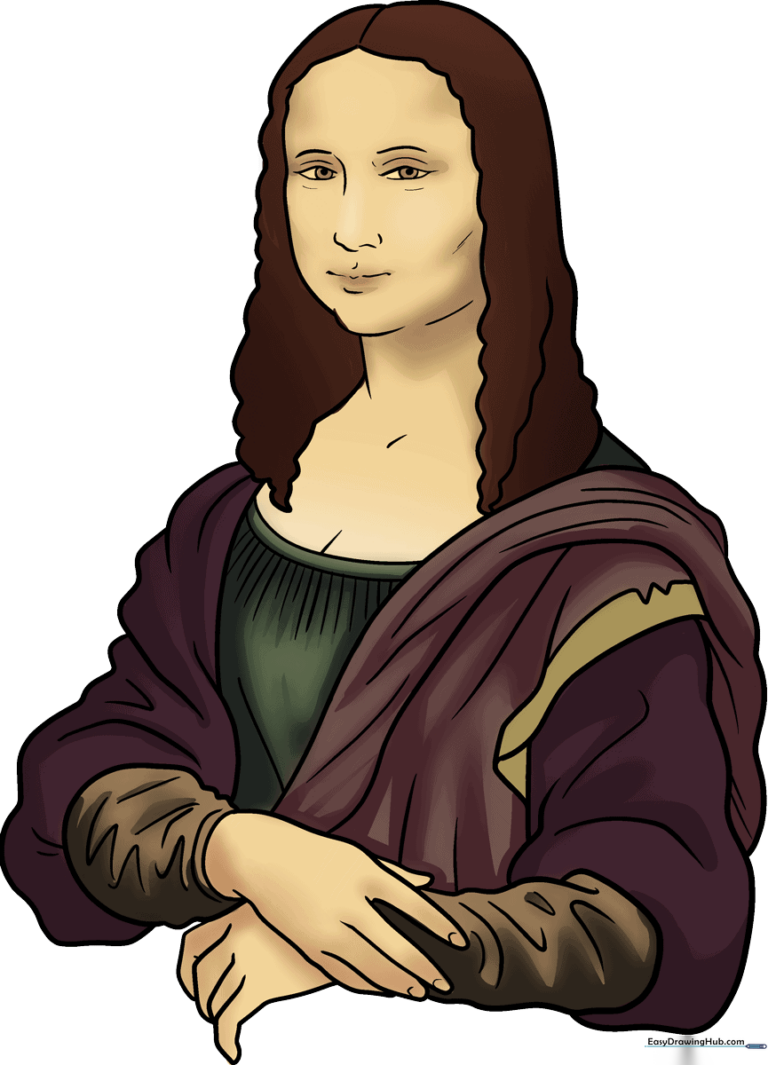
How to Draw the Mona Lisa: Easy Step-by-Step Guide
Bring art history to life with this approachable Mona Lisa drawing guide, designed specifically for young artists and beginners. You will need a pencil, an eraser, and a piece of paper to capture her iconic expression. Follow these steps to practice facial proportions and fabric shading while creating your own version of the world's most famous painting.
🎯 Final Result
Step-by-Step Instructions
Step 1: Sketching the Facial Features
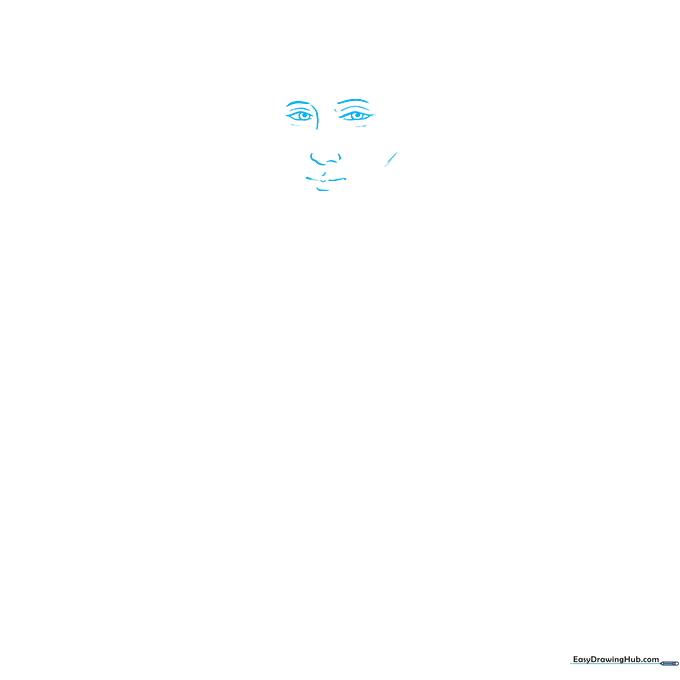
Start by sketching the face shape. Use light, curved lines to define the eyes, eyebrows, nose, and lips. Tip: Keep your pencil pressure very light here so you can easily adjust the symmetry of her famous smile later.
Step 2: Defining the Face and Hairline
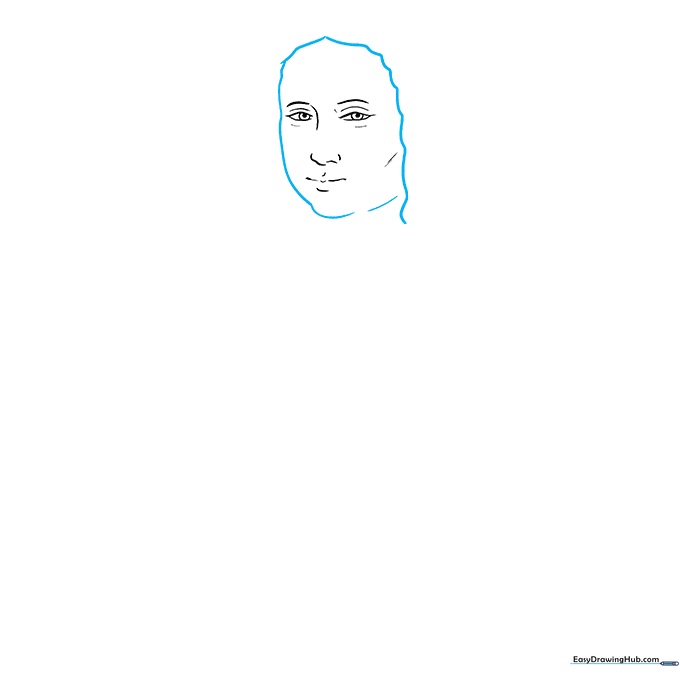
Trace the outline of her face and the wavy flow of her hair. Tip: Use long, sweeping strokes for the hair to give it a natural, soft look rather than sharp, rigid lines.
Step 3: Adding the Neck and Hair Details
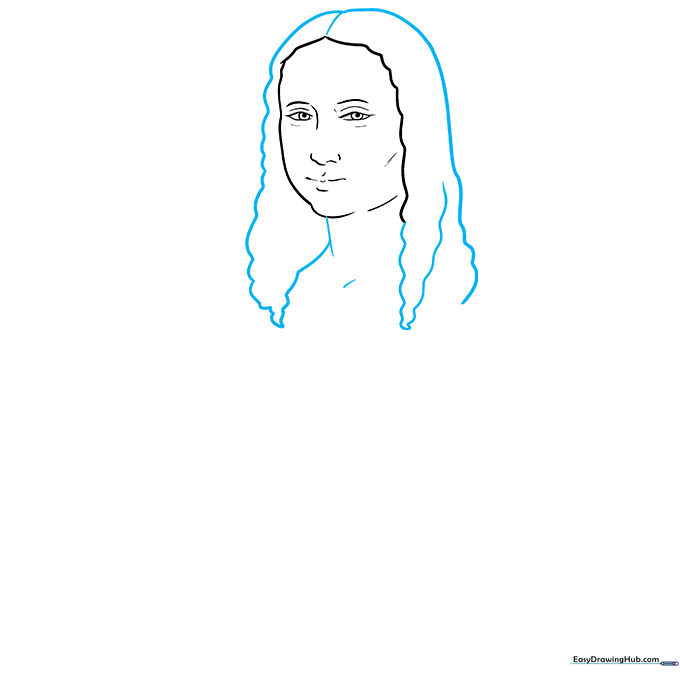
Continue the hair with wavy lines and add the neck and collarbone. Tip: Ensure the neck is centered under the chin to keep the portrait balanced.
Step 4: Sketching the Garments
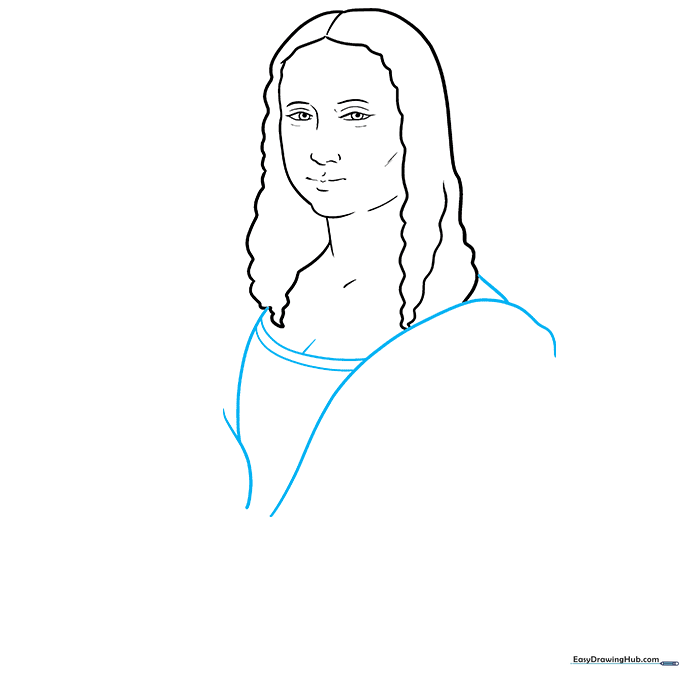
Draw the neckline of her dress using long, graceful curved lines. Tip: Think of these as 'U' shapes that drape down from the shoulders.
Step 5: Illustrating the Sleeves
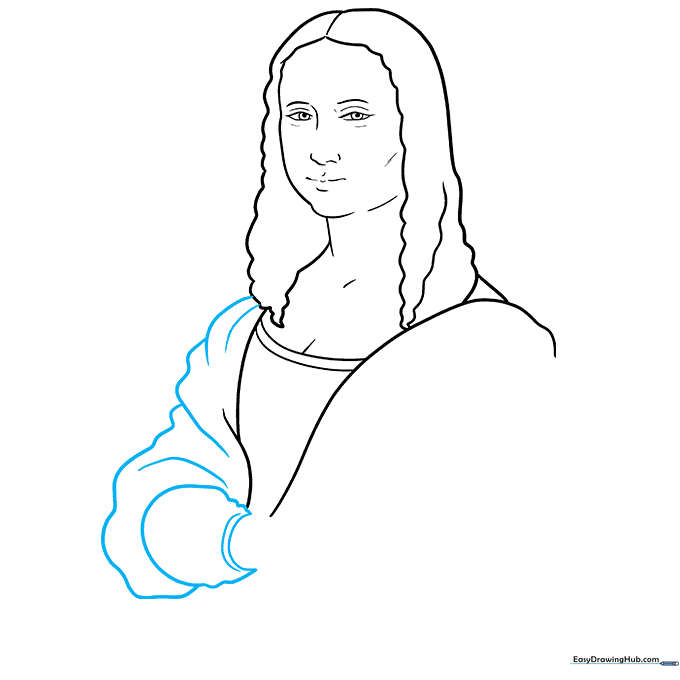
Use overlapping curved lines to create the folds of the sleeves. Tip: Overlapping lines create the illusion of fabric depth, making your drawing look more three-dimensional.
Step 6: Drawing the Hands
Carefully draw the fingers using long, slender curved lines. Tip: Hands are tricky! Focus on the overall shape of the hand first, then add the small lines for fingernails at the very end.
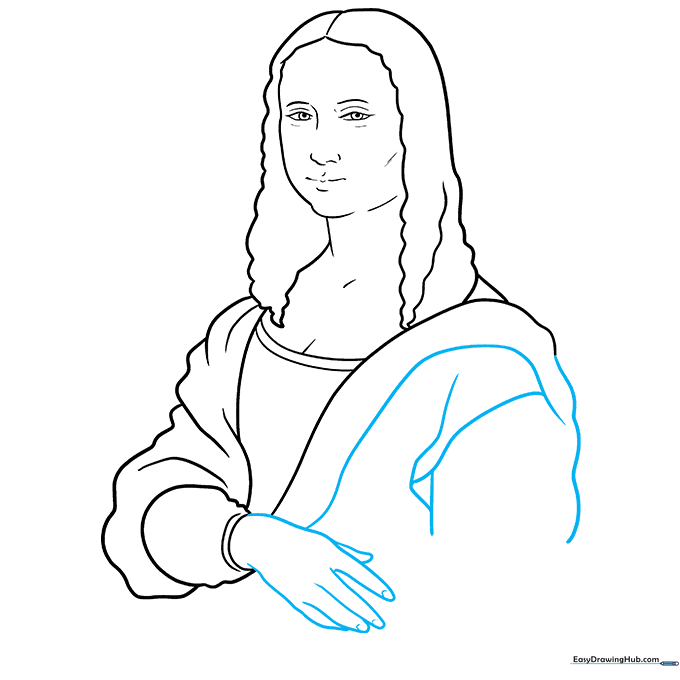
Step 7: Adding Texture to the Sleeves
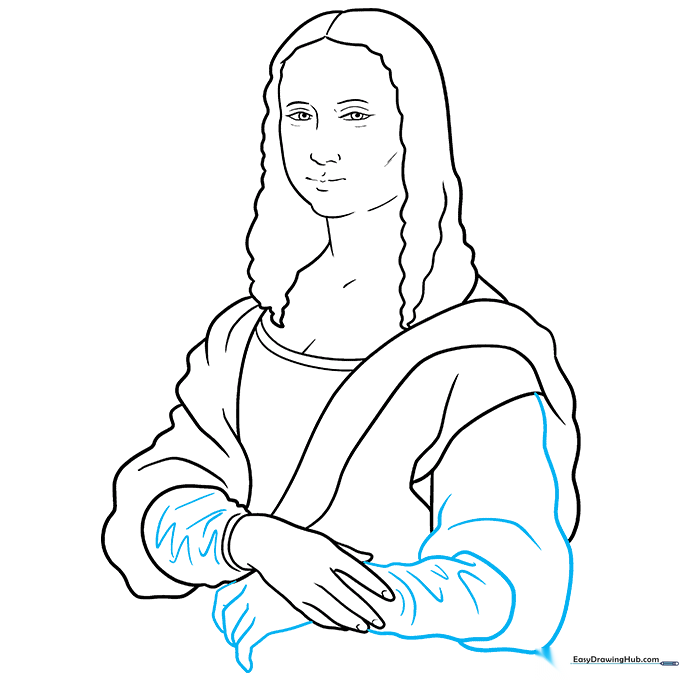
Continue the sleeve details and add the second hand tucked underneath. Tip: Use 'V' shaped lines to suggest the texture of the fabric folds.
Step 8: Finalizing Clothing Details
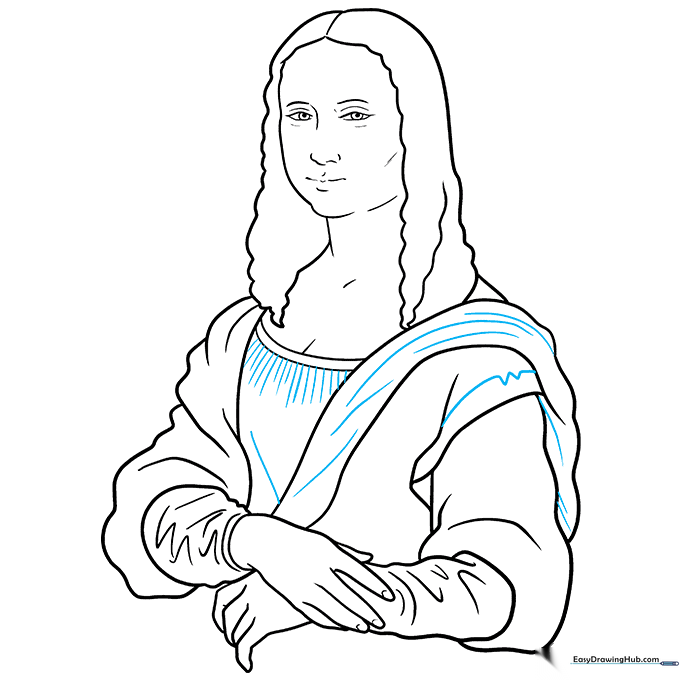
Add decorative lines to the sash and neckline. Tip: Use straight, radiating lines around the neck to mimic the classic Renaissance-style embroidery.
Step 9: Refining the Contours
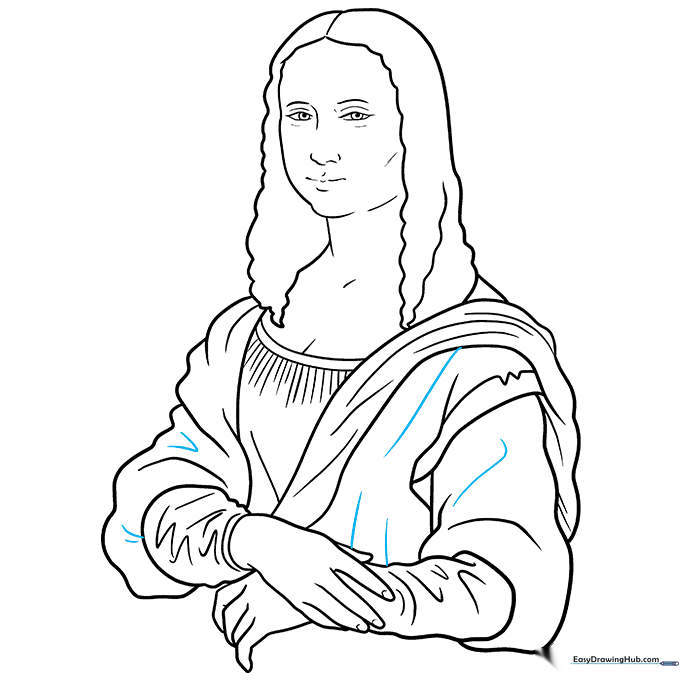
Review your drawing and add final curved lines to define the fabric folds. Tip: Don't over-complicate it; a few well-placed lines are better than too many messy ones.
Step 10: Adding Color
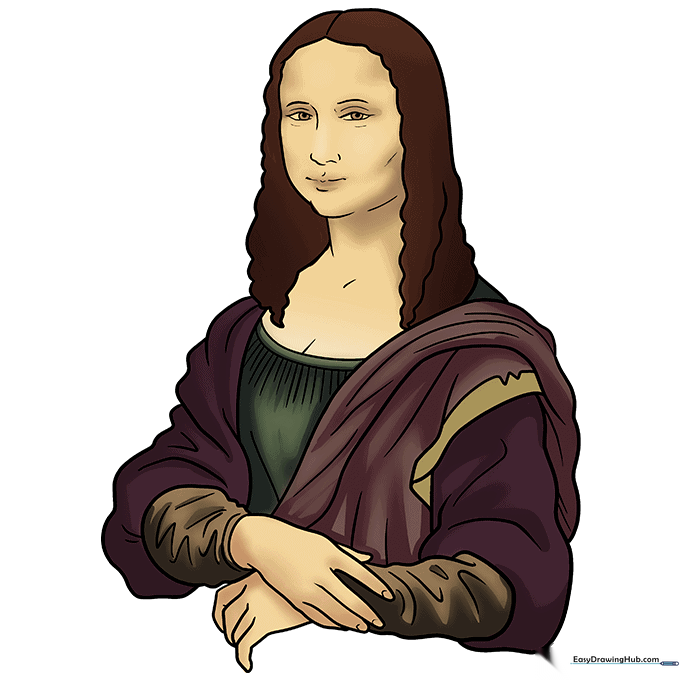
Bring your portrait to life! Use soft, muted tones for the skin and rich browns for the hair and dress to match the classic look of the original masterpiece.
More Tutorials


