How to Draw a Mallard Duck: Easy 9-Step Guide for Kids
This step-by-step guide is designed for young artists ages 5 and up to master drawing a classic mallard duck. You will only need a pencil, an eraser, and your favorite coloring supplies to bring this bird to life. Follow along to develop your sketching confidence and learn how to capture the unique features of a mallard.
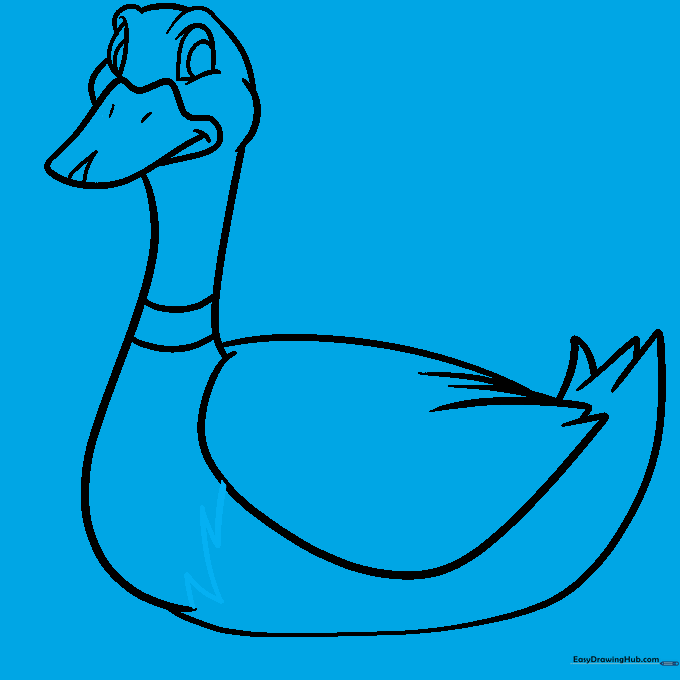
🎯 Final Result
Step-by-Step Instructions
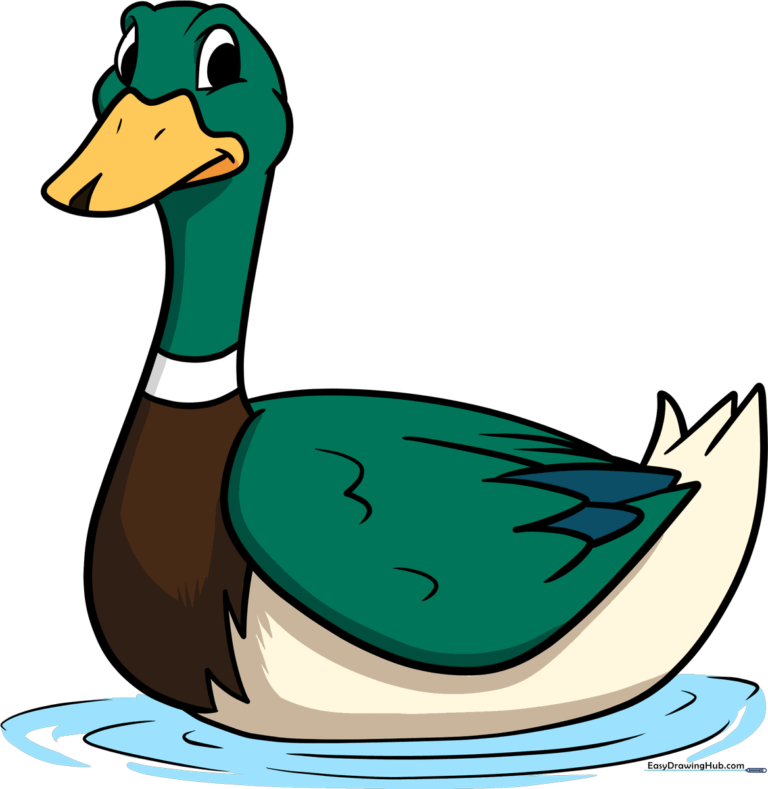
Step 1: Sketching the Eyes

Start by sketching the eyes using curved lines for the brow ridge and the top of the head. Enclose a partial circle for the pupil. Teacher's Tip: Draw these shapes lightly; they act as the anchor for the rest of the duck's face.
Step 2: Shaping the Beak
Continue the head shape with overlapping curves and add the beak. Add a small line at the corner of the mouth and two tiny marks for nostrils. Teacher's Tip: Use a 'V' shape at the very tip of the beak to give it a realistic, slightly hooked look.
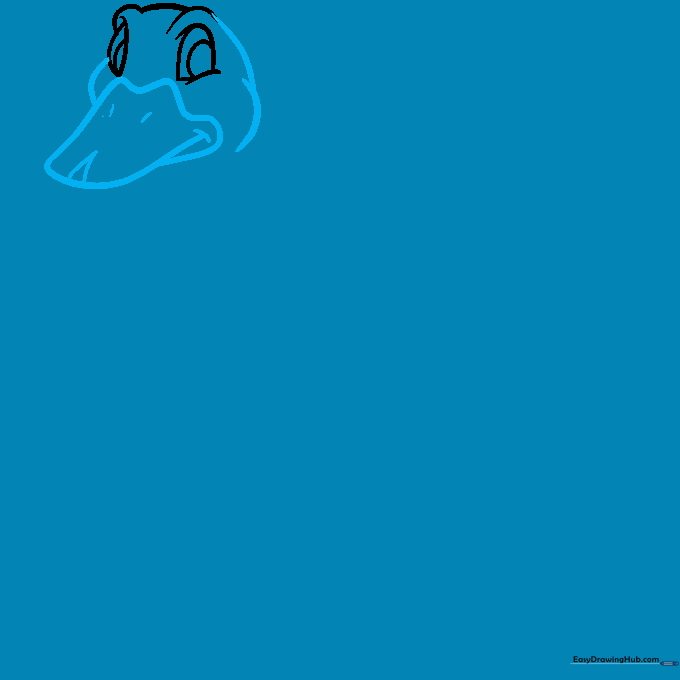
Step 3: Drawing the Neck
Draw two long, smooth curved lines extending down from the head to form the neck. Teacher's Tip: Keep these lines fluid and relaxed to make the duck look like it's swimming gracefully.
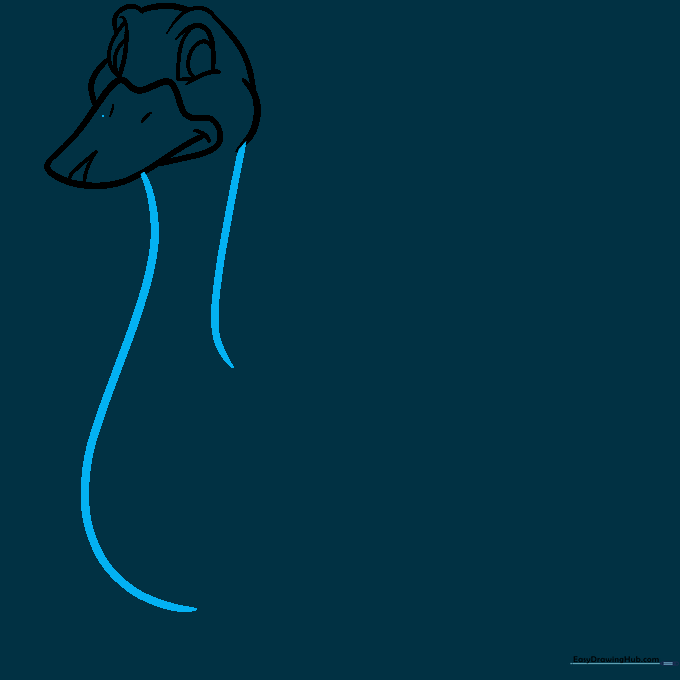
Step 4: Adding the Wing
Add two curved lines across the neck, then sketch the wing using a long curve and several shorter, pointed lines. Teacher's Tip: The points represent the tips of the feathers, so keep your pencil strokes sharp.
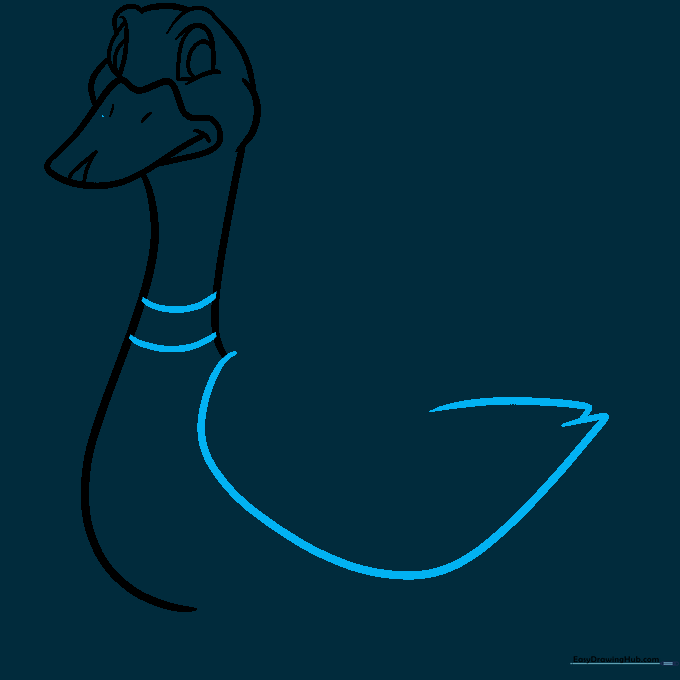
Step 5: Defining the Body
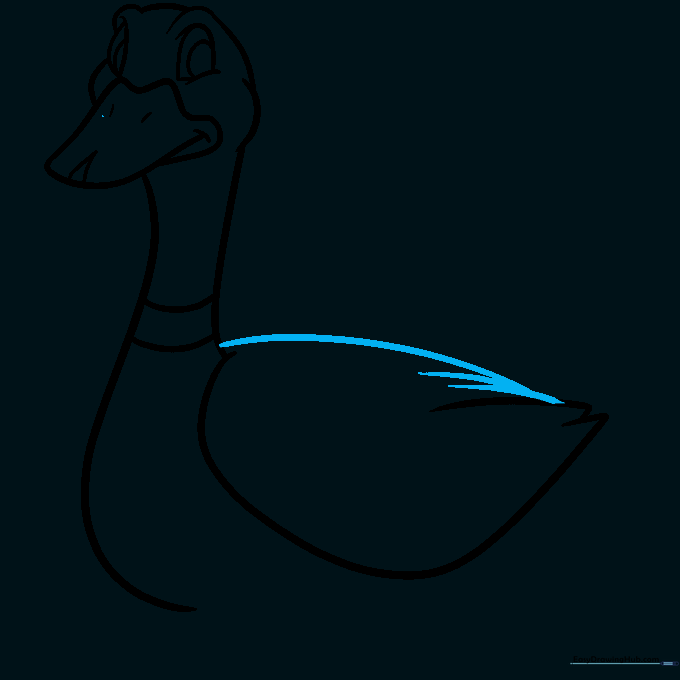
Draw a curved line from the base of the neck to the wingtip, then add shorter lines that converge at the same point. Teacher's Tip: This creates the illusion of the wing resting against the body.
Step 6: Drawing the Tail
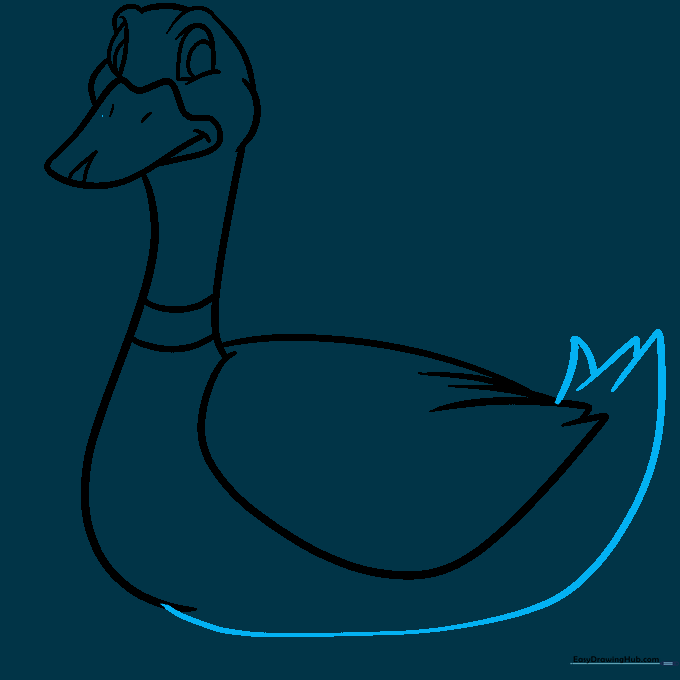
Draw a long, curved line from the chest to the tail tip. Add overlapping 'V' shapes for the tail feathers. Teacher's Tip: Make the tail feathers slightly fanned out to show movement.
Step 7: Adding Chest Markings
Draw a zig-zag line across the chest to separate the neck and belly areas. Teacher's Tip: This zig-zag line helps show where the mallard's iconic white neck ring will be colored later.
Step 8: Detailing the Wings
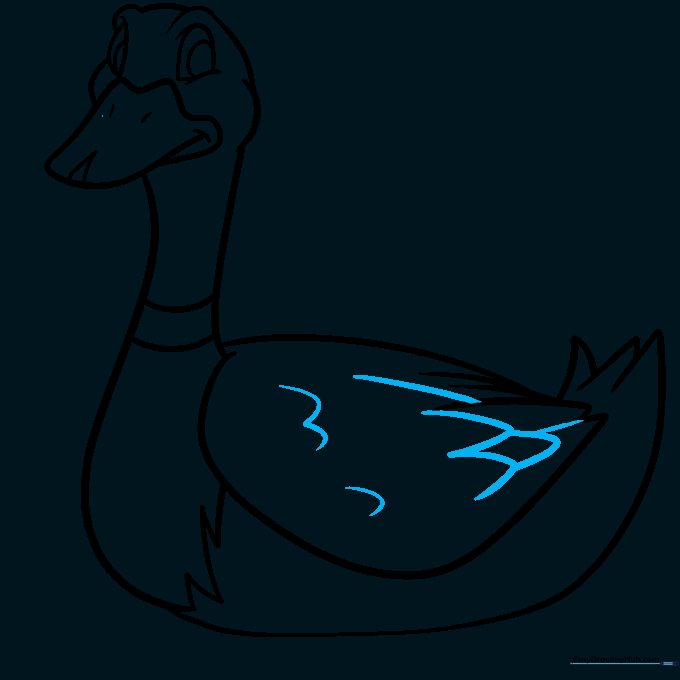
Add more texture to the wing using connected curved lines to trace the feather tips. Teacher's Tip: Vary the size of your curves to make the feathers look natural and layered.
Step 9: Final Touches
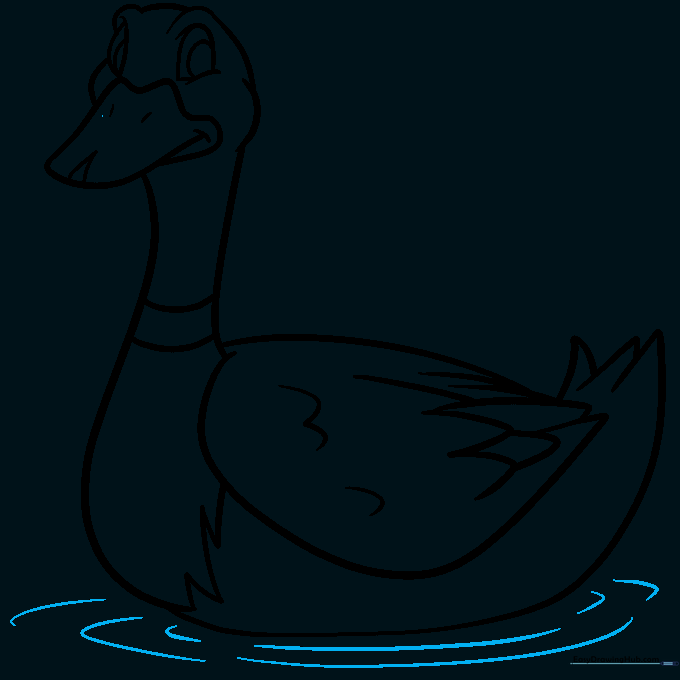
Complete your drawing by adding ripples in the water beneath the duck using curved lines of varying lengths. Teacher's Tip: Use longer curves for the ripples further away and shorter ones closer to the duck.
Step 10: Coloring Your Mallard
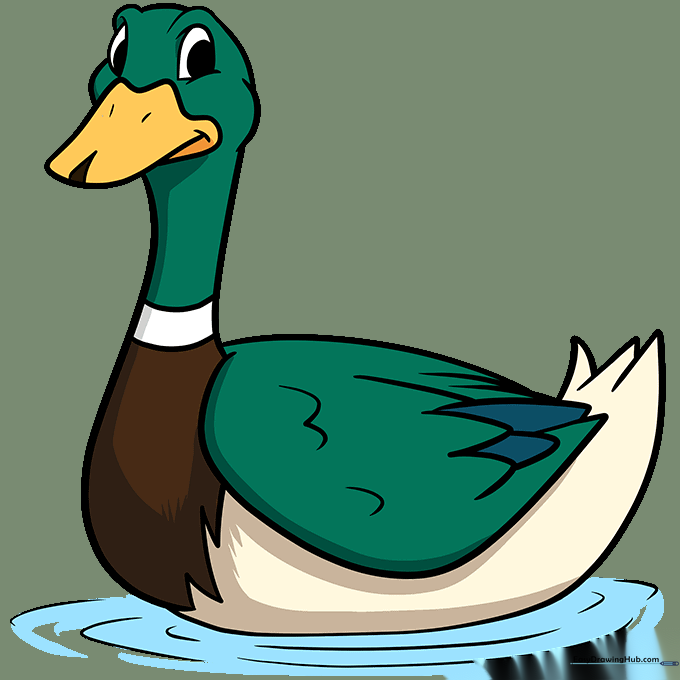
Bring your duck to life with color! Use a bright green for the head, a white band for the neck, and warm browns for the chest and body. Teacher's Tip: Use a light blue for the water to make the duck pop.
More Tutorials


