How to Draw a Lollipop: Easy 10-Step Guide for Kids
Looking for a fun, screen-free activity? This tutorial is perfect for budding artists ages 5 and up to practice basic shapes and line work. All you need is a pencil, an eraser, and your favorite markers or crayons to bring these sweet treats to life.
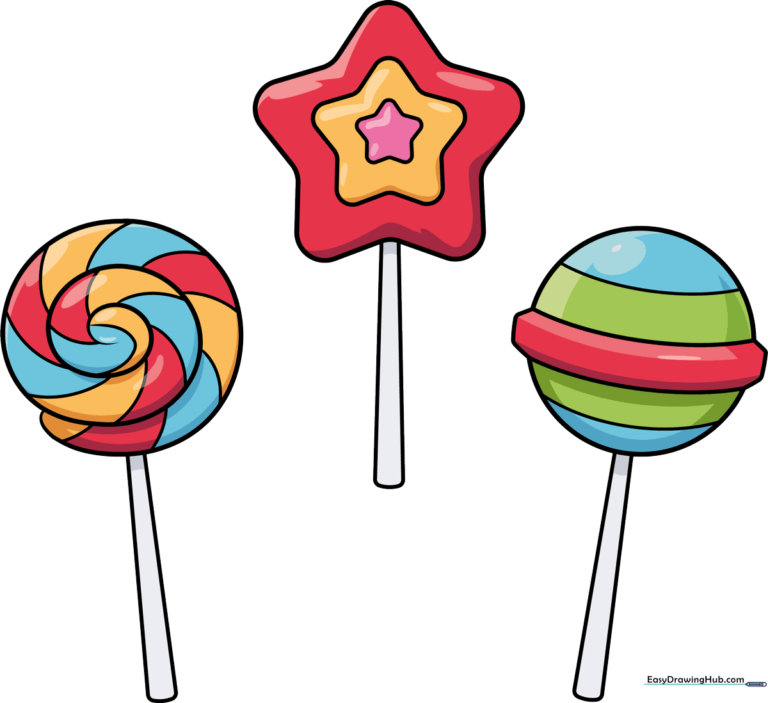
🎯 Final Result
Step-by-Step Instructions
Step 1: Starting the Spiral
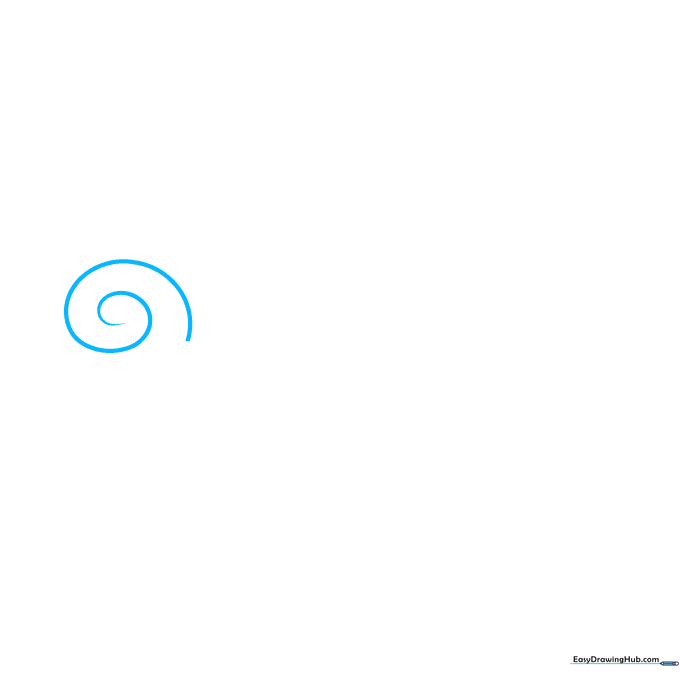
Begin by drawing a small, tight spiral in the center of your page. Teacher's Tip: Start from the middle and work your way out slowly to keep the shape round and balanced.
Step 2: Closing the Spiral
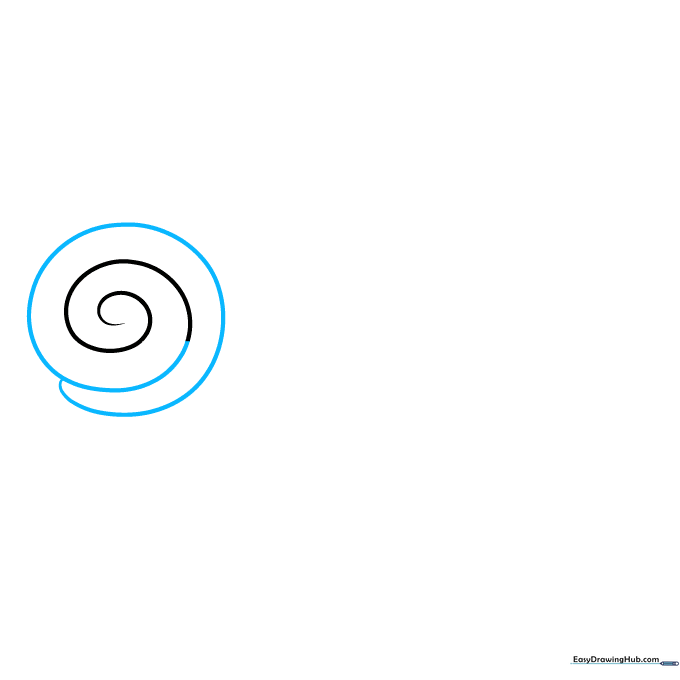
Continue the spiral line outward until it curves back to meet itself, forming a circular candy shape. Tip: Don't worry if it's not a perfect circle; lollipops come in all shapes and sizes!
Step 3: Adding Stripe Details
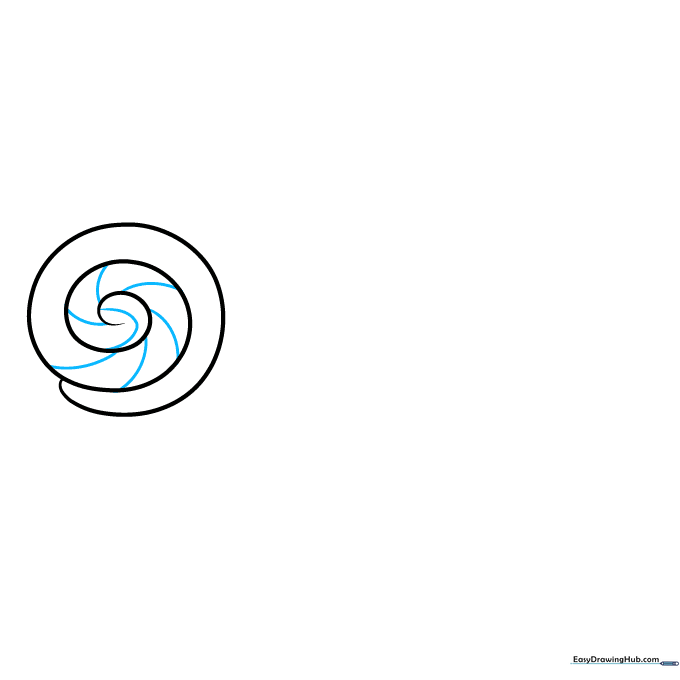
Draw short, curved lines between the spiral layers. These will act as guides for your colors later. Tip: Space them out evenly to make your candy look professional.
Step 4: Completing the Stripes
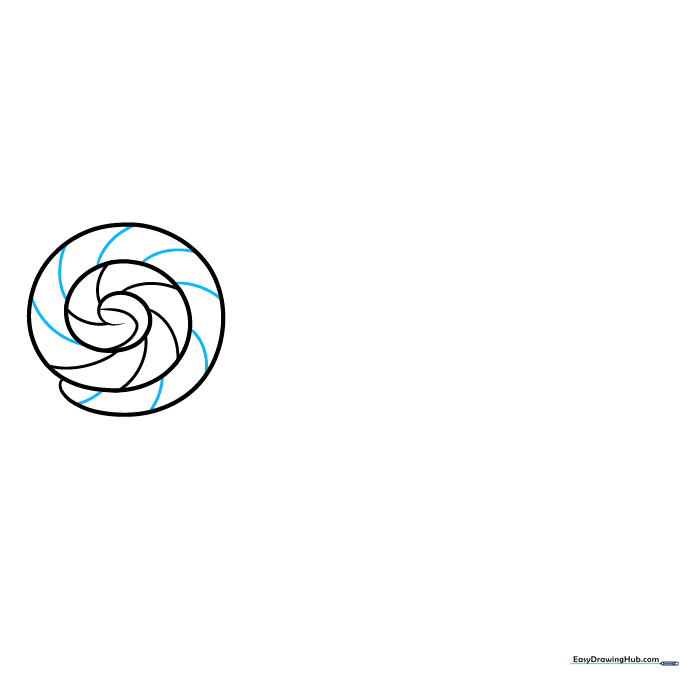
Continue adding those small curved lines around the rest of the spiral. Tip: Keep your hand relaxed to ensure the lines look smooth and natural.
Step 5: The Stick and Second Lollipop
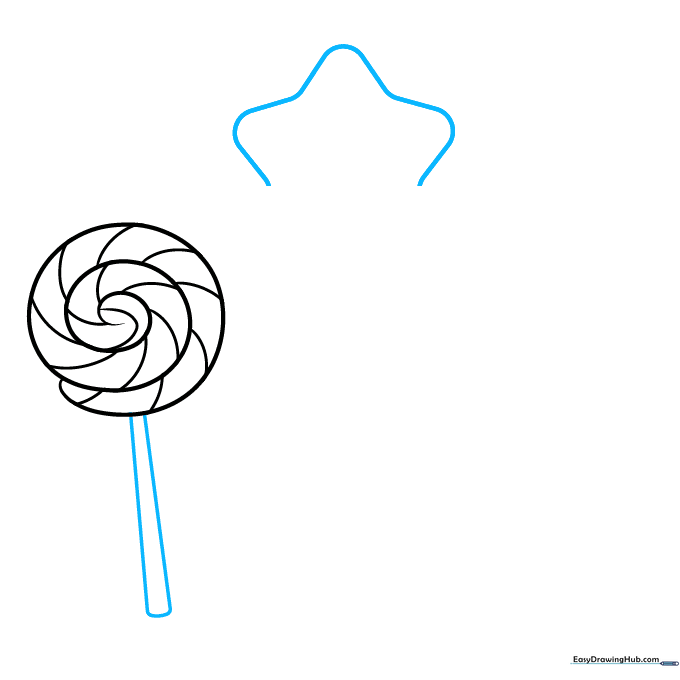
Draw two parallel lines extending from the bottom for the stick. Then, start a new shape for a star-shaped lollipop nearby. Tip: Use a light touch for the star outline so you can adjust the points if needed.
Step 6: Refining the Star Shape
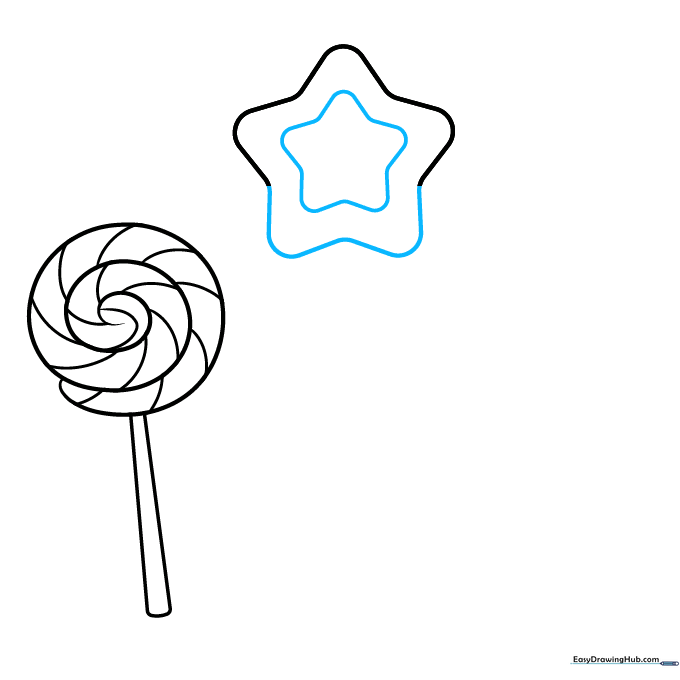
Complete the five-pointed star and draw a smaller star inside it for detail. Tip: Round the points of your star to make it look like a tasty piece of hard candy.
Step 7: Finishing the Star Lollipop
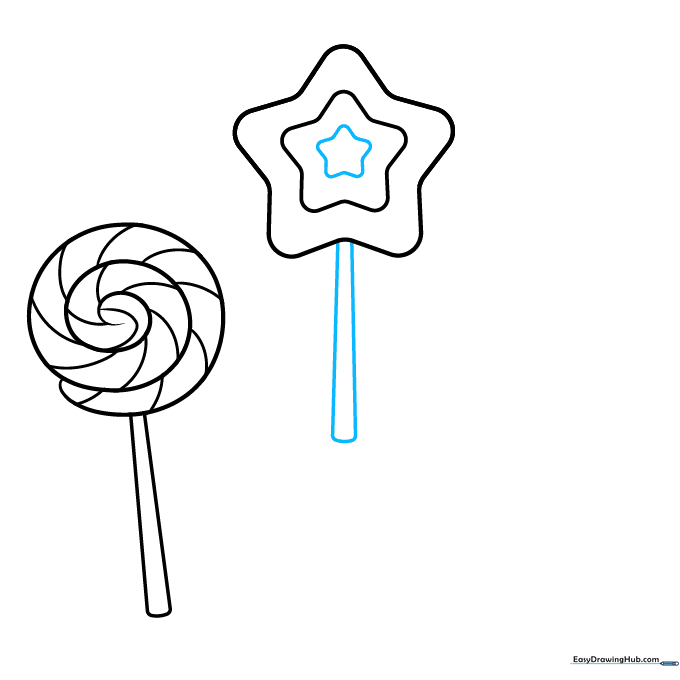
Add a tiny star in the very center and draw the stick at the bottom. Tip: Make sure the stick is centered so the lollipop looks balanced.
Step 8: The Saturn-Shaped Lollipop
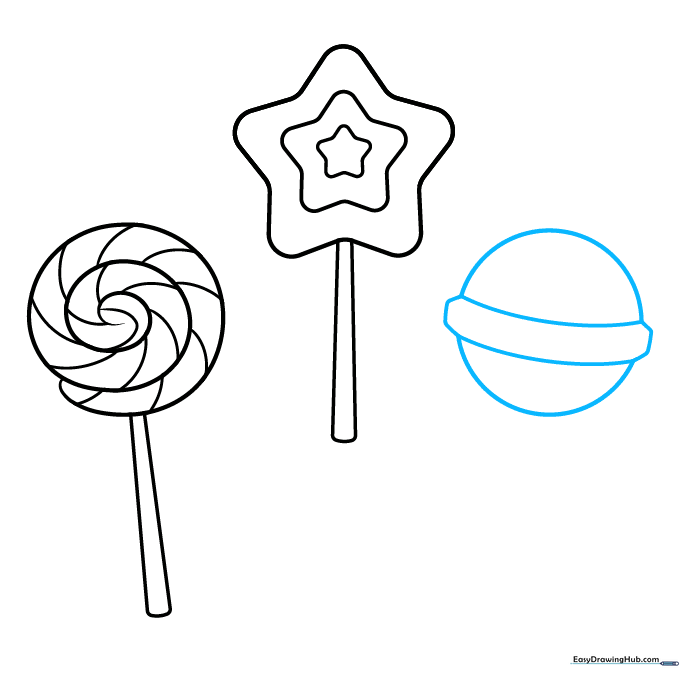
Draw a third lollipop that looks like the planet Saturn by creating a central oval with rings. Tip: Use curved lines to give the candy a 3D, rounded look.
Step 9: Final Details
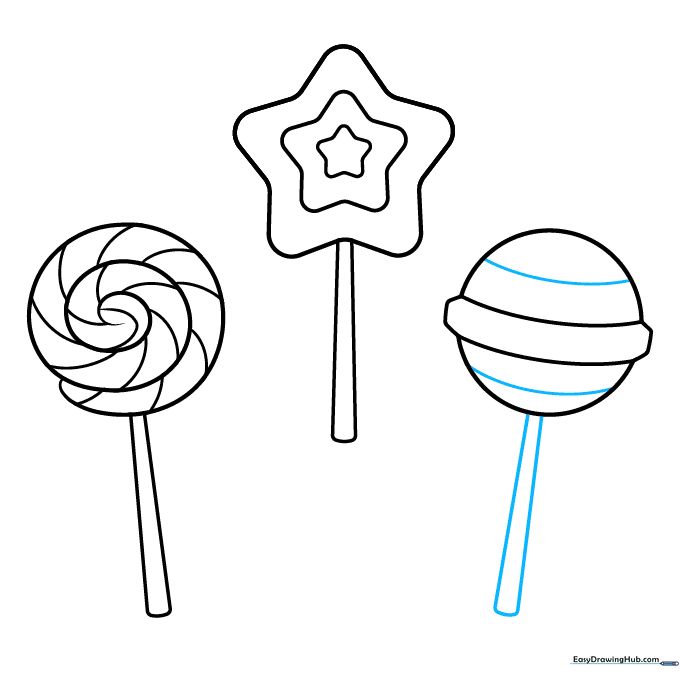
Add horizontal lines to the Saturn lollipop and attach the final stick. Tip: Check that all your sticks are aligned similarly for a cohesive look.
Step 10: Bring It to Life with Color
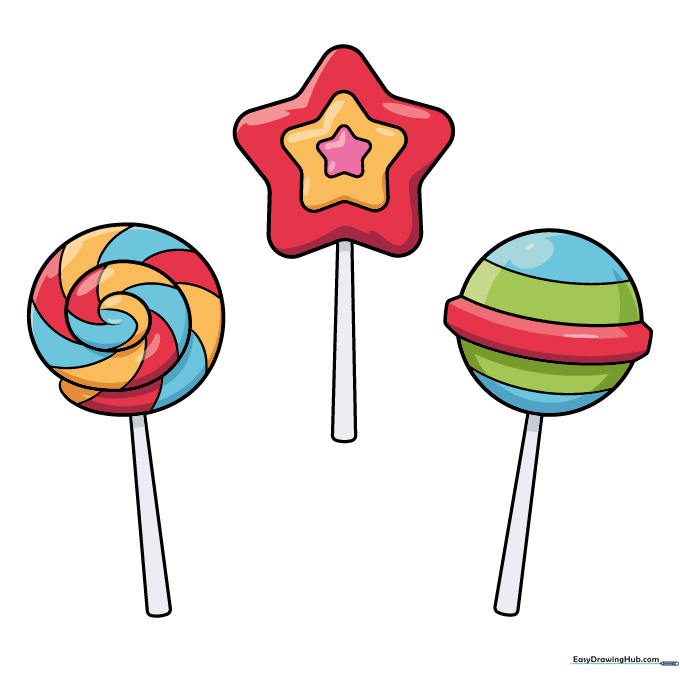
Time to color! Use bright, contrasting colors to make your lollipops pop. Tip: Try using two shades of the same color for the stripes to create a fun gradient effect.
More Tutorials


