How to Draw Ariel: Easy Step-by-Step Guide for Kids
Bring your favorite underwater princess to life with this simple, 10-step drawing guide designed for ages 5 and up. All you need is a pencil, an eraser, and a piece of paper to master this iconic character. Follow along to build confidence in your sketching skills while creating a magical scene.
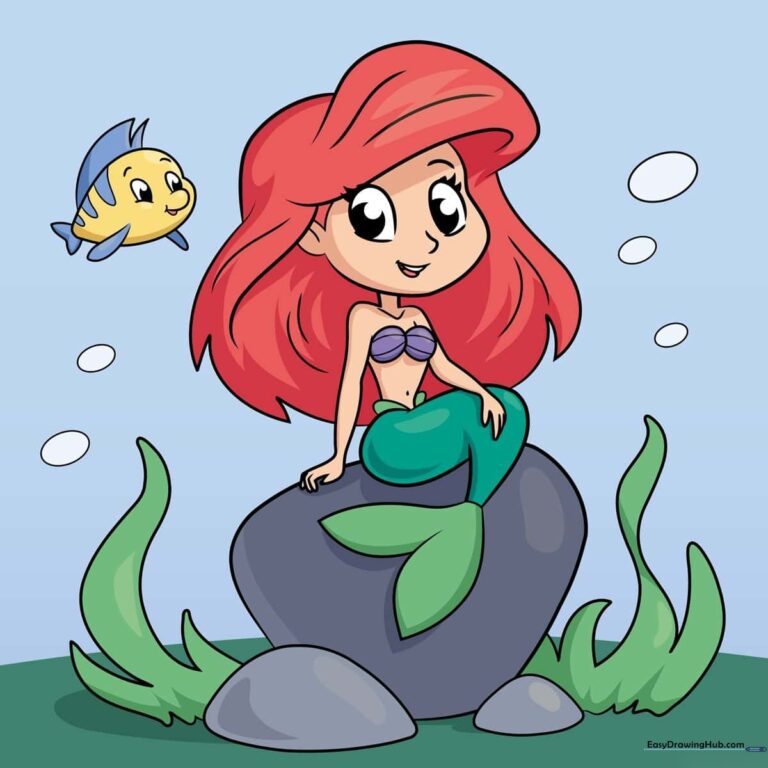
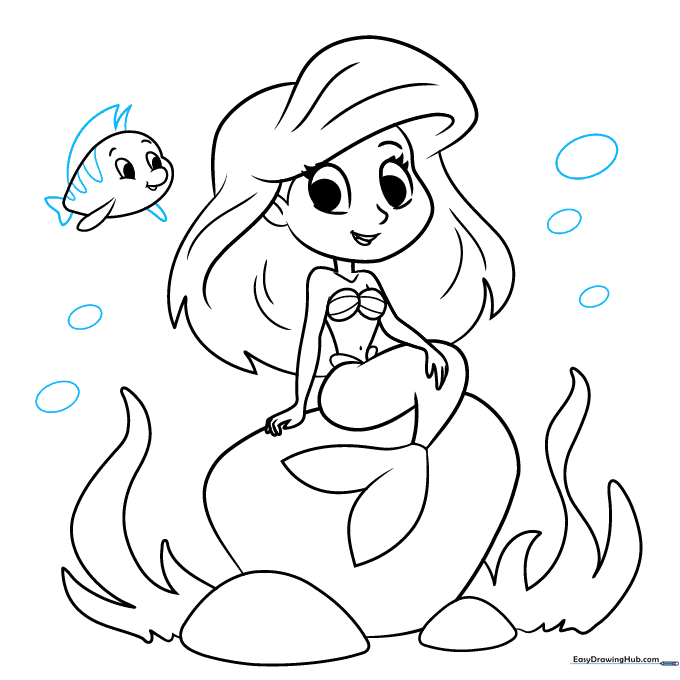
🎯 Final Result
Step-by-Step Instructions
Step 1: Sketching the Facial Features

Start by drawing the eyes, nose, and a gentle smiling mouth. Teacher's Tip: Keep your pencil lines light and soft; if you make a mistake, it’s much easier to erase without leaving marks on your paper.
Step 2: Defining the Face and Hair
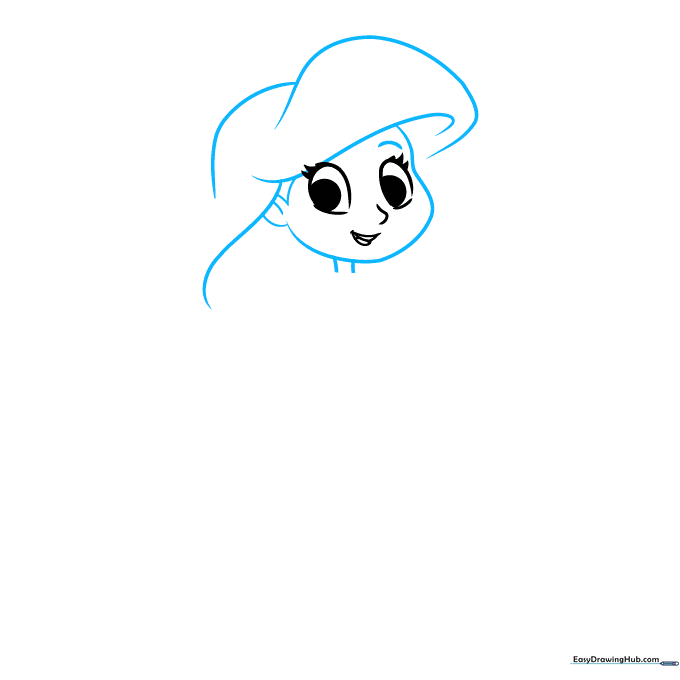
Use long, sweeping curved lines to outline the face and the flow of her hair. Add smaller curves for the ear and neck. Tip: Think of the hair as large, flowing ribbons rather than individual strands.
Step 3: Adding Arms and Seashell Top
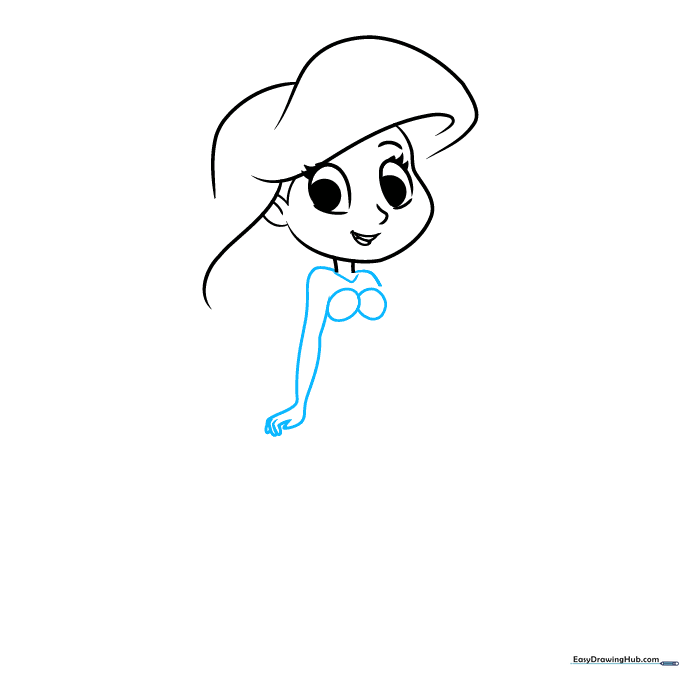
Sketch the shoulders and arms using smooth curves, then add two oval shapes for the seashell top. Tip: Keep the seashell ovals symmetrical to give her a balanced look.
Step 4: Detailing the Torso and Tail
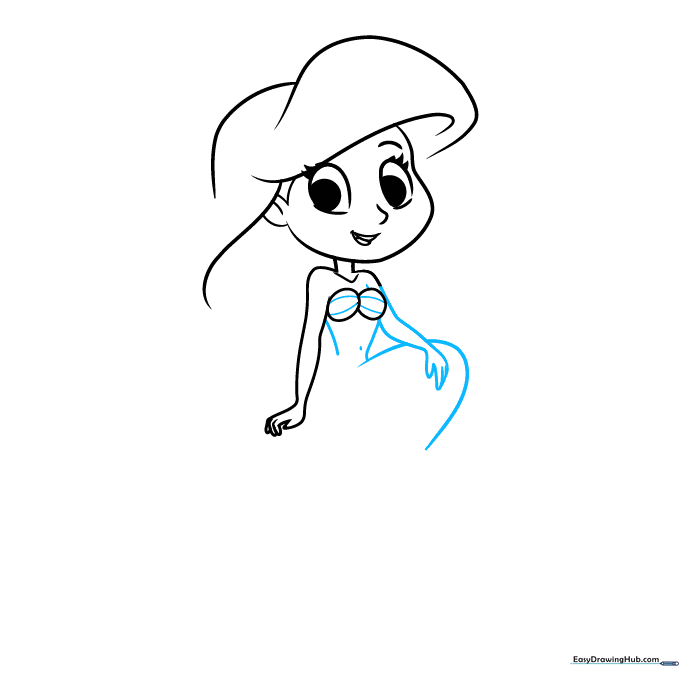
Add lines to the seashells for texture, then draw the torso and the start of the tail. Don't forget a small dot for the belly button! Tip: Use a fluid, continuous motion for the tail line to make it look graceful.
Step 5: Forming the Tail and Flipper
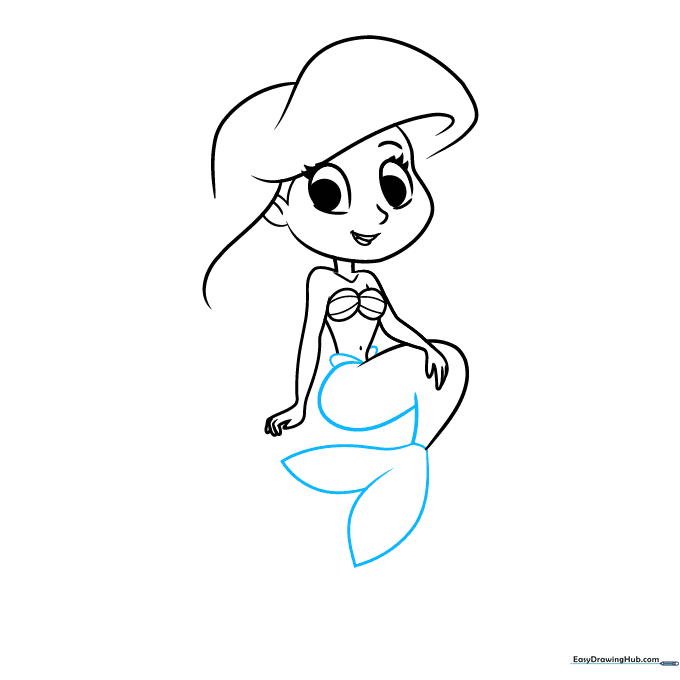
Complete the tail by drawing the opposite side, then add the flipper at the end. Tip: Make the flipper look like a fan by using two curved points that meet at the center.
Step 6: Adding Hair and Rocks
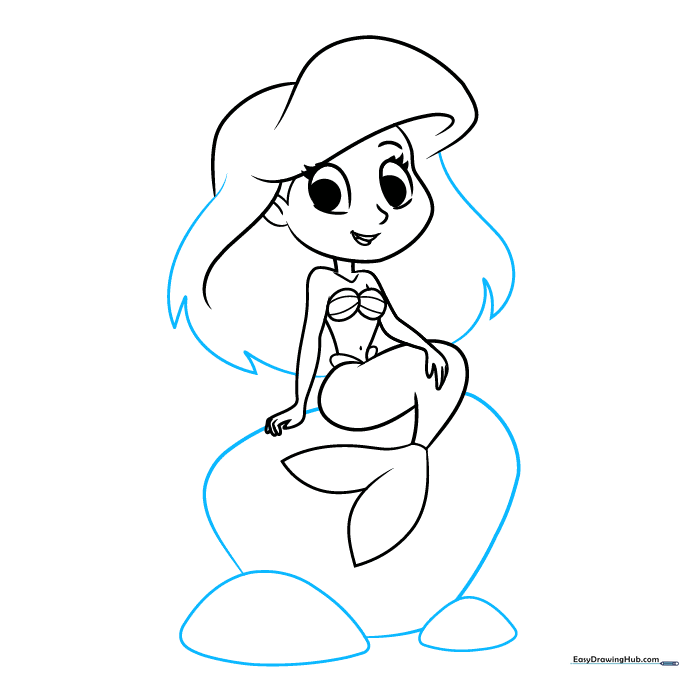
Finish the hair with jagged, flowing lines, and sketch large rocks underneath her. Tip: Vary the size of the rocks to make the underwater scene look more natural.
Step 7: Adding Seaweed
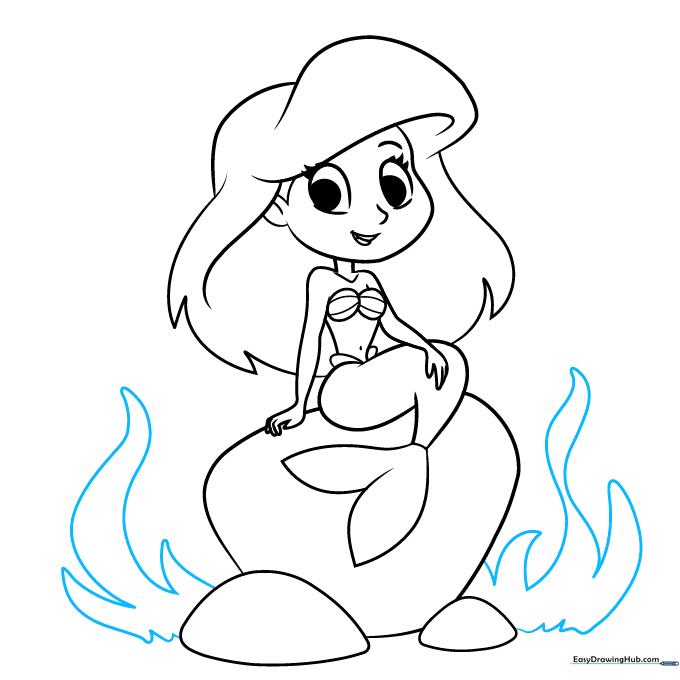
Draw seaweed on both sides of the rocks using long, wavy lines that taper to a point. Tip: Imagine the seaweed is swaying in the ocean current!
Step 8: Drawing Flounder
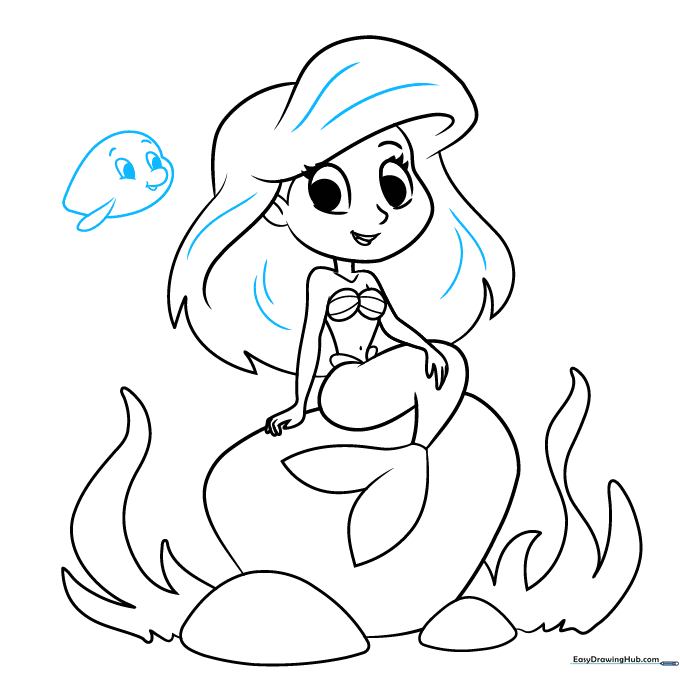
Add texture to Ariel's hair, then start drawing her friend, Flounder. Focus on his expressive eyes and heart-shaped body. Tip: Keep Flounder small so he doesn't take focus away from Ariel.
Step 9: Finishing Touches
Add Flounder's fins, stripes, and a few bubbles floating around them. Tip: Draw bubbles in different sizes to create depth in your underwater scene.
Step 10: Bring Your Drawing to Life with Color

Time to color! Use bright red for Ariel's hair and a vibrant green for her tail. Color Flounder yellow with blue stripes. Tip: Use light pressure with your colored pencils to create smooth, even layers.
More Tutorials


