How to Draw a Grinch Face: Easy Step-by-Step Guide
Bring the holiday spirit to life with this simple Grinch face drawing tutorial, perfect for artists ages 5 and up. You only need a pencil, an eraser, and some markers or crayons to get started. Follow these clear steps to master the Grinch's iconic smirk and expressive features.
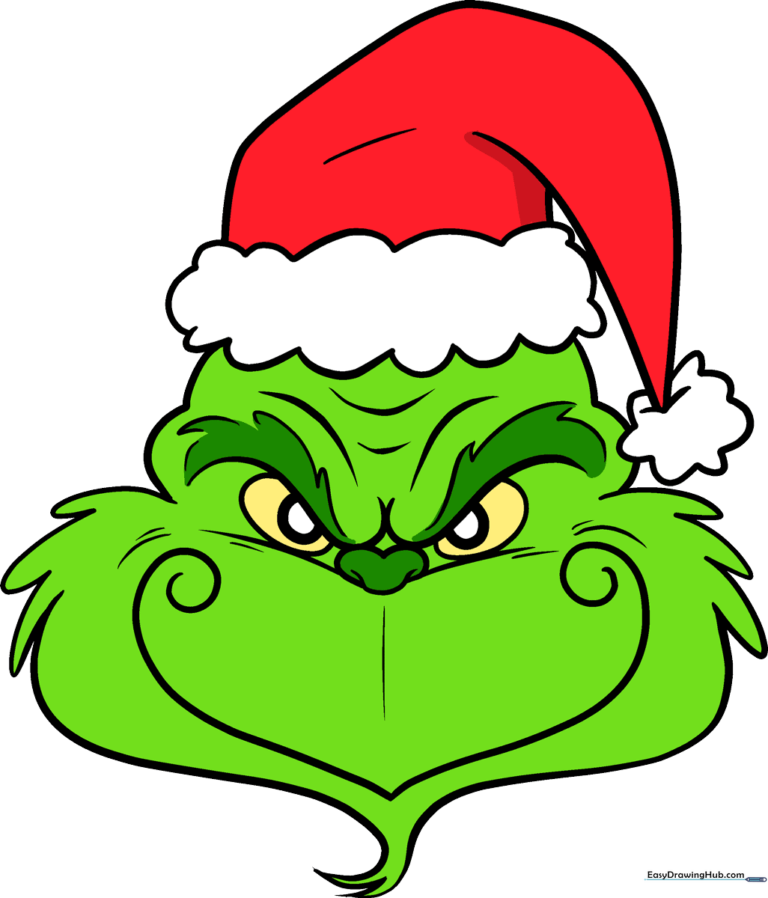
🎯 Final Result
Step-by-Step Instructions
Step 1: Sketching the Furrowed Brows

Start by drawing a wide, shallow 'W' shape to create the Grinch's signature grumpy brows. Below these, draw two curved shapes for the eyes. Tip: Keep the pupils semicircular to give him that classic, slightly suspicious look.
Step 2: Defining the Nose and Cheeks
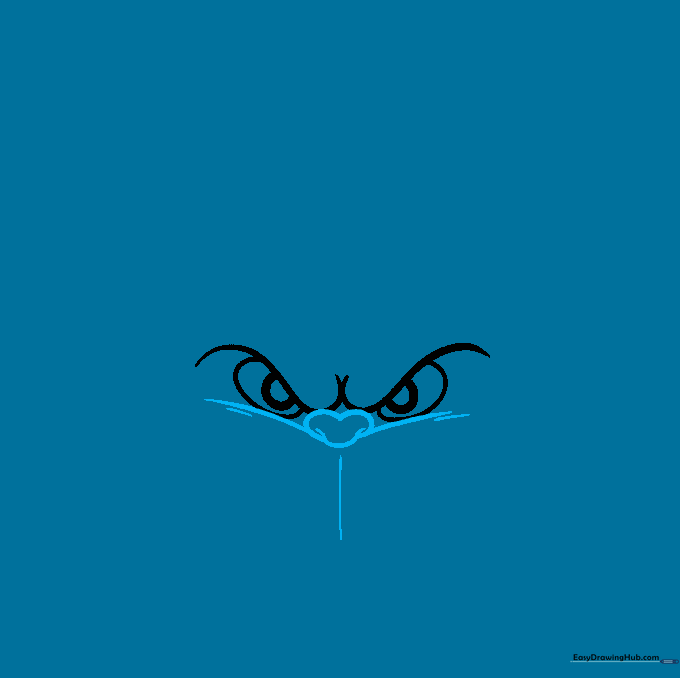
Use overlapping 'M' and 'U' shapes to form the nose. Add curved lines beneath to define the cheeks and the philtrum (the space between the nose and lip). Tip: Don't press too hard; these lines act as a guide for his facial structure.
Step 3: Adding Furry Eyebrows
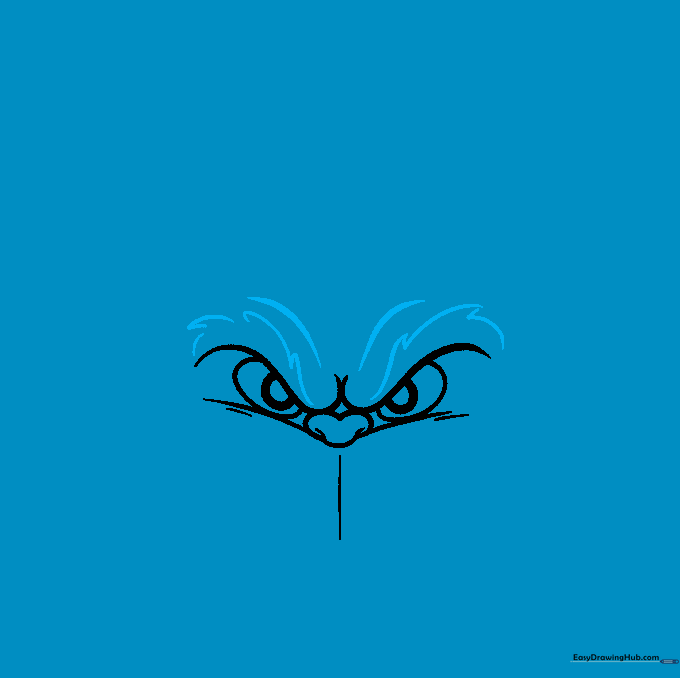
Draw thick, jagged lines above the eyes to create his bushy, expressive eyebrows. Add a small curved line above each brow to show movement. Tip: Use short, quick strokes to make the eyebrows look like real fur.
Step 4: Sketching the Smirk
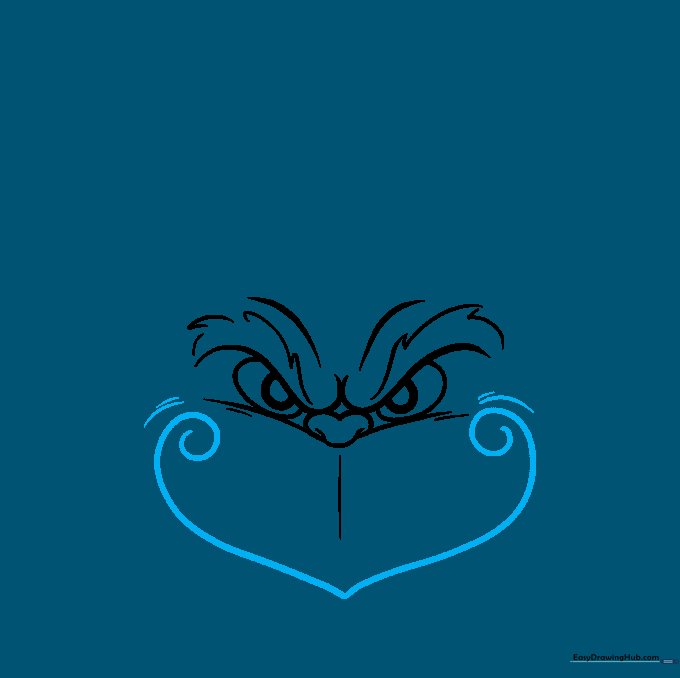
Draw a wide, curved line for the mouth, ending in spirals at the corners to create that classic Grinch smirk. Add small lines on the cheeks to show his expression. Tip: The spirals should look like little '6's or '9's.
Step 5: Forming the Chin
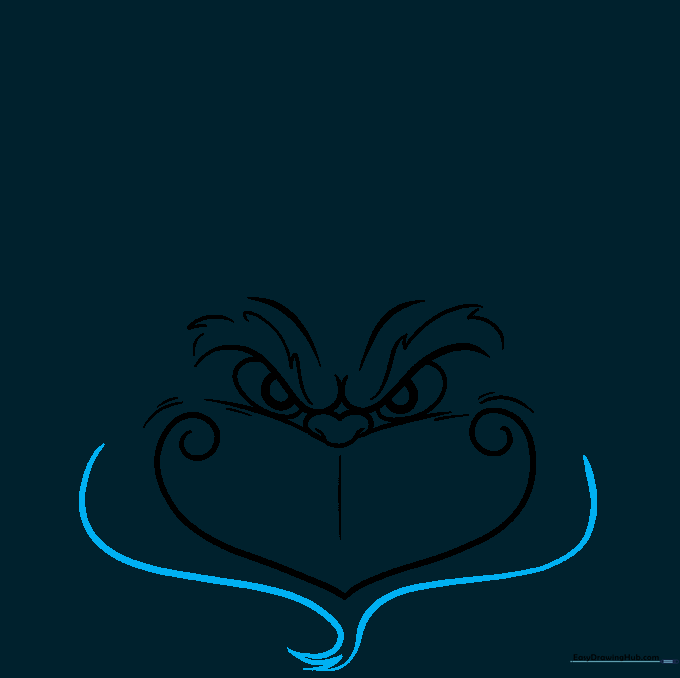
Use two long, sweeping curved lines to outline the jaw, finishing with a jagged tuft of hair at the bottom. Tip: Keep the chin slightly pointed to match the character's unique shape.
Step 6: Adding Furry Cheeks
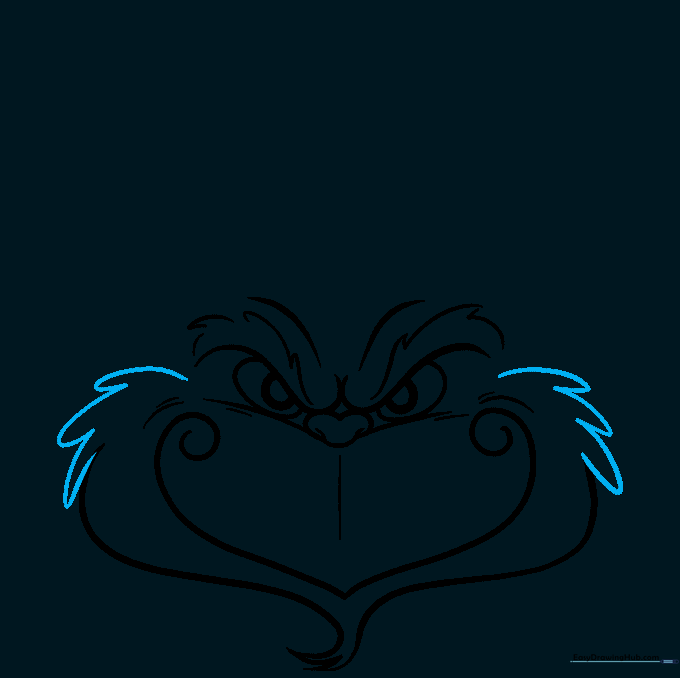
Connect the jaw to the face using a series of short, overlapping curved lines to give the appearance of fluffy green fur. Tip: Vary the length of these lines slightly to make the fur look natural.
Step 7: Drawing the Hat Brim
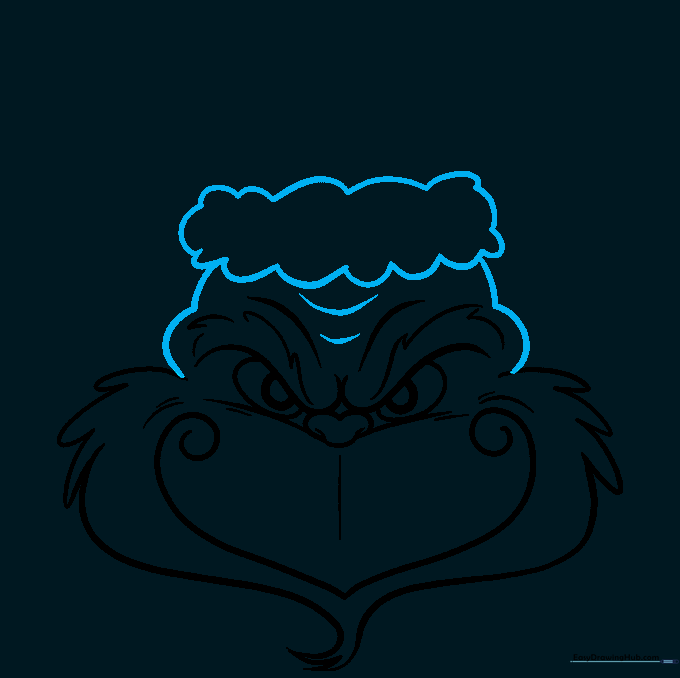
Sketch the forehead and temples, then add the fluffy white brim of the Santa hat using connected, rounded lines. Tip: Make the brim look 'puffy' by overlapping your curves.
Step 8: Shaping the Santa Hat
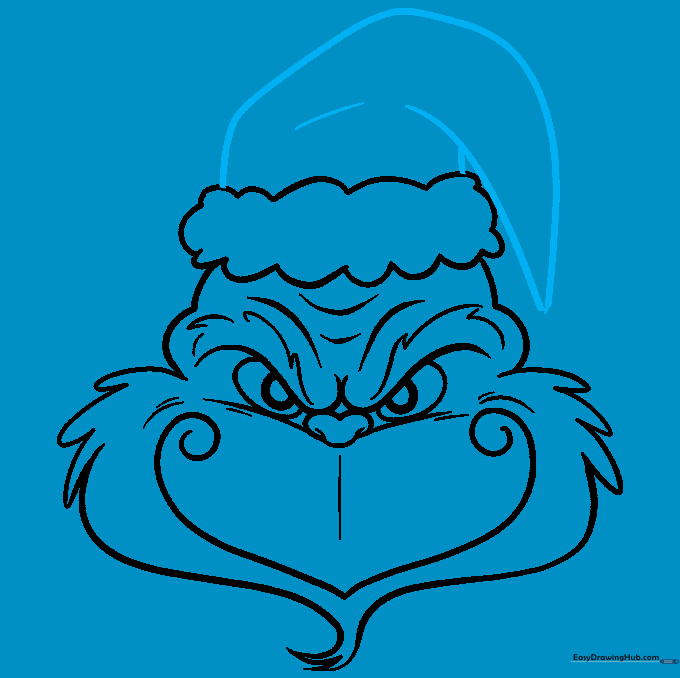
Draw the top of the hat, tapering it to a point. Add a curved contour line to show the fabric folding. Tip: A slightly floppy hat looks more dynamic than a perfectly straight one.
Step 9: Adding the Pompom
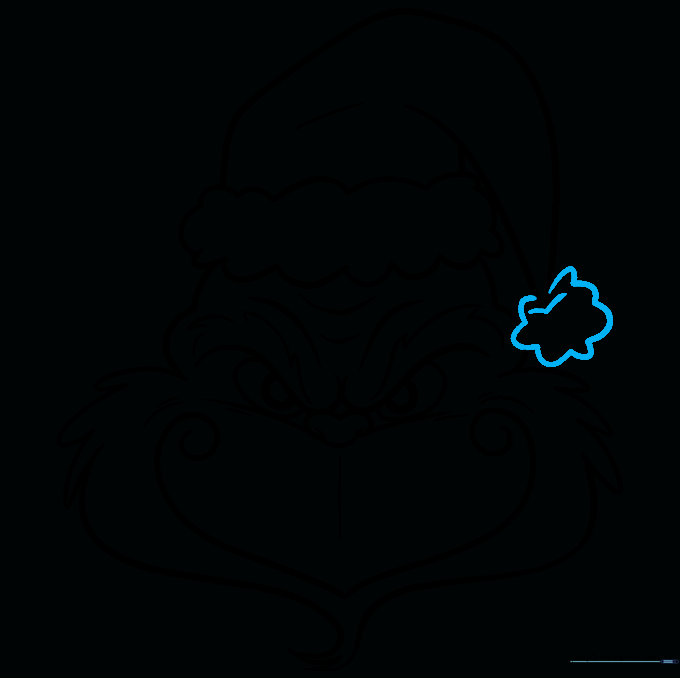
Finish the hat by drawing a round pompom at the tip. Use a 'V' shape where the hat meets the pompom to show connection. Tip: Use small, circular motions to make the pompom look soft and fuzzy.
Step 10: Adding Color
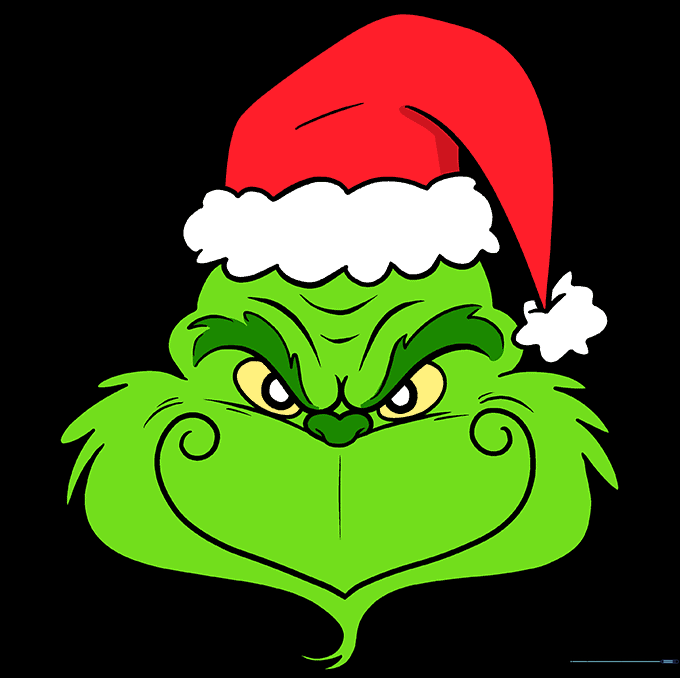
Bring your Grinch to life! Use bright green for the fur, yellow for the eyes, and classic red for the hat. Tip: Use a darker green pencil to add light shading under the brows and chin for extra depth.
More Tutorials


