How to Draw a Cute Ghost: Easy 9-Step Tutorial for Kids
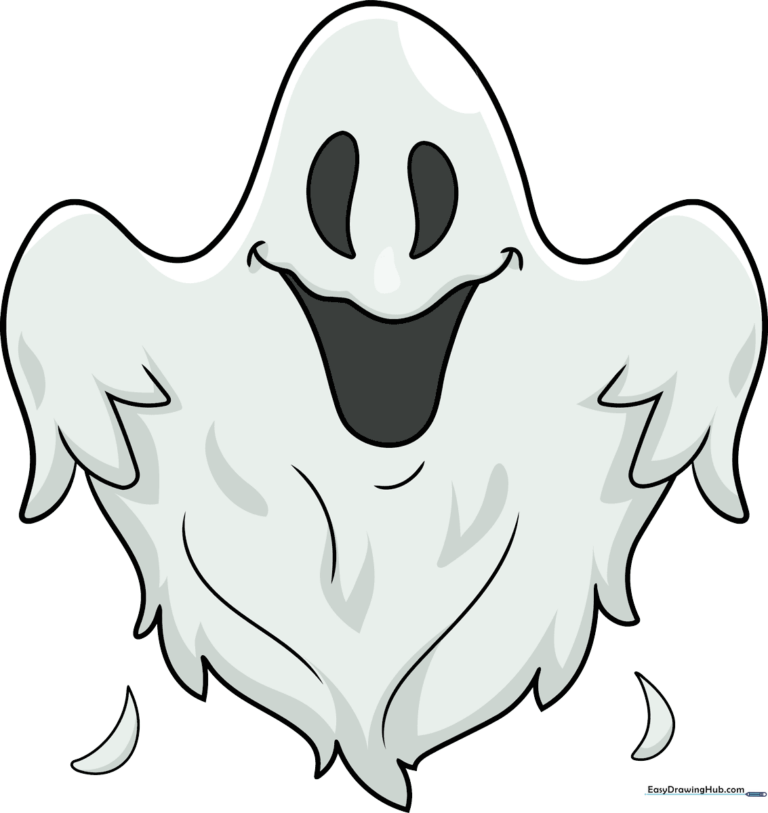
This friendly ghost drawing is perfect for young artists ages 5 and up. You only need a pencil, an eraser, and a piece of paper to get started. Follow these simple steps to build confidence and create your own spooky-cute character.
🎯 Final Result
Step-by-Step Instructions
Step 1: Sketching the Eyes
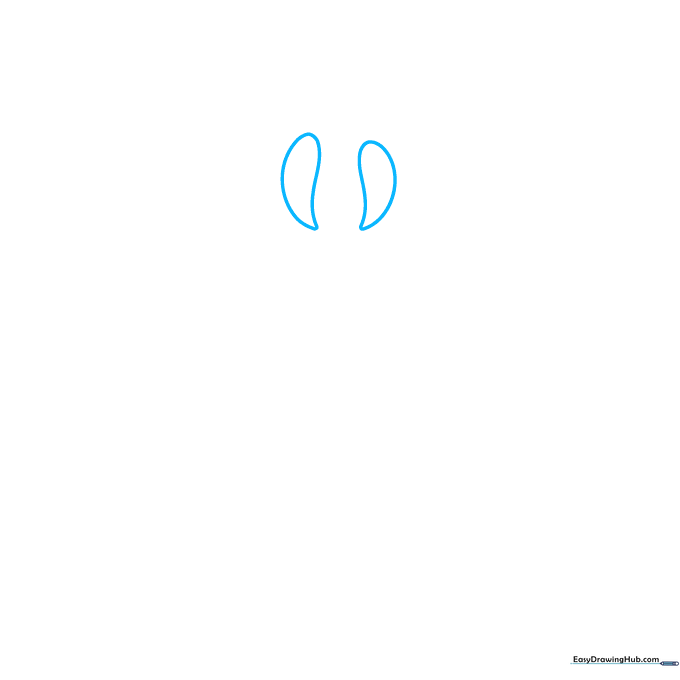
Draw two upside-down teardrop shapes for the eyes. Teacher's Tip: Keep them close together to give your ghost a sweet, curious expression.
Step 2: Drawing the Mouth
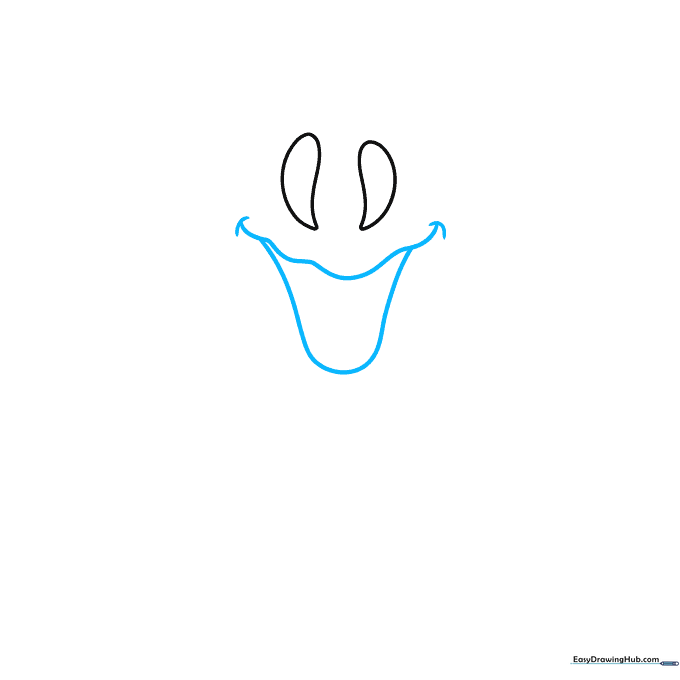
Add an open, surprised mouth using a long, wavy line for the top and a curved line for the bottom. Teacher's Tip: Use short, straight lines at the corners to make the mouth look wider.
Step 3: Shaping the Head and Arm
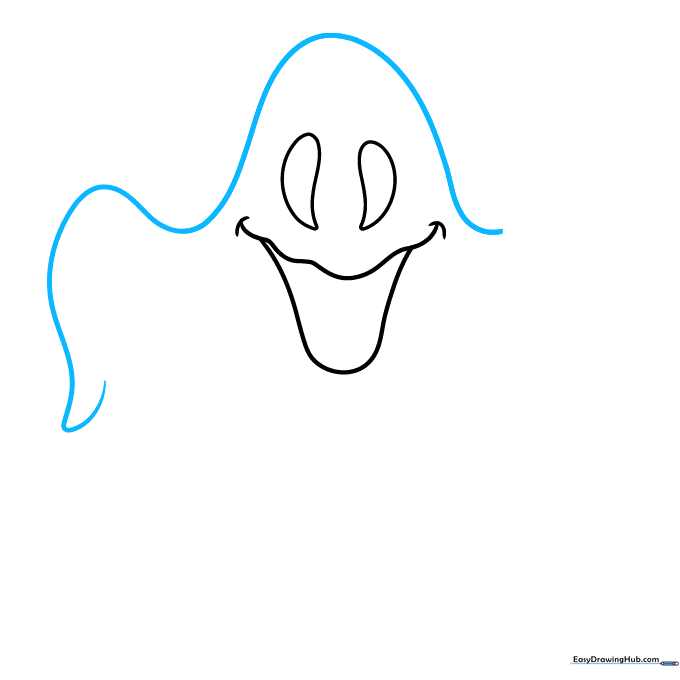
Sketch a long, smooth curved line to form the top of the head and one arm. Double the line back on itself to create a rounded hand. Teacher's Tip: Keep your wrist loose to get a nice, flowing curve.
Step 4: Adding the Second Arm
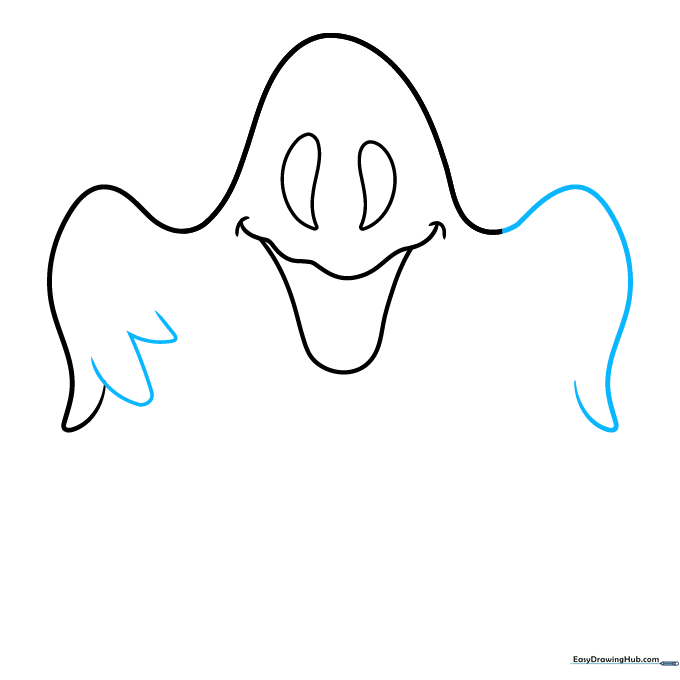
Extend the line to form the second arm, doubling it back at the tip. Add 'U' shaped lines on the first hand to create fingers. Teacher's Tip: Overlapping the 'U' shapes makes the hand look more natural.
Step 5: Defining the Body
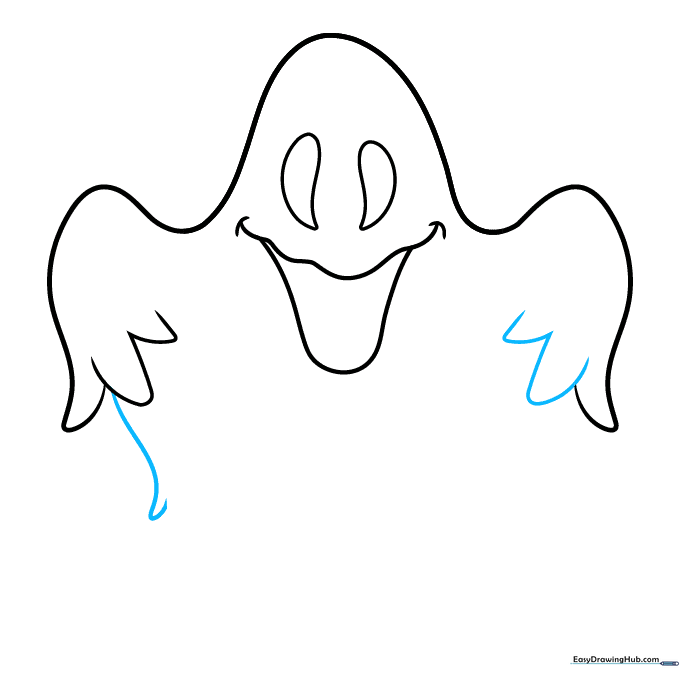
Add 'U' fingers to the second arm and extend a curved line downward for the ghost's side. Teacher's Tip: Don't worry if the line isn't perfectly straight; ghosts are floaty and organic!
Step 6: Creating the Jagged Hem
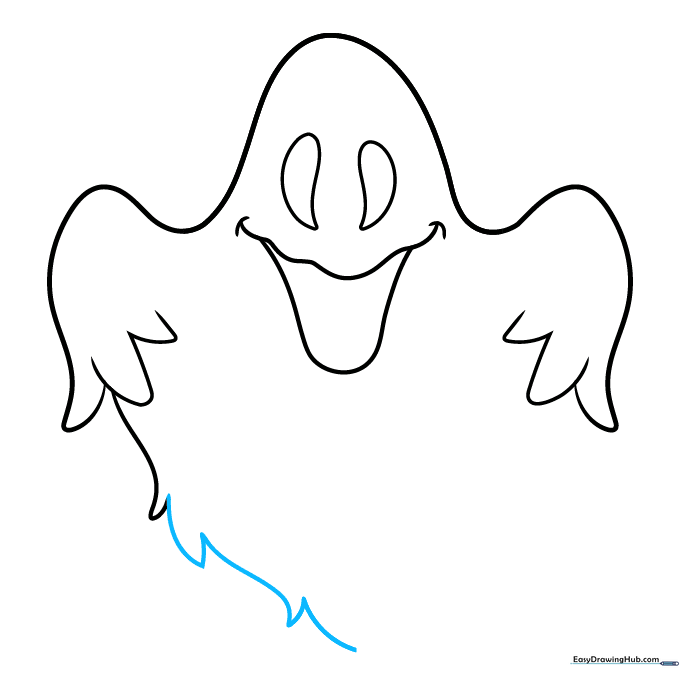
Use a series of long and short lines that meet at sharp points to create the bottom of the ghost's sheet. Teacher's Tip: Varying the length of these lines makes the ghost look like it's moving.
Step 7: Closing the Figure
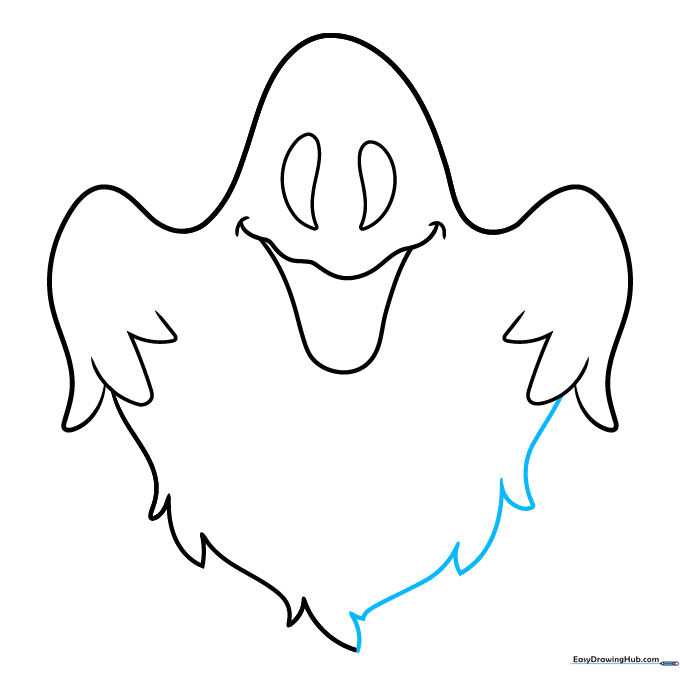
Continue the jagged line pattern to close the other side of the body. Teacher's Tip: Ensure the lines meet up cleanly to create a solid shape.
Step 8: Adding Detail
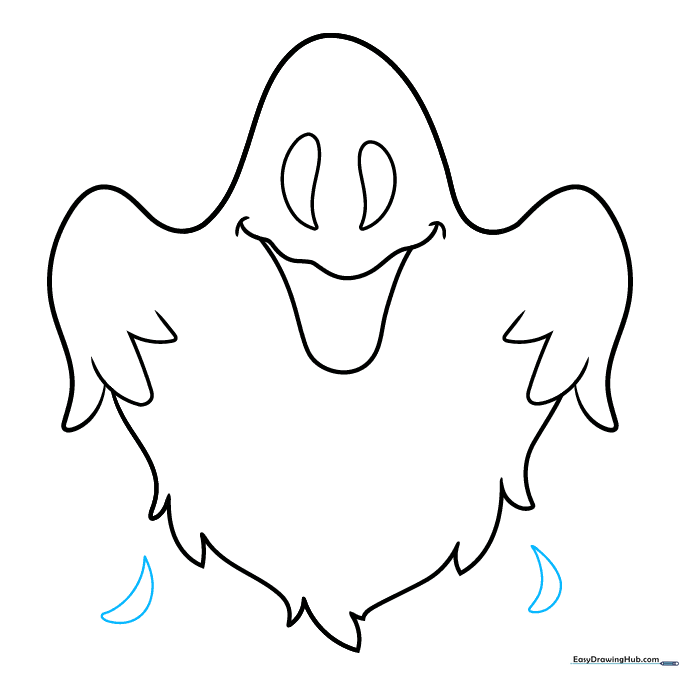
Draw two small crescent shapes near the bottom of the body to suggest folds in the fabric. Teacher's Tip: Placing these near the edges adds a nice sense of depth.
Step 9: Final Texturing

Add a few extra curved lines on the body to emphasize the 'sheet' texture. Teacher's Tip: Use very light pressure so these lines look like subtle shadows.
Step 10: Adding Color
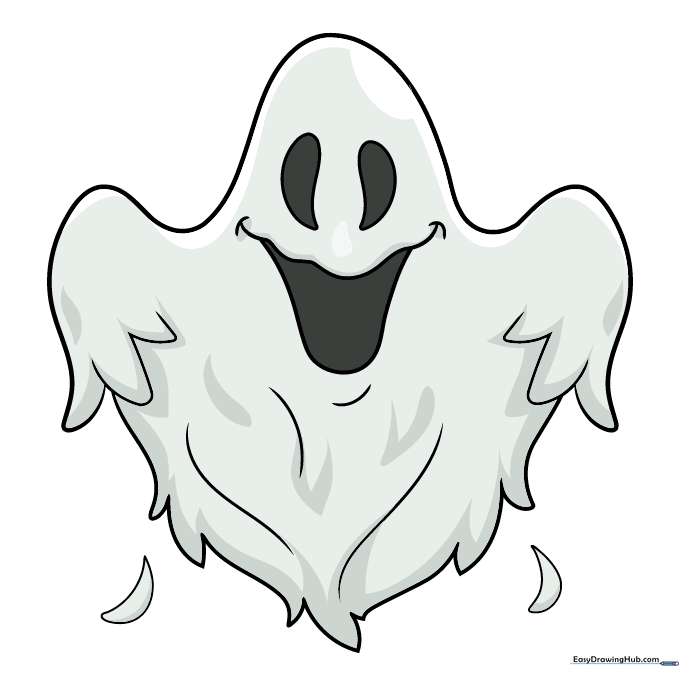
Time to color! While ghosts are traditionally white, try using light grey or blue for shading to make it pop. Color the eyes black for a classic look. Teacher's Tip: Use a white gel pen to add a tiny highlight in the eyes for a 'sparkle' effect.
More Tutorials


