How to Draw a Gacha Life Character: Easy 9-Step Guide
Bring your favorite Gacha Life character to life with this beginner-friendly drawing guide. Designed for ages 6+, this activity requires only a pencil, eraser, and paper to help young artists master anime-style proportions. Follow these steps to build confidence and develop your own unique character design.
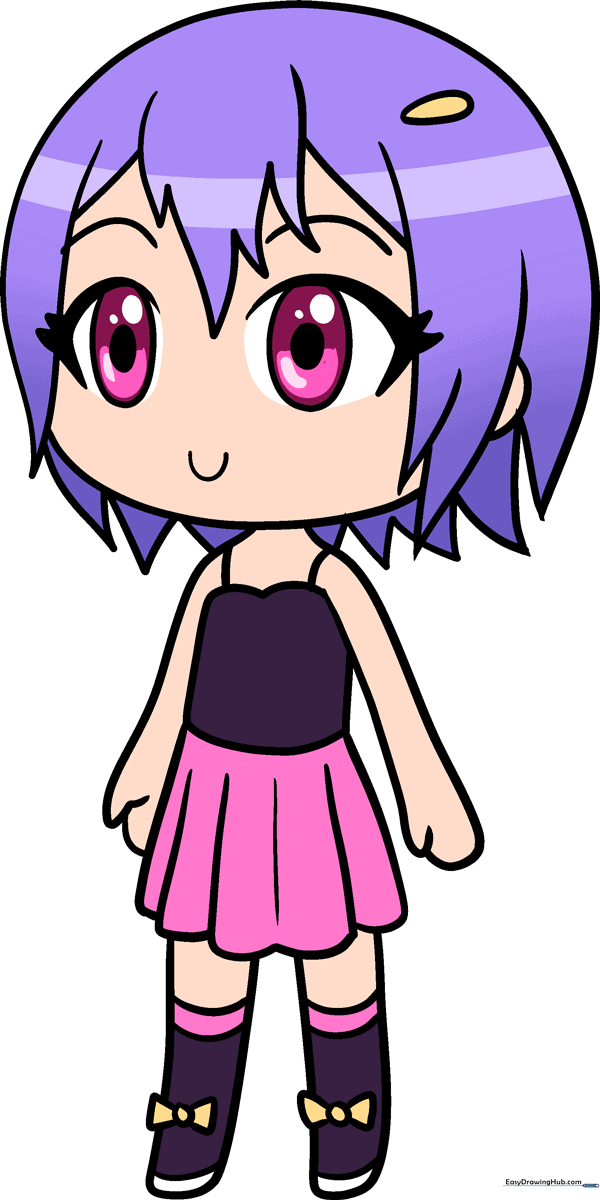
🎯 Final Result
Step-by-Step Instructions
Step 1: Sketching the Anime Eyes

Start by drawing two ovals for the eyes. Inside each, add a small circle for the pupil. Teacher's Tip: Keep the eyes symmetrical by drawing them at the same time, and use a light touch so you can adjust the spacing if needed.
Step 2: Adding Facial Features and Bangs
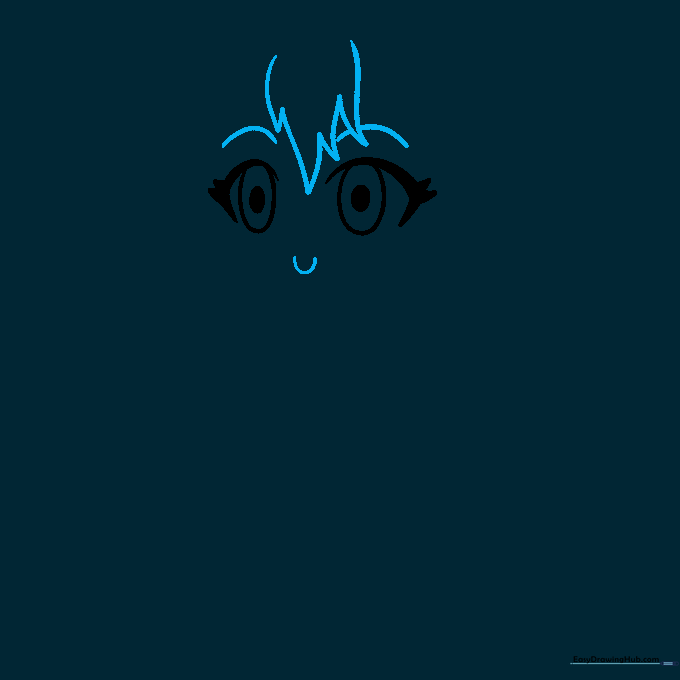
Draw simple curved lines for the eyebrows and a small 'U' shape for the mouth. For the bangs, use jagged, zigzag lines across the forehead. Teacher's Tip: Vary the size of your zigzags to make the hair look more natural and less stiff.
Step 3: Shaping the Hair
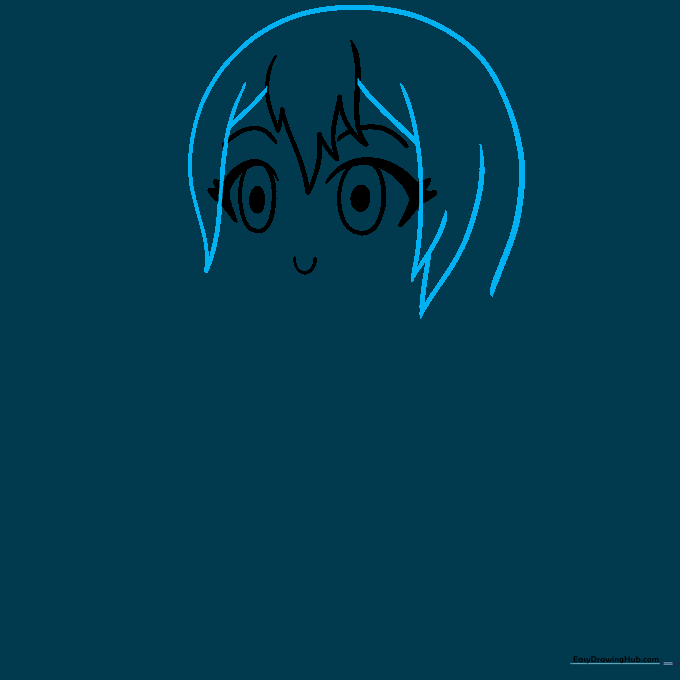
Continue the hair using long, sweeping curved lines that overlap. Teacher's Tip: Think of hair as 'clumps' rather than individual strands to keep the drawing clean and easy to color later.
Step 4: Defining the Face and Accessories
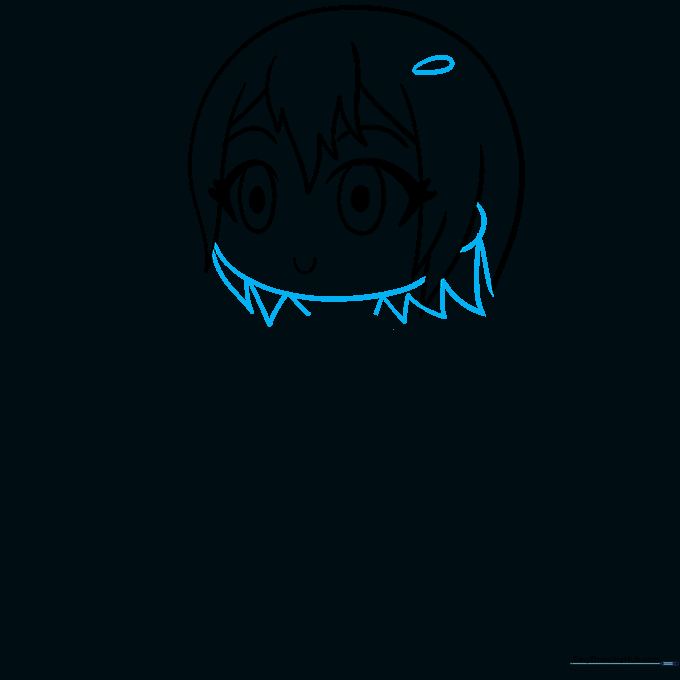
Draw the ear and the chin using a smooth curve. Add a small teardrop shape near the ear for a hair clip. Teacher's Tip: Use your eraser to clean up any overlapping lines where the hair meets the face.
Step 5: Sketching the Torso and Arms
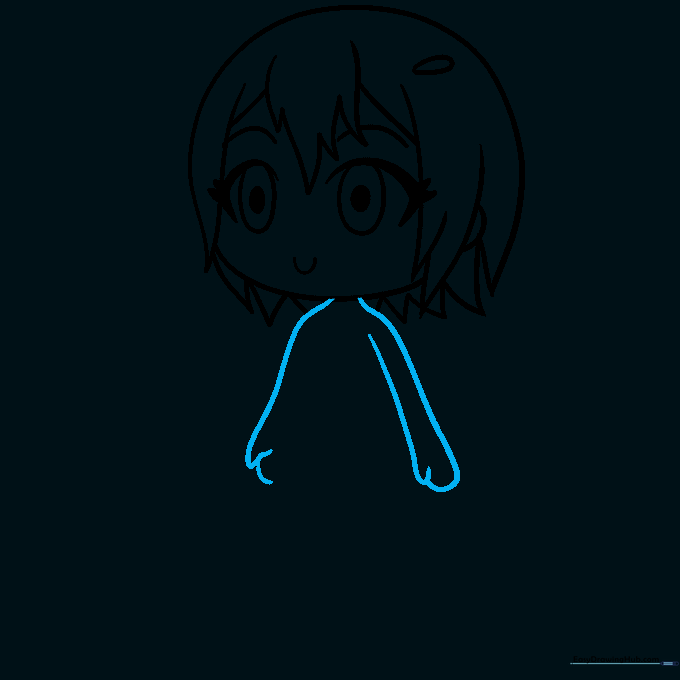
Draw the neck and shoulders, extending lines downward for the arms. Close the hands with simple rounded shapes. Teacher's Tip: Keep the arms relatively short to maintain that cute, chibi-style proportion.
Step 6: Drawing the Outfit
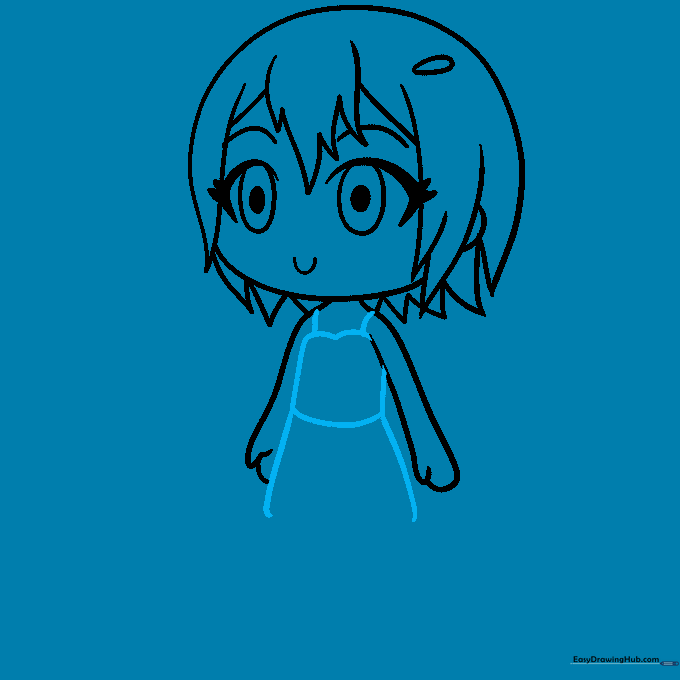
Sketch the shirt and skirt using rounded rectangles. Add two lines on the shoulders for the straps. Teacher's Tip: Make sure the skirt is slightly wider than the shirt to give it a flared, pleated look.
Step 7: Adding Skirt Pleats
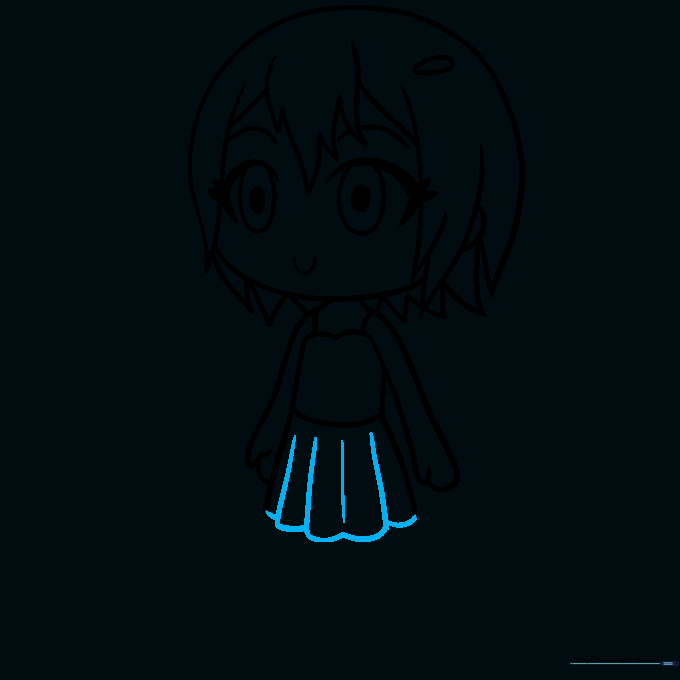
Add vertical lines to the skirt to create pleats. Teacher's Tip: Keep these lines slightly curved to match the shape of the skirt, which adds depth to your drawing.
Step 8: Drawing the Legs
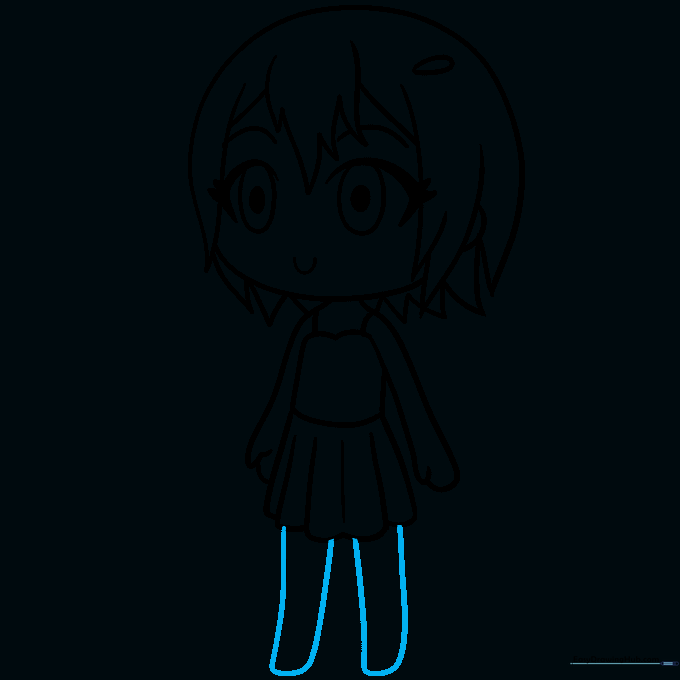
Draw two long, parallel lines for each leg. Teacher's Tip: Ensure the legs are spaced apart so the character looks balanced and stable.
Step 9: Final Details and Shoes
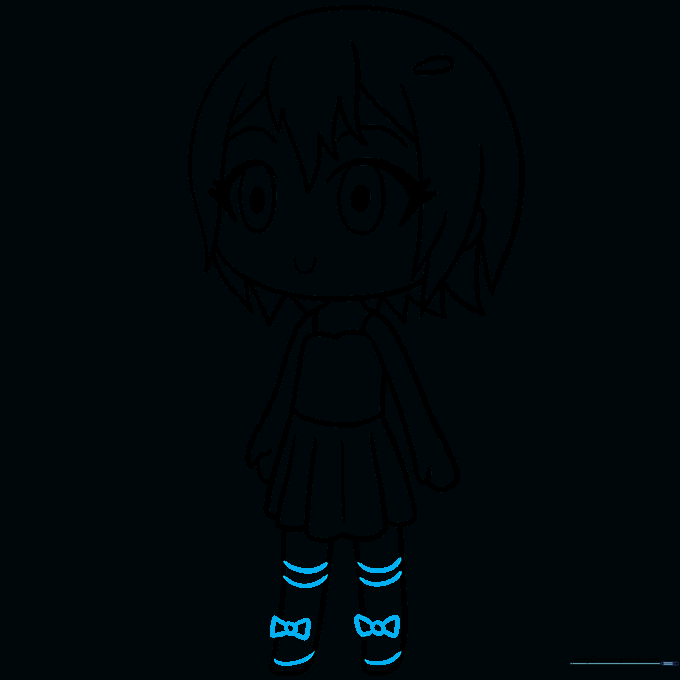
Add bands for socks and draw the shoes with a small bow on each toe. Teacher's Tip: Use a fine-liner pen to trace your final lines before erasing your pencil marks for a professional look.
Step 10: Bring Your Character to Life with Color
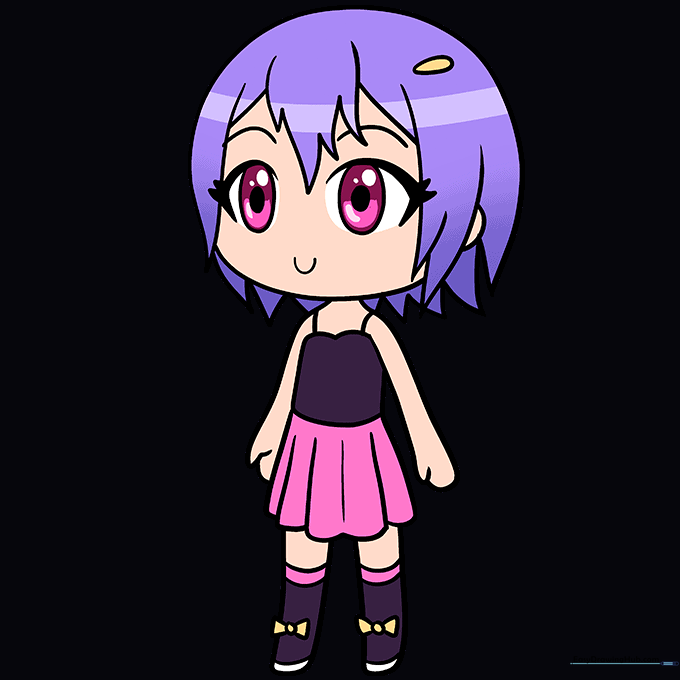
Time to color! Use your favorite markers or pencils. We chose purple hair and pink accents, but feel free to experiment with your own palette. Teacher's Tip: Use light pressure for a soft look or heavy pressure for vibrant, bold colors.
More Tutorials


