How to Draw Boyfriend from Friday Night Funkin: Easy Guide
Ready to bring your favorite rhythm-game star to life? This tutorial is perfect for young fans and budding artists ages 6+ who want to draw Boyfriend from Friday Night Funkin. All you need is a pencil, an eraser, and a piece of paper to master this fun, stylized character design.
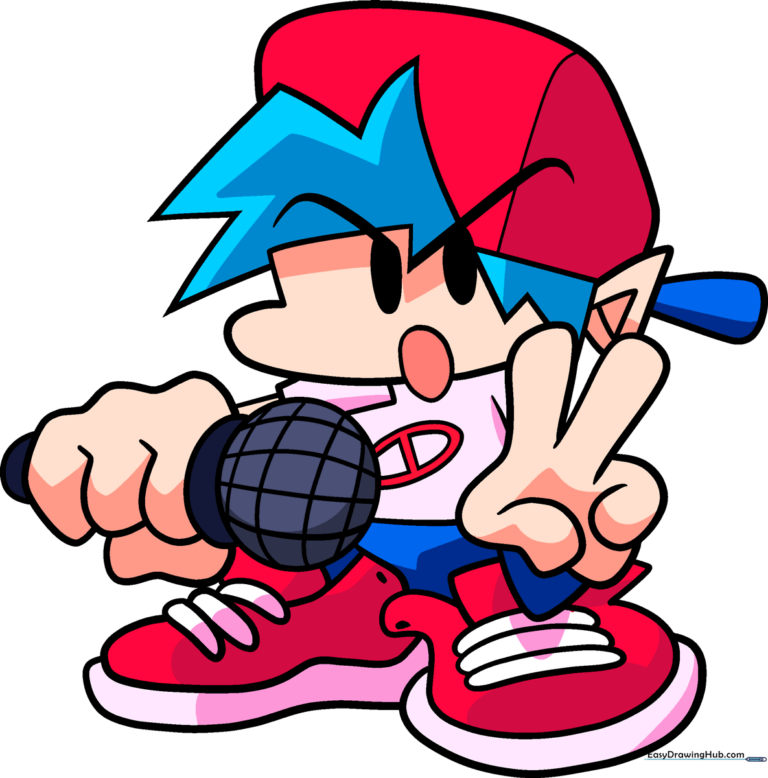
🎯 Final Result
Step-by-Step Instructions
Step 1: Sketching the Face

Start by drawing a 'C' shape for the cheek and an 'L' shape for the forehead. At the end of the 'L,' add a small checkmark to define the hair and eyebrow. Draw an oval mouth at the base and two solid ovals for the eyes. Teacher's Tip: Keep your pencil pressure light here so you can refine the shapes later.
Step 2: Defining the Spiky Hair
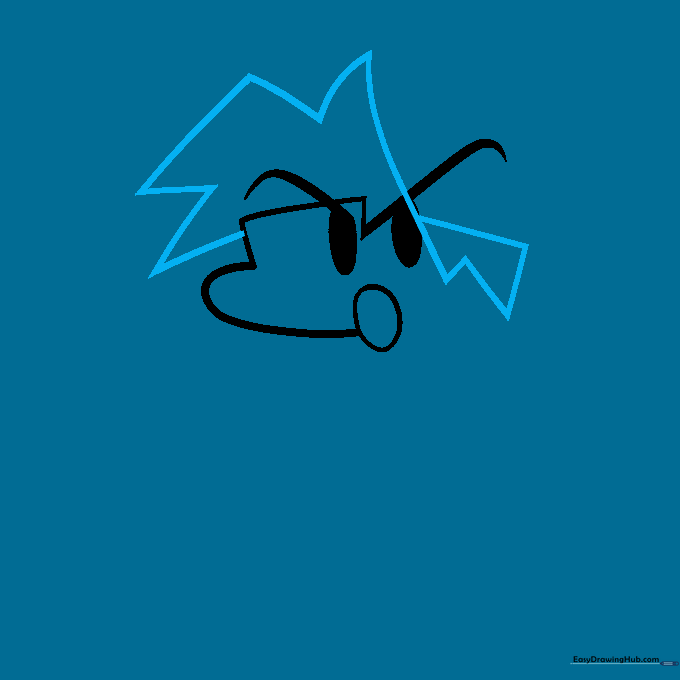
Use a series of curved and straight lines that meet at sharp, jagged points to create his iconic spiky manga-style hair. Teacher's Tip: Don't worry about making the spikes perfect; the character's style is meant to look energetic and slightly messy.
Step 3: Adding the Ear and Cap
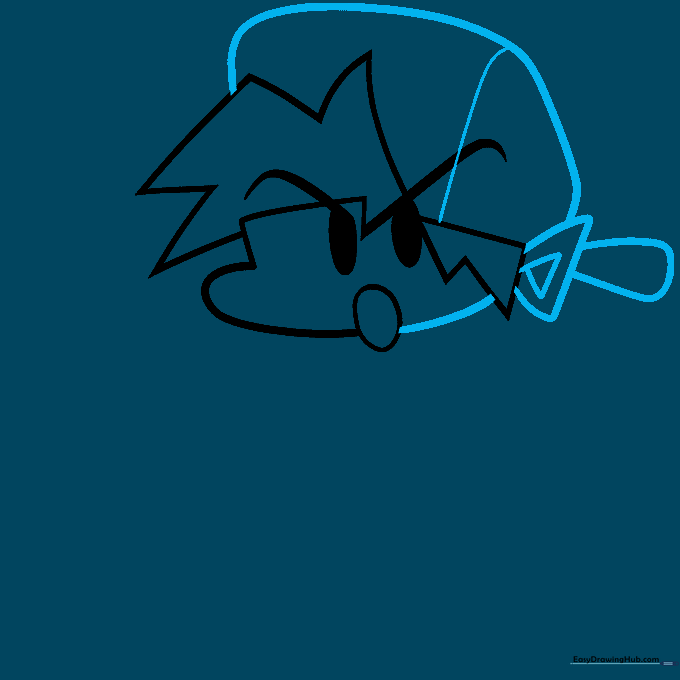
Draw a small triangle-within-a-triangle for the ear. Close the face shape with a curved line, then draw his backwards baseball cap. Use simple curved lines to show the bill and the seam. Teacher's Tip: A backwards cap is a great way to practice drawing overlapping shapes.
Step 4: Drawing the Peace Sign Hand
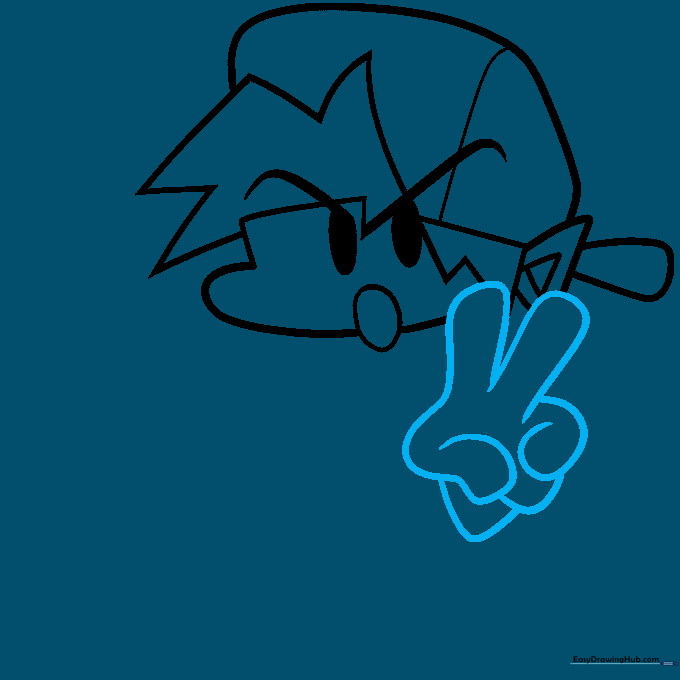
Draw the hand making a 'V' for victory sign. Use curved lines for the fingers, doubling them back to create thickness. Teacher's Tip: If the fingers look tricky, draw them as simple 'U' shapes first, then refine the edges.
Step 5: Shirt and Microphone Base
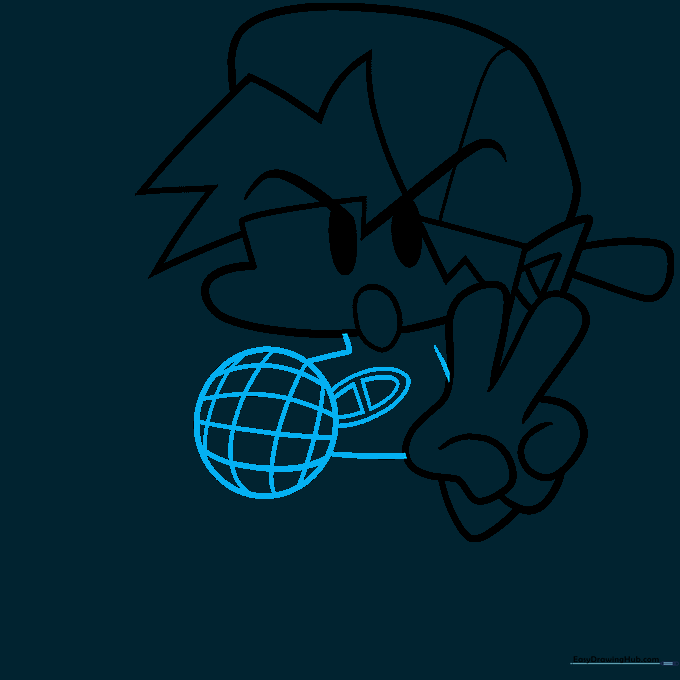
Outline the shirt with curved lines and add an oval detail on the chest. Start the microphone by drawing a circle with a checkerboard pattern inside. Teacher's Tip: Use a ruler or light guide lines to keep your checkerboard pattern straight.
Step 6: Grasping the Microphone
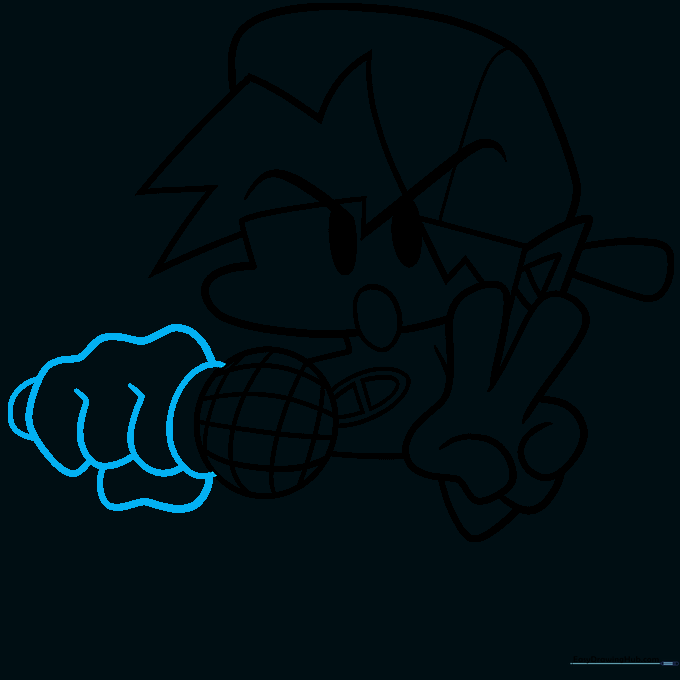
Use overlapping curved lines to draw the fist holding the microphone. Add rounded shapes on the sides for the handle. Teacher's Tip: Focus on the 'overlap'—this is what makes the hand look like it's actually gripping the object.
Step 7: Adding the First Shoe
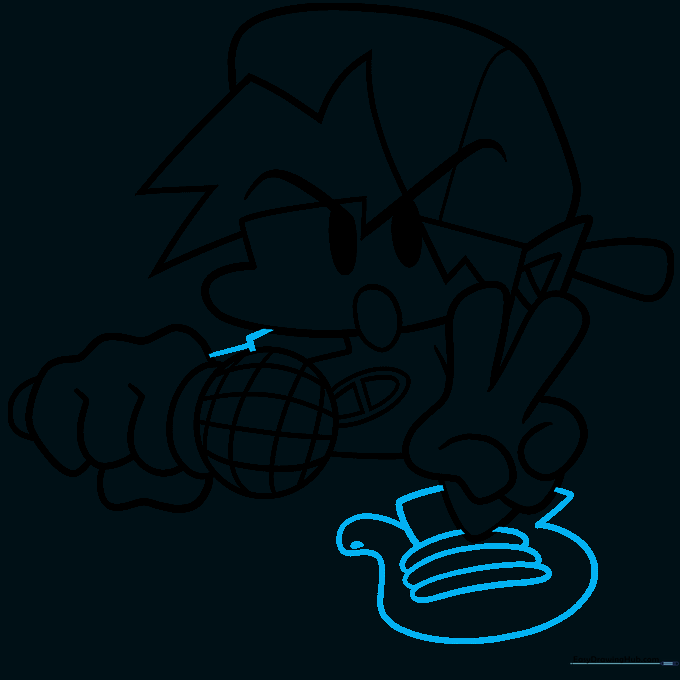
Use a zigzag line for the arm, then draw the shoe using overlapping curves. Add three rounded shapes on top for the laces. Teacher's Tip: Shoes can be tricky—think of them as a rounded box shape first.
Step 8: Drawing the Second Shoe
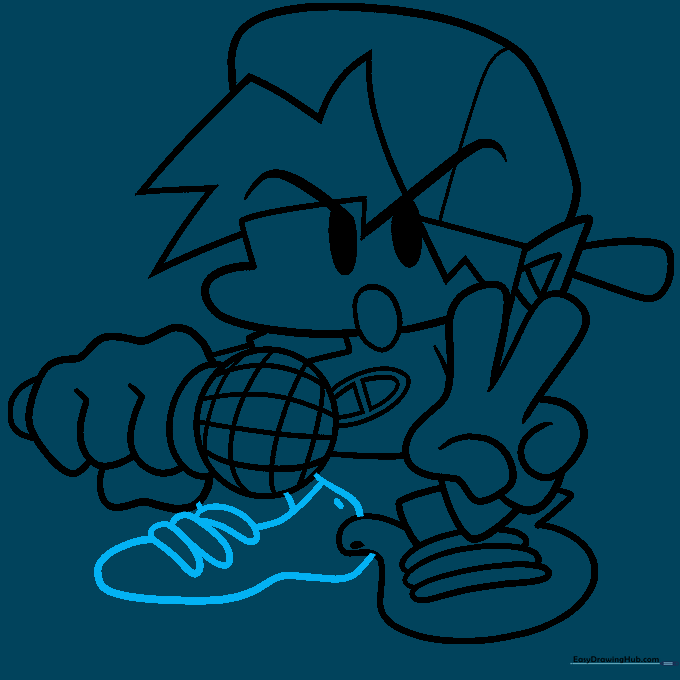
Repeat the process from the previous step to draw the second shoe. Keep the shape consistent with the first one. Teacher's Tip: Check that both shoes are roughly the same size so your character looks balanced.
Step 9: Finalizing the Soles
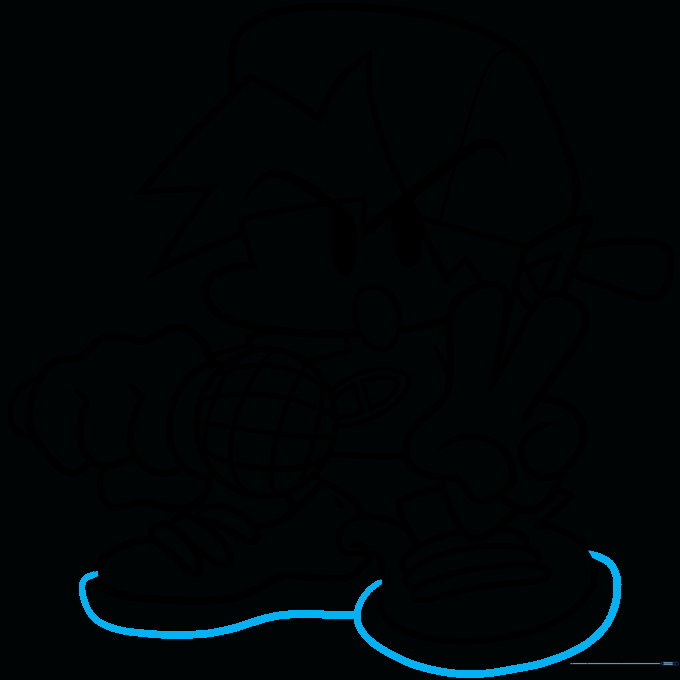
Complete the outline by drawing a curved line under each shoe to represent the soles. Teacher's Tip: A thicker line here helps ground the character on the page.
Step 10: Bringing Him to Life with Color
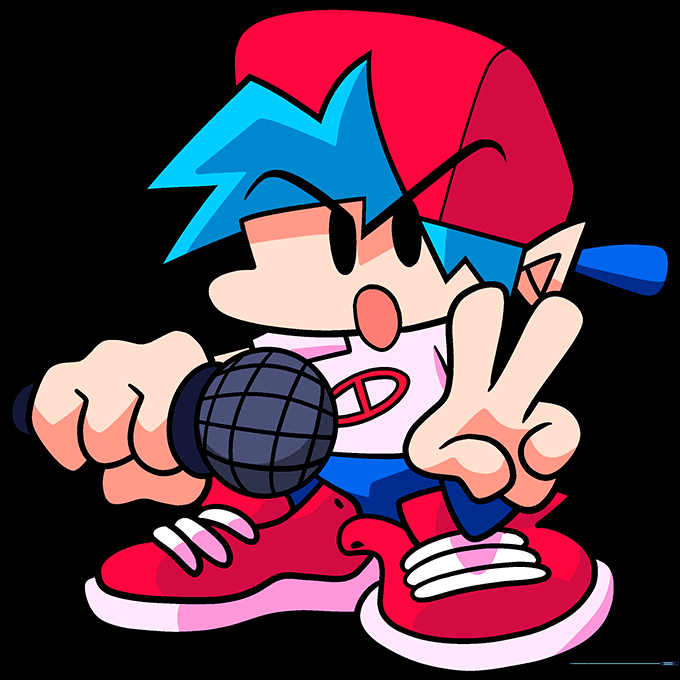
Time to color! Use bright blue for his hair, and bold red for his hat and shoes to match his classic look. Teacher's Tip: Use light, circular motions with your colored pencils for a smooth, even finish.
More Tutorials


