How to Draw a Flying Dragon: Simple 10-Step Guide
Ready to bring a mythical creature to life? This tutorial is perfect for young artists ages 5 and up. You will only need a pencil, an eraser, and a piece of paper to master this whimsical flying dragon, helping you practice smooth, flowing lines and basic character construction.
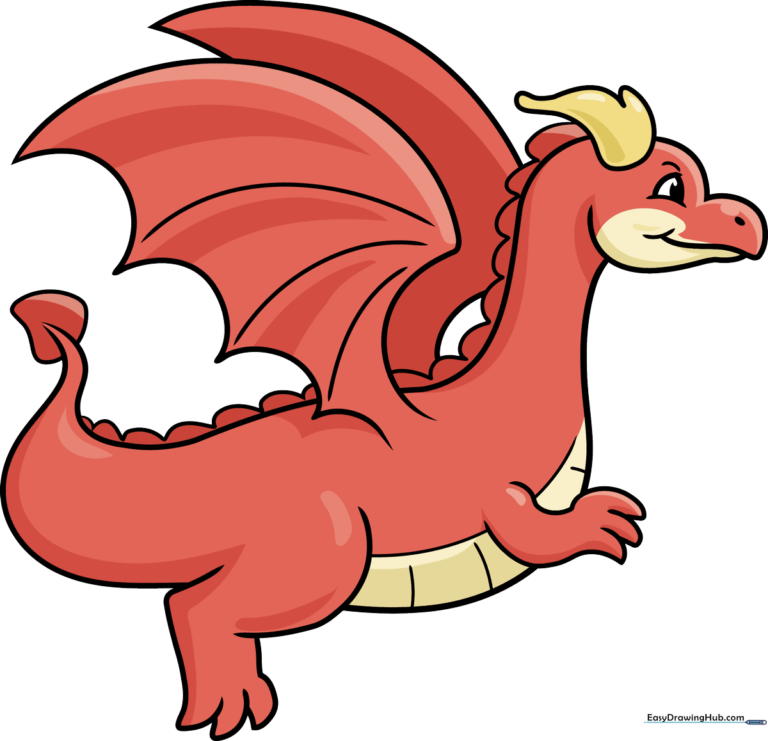
🎯 Final Result
Step-by-Step Instructions
Step 1: Sketching the Head and Eye

Start by drawing a soft 'M' shape for the top of the head. Add an uneven line below for the snout and a curved line for the eye. Teacher's Tip: Keep your pencil pressure light here so you can easily refine the shape later if needed.
Step 2: Defining the Jaw and Crest
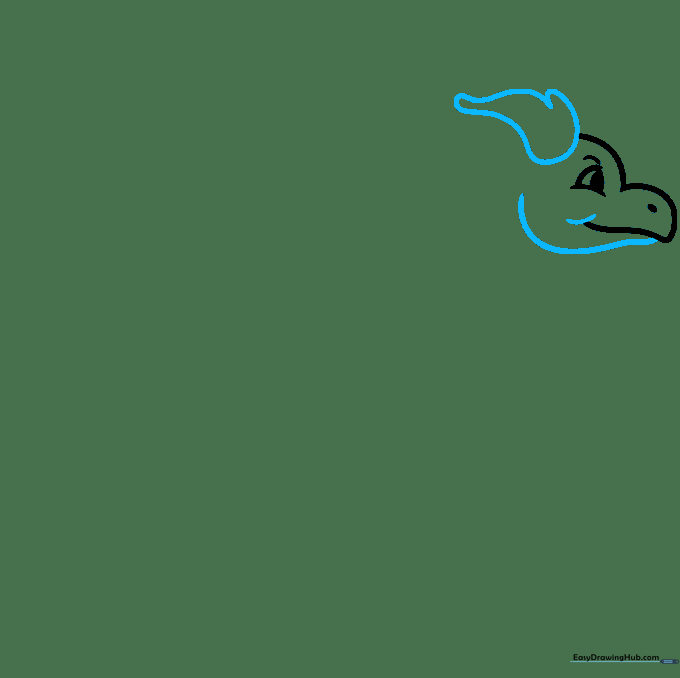
Draw a gentle curve under the mouth to form the jaw. Add loopy, flame-like curves on top of the head for a fun crest. Teacher's Tip: Don't worry about making the loops perfect; dragons look great with a little bit of 'wild' texture!
Step 3: Creating the Body Curve
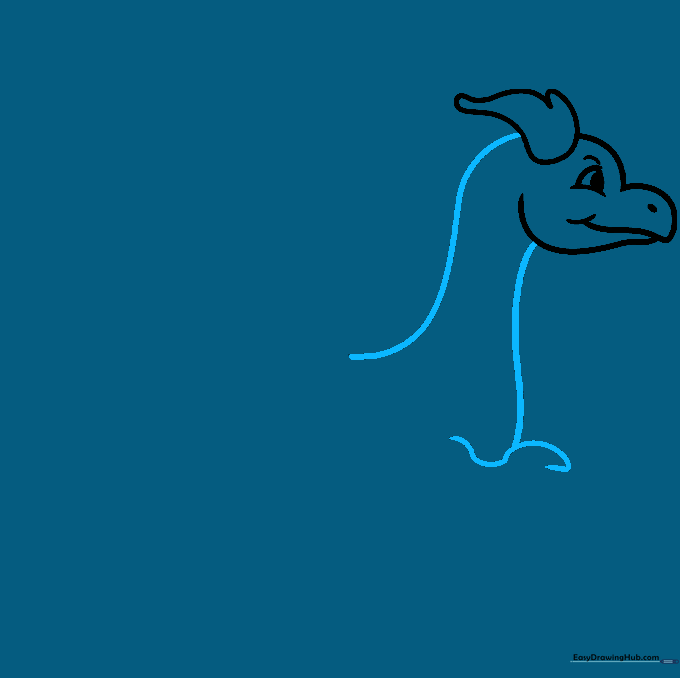
Sketch a long 'S' shape on the left to start the neck and body, then add a vertical curve on the right. Teacher's Tip: Use a fluid motion with your wrist to get that nice, organic 'S' curve.
Step 4: Adding the Arm and Fingers
Draw a parallel line to complete the arm, then add small loops for the fingers. Connect the legs with a gentle curve. Teacher's Tip: Keep the fingers small and rounded to make the dragon look friendly rather than scary.
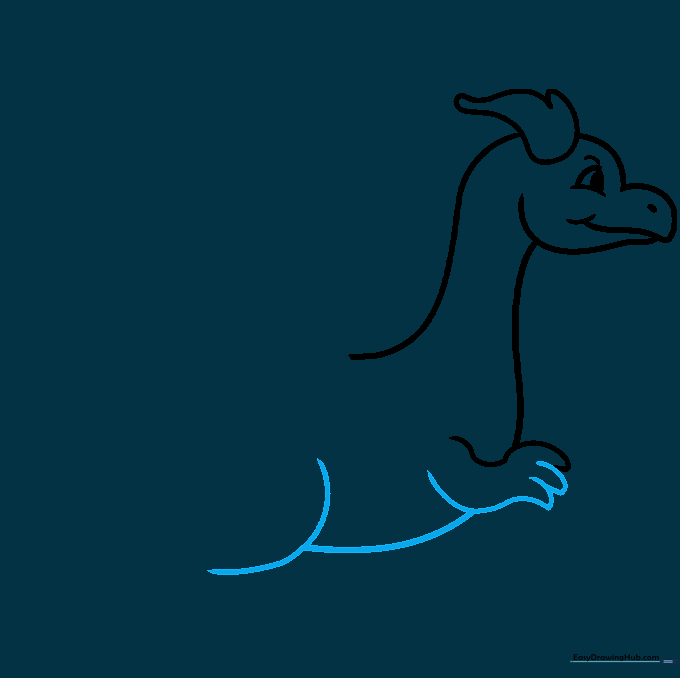
Step 5: Drawing the Feet
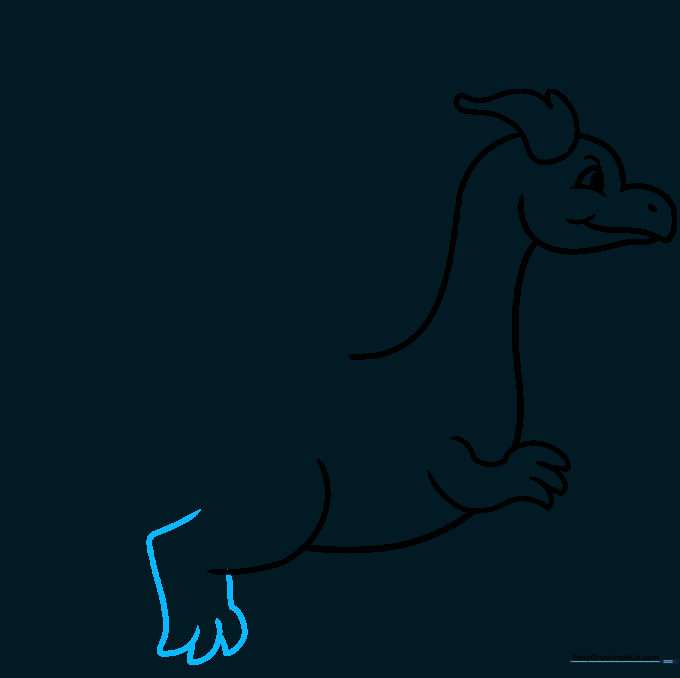
Create an upside-down 'L' shape for the feet, adding three rounded triangles for claws. Connect the foot to the body. Teacher's Tip: Ensure the foot is firmly connected to the body line so your dragon looks sturdy.
Step 6: Sketching the Wing

Draw a wide, umbrella-like curve for the wing. Add four semi-circles at the edge to create the scalloped wing shape. Teacher's Tip: Imagine the wing is a giant leaf; keep the curve smooth and broad.
Step 7: Adding Wing Detail and Tail
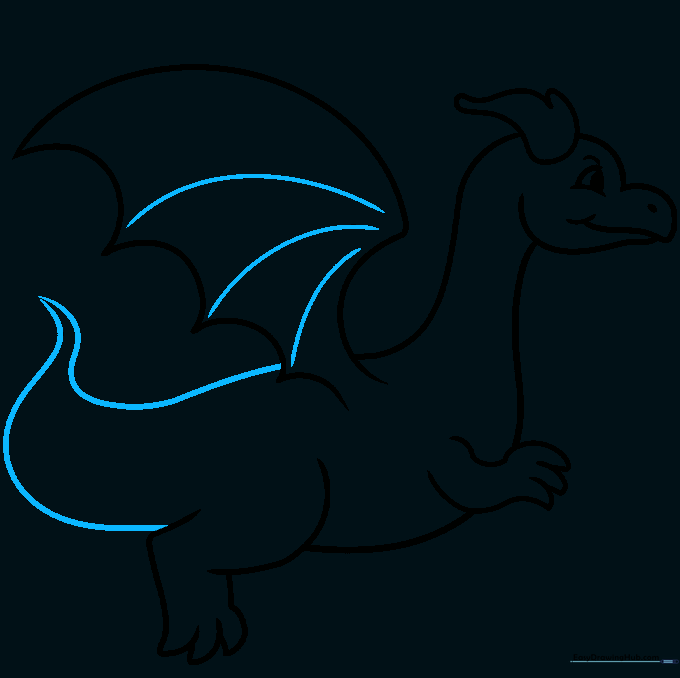
Add lines inside the wing for structure. Sketch a long, tapering curve for the tail. Teacher's Tip: Tapering the tail to a sharp point helps give the dragon a sense of motion.
Step 8: Adding Scales and Tail Tip
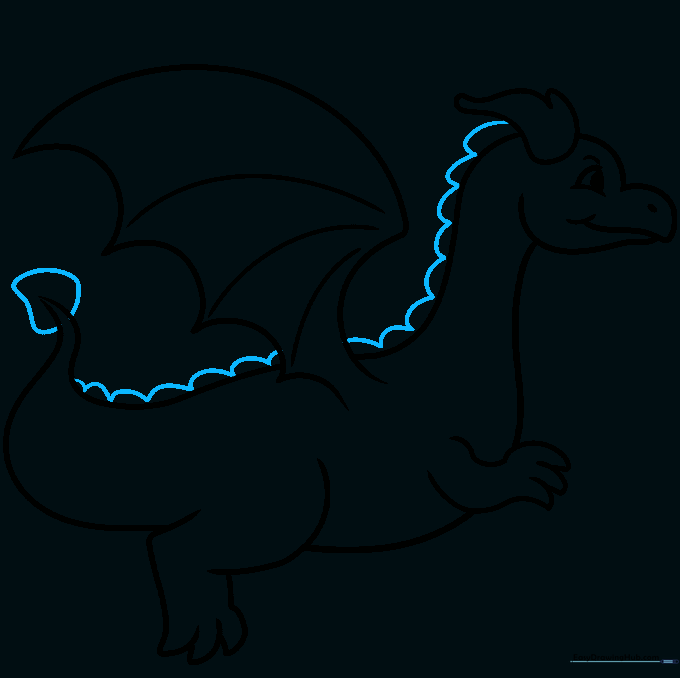
Add a triangle to the end of the tail and small, hill-like wavy lines along the body for scales. Teacher's Tip: Don't overdo the scales; a few well-placed ones are enough to suggest texture.
Step 9: Finalizing the Outline
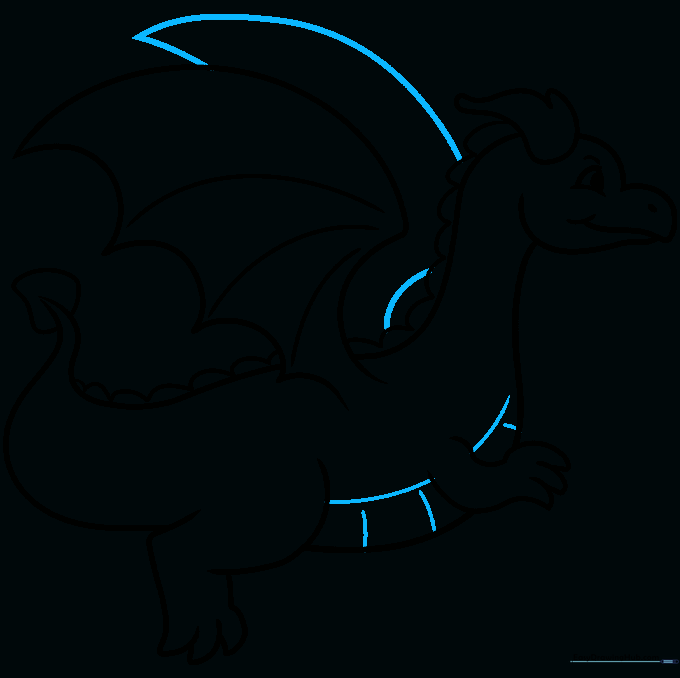
Draw a second wing behind the body to show depth. Add small dashes on the stomach for detail. Teacher's Tip: The second wing should be slightly smaller to create the illusion of perspective.
Step 10: Coloring Your Dragon
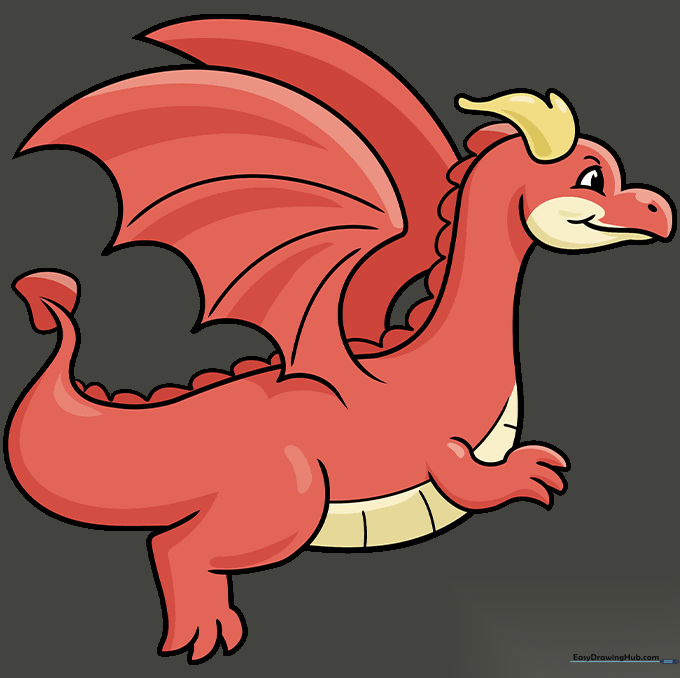
Outline your final sketch with a black pen and erase any stray pencil marks. Color the body in vibrant reds and the belly/ears in yellow. Teacher's Tip: Use a darker red for the shaded areas under the wings to give your dragon a 3D look!
More Tutorials


