How to Draw a Fish: Easy 9-Step Guide for Kids
Perfect for ages 5 and up, this simple fish drawing tutorial helps children master basic shapes while building fine motor control. All you need is a pencil, an eraser, and a piece of paper to bring your underwater friend to life. Follow along to create a charming, cartoon-style fish in just a few minutes.
🎯 Final Result

Step-by-Step Instructions
Step 1: Sketching the Body Outline
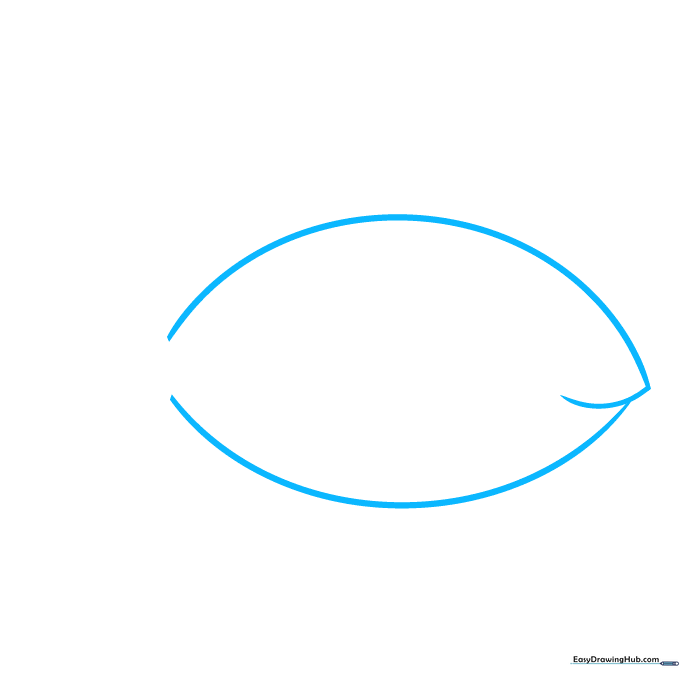
Draw two long, curved lines that taper at both ends. Leave a small gap at the back for the tail, and overlap the lines at the front to create a cute, smiling mouth. Tip: Keep your pencil pressure light so you can easily refine the shape later.
Step 2: Forming the Tail
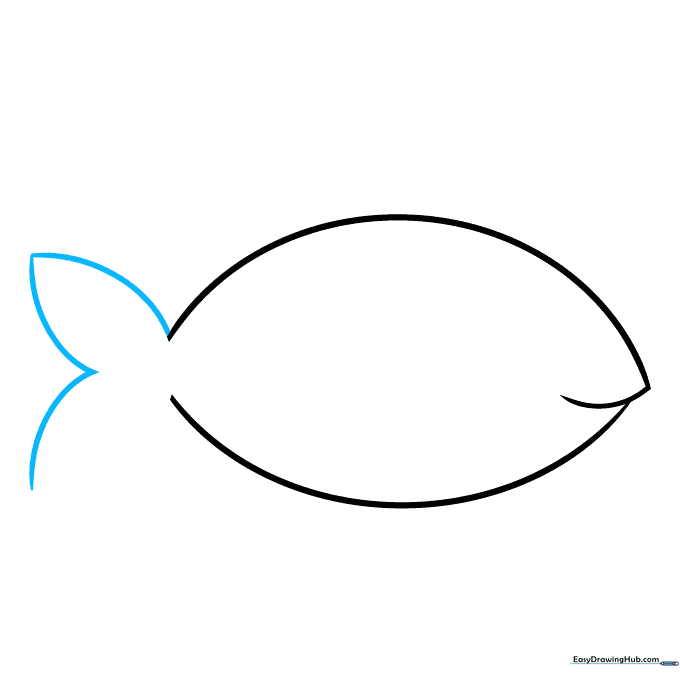
Add the tail by drawing two curved lines that meet at a sharp point on either side of the body gap. Tip: Imagine you are drawing two small triangles with soft, rounded edges.
Step 3: Adding the Eye
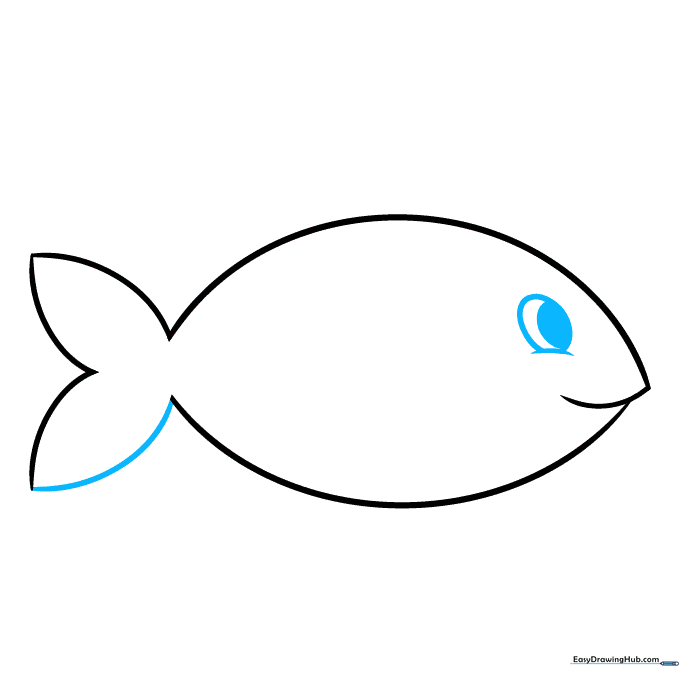
Draw a curved line above the mouth area, then add a partial oval on top to create the eye. Shade a smaller circle inside for the pupil. Tip: Placing the eye higher up gives the fish a curious, friendly expression.
Step 4: The Dorsal Fin
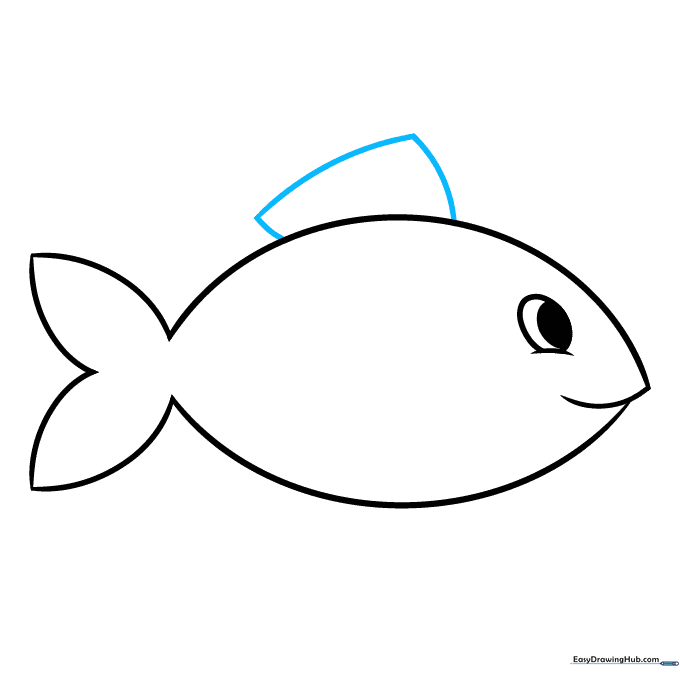
Draw the dorsal fin on the top of the back using three connected lines that form a squared-off shape. Tip: Keep the lines firm to make the fin look sturdy.
Step 5: Defining the Head and Belly Fin
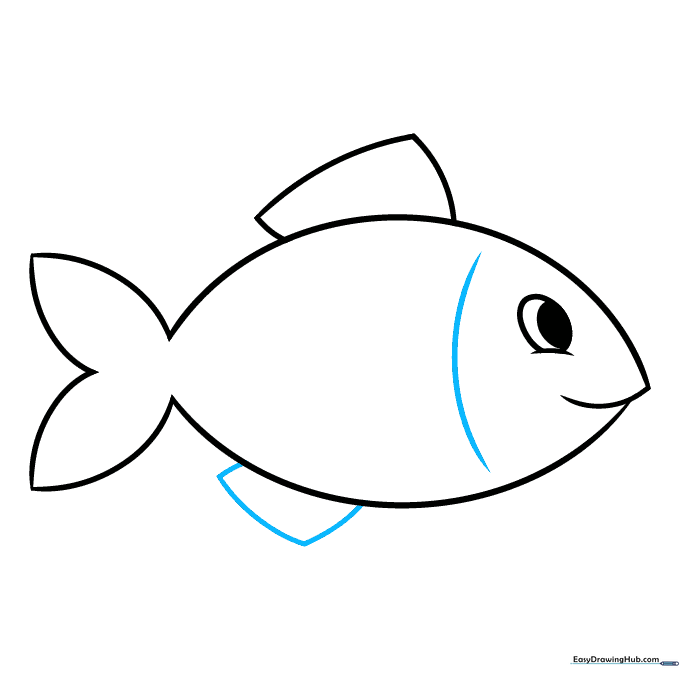
Draw a curved line behind the head to separate it from the body, then add the anal fin on the belly using three short, connected lines. Tip: This line helps define the fish's anatomy and makes it look more professional.
Step 6: Adding the Pectoral Fin
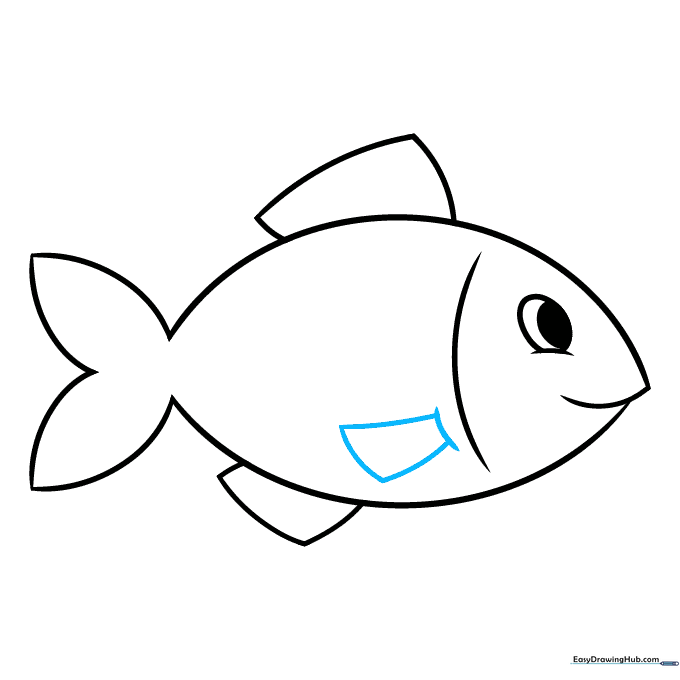
Draw the pectoral fin on the side of the body. Start with a curved base line, then add three more lines to create a trapezoid shape. Tip: This fin should look like it's waving hello!
Step 7: Adding Texture to Fins
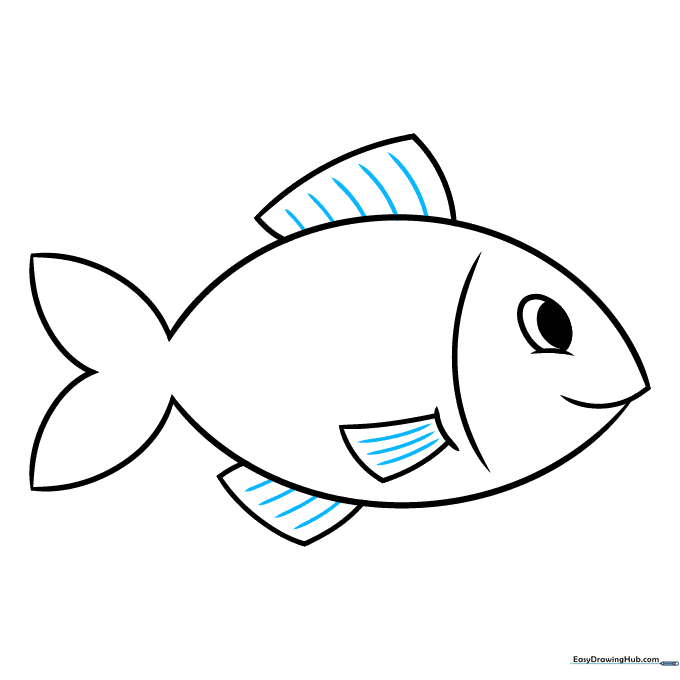
Add detail to your fins by drawing small, curved lines inside each one. Tip: These lines represent the delicate rays of the fin—keep them spaced evenly.
Step 8: Adding Scales

Texture the tail with more curved lines, then start adding 'C' shaped lines across the body to represent scales. Tip: Vary the size of the 'C's slightly to make the fish look more natural.
Step 9: Final Details
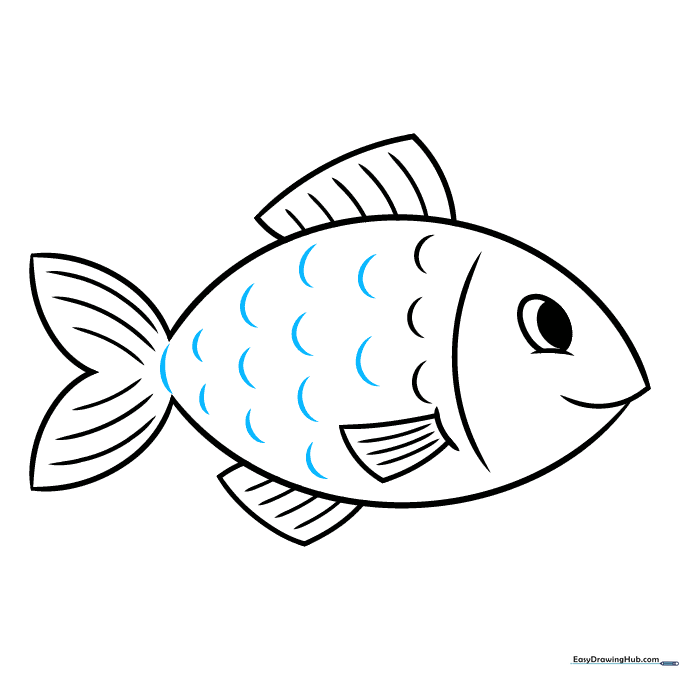
Fill in the rest of the body with 'C' shaped scales and add a final curved line at the base of the tail. Tip: Take your time—the more scales you add, the more detailed your fish will look!
Step 10: Color Your Masterpiece

Your fish is ready for color! Use bright greens, blues, or oranges to make it pop. Tip: Try using a darker shade of your main color to outline the scales for extra depth.
More Tutorials


