How to Draw a Fish Bowl: Easy 9-Step Guide for Kids
Looking for a fun, creative activity? This fish bowl tutorial is perfect for young artists ages 5 and up. All you need is a pencil, an eraser, and some paper to bring this underwater scene to life. Follow along to build confidence and develop your drawing skills one line at a time.
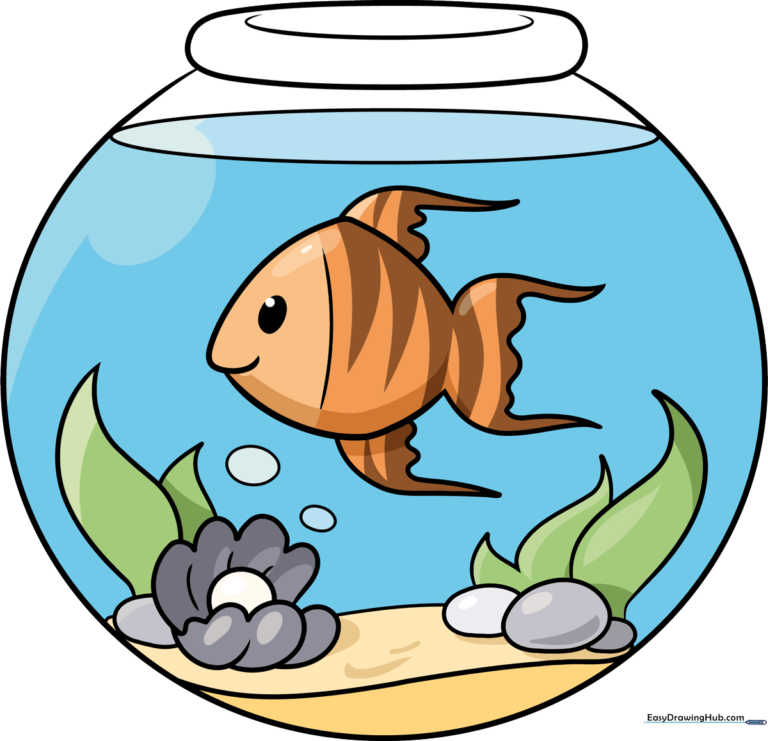
🎯 Final Result
Step-by-Step Instructions
Step 1: Sketching the Bowl Outline
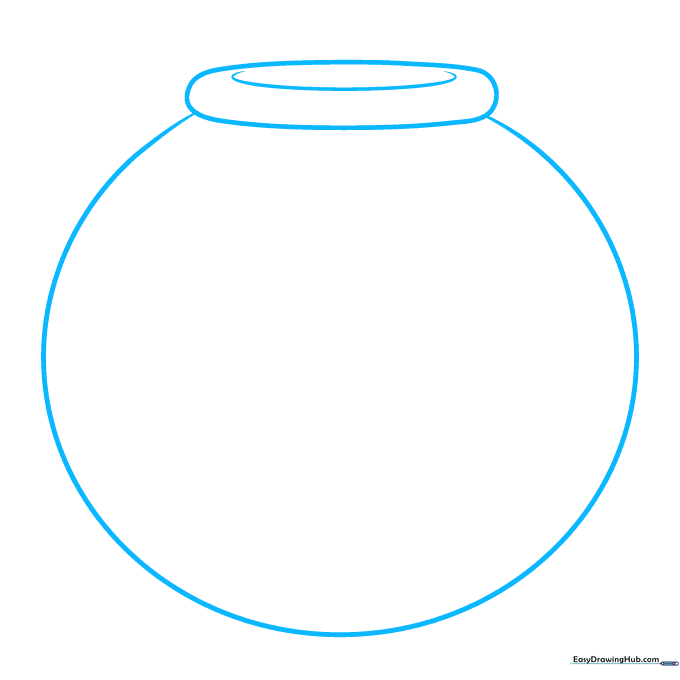
Draw a large, rounded shape for the bowl, but leave a gap at the top. Add a small oval with a 'C' shape inside to create the opening. Teacher's Tip: Use a light touch; this is just the frame for your fishy friend!
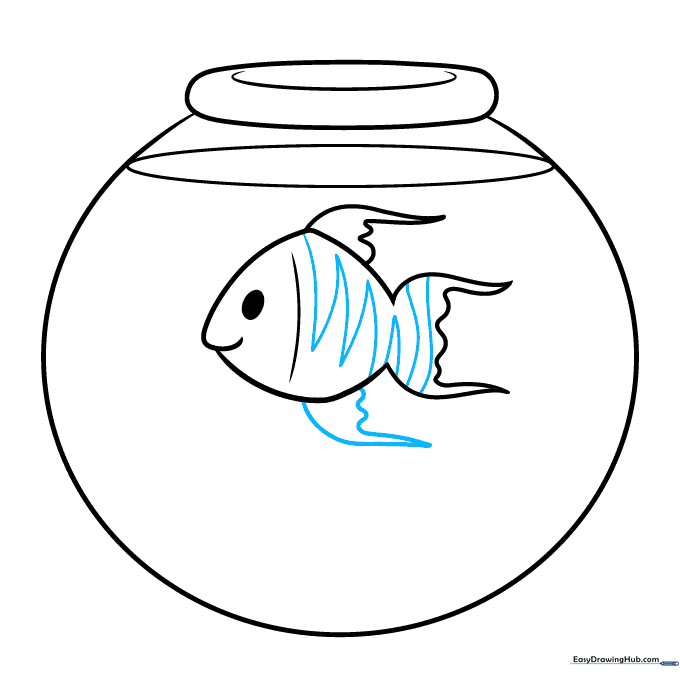
Step 2: Adding the Waterline and Fish Body
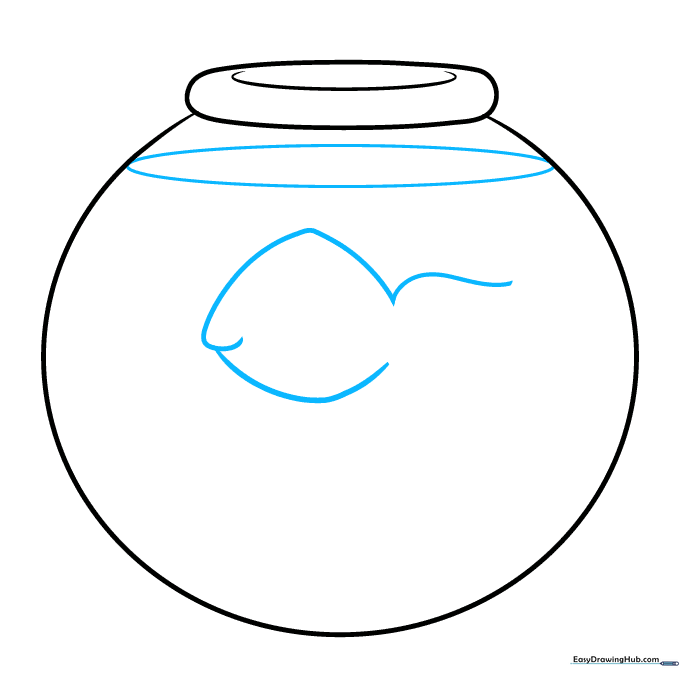
Draw a narrow oval near the top to show the water level. Then, sketch the fish's body using overlapping curved lines that meet at the tail. Teacher's Tip: Keep the fish's body rounded to make him look friendly and cheerful.
Step 3: Defining the Fish Features
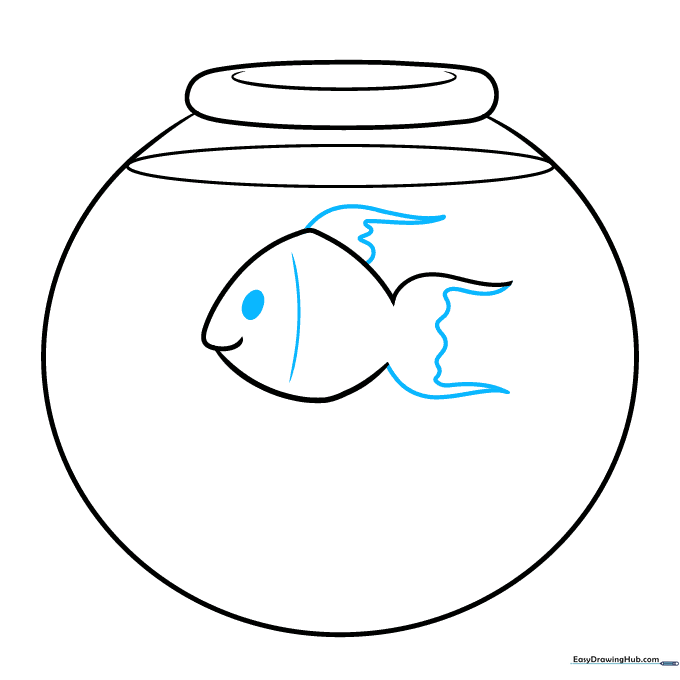
Complete the tail and dorsal fin with sharp, pointed curves. Draw a vertical line to separate the head from the body and add an oval eye. Teacher's Tip: A simple dot inside the eye makes your fish look like he's looking around his bowl!
Step 4: Adding Details and Fins
Add zigzag stripes to the fish's body and a pectoral fin underneath. Teacher's Tip: Don't worry about making the stripes perfect; nature is full of irregular patterns!
Step 5: Creating the Sandy Floor
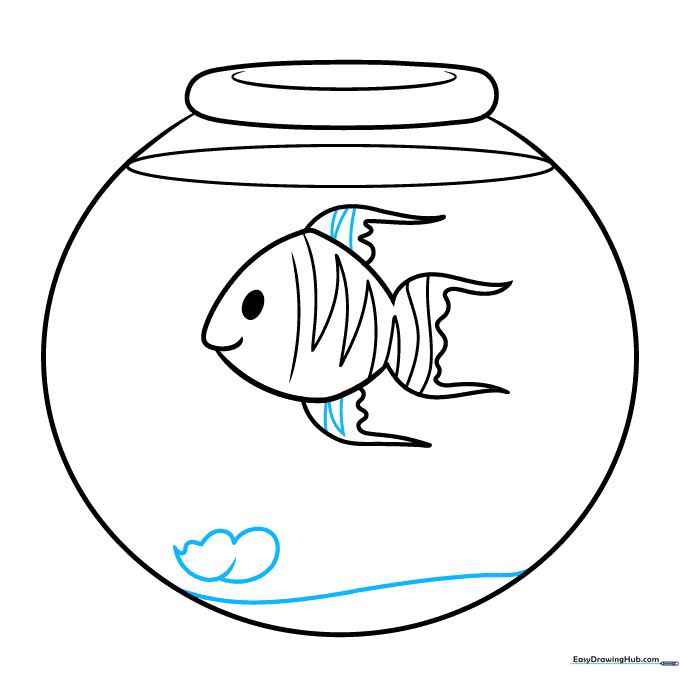
Draw a curved line at the bottom of the bowl to create a sandy floor, and add the base of a clam shell. Teacher's Tip: Use a gentle, sweeping motion for the sand line to make it look natural.
Step 6: Drawing the Pearl
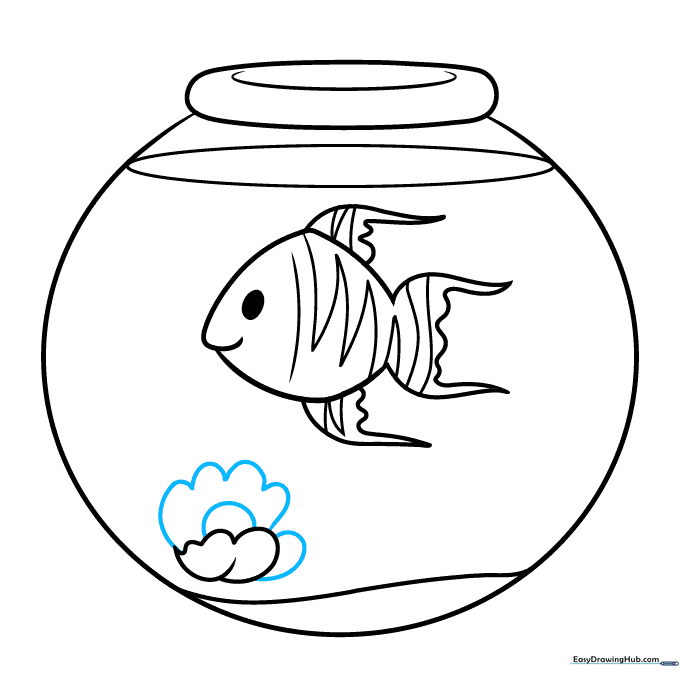
Finish the clam shell and add a small circle inside for a pearl. Teacher's Tip: Leave a tiny white spot uncolored on the pearl to make it look shiny!
Step 7: Adding Pebbles
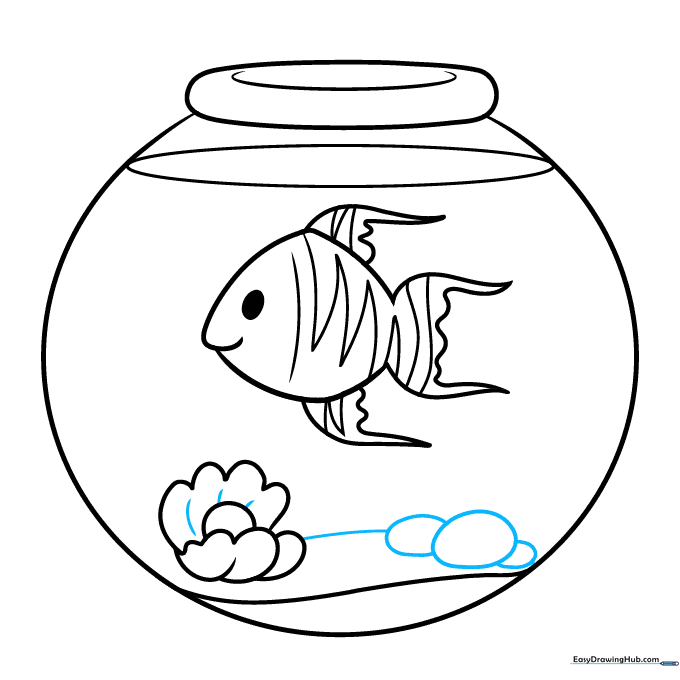
Add texture to the shell and draw some round stones on the sand. Teacher's Tip: Vary the sizes of your stones to make the aquarium floor look realistic.
Step 8: Adding Seaweed
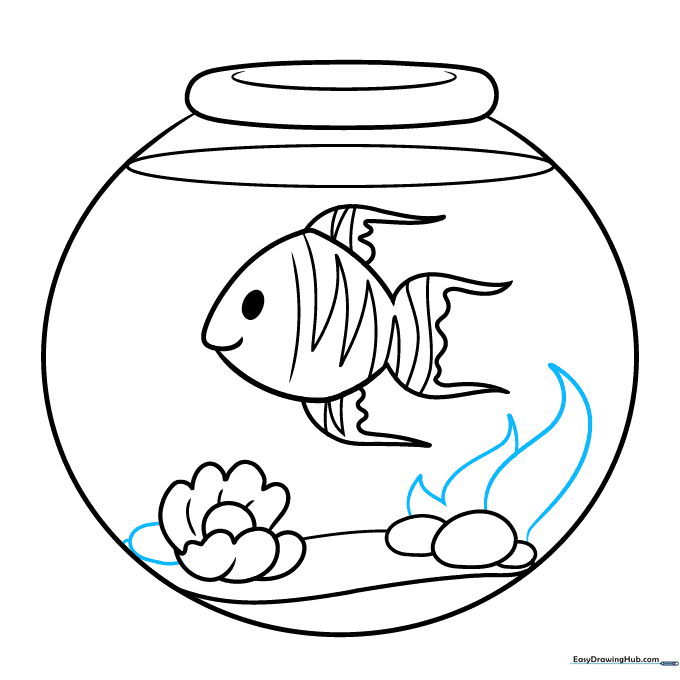
Add more stones and draw long, pointed seaweed leaves behind the clam. Teacher's Tip: Make the seaweed leaves wavy so they look like they are floating in water.
Step 9: Final Touches
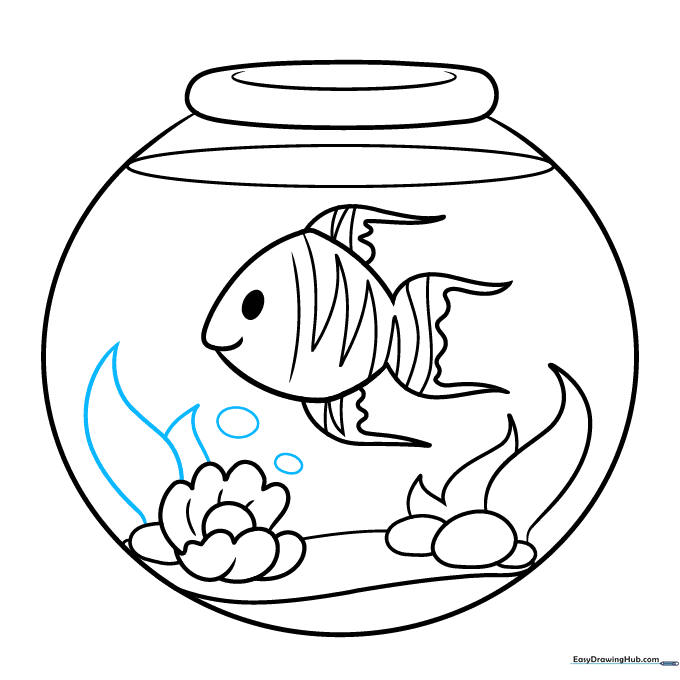
Add a few bubbles floating up from the clam to finish your drawing. Teacher's Tip: Bubbles are just small circles; draw them in different sizes to add depth!
Step 10: Color Your Masterpiece
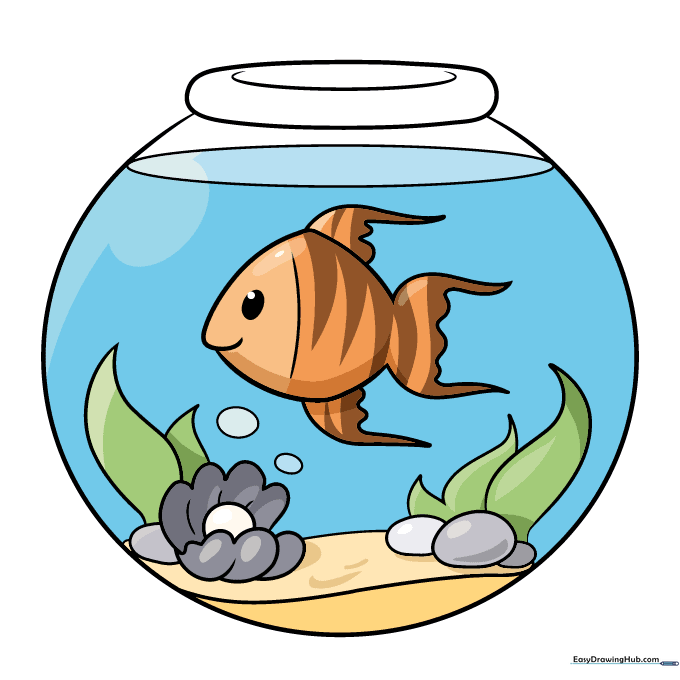
Bring your drawing to life with color! Use bright oranges for the fish and cool blues for the water. Teacher's Tip: Use a darker blue for the edges of the bowl to give it a glass-like shine.
More Tutorials


