How to Draw a Cute Dog Face: Easy 9-Step Guide
Ready to bring a friendly puppy to life? This tutorial is perfect for young artists ages 5 and up. All you need is a pencil, an eraser, and a piece of paper to practice these foundational shapes and build your confidence as an illustrator.
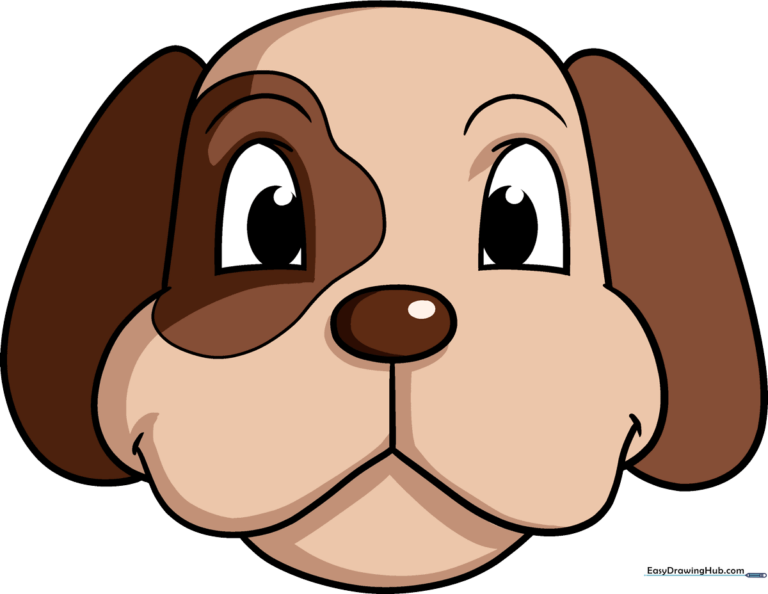
🎯 Final Result
Step-by-Step Instructions
Step 1: Sketching the Eyes

Draw two tall, rounded hill shapes for the eye sockets. Add a curve underneath each, then place an oval inside for the iris with a small circle left white to represent a light reflection. Tip: Keep these symmetrical to give your dog a balanced, friendly look.
Step 2: Adding Eyebrows

Draw a soft, gentle curve above each eye. Place a small oval in the center of the forehead area. Tip: These curves add personality—make them slightly angled if you want your dog to look curious!
Step 3: Creating the Nose

Draw a horizontal line for the top of the nose, then add a hook shape on either side to form the nostrils. Tip: Think of the nose as a rounded triangle; keep it centered between the eyes.
Step 4: Drawing the Muzzle

Draw a wide, soft curve underneath the nose to form the top of the mouth. Tip: This curve defines the puppy's snout, so make it nice and wide for a cute, cartoonish look.
Step 5: Defining the Cheeks
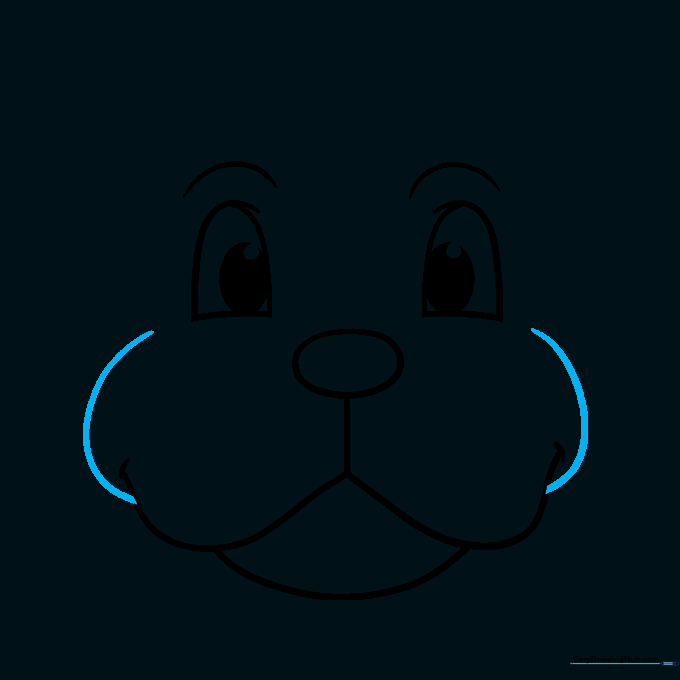
Sketch a soft curve on either side of the face to connect the muzzle to the head. Tip: These lines should look like parentheses, framing the face perfectly.
Step 6: Outlining the Head
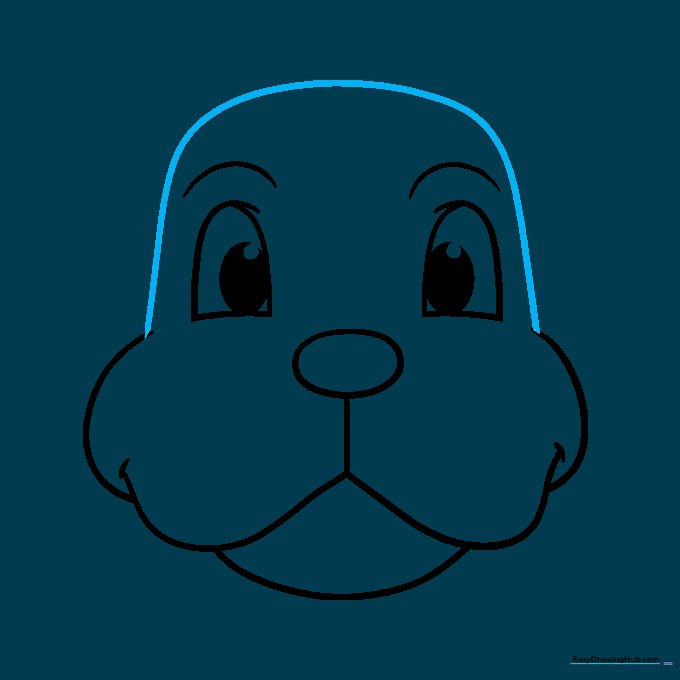
Draw a rectangle with rounded edges to form the top of the head. Tip: Don't press too hard; keep the corners smooth to make the dog look soft and cuddly.
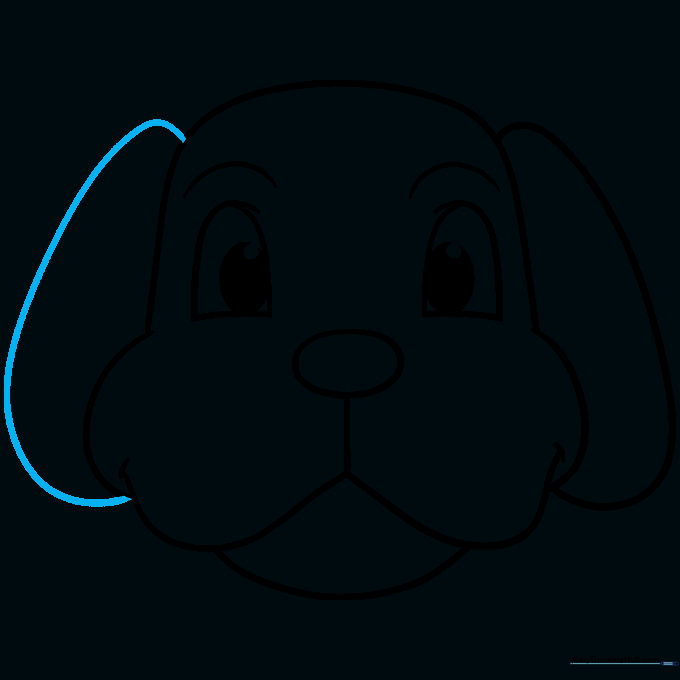
Step 7: Adding the First Ear
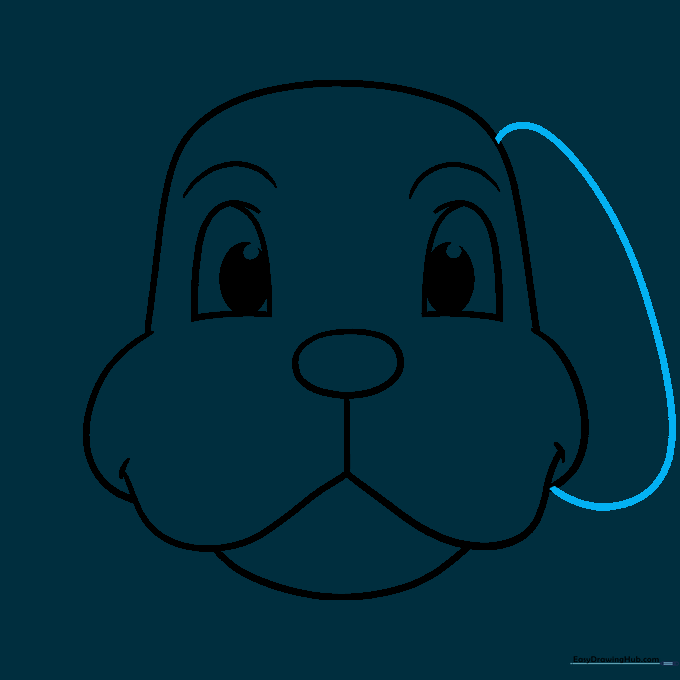
Outline an oval for the right ear, positioning it behind the head shape. Tip: Placing it slightly behind the head creates depth, making your drawing look 3D.
Step 8: Adding the Second Ear
Repeat the previous step on the left side to add the second ear. Tip: Try to match the size and angle of the first ear so your dog looks symmetrical.
Step 9: Final Details
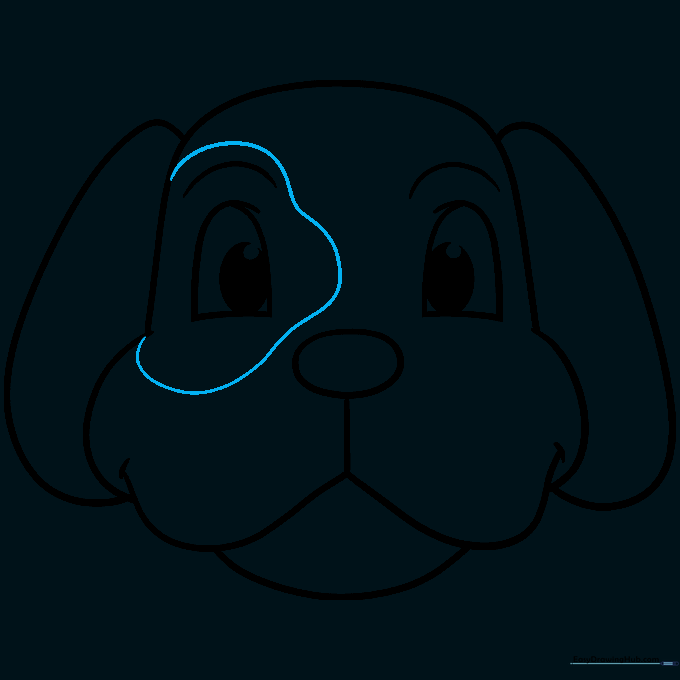
Use a wavy line to draw a patch around one eye. Once finished, go over your lines with a black marker. Tip: Use a thinner line for the patch to make it look like fur texture, and feel free to draw a dog biscuit nearby as a reward!
Step 10: Adding Color

Bring your dog to life with color! We recommend tan for the face and dark brown for the ears, nose, and patch. Tip: Leave the eye highlights white to make the eyes look bright and expressive.
More Tutorials


