How to Draw a Cute Dinosaur: Easy 10-Step Guide for Kids
Bring a prehistoric friend to life with this simple drawing lesson designed for ages 5 and up. All you need is a pencil, an eraser, and a piece of paper to start building your artistic confidence. Follow along to master basic shapes and create your very own colorful dinosaur character.
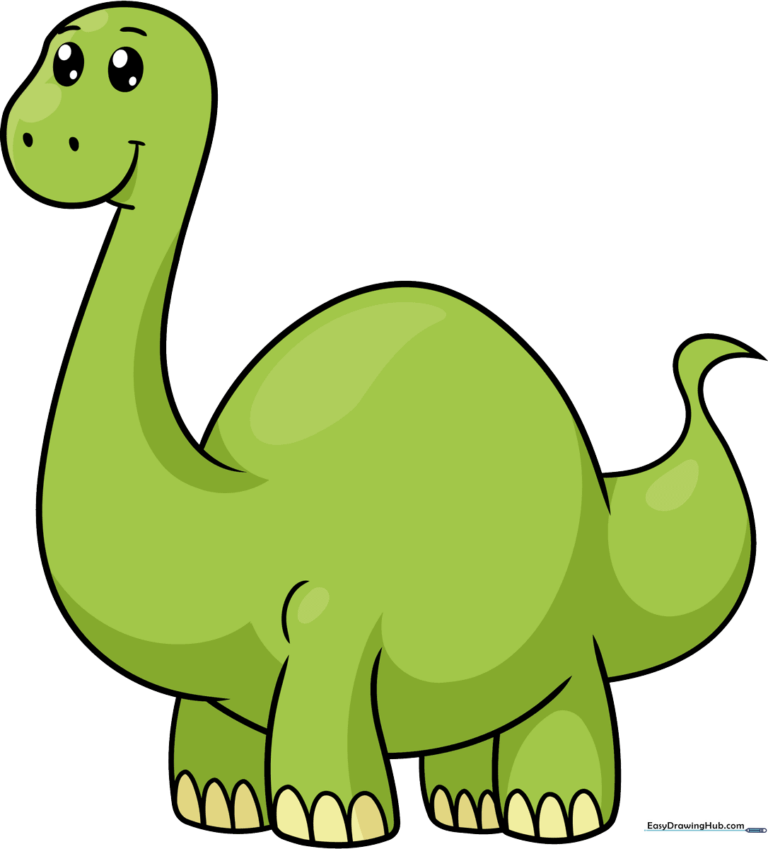
🎯 Final Result
Step-by-Step Instructions
Sketching the Head
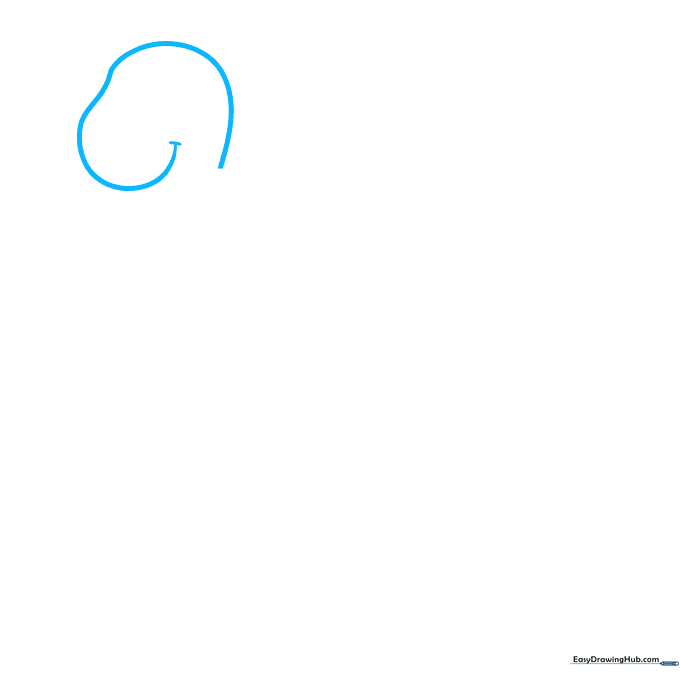
Start by drawing a curved line that spirals to form the head. Teacher's Tip: Keep the curve soft and rounded to make your dinosaur look friendly rather than scary.
Adding the Eyes
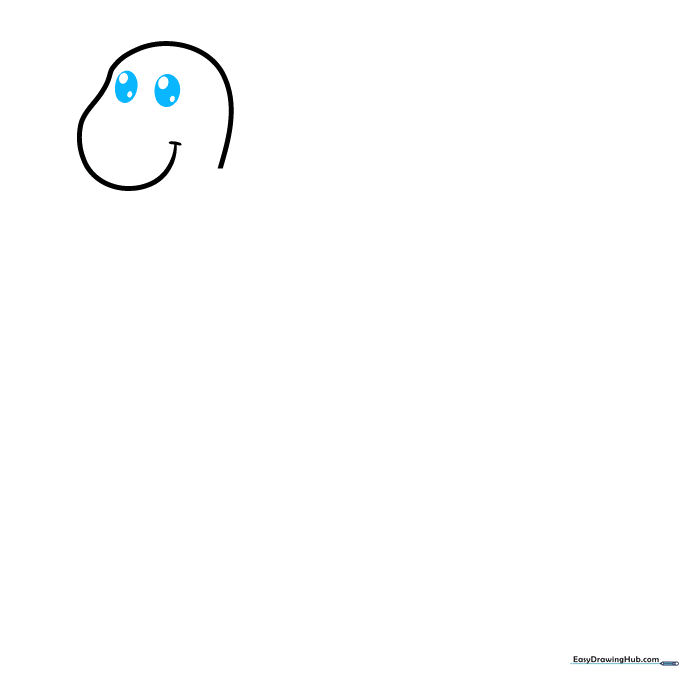
Draw two ovals for the eyes, then add smaller circles inside. Shade the larger ovals to give your dinosaur a bright, alert expression.
Defining the Face and Neck
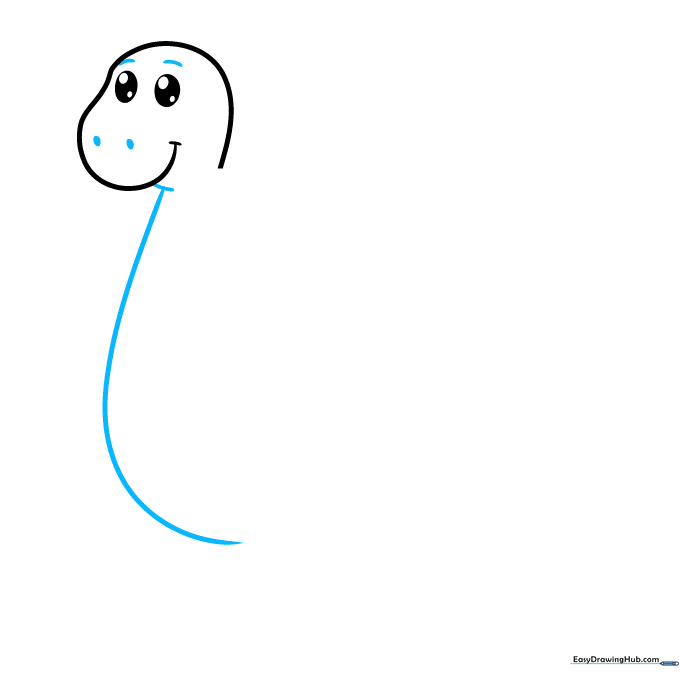
Add small lines for eyebrows and a nostril, then sketch the front of the neck. Tip: Use a smooth, continuous curve to connect the head to the body.
Forming the First Leg
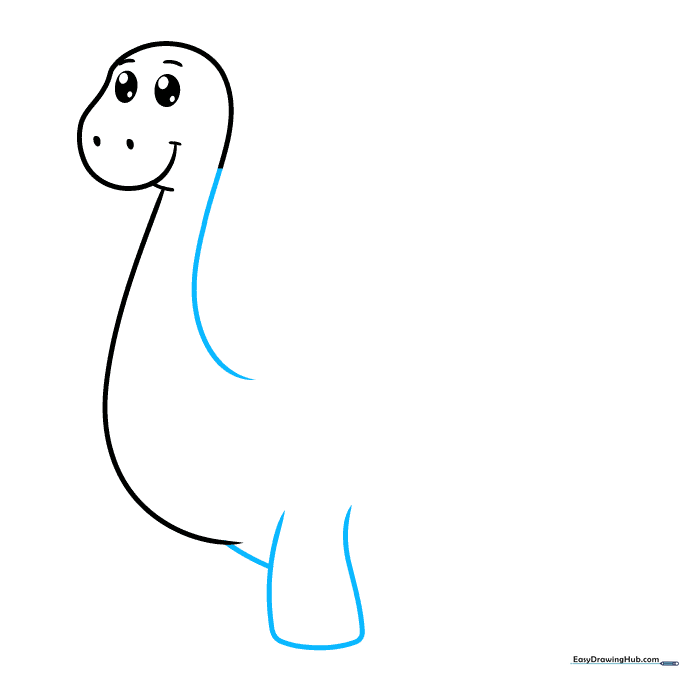
Extend the back of the neck and draw a partial rectangle to create the first leg. Tip: Keep the corners of the leg slightly rounded to match the cartoon style.
Sketching the Belly
Draw a curved line for the belly, then add a second leg overlapping the first. Tip: Overlapping lines create a sense of depth in your drawing.
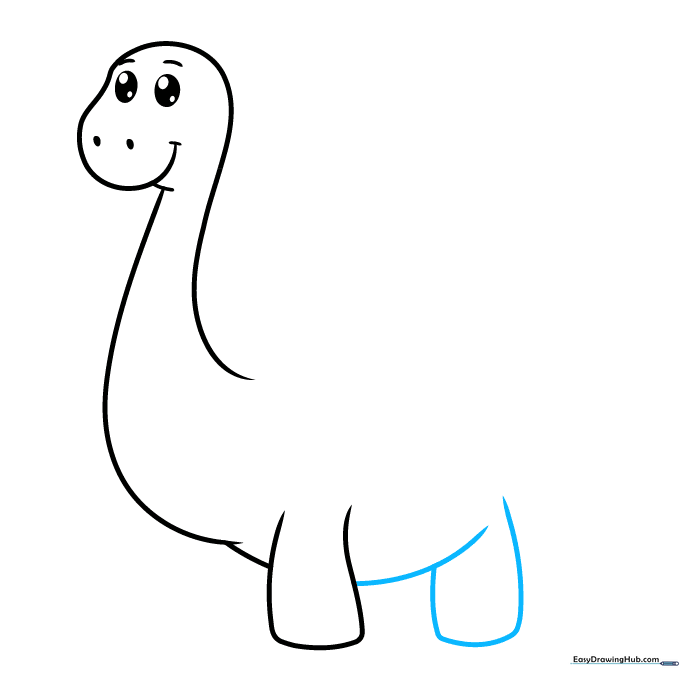
Adding Remaining Legs
Draw the back legs using similar rounded shapes. Ensure they are positioned slightly behind the front legs to show perspective.
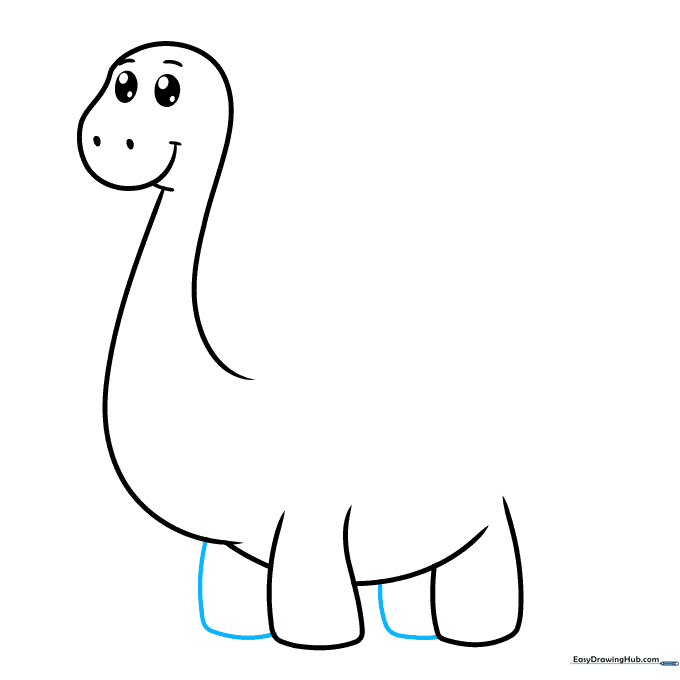
Drawing Toenails
Use small 'U' shaped lines to add toenails to the feet. Tip: Keep these small and consistent in size for a neat, finished look.
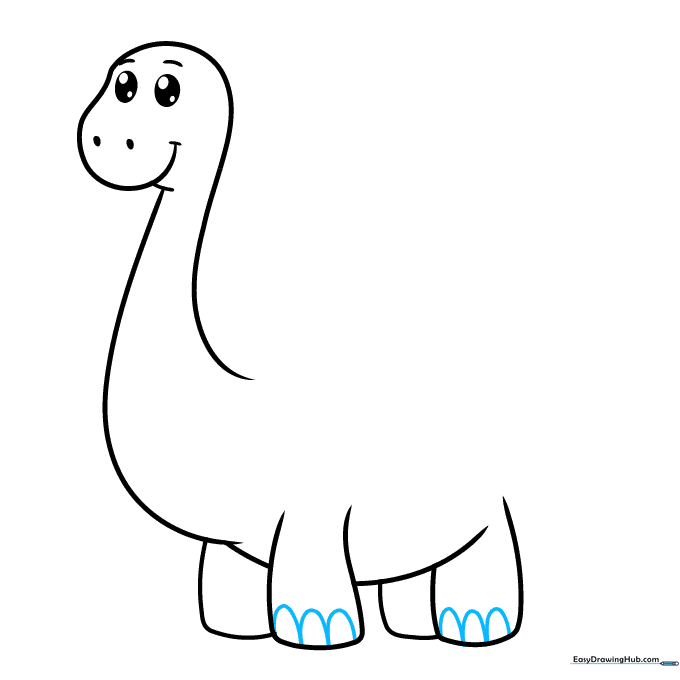
Defining the Back
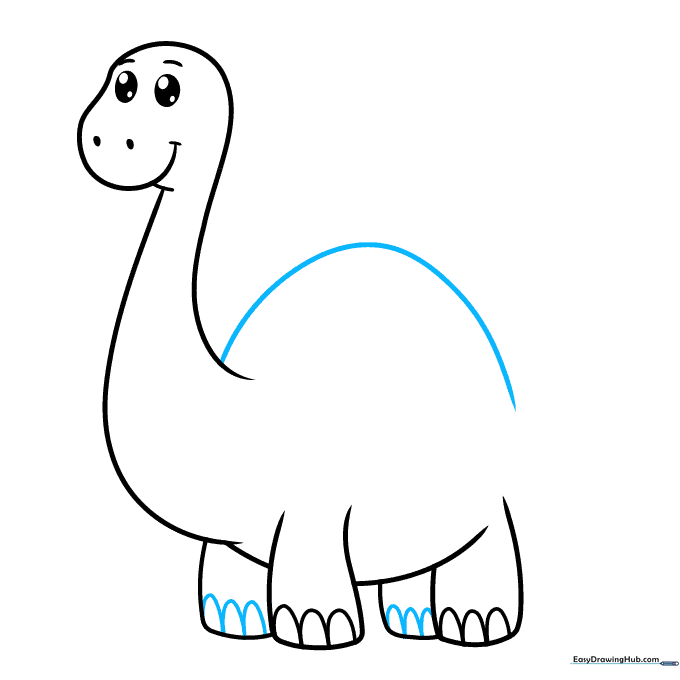
Complete the remaining toenails and draw a large 'U' shaped line from the neck to create the arched back. Tip: Make this line nice and bold.
Adding the Tail
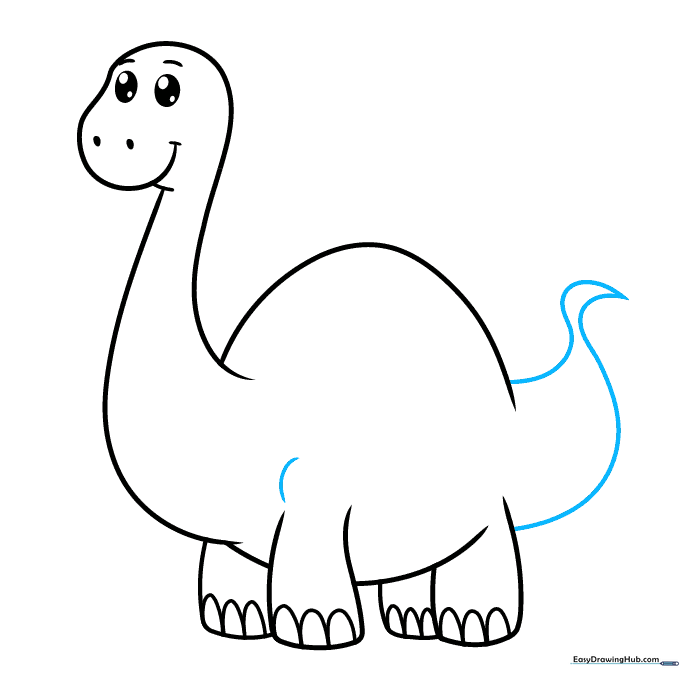
Extend two curved lines to meet at a sharp point for the tail. Add a small contour line near the shoulder to finish the body shape.
Coloring Your Dinosaur
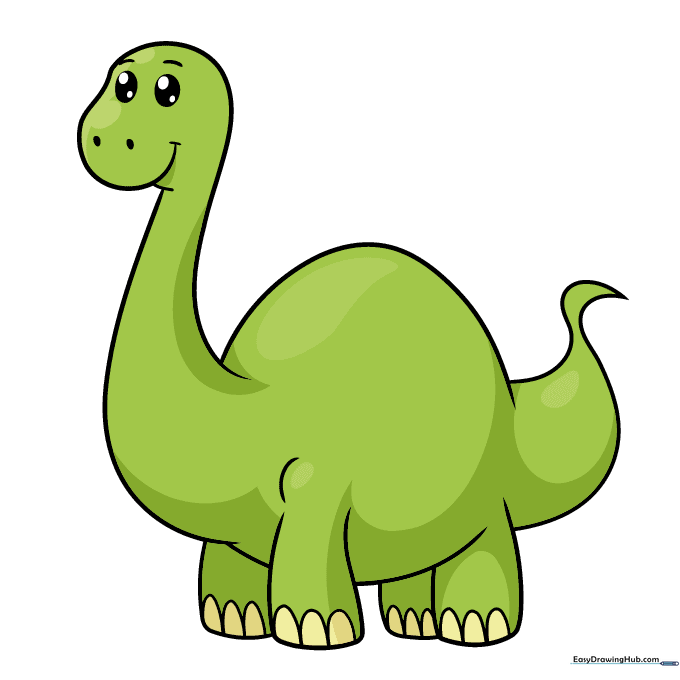
Your outline is finished! Now, bring your dinosaur to life with color. Whether you choose classic green or bright purple, make it your own.
More Tutorials


