How to Draw a Cute Unicorn: Easy 10-Step Guide
Bring a magical unicorn to life with this simple, kid-friendly drawing tutorial. Designed for ages 5 and up, this project requires only a pencil, paper, and an eraser to build confidence in basic shapes. Follow along to master the proportions of a whimsical unicorn while developing your artistic style.
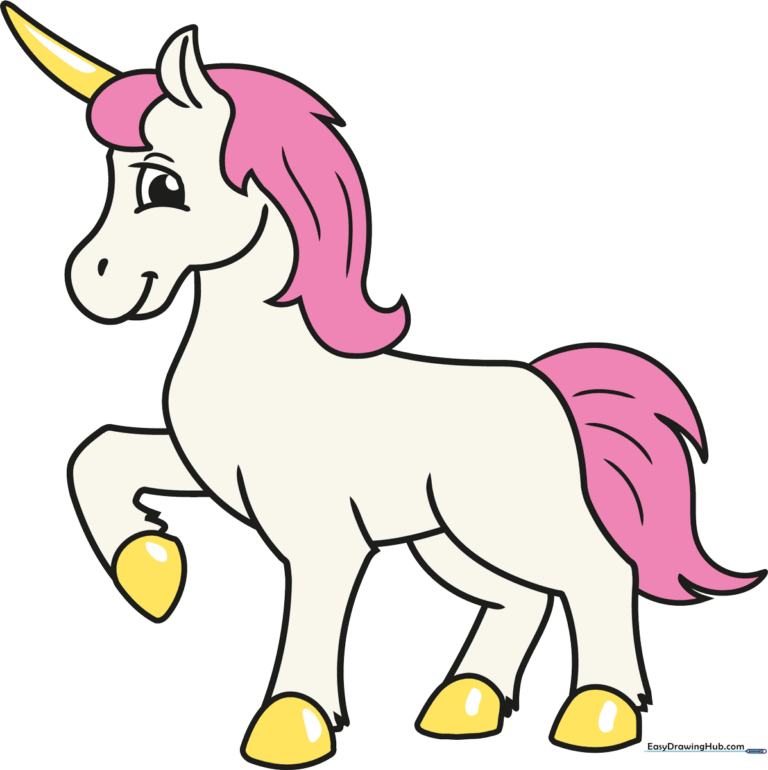
🎯 Final Result
Step-by-Step Instructions
Step 1: Sketching the Head and Ear
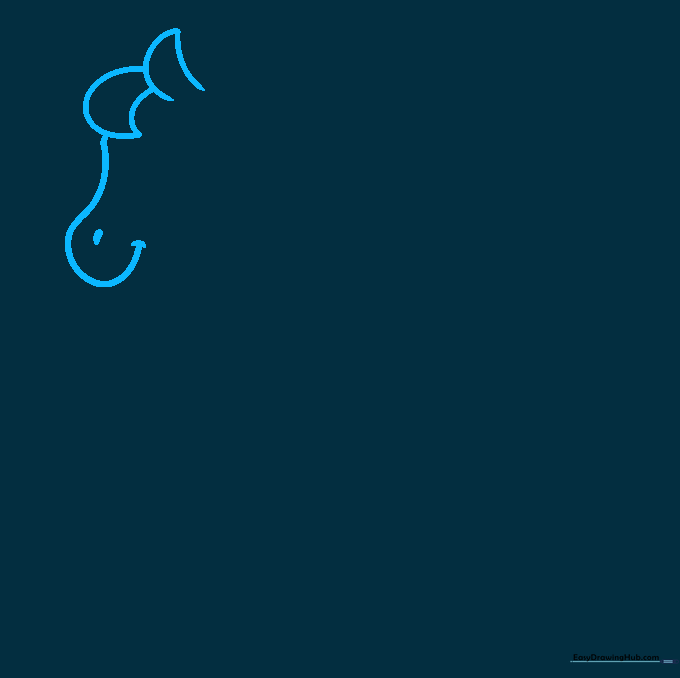
Start by drawing the unicorn’s head using two short curved lines that meet at a point for the ear. Add a small curve for the snout and a tiny dash for the nostril. Teacher's Tip: Keep your pencil pressure light here so you can easily refine the shape later.
Step 2: Defining the Neck

Add a small curve inside the ear for depth. Then, draw a long, sweeping line for the back of the neck and a shorter one for the chest. Teacher's Tip: Use a smooth, continuous motion to make the neck look elegant.
Step 3: Drawing the Front Legs
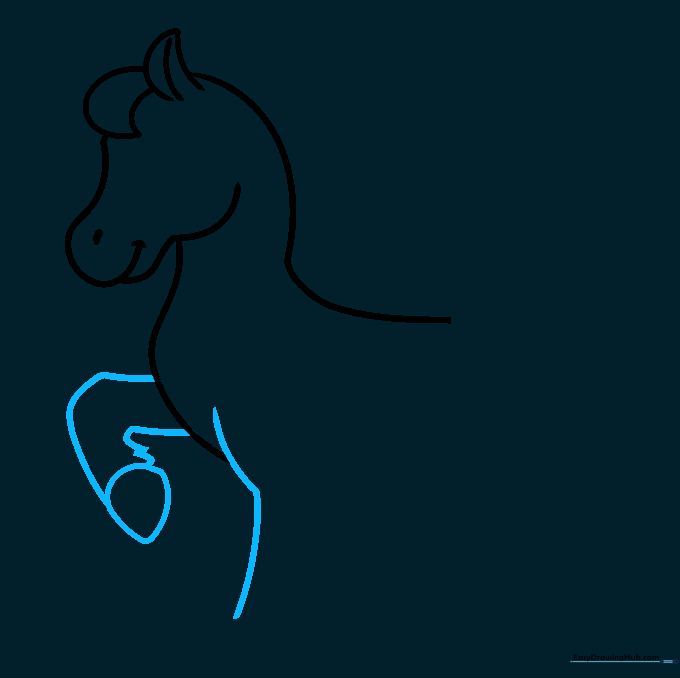
Outline the front legs using curved lines. Add small zigzag strokes at the bottom of the legs to represent fluffy fur, and a horizontal line to define the hoof. Teacher's Tip: The zigzag lines add a fun, tactile texture to your drawing.
Step 4: Adding the Belly and Rear Leg
Connect the chest to the back with a curved belly line. Begin the rear leg with a series of soft curves. Teacher's Tip: Think of the leg as a gentle 'S' shape to keep it looking natural.
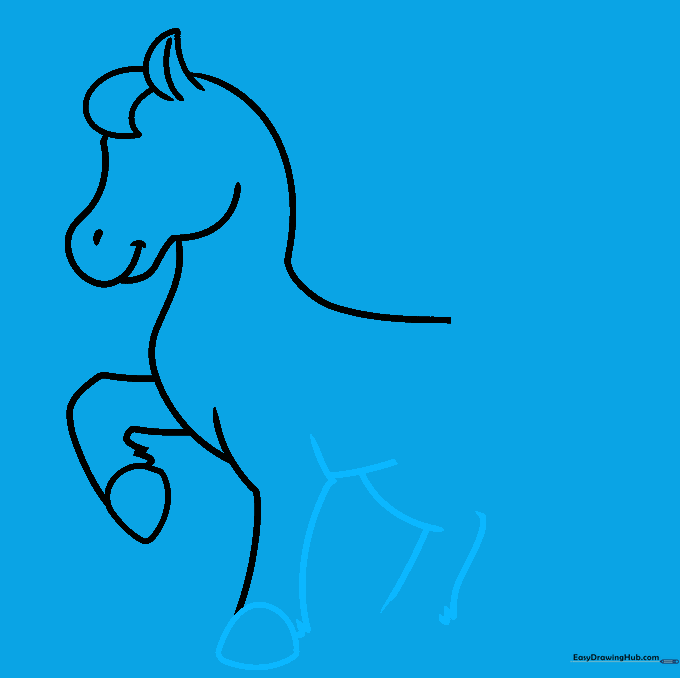
Step 5: Completing the Body
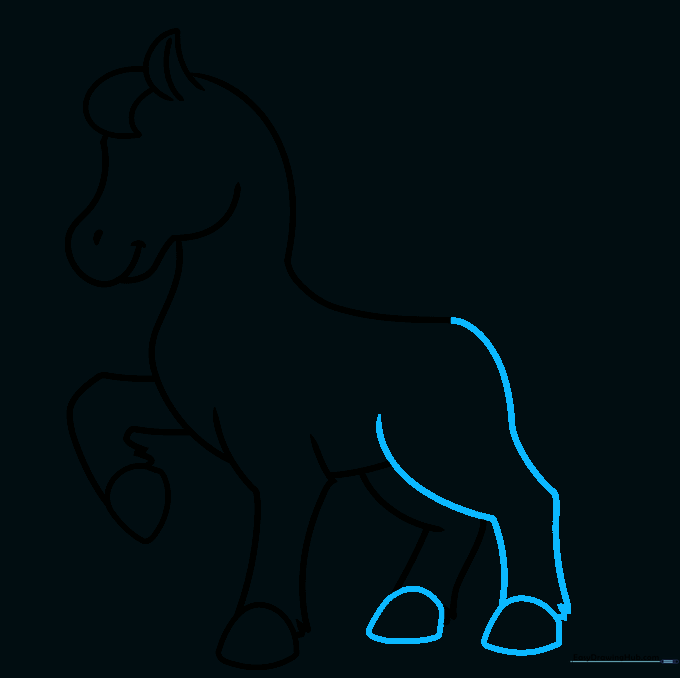
Trace the rump and finish the final rear leg. Close the hooves with irregular half-circles. Teacher's Tip: Don't worry if the hooves aren't perfect; a little variation makes the drawing look more organic.
Step 6: Drawing the Expressive Eye

Draw a large, friendly eye with a curved eyelid. Add two smaller circles inside for the pupil and shade the space between them. Teacher's Tip: Leave a tiny white dot uncolored in the pupil to create a 'sparkle' effect, making the unicorn look alive!
Step 7: Creating the Flowing Mane
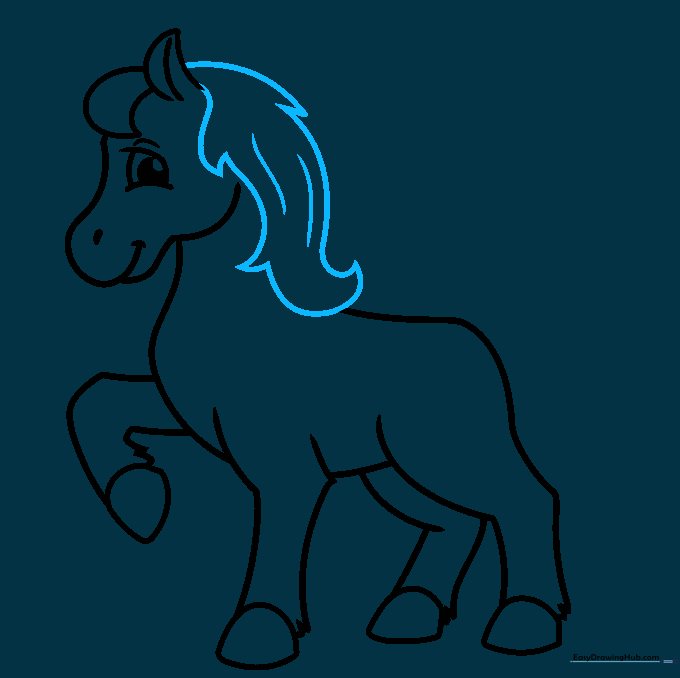
Sketch the mane using varied, jagged curved lines. Erase any overlapping body lines to make it look like the hair is sitting on top. Teacher's Tip: Vary the length of your lines to give the mane a sense of movement.
Step 8: Adding the Tail
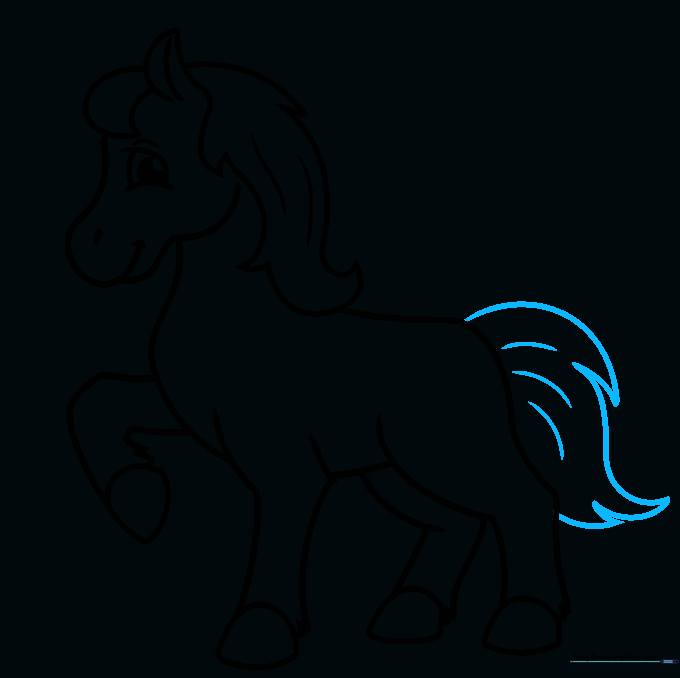
Draw a long, flowing tail using curved lines similar to the mane. Add a few extra lines inside to show texture. Teacher's Tip: Imagine the wind is blowing the tail to help you decide where to place your curves.
Step 9: The Magical Horn
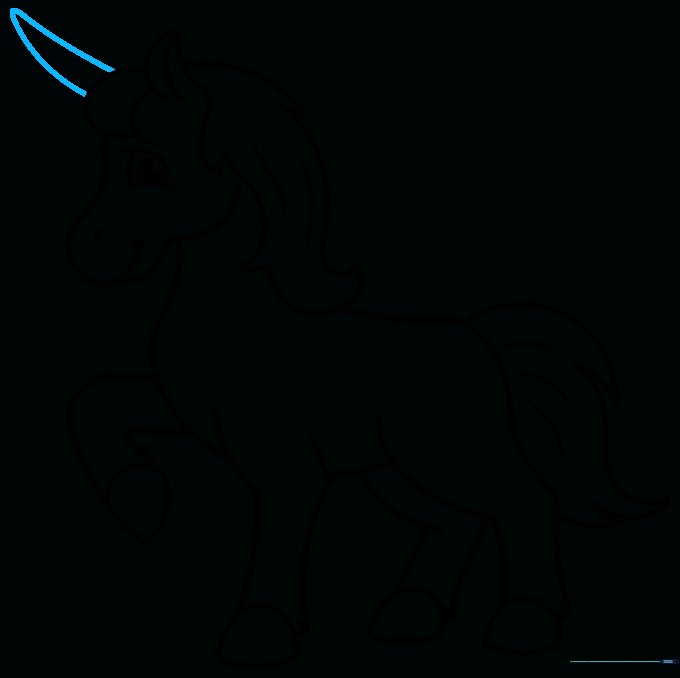
Draw the iconic horn by extending a curved line from the forehead and looping it back. Add small diagonal lines inside for texture. Teacher's Tip: This is the most important part—make it sharp and proud!
Step 10: Bringing It to Life with Color
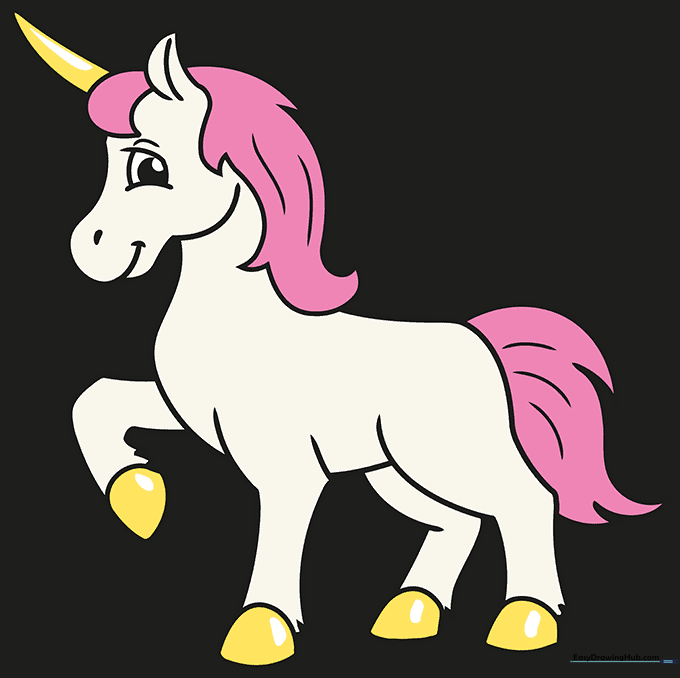
Time to color! Use bright, magical colors for the mane and tail. Don't be afraid to use rainbow gradients. Teacher's Tip: Use light, circular strokes with your colored pencils to get a smooth, even finish.
More Tutorials


