How to Draw a City in Two-Point Perspective: Easy Step-by-Step
Ready to bring your city skyline to life? This tutorial is designed for young artists (ages 8+) to master the fundamentals of two-point perspective. All you need is a pencil, an eraser, and a ruler to create a 3D cityscape that pops off the page.
🎯 Final Result

Step-by-Step Instructions
Step 1: Setting the Horizon Line
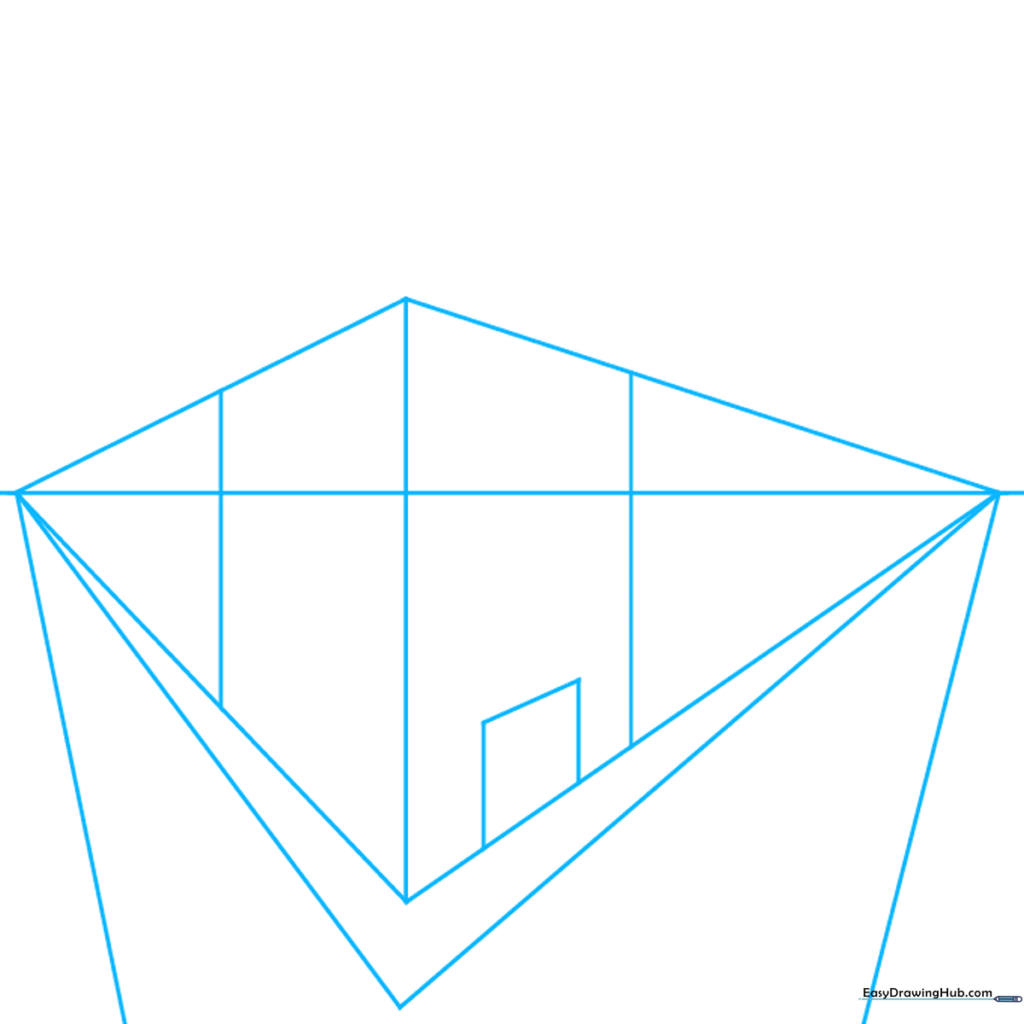
Draw a light horizontal line across your paper and place two points at the far ends. These are your 'vanishing points.' Draw a vertical line left of center. Tip: Keep your pencil pressure light here; you'll be erasing these guidelines later!
Step 2: Defining the Building Structure
Connect your vertical line to the vanishing points to create the building's sides. Erase the extra lines between the points and the building. Tip: Use your ruler to ensure the lines hit the points exactly for a professional look.
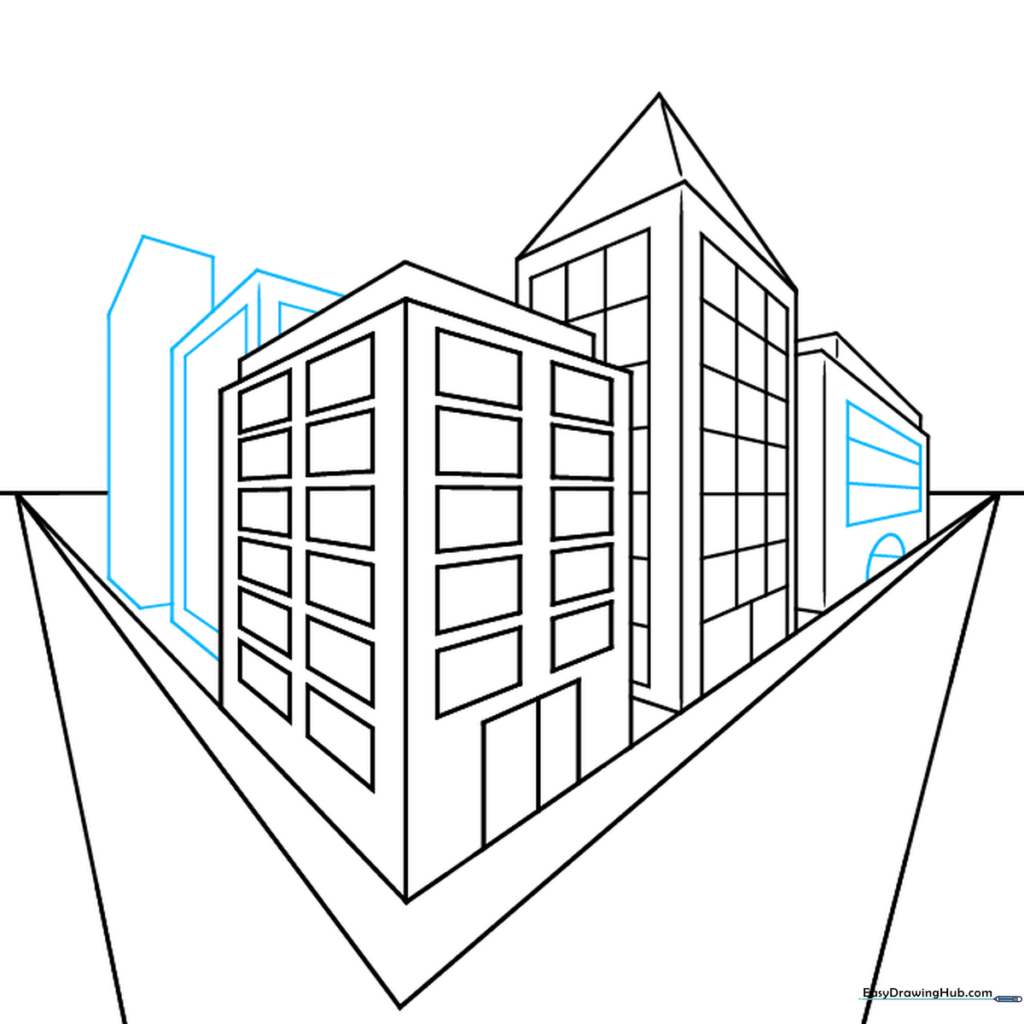
Step 3: Adding Rooflines and New Buildings
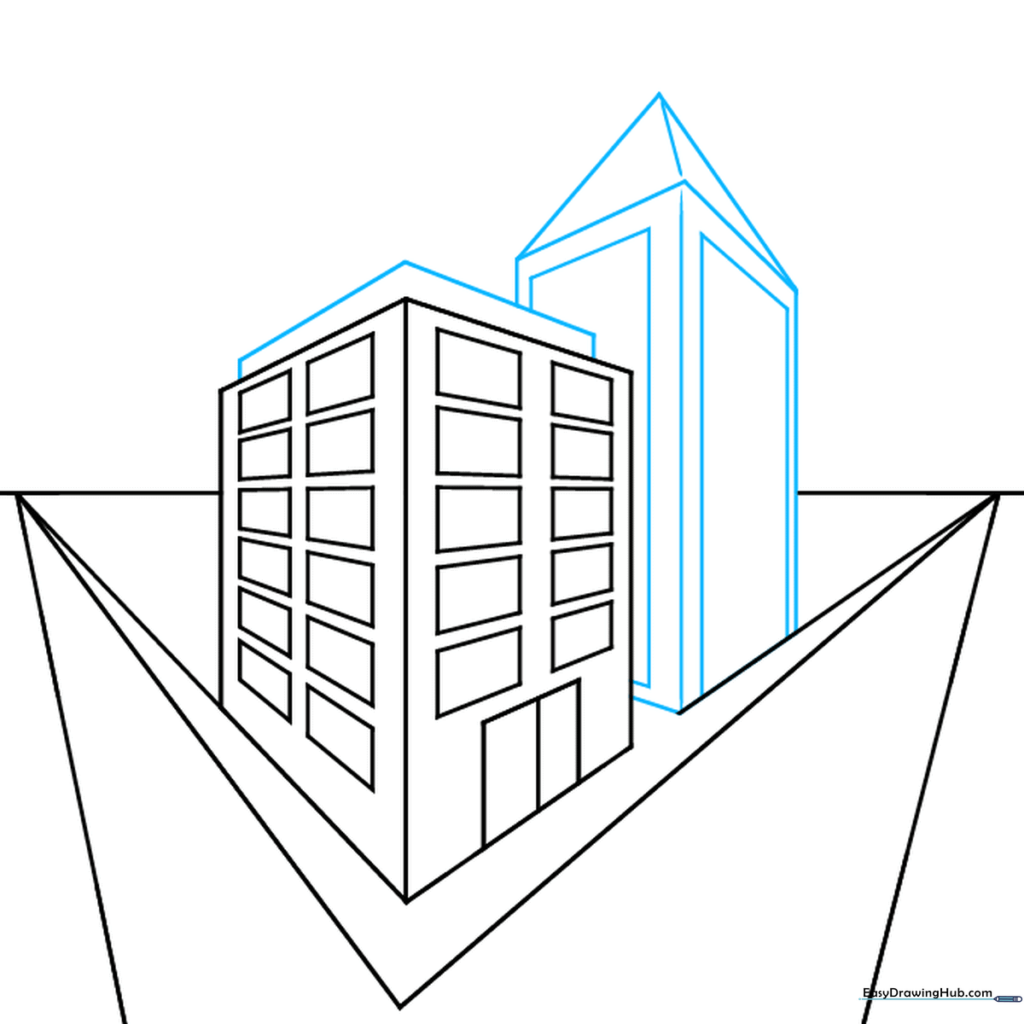
Draw a pentagon shape on top to create a roof. Add a second rectangular building along the diagonal line. Tip: Varying the heights of your buildings makes the city look more realistic.
Step 4: Creating Depth with More Buildings
Continue adding rectangular prisms along the perspective lines. Tip: If the buildings look like they are floating, double-check that their base lines align with your vanishing points.
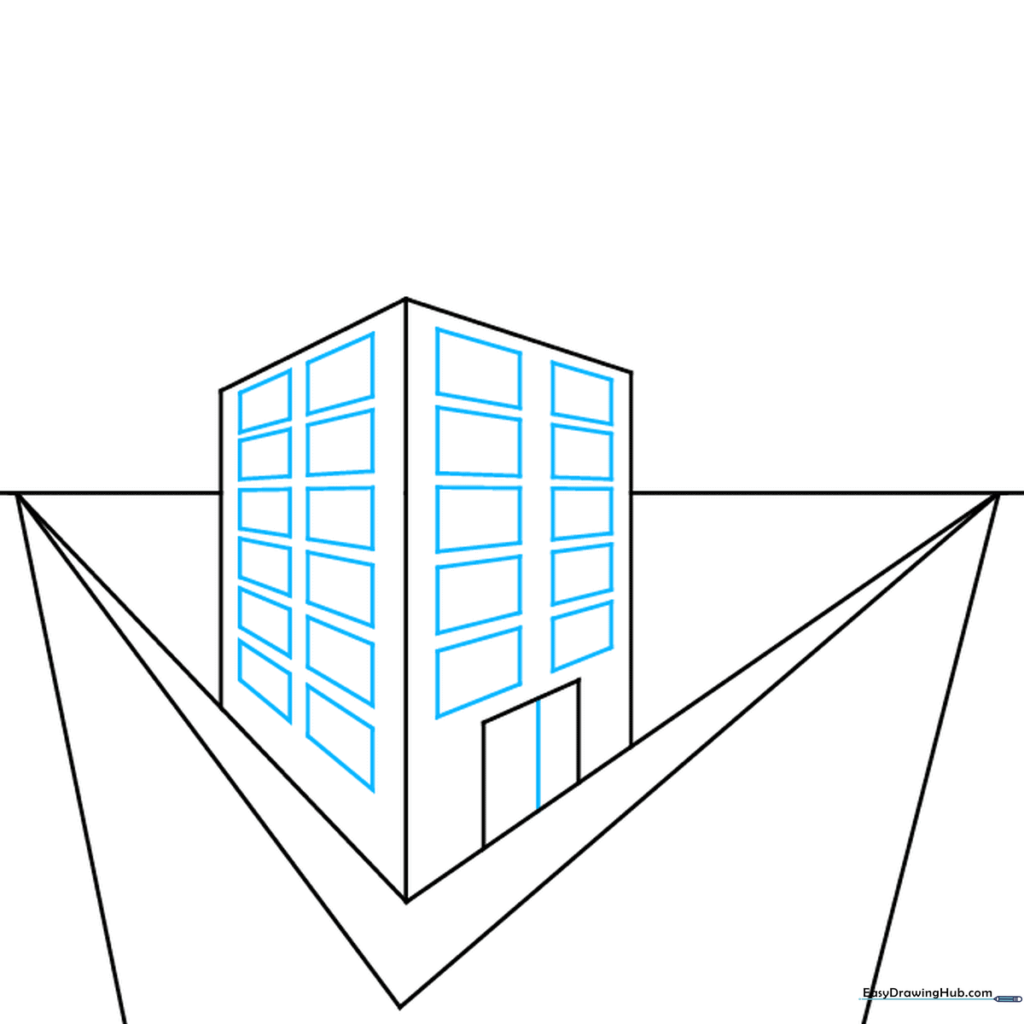
Step 5: Architectural Details
Add a door and a half-circle window to your main building. Start sketching buildings on the opposite side of the street. Tip: Draw your details smaller as they get further away to enhance the 3D effect.
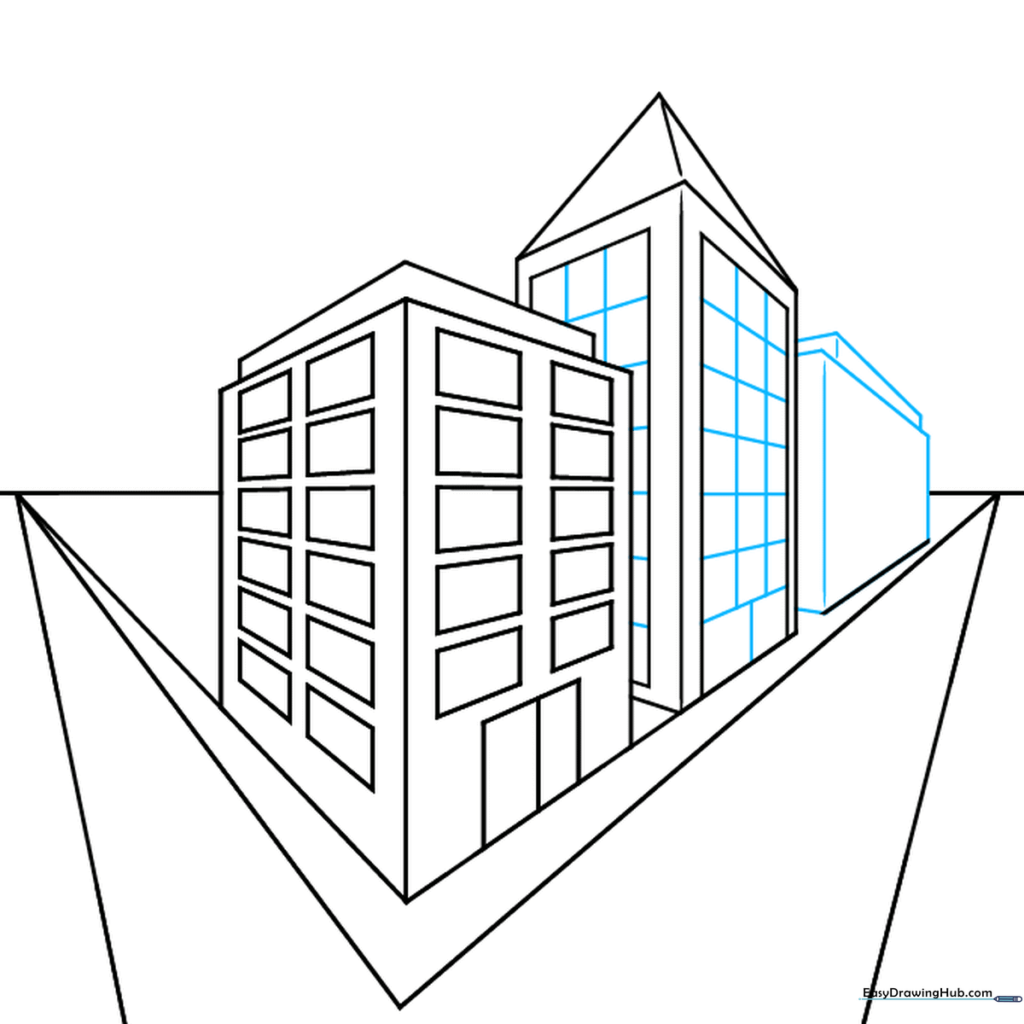
Step 6: Adding Window Patterns
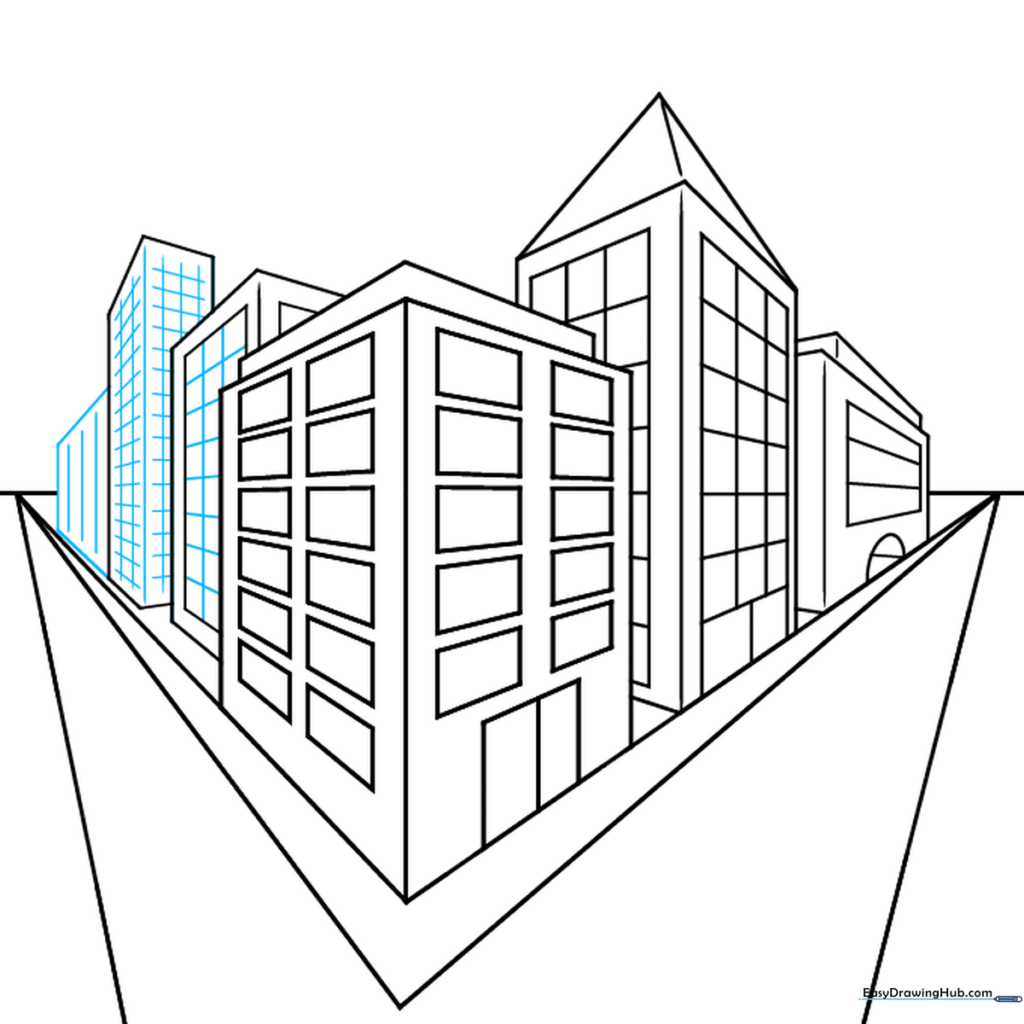
Fill your buildings with windows using vertical and cross-hatched lines. Tip: Keep your window lines parallel to the sides of the buildings for consistency.
Step 7: Designing a Tower
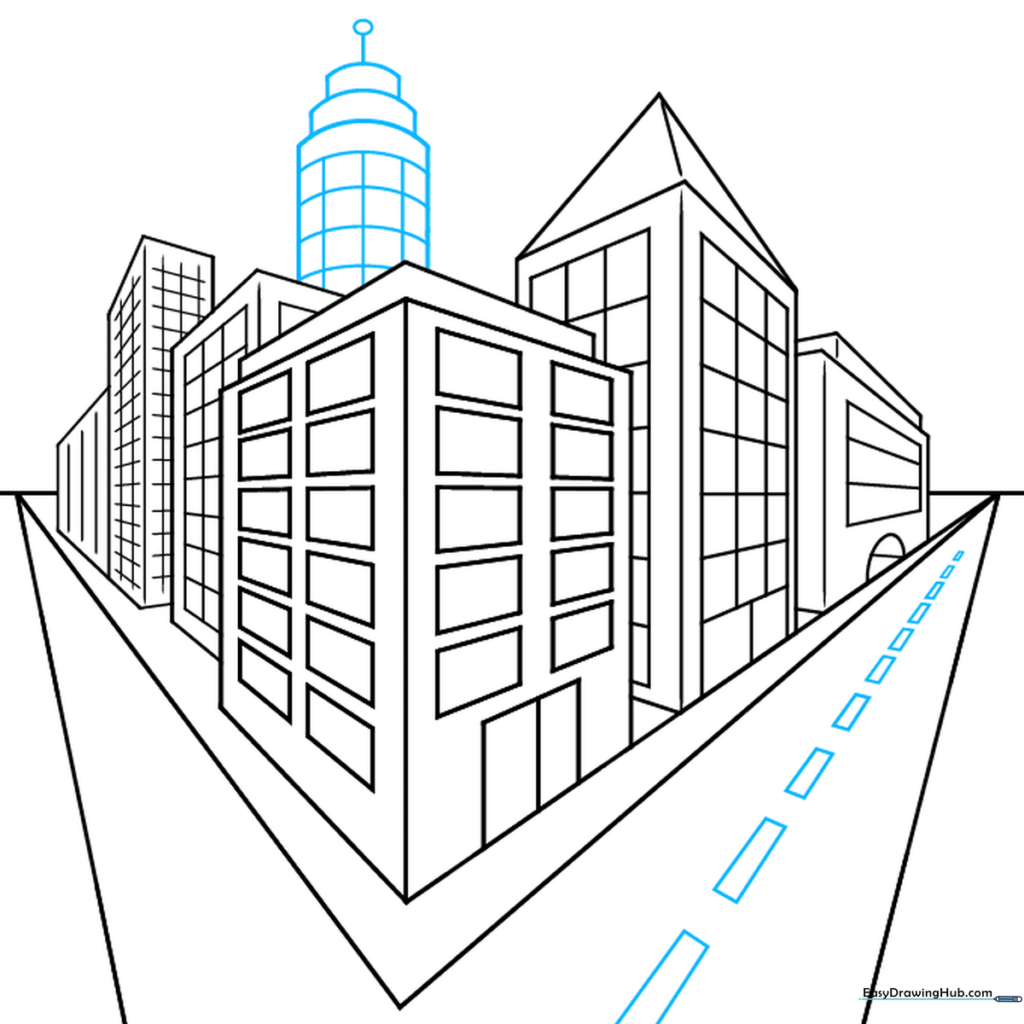
Draw a round tower on top of your buildings. Use curved lines to show the rounded shape. Tip: Use a light touch with your pencil so the curves look soft and natural.
Step 8: Adding Street Life
Draw trees along the sidewalk using ovals for bases and curved lines for leaves. Add lines for the sidewalk edges. Tip: Trees should get smaller as they move toward the center of the street.
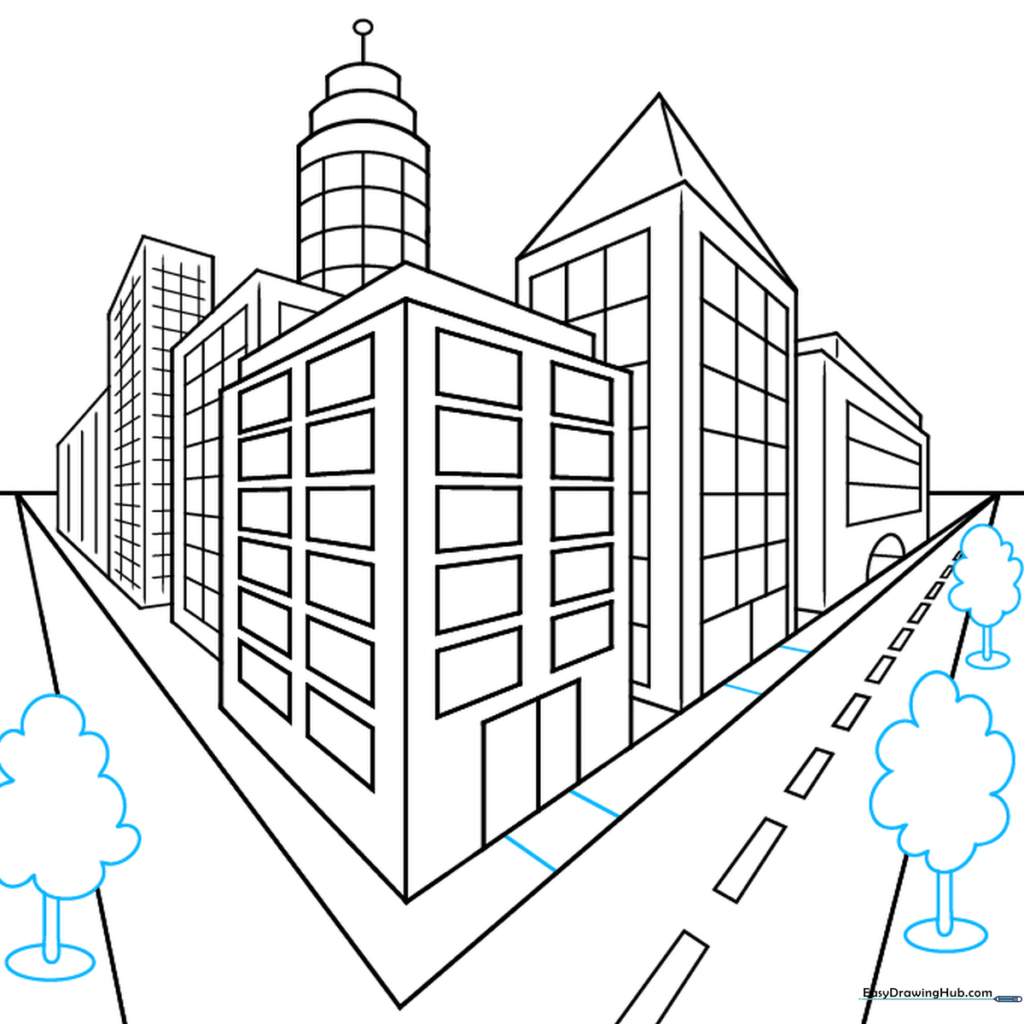
Step 9: Final Touches

Add potted plants and clouds to fill the space. Erase any remaining construction lines. Tip: Clouds should be light and fluffy—don't press too hard!
Step 10: Color Your City

Your city is ready! Use markers or colored pencils to bring your scene to life. Tip: Use darker colors for buildings in the foreground and lighter colors for the background to emphasize depth.
More Tutorials


