How to Draw a Cute Christmas Penguin: Easy Step-by-Step Guide
Bring some holiday cheer to your sketchbook with this adorable Christmas penguin! Designed for young artists ages 5 and up, this project requires only a pencil, paper, and an eraser. You will learn how to combine basic shapes to create a festive character holding a candy cane, perfect for handmade holiday cards.
🎯 Final Result

Step-by-Step Instructions
Step 1: Sketching the Face and Beak
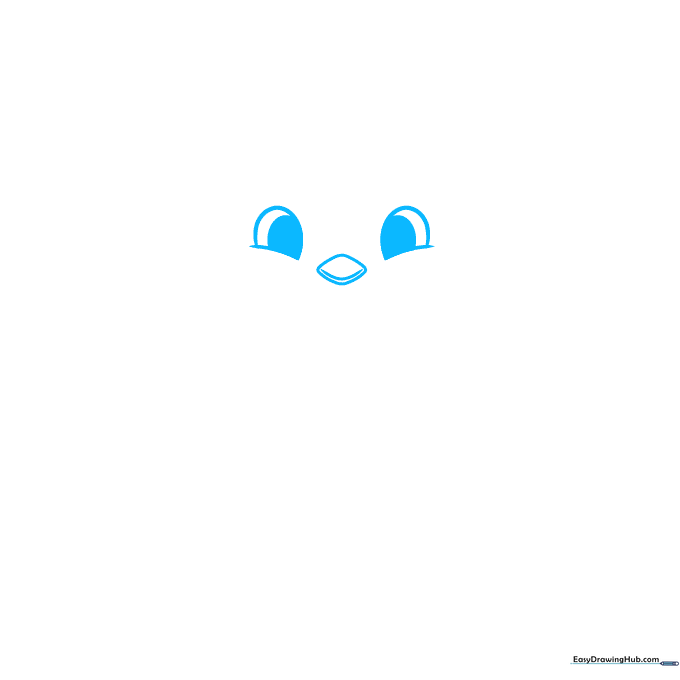
Start by drawing two small, rounded shapes for the cheeks and eyes. Add a diamond shape between the eyes for the beak. Teacher's Tip: Keep the beak small and centered to give your penguin a friendly, balanced expression.
Step 2: Adding the Winter Hat
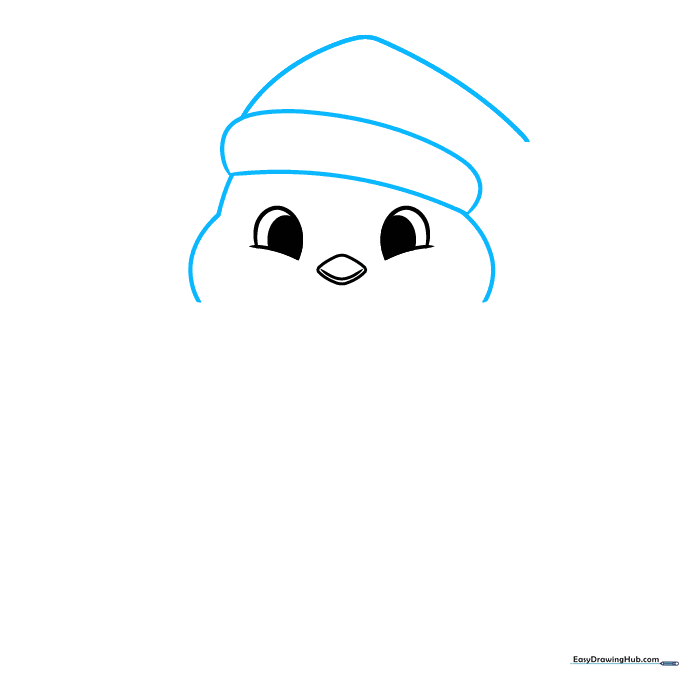
Draw a soft, curved line over the head to form the brim of the hat, then add a floppy top. Teacher's Tip: Think of the hat brim as a gentle 'U' shape that hugs the top of the head.
Step 3: Drawing the Scarf
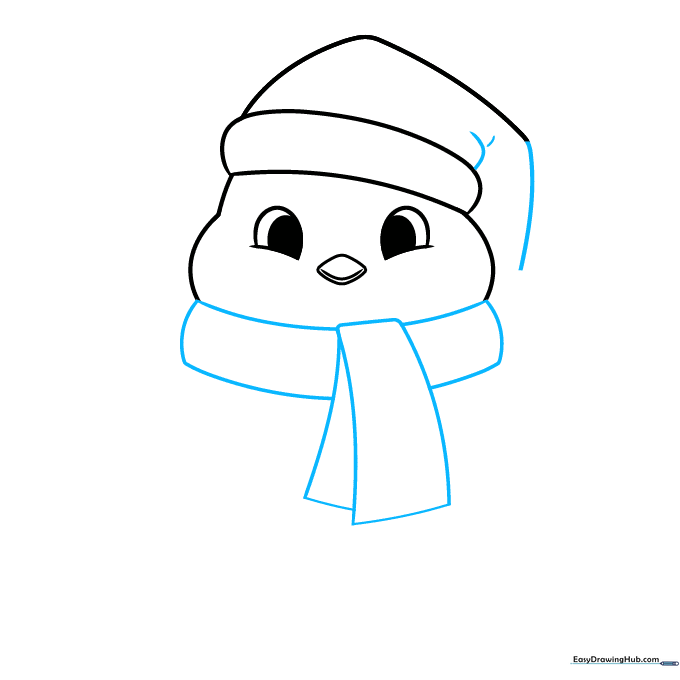
Use curved rectangles to build a cozy scarf around the penguin's neck. Teacher's Tip: Overlap your lines slightly to make the scarf look like it is actually wrapping around the neck.
Step 4: Shaping the Body
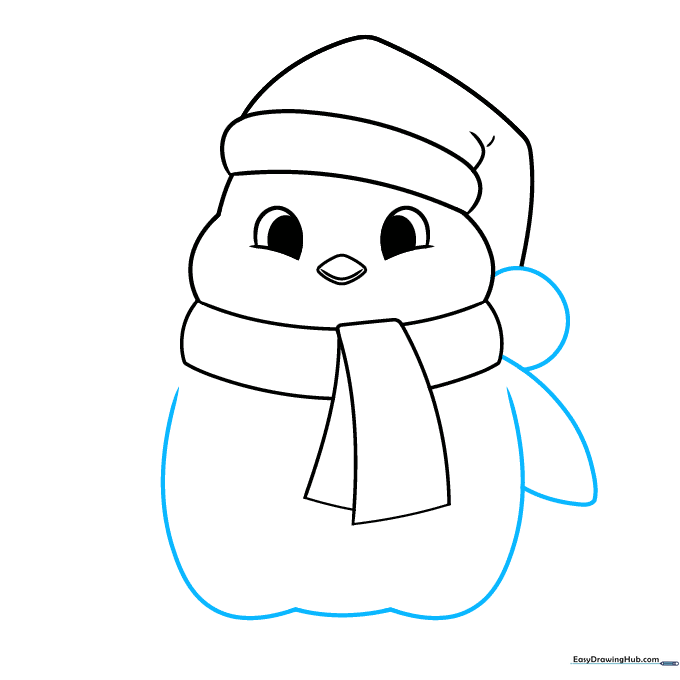
Draw a large, rounded body and one wing tucked against the side. Teacher's Tip: Keep the body shape wide at the bottom to give your penguin a cute, chubby appearance.
Step 5: Holding the Candy Cane
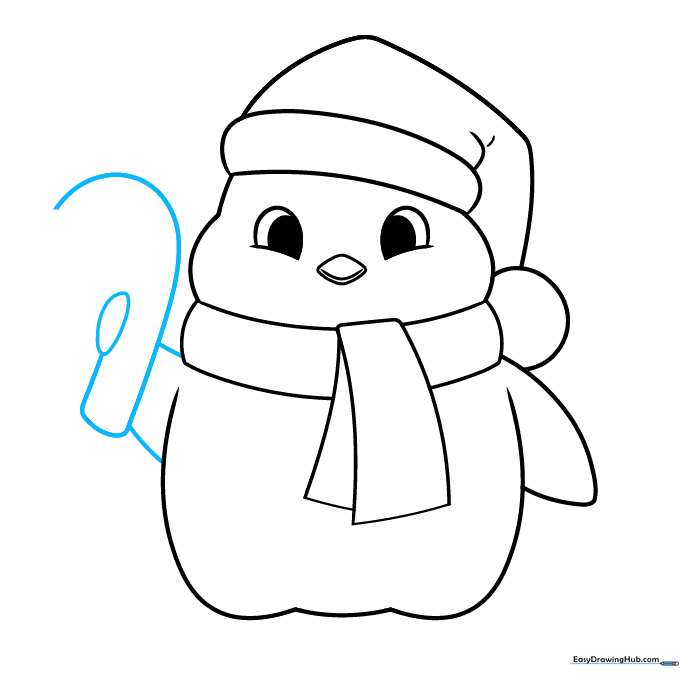
Draw a 'J' shape for the candy cane and a wing overlapping it. Teacher's Tip: Make sure the wing looks like it is gripping the candy cane by drawing the line slightly over the candy cane shape.
Step 6: Adding Feet
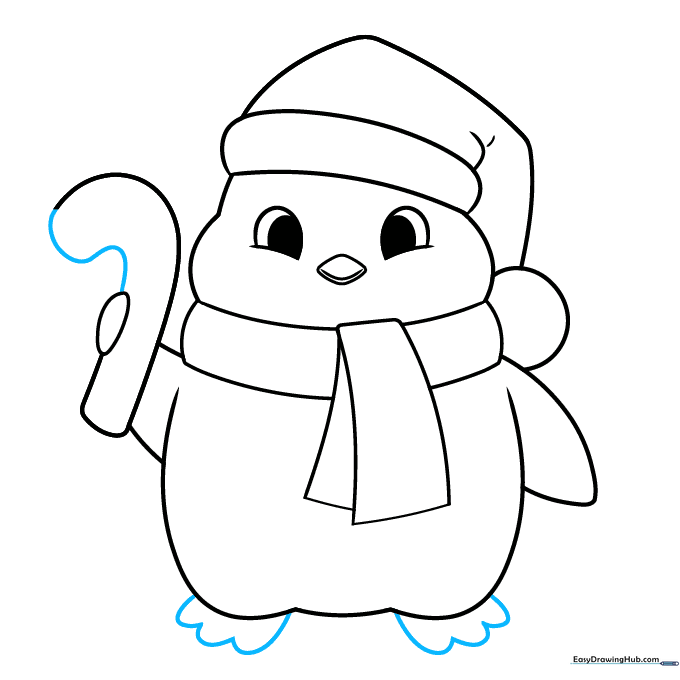
Use a scalloped line at the base to create the penguin's webbed feet. Teacher's Tip: Three small humps for each foot will make them look realistic and cute.
Step 7: Defining the Belly
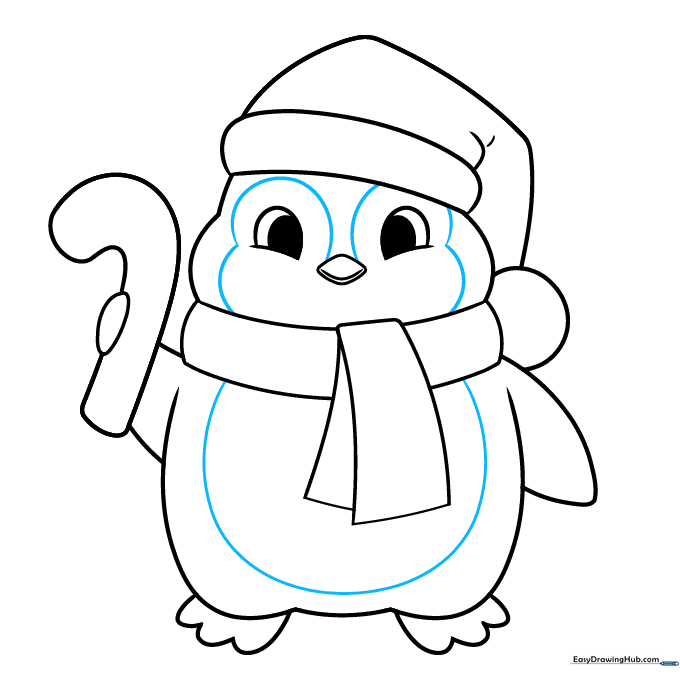
Draw a large oval inside the body to define the white belly area. Teacher's Tip: Keep this line smooth and continuous to make coloring easier later.
Step 8: Scarf Details

Add stripes to the scarf and small lines for the tassels at the ends. Teacher's Tip: Vary the spacing of your stripes to make the scarf look textured.
Step 9: Final Touches

Add stripes to the candy cane and finish any remaining details. Teacher's Tip: Use a ruler if you want your candy cane stripes to be perfectly straight, or keep them freehand for a softer look.
Step 10: Coloring Your Penguin

Bring your penguin to life with color! Use black for the body, white for the belly, and bright red for the hat and candy cane. Teacher's Tip: Use a light yellow or orange for the beak and feet to make them pop against the black and white.
More Tutorials


