How to Draw a Chinese Dragon: Easy 10-Step Guide
Bring a legendary creature to life with this beginner-friendly Chinese dragon tutorial. Designed for artists ages 5 and up, this screen-free activity requires only a pencil, paper, and an eraser. Follow along to master fluid, curved lines and build your confidence in character design.
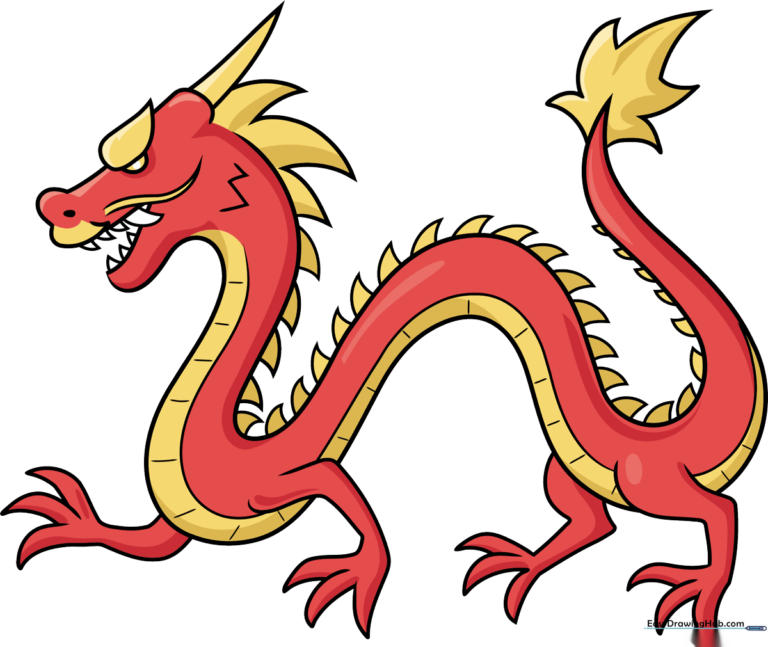
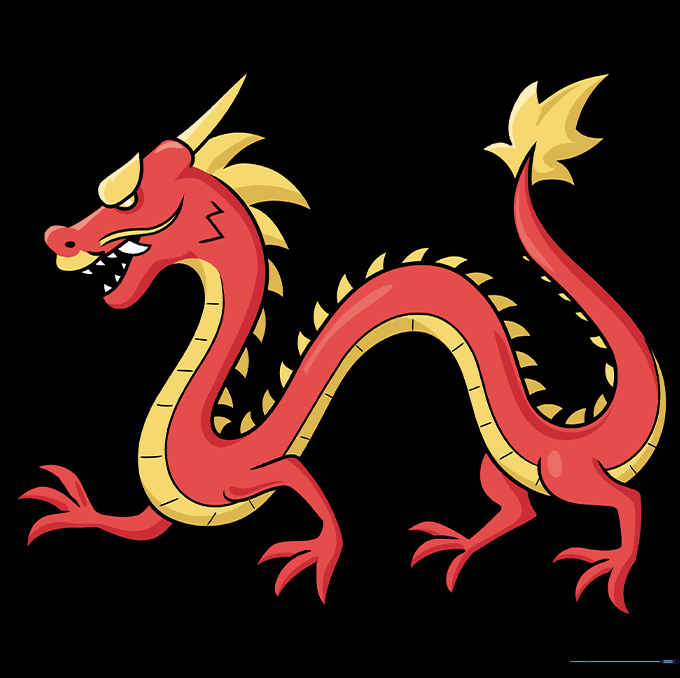
🎯 Final Result
Step-by-Step Instructions
Sketching the Head and Brow

Start by drawing a teardrop shape for the brow, with a semicircle eye tucked just beneath it. Teacher's Tip: Keep your pencil pressure light here; this helps you easily adjust the shape of the snout and head as you build the face.
Defining the Mouth and Whiskers

Sketch the open mouth using curved lines and add small triangles for teeth. Add a small oval for the nostril, then extend two curved lines from the snout to create the dragon's signature whiskers. Tip: Make the whiskers look flowy by flicking your pencil at the end of each stroke.
Adding the Neck and First Leg
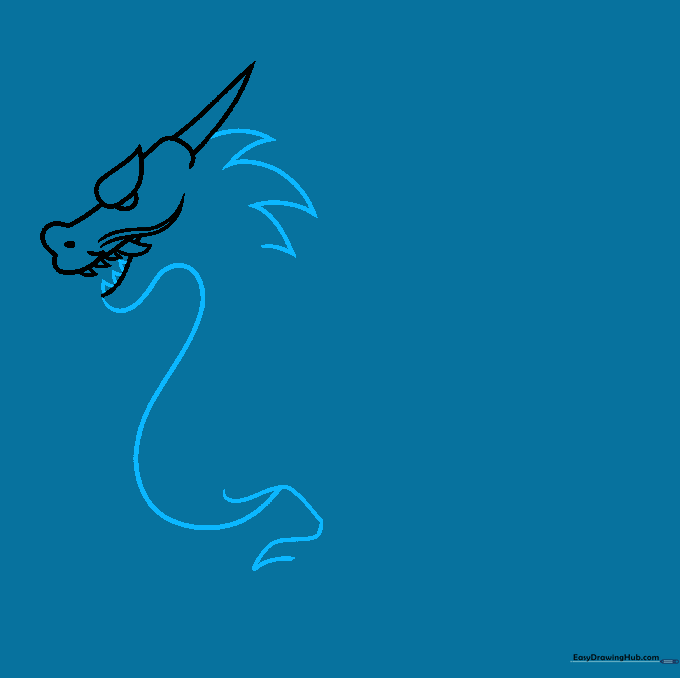
Add more teeth to the mouth, then draw a long, sweeping curve for the neck. Intersect this with a leg shape, ending in a pointed toe. Add spikes along the back of the head. Tip: Use a 'V' shape for the spikes to give them a sharp, mythical look.
Completing the Forelegs
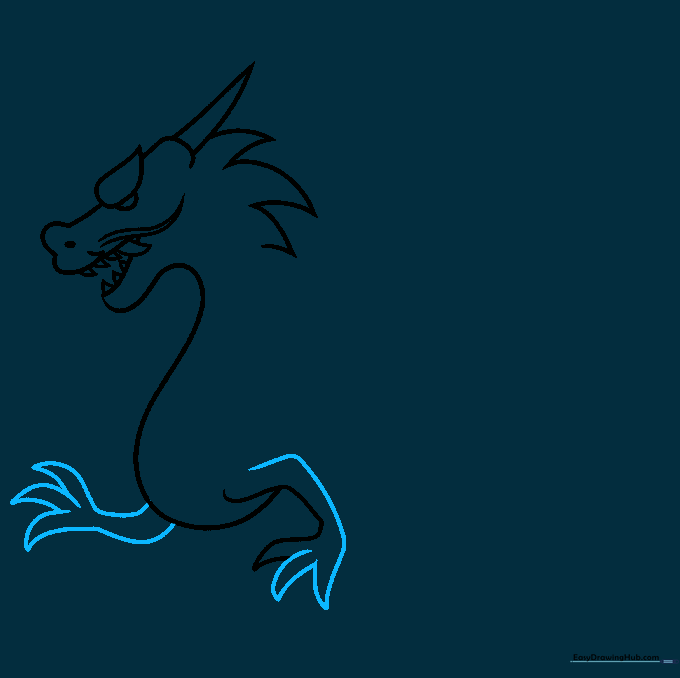
Refine the first leg and add the second foreleg behind it. Tip: Overlapping the lines of the legs creates a sense of depth, making your dragon look more three-dimensional.
Drawing the Belly and Rear Legs
Extend a long, smooth curve for the belly. Add the rear legs, ensuring they overlap slightly to show the dragon is standing. Tip: Imagine the belly as a soft, continuous 'S' curve to give the dragon its classic serpentine shape.
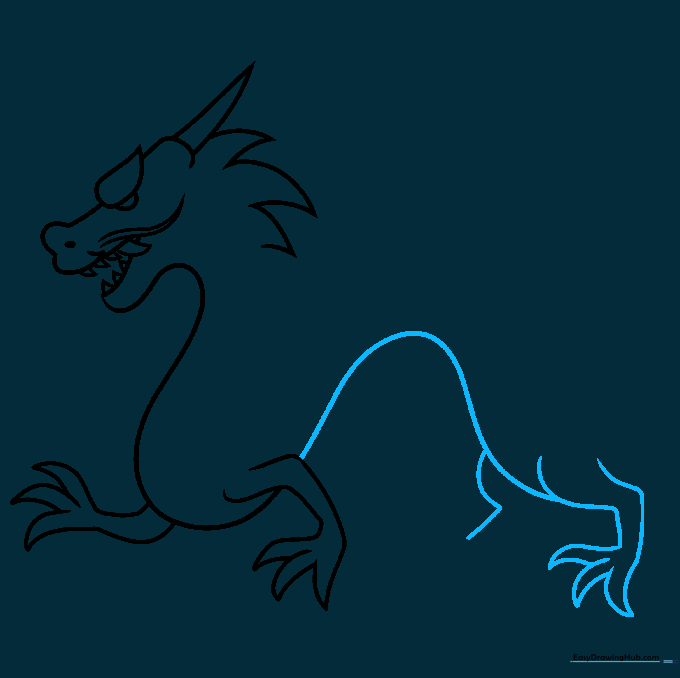
Defining the Tail Base
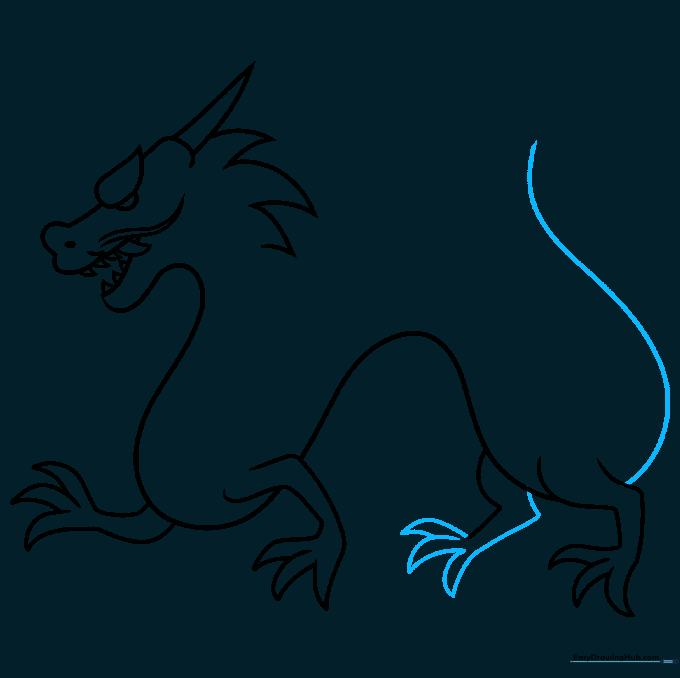
Finish the second rear leg and extend a long, graceful curve from the leg to begin the tail. Tip: Keep this line smooth—a steady hand makes the dragon look more elegant.
Closing the Body and Tail Tuft
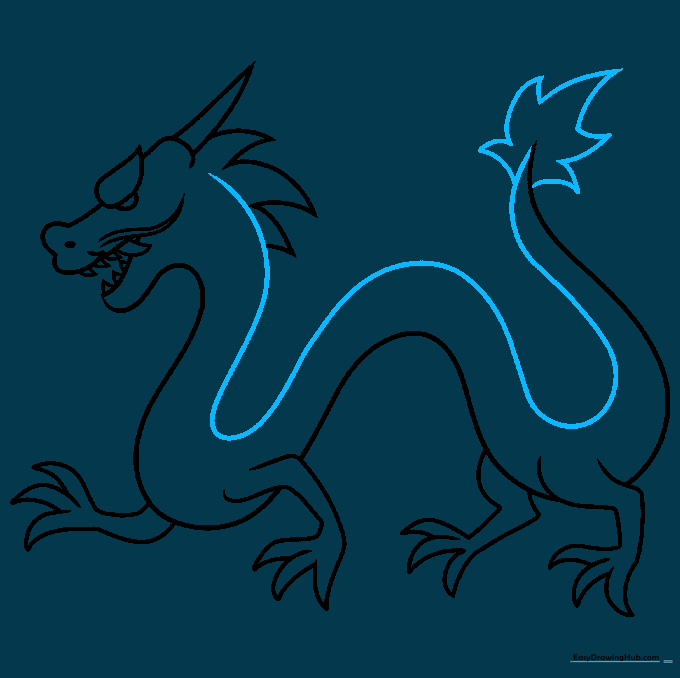
Draw a long line parallel to the belly to enclose the body. At the very tip of the tail, add a small tuft of fur using short, pointed lines. Tip: The tuft adds a nice touch of texture to the end of the long body.
Adding Back Spikes and Facial Detail
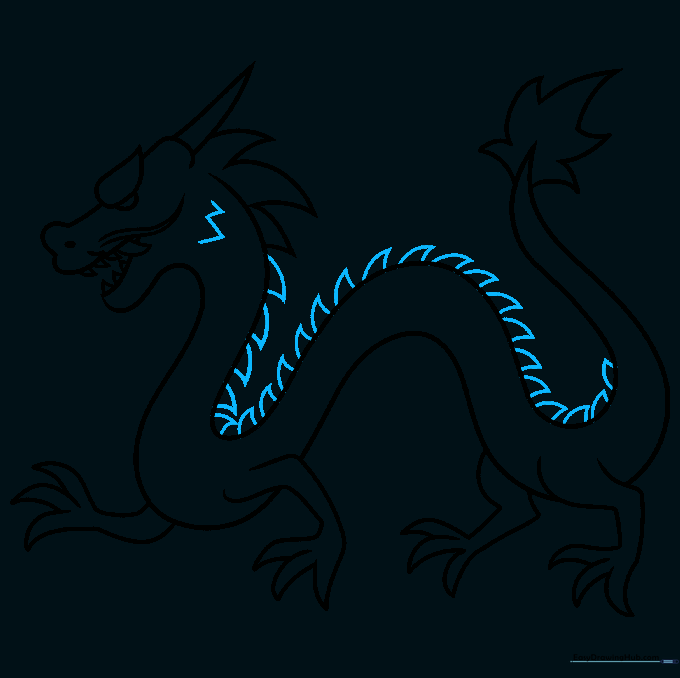
Add a zigzag line to the side of the face for texture. Then, continue adding triangular spikes all the way down the dragon's back. Tip: Vary the size of the spikes slightly to make them look more natural.
Finalizing the Belly Details
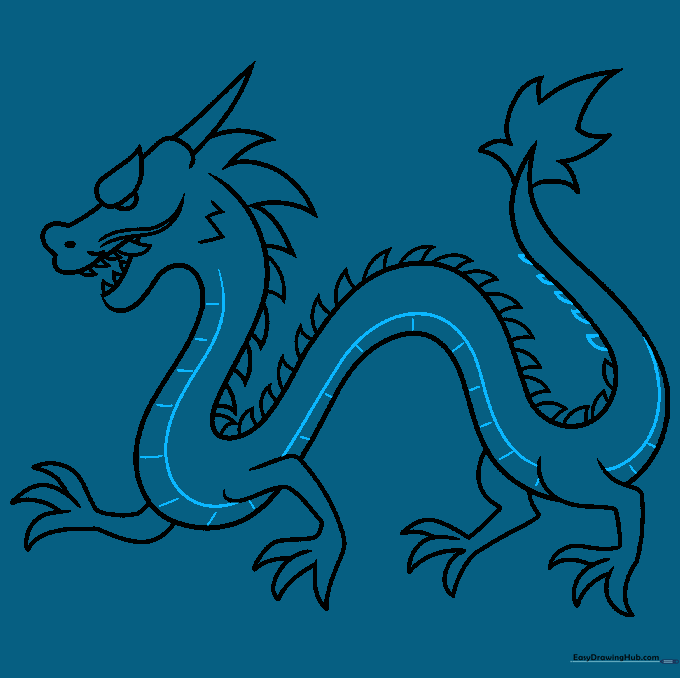
Add a final parallel line along the belly and draw short, horizontal bands to represent the dragon's scales. Tip: Keep these bands evenly spaced for a clean, professional look.
Bringing Your Dragon to Life with Color
Time to color! We chose traditional gold and red for a classic look, but feel free to use any colors you like. Tip: Use a darker shade of your main color to add a little shadow under the belly for extra depth.
More Tutorials


