How to Draw a Cartoon Zebra: Easy 9-Step Guide
This friendly cartoon zebra tutorial is perfect for young artists ages 5 and up. You only need a pencil, an eraser, and a piece of paper to bring this safari friend to life. Follow along to practice basic shapes and develop your drawing confidence.
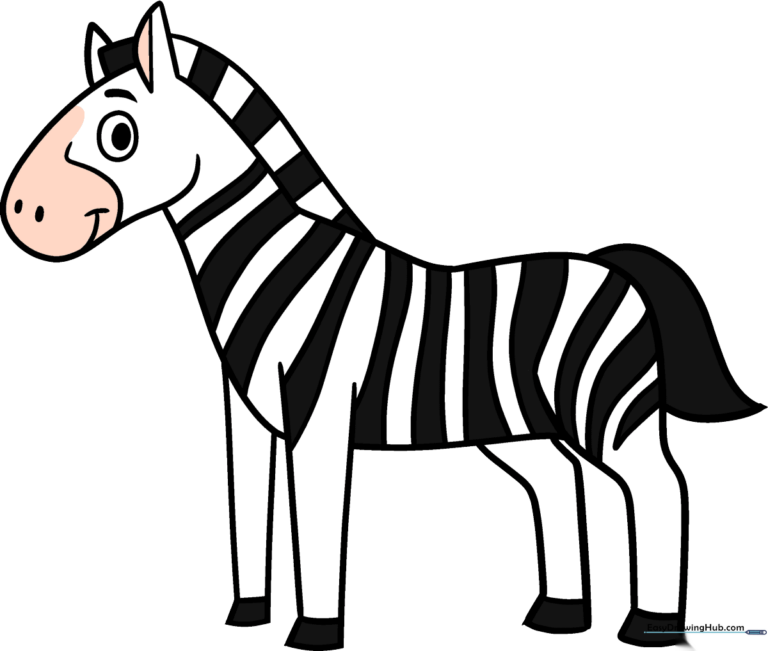
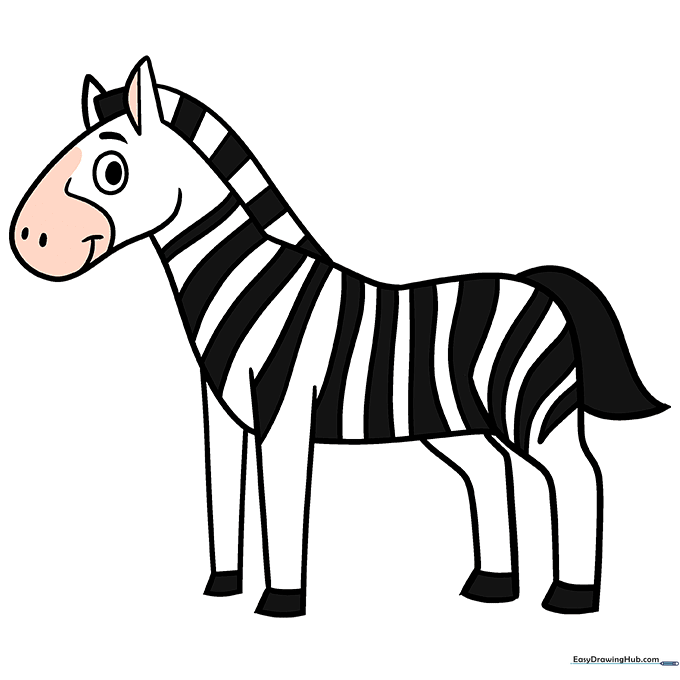
🎯 Final Result
Step-by-Step Instructions
Step 1: Sketching the Head
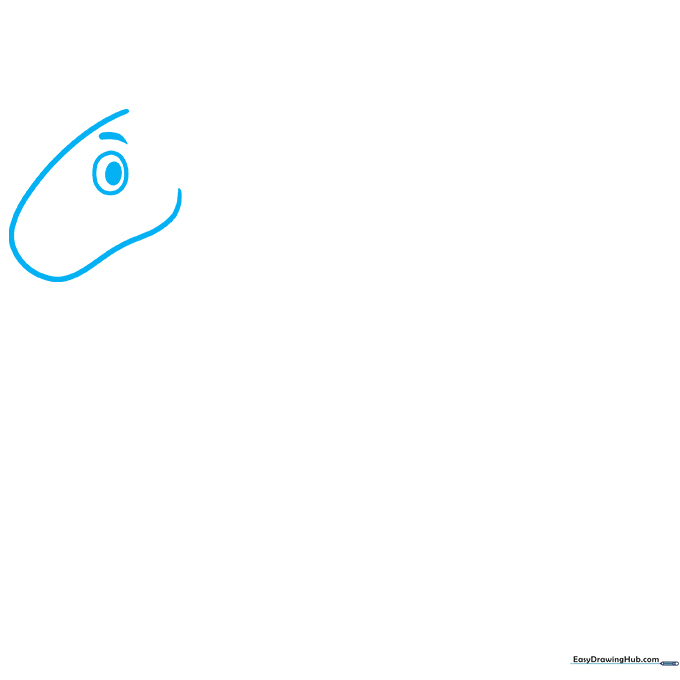
Draw a soft, curved shape for the head. Inside, add an oval for the eye and shade it in, leaving a tiny white spot for a 'sparkle' effect. Add a small teardrop shape above for the eyebrow. Tip: Keep the head shape rounded to make your zebra look friendly and approachable.
Step 2: Ears and Muzzle

Add two triangular ears on top and a rectangular mane between them. Draw a curved line for the nose and a small smile below. Add two tiny ovals for nostrils. Tip: Don't press too hard on the nostrils; keep them small and delicate.
Step 3: Neck and Shoulders
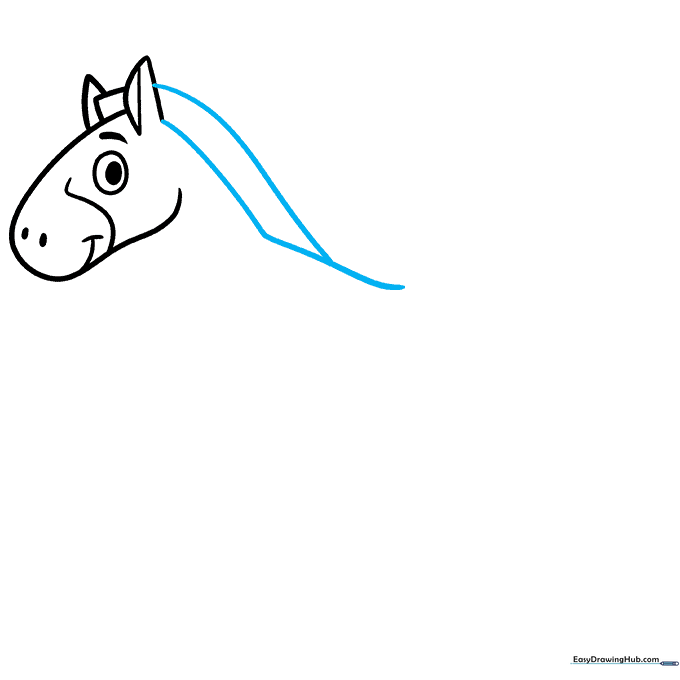
Extend two curved lines down from the ears to create the neck and back. Let them flow naturally into the shoulder area. Tip: Use long, smooth strokes to make the neck look graceful.
Step 4: First Leg and Hoof
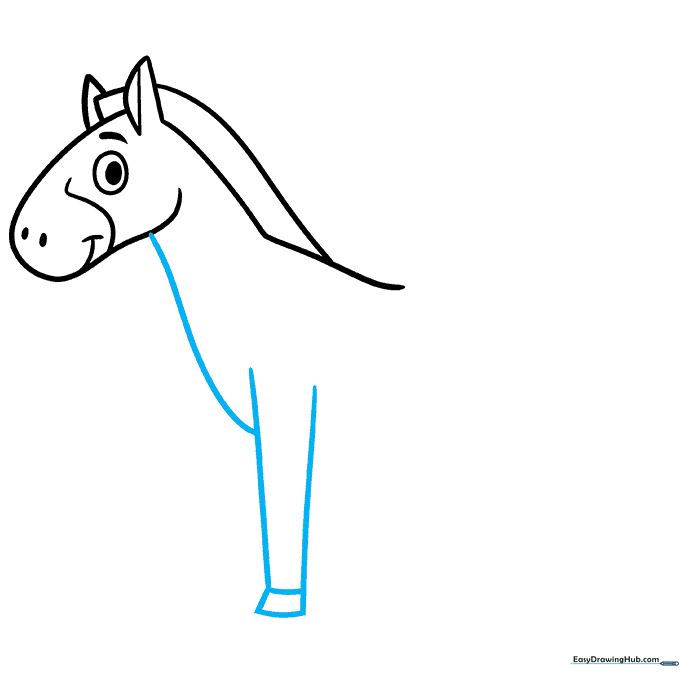
Draw two straight lines for the front leg and cap it with a small rectangle for the hoof. Tip: Keep the leg lines parallel to ensure the zebra looks balanced.
Step 5: Second Leg and Belly

Draw the second front leg next to the first, then connect them with a soft, curved line to form the belly. Tip: The belly line should be slightly rounded to give the zebra a cute, plump look.
Step 6: Rump and Rear Leg
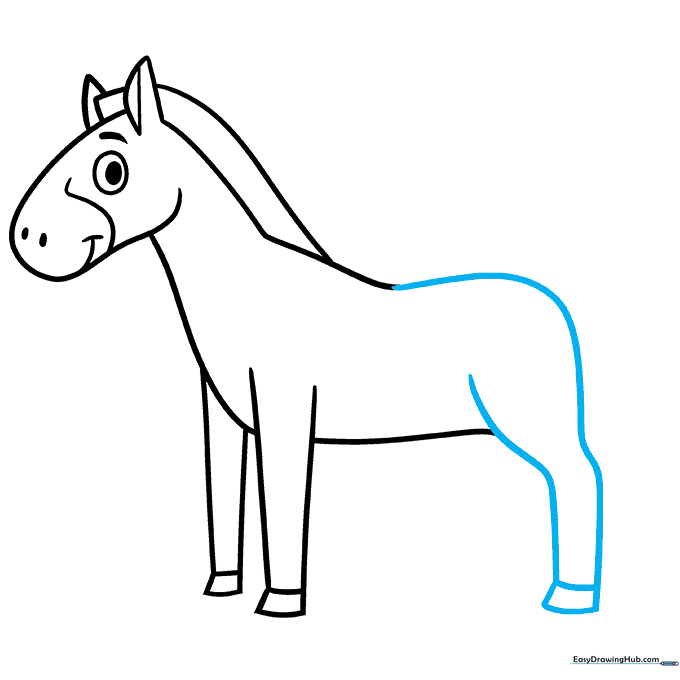
Draw the back of the zebra with a curved line for the rump, followed by the back leg and another rectangular hoof. Tip: Ensure the back leg overlaps slightly with the belly line for a realistic cartoon effect.
Step 7: Final Leg and Tail
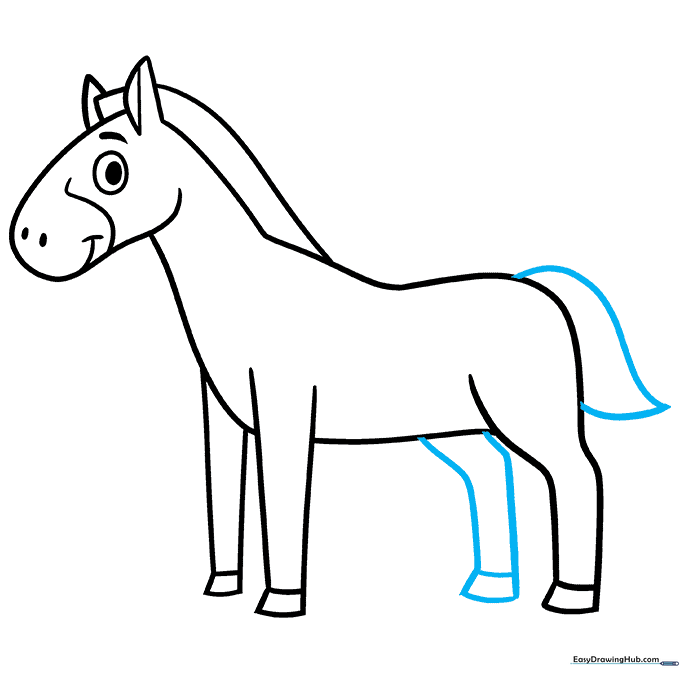
Add the final back leg and draw a simple, pointed tail coming off the rump. Tip: Keep the tail simple—a quick flick of the wrist creates the best shape.
Step 8: Adding Stripes
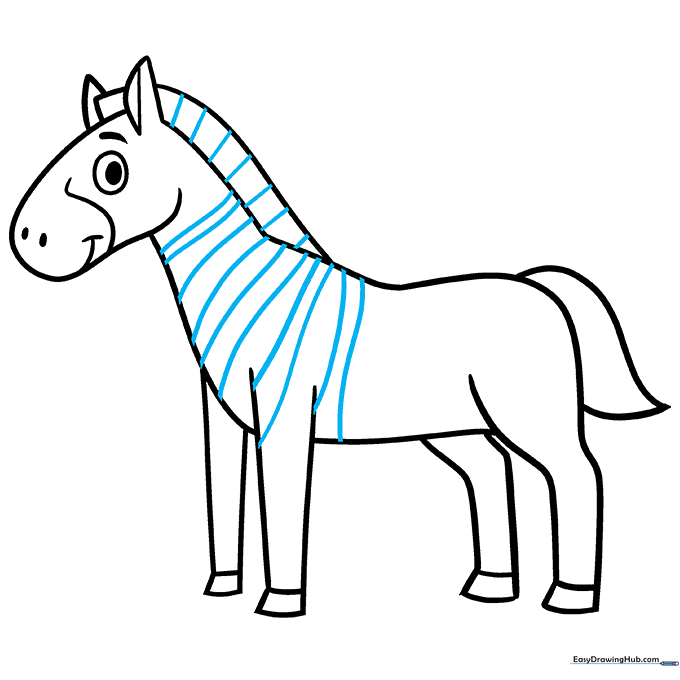
Now for the fun part! Add stripes across the mane and body using pairs of curved lines. Tip: Vary the length of your stripes to make the zebra look more natural.
Step 9: Final Details
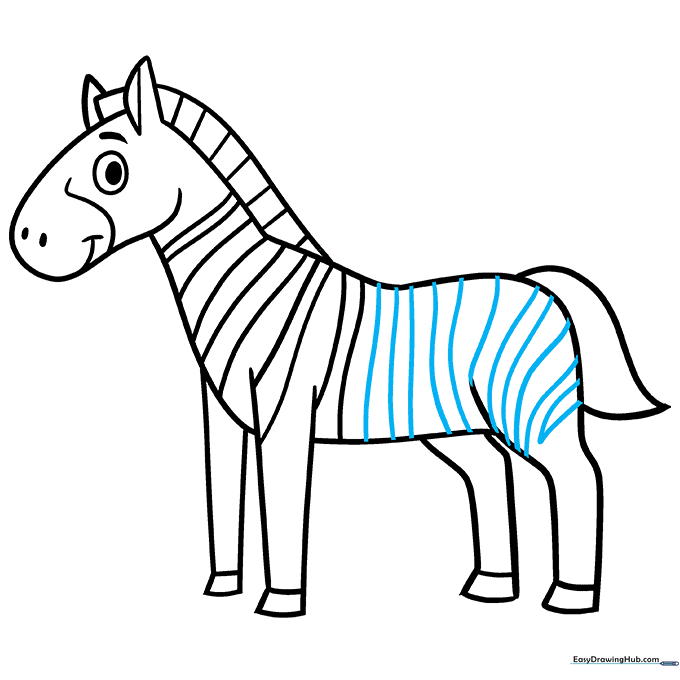
Add a few more stripes to the legs and face to complete your design. Tip: Check your drawing against the reference and erase any stray pencil marks.
Step 10: Color Your Zebra
Time to color! Use black for the stripes and leave the rest white, or get creative with fun colors. Tip: Use a felt-tip pen for the stripes to make them pop against the white paper.
More Tutorials


