How to Draw a Space Rocket: Easy 10-Step Guide for Kids
Blast off into creativity with this simple space rocket drawing tutorial, perfect for young artists ages 5 and up. All you need is a pencil, an eraser, and some paper to bring this cosmic machine to life. Follow these steps to build confidence in your drawing skills while creating a fun, out-of-this-world masterpiece.
🎯 Final Result

Step-by-Step Instructions
Step 1: Sketching the Main Body

Draw a long, slightly curved vertical line to form the side of your rocket. Teacher's Tip: Keep your pencil grip loose and your strokes light so you can easily adjust the shape if needed.
Step 2: Creating Symmetry
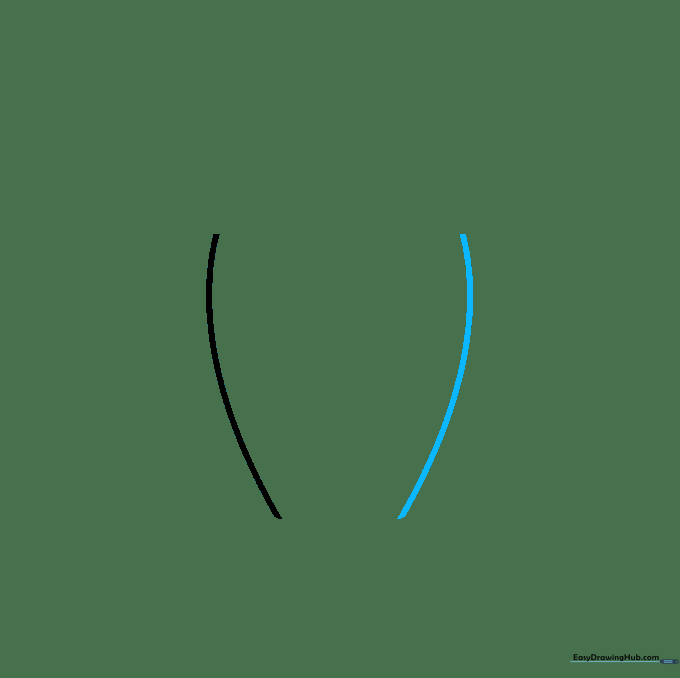
Draw a second curved line that mirrors the first one to complete the main body frame. Teacher's Tip: Try to keep the space between the lines consistent to ensure your rocket looks balanced.
Step 3: Defining the Base
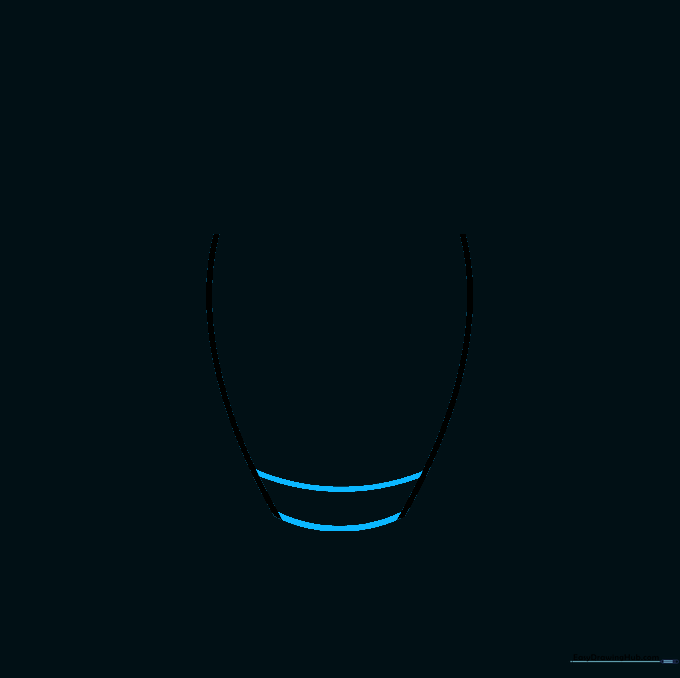
Add two curved lines across the bottom of the body to create the base. Teacher's Tip: Think of these as the 'feet' of the rocket; keeping them rounded gives it a friendly, cartoonish look.
Step 4: Shaping the Nose Cone
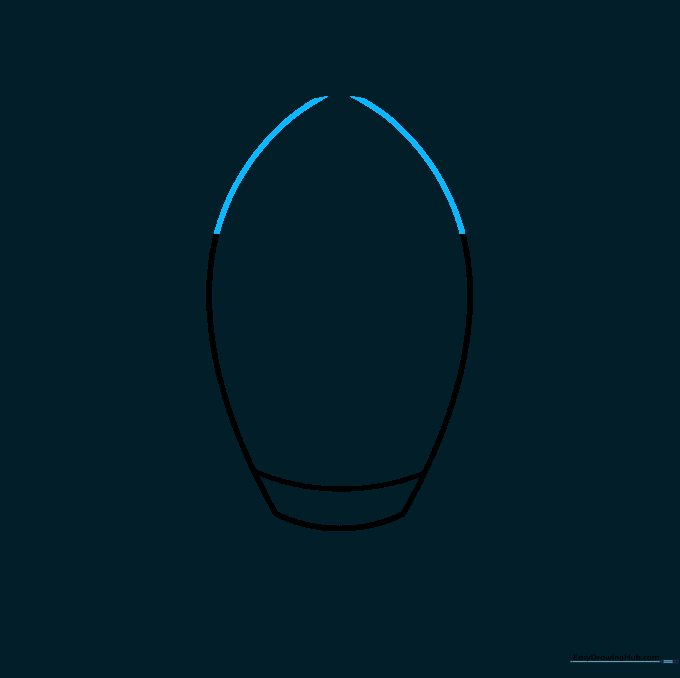
Extend the side lines upward until they almost meet at a soft point. Teacher's Tip: Don't worry about making it perfectly sharp; a rounded top makes the rocket look more approachable.
Step 5: Adding the Nose Detail
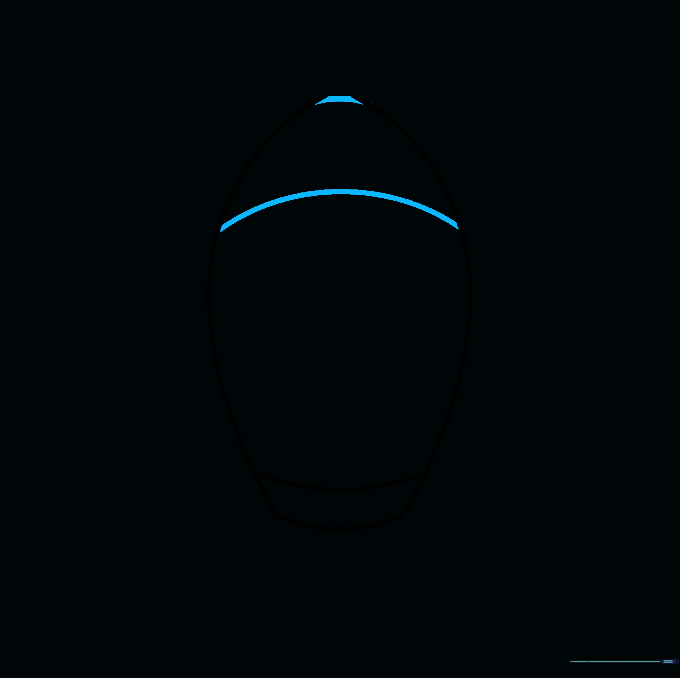
Close the top with a short line and add a curved line across the body to separate the nose cone from the main fuselage. Teacher's Tip: This line helps define the different sections of the rocket, making it look more professional.
Step 6: Drawing the Porthole
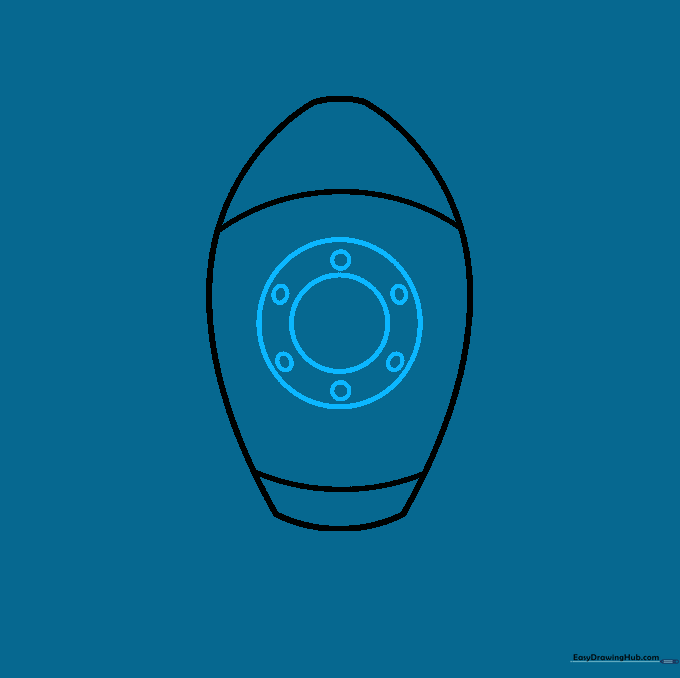
Draw a large circle for the window, with a smaller circle inside. Add tiny circles around the edge for rivets. Teacher's Tip: Use a coin to trace the circles if you find freehand drawing tricky!
Step 7: Antenna Detail
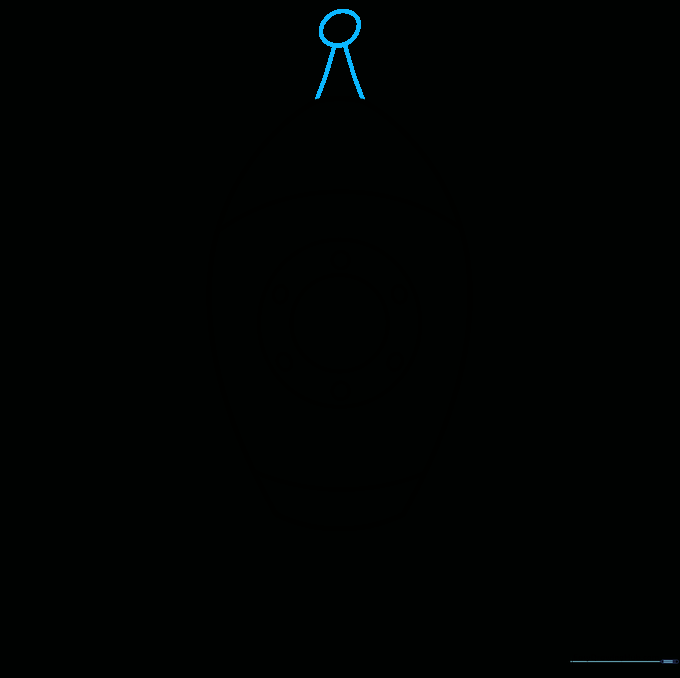
Add a small triangle shape at the very top, topped with a tiny circle. Teacher's Tip: This adds a fun 'sci-fi' element to your design.
Step 8: Adding Stabilizer Fins
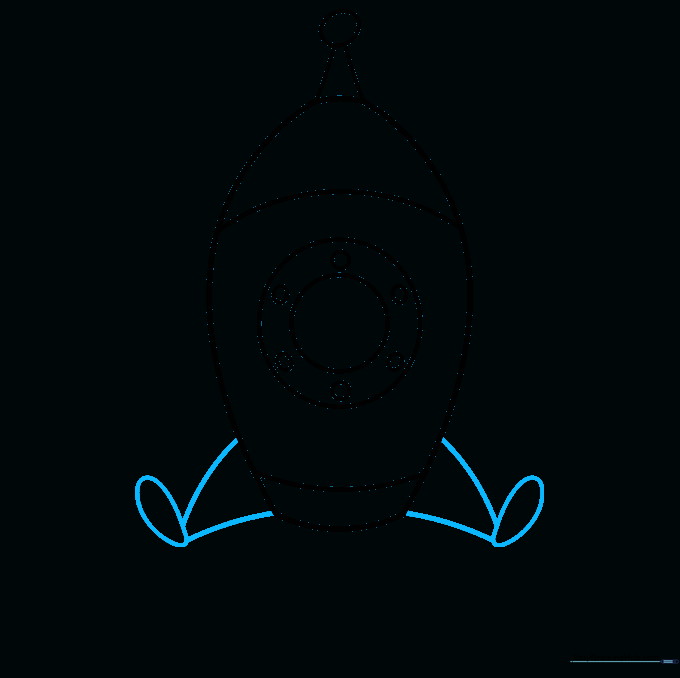
Draw triangular fins on the sides of the base, adding an oval at the tip of each. Teacher's Tip: Make sure the fins are roughly the same size to keep your rocket looking aerodynamic.
Step 9: Drawing the Booster Flames
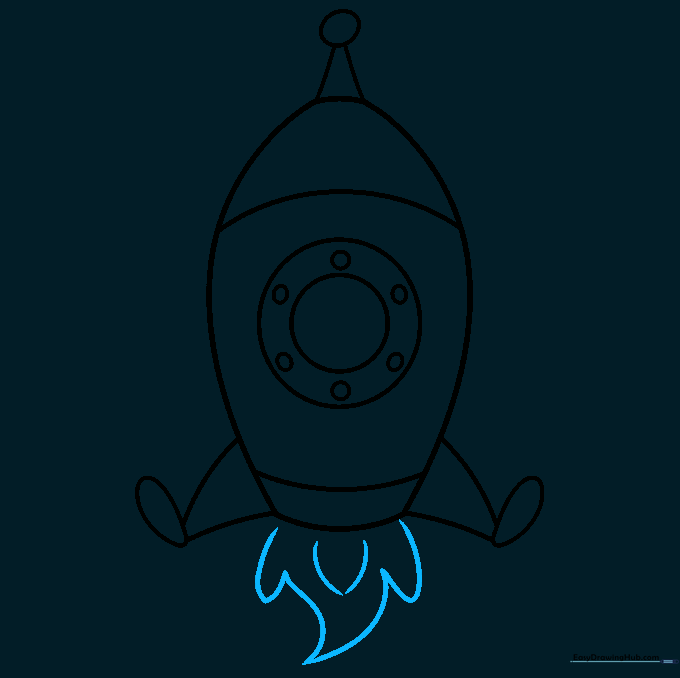
Use sharp, jagged lines at the bottom to create the look of fire shooting out. Teacher's Tip: Vary the length of the lines to make the fire look like it's flickering and moving.
Step 10: Adding Color

Bring your rocket to life with bright colors! Red, blue, and gold are classic choices. Teacher's Tip: Use light pressure with your crayons or markers to create smooth, even color fills.
More Tutorials


