How to Draw a Cartoon Snowman: Easy 9-Step Guide
Bring a touch of winter magic to your sketchbook with this friendly cartoon snowman. Designed for artists ages 5 and up, this project requires only a pencil, eraser, and paper. Follow these simple steps to build your snowman from the face down, developing confidence in basic shape construction.
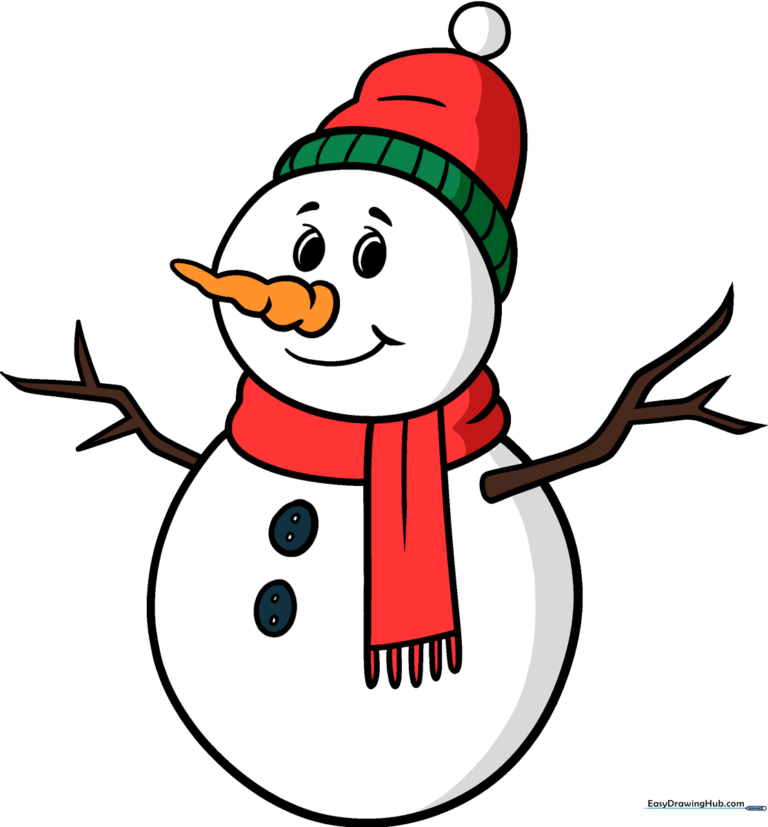
🎯 Final Result
Step-by-Step Instructions
Step 1: Sketching the Expressive Face
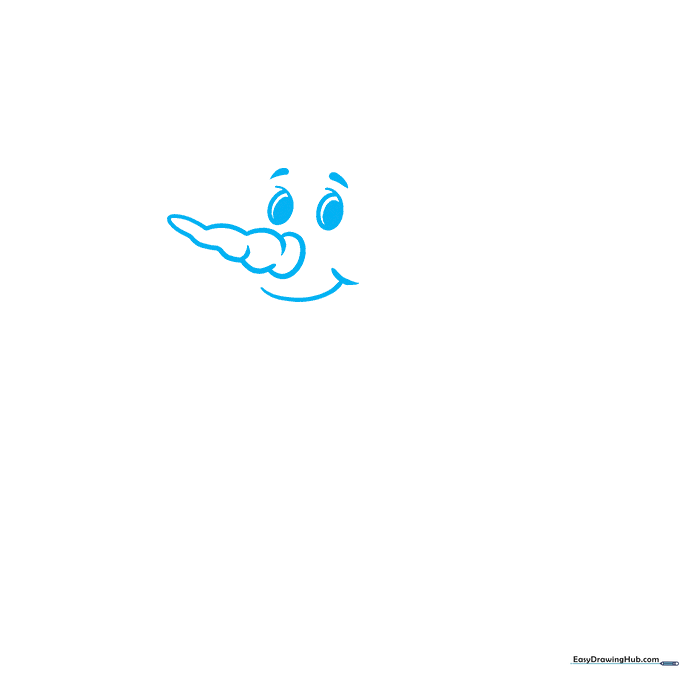
Start by drawing two ovals for the eyes, each containing a smaller pupil. Add a teardrop shape above each eye for surprised eyebrows. Draw a triangular carrot nose and a curved, happy mouth. Teacher's Tip: Keep your pencil pressure light here so you can easily adjust the nose placement if needed.
Step 2: Defining the Head Shape

Draw a large circle around the face, letting it tuck behind the carrot nose. Add a curved line across the top to create the base of the hat. Teacher's Tip: Don't worry if your circle isn't perfect; snowmen are naturally lumpy and organic!
Step 3: Adding the Winter Beanie
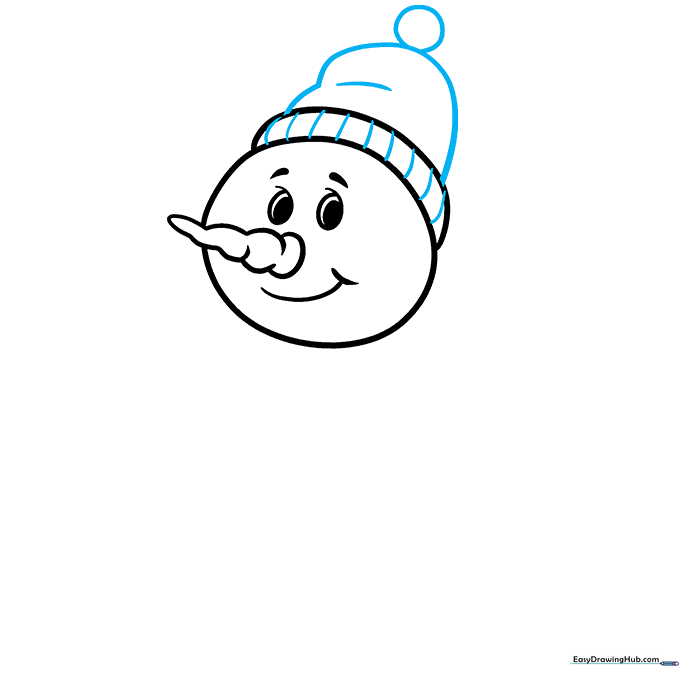
Enclose the top of the hat with a soft, rounded shape and add a small circle on top for the pompom. Use short, rhythmic curved lines to add texture to the hat fabric. Teacher's Tip: Use these small lines to show the 'knit' texture of a cozy winter hat.
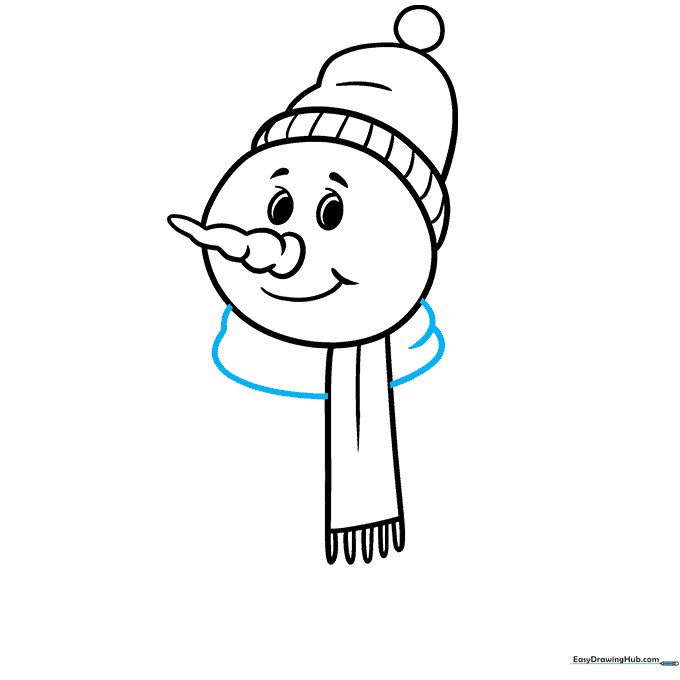
Step 4: Sketching the Scarf Base
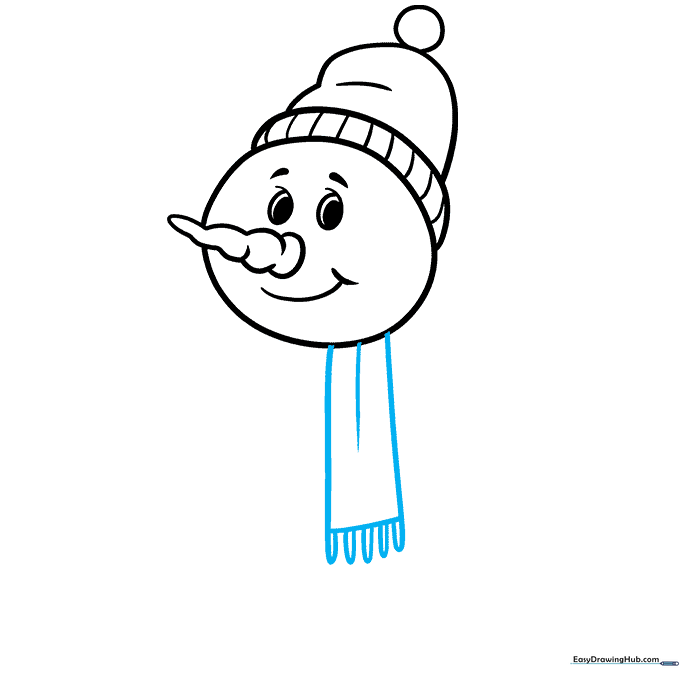
Draw a rectangle below the head to represent the scarf. Add a center line and small fringe details at the ends. Teacher's Tip: Draw the fringe lines by doubling back on your strokes to make them look like real fabric tassels.
Step 5: Completing the Scarf
Add rounded rectangular shapes on either side of the scarf to show it wrapping around the neck. Teacher's Tip: This creates a sense of depth, making it look like the scarf is actually hugging the snowman's neck.
Step 6: Drawing the Body
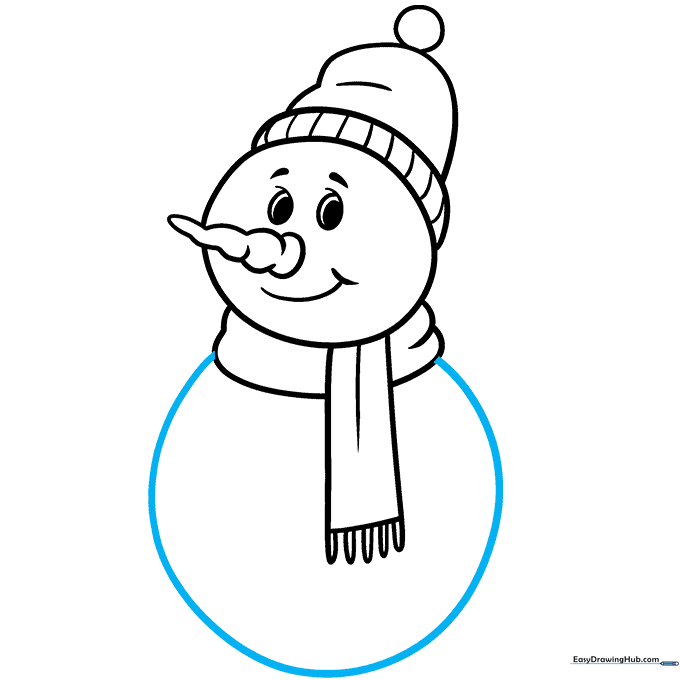
Draw a large, partial oval beneath the scarf to form the snowman's round body. Teacher's Tip: Keep this shape wide and generous to give your snowman a friendly, plump appearance.
Step 7: Adding Buttons
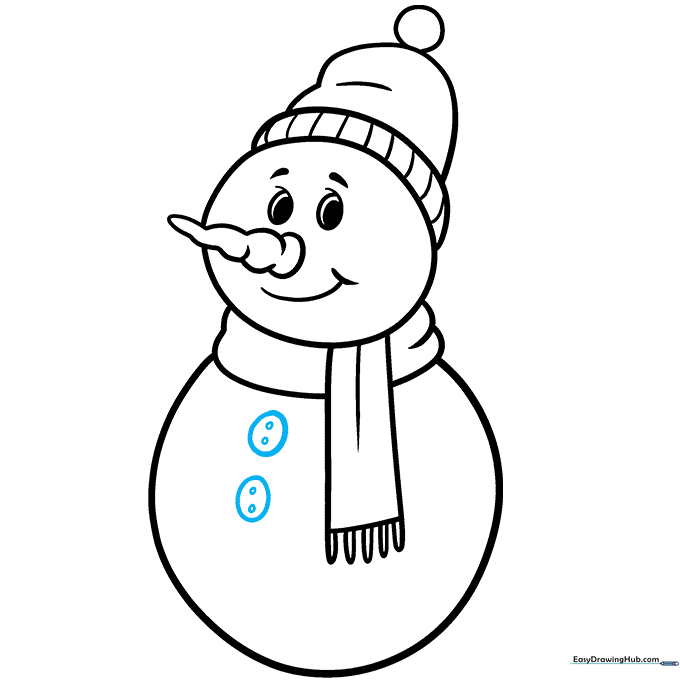
Place two small ovals in the center of the body, each with a smaller circle inside to represent buttons. Teacher's Tip: Aligning them vertically helps keep the snowman looking balanced.
Step 8: Creating the Branch Arm
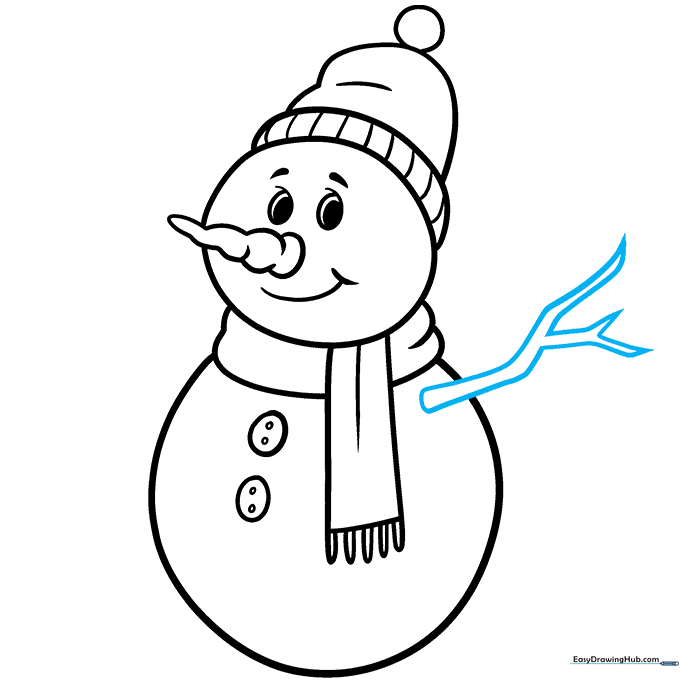
Draw a tree branch arm using curved lines that split into 'V' shapes at the tips. Erase any overlapping lines from the body. Teacher's Tip: Use jagged, uneven lines for the branch to make it look like real wood.
Step 9: Finalizing the Arms
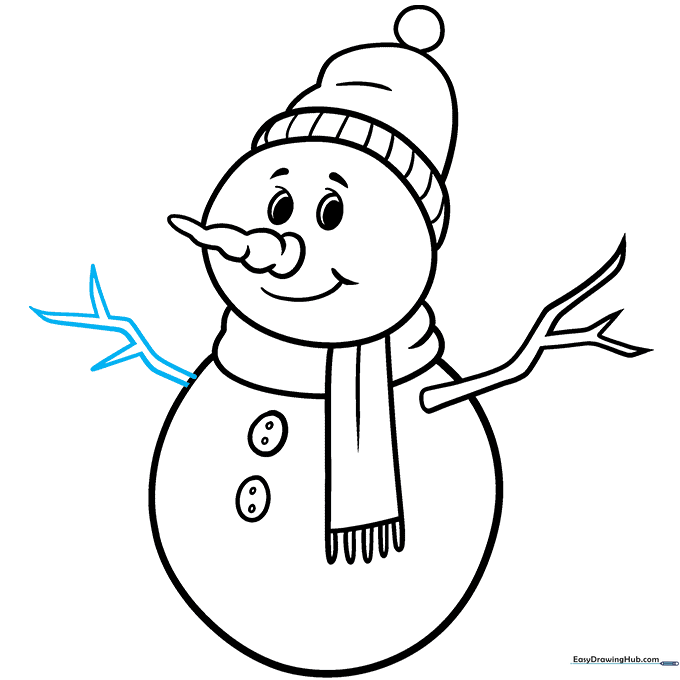
Repeat the process for the second arm on the opposite side. Ensure the branches look natural and balanced. Teacher's Tip: You can angle the arms differently to give your snowman more personality!
Step 10: Adding Color

Your outline is complete! Now, bring your snowman to life with color. Use bright oranges for the nose, and choose your favorite colors for the hat and scarf. Teacher's Tip: Use light blue shading around the edges of the white snow to give it a 3D, icy look.
More Tutorials


