How to Draw a Cute Cartoon Scarecrow: Easy 9-Step Guide
Bring a friendly harvest friend to life with this simple drawing tutorial, perfect for artists ages 5 and up. All you need is a pencil, an eraser, and a piece of paper to get started. Follow these steps to build confidence in your sketching skills while creating a charming, classic character.
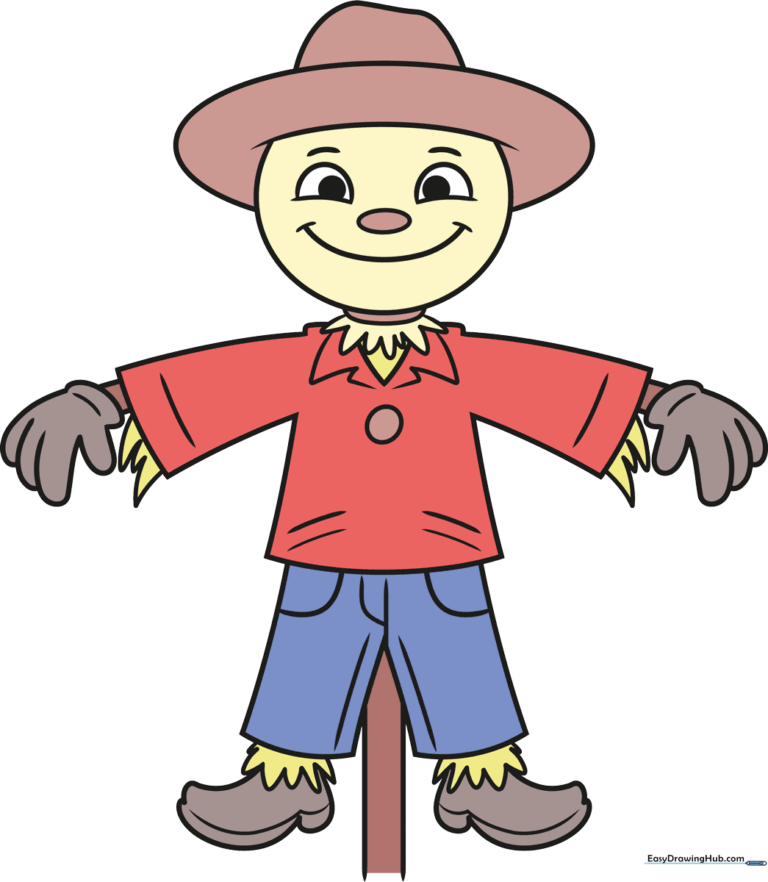
🎯 Final Result
Step-by-Step Instructions
Sketching the Head and Neck
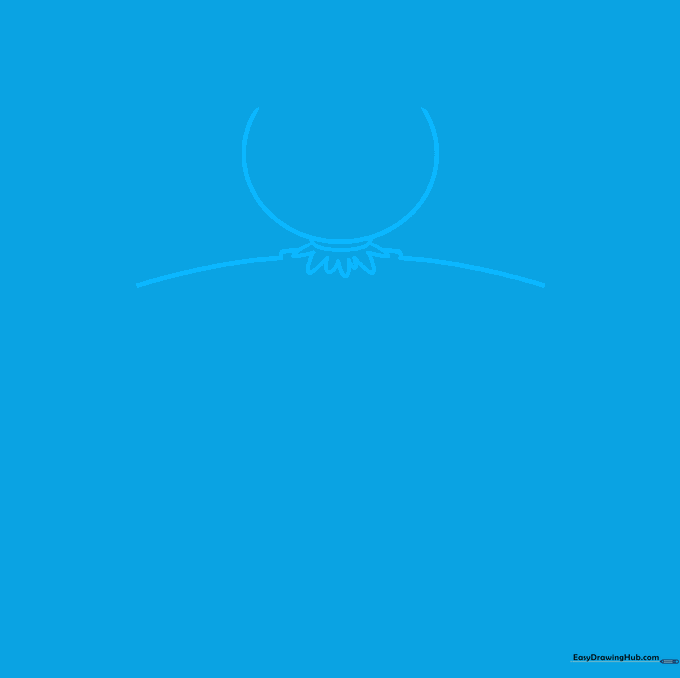
Draw a large, rounded 'C' shape for the head and a small crescent beneath it for the neck. Add a starburst pattern of 'U' shapes at the collar to represent straw. Tip: Keep your pencil lines light so you can easily erase any overlapping marks later.
Outlining the Torso and Sleeves
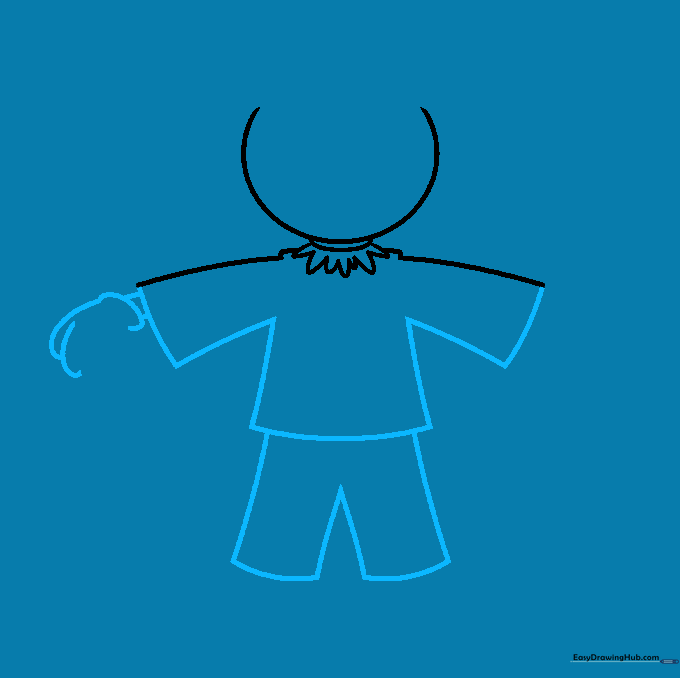
Use curved lines to define the shirt and pants. Extend two lines from the neck to form the shoulders and sleeves. Tip: Think of the sleeves as soft tubes; keep the curves rounded to make the scarecrow look cozy and stuffed.
Adding the First Glove
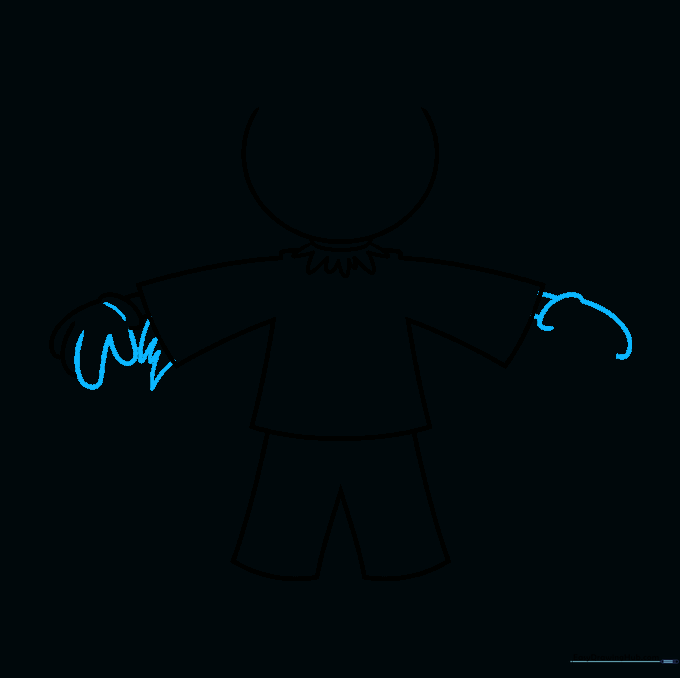
Draw the hand using 'U' shaped lines and add a curved line for the cuff. Add small, pointed shapes at the wrist to show straw poking out. Tip: Vary the size of your straw points to make them look more natural and messy.
Drawing the Support Pole
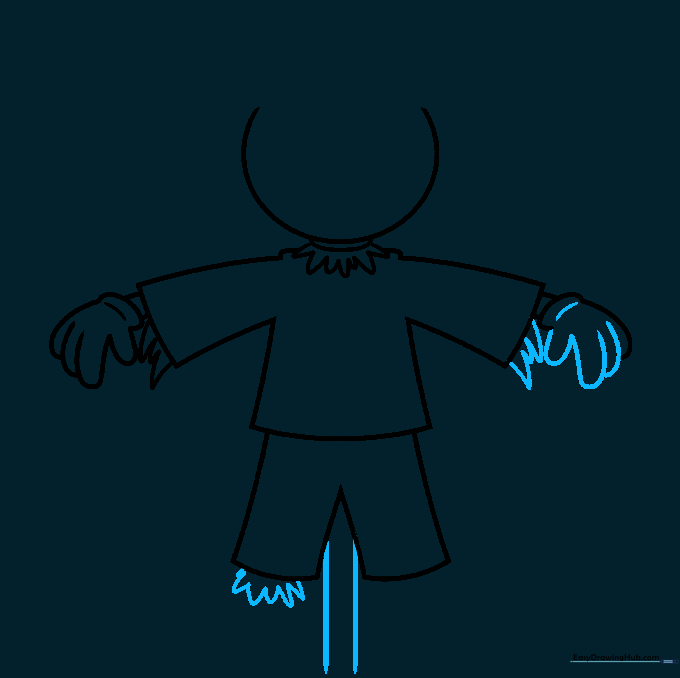
Finish the second hand with more straw details. Below the body, draw two vertical lines to create the wooden support pole. Tip: Use a ruler if you want the pole perfectly straight, or draw it freehand for a rustic, handmade look.
Adding Shoes and Leg Straw
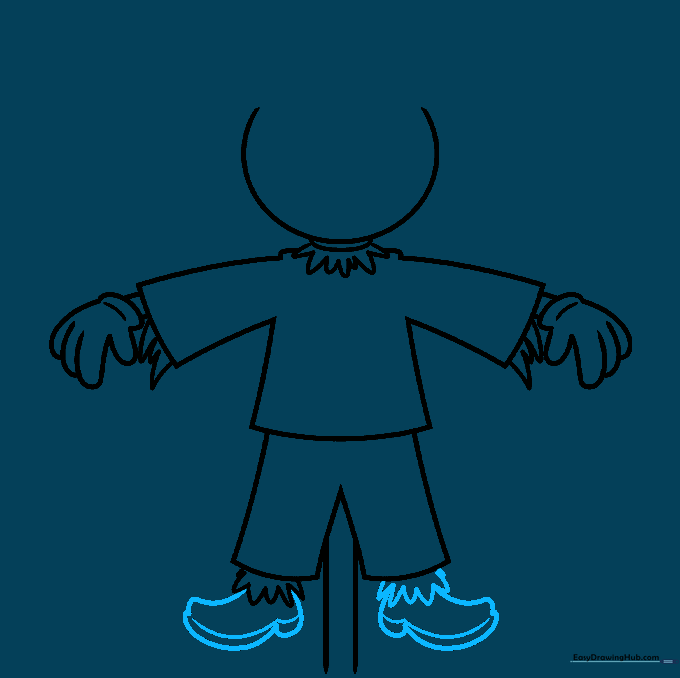
Draw irregular, rounded shapes at the bottom of the pants for shoes, adding a curved line for the sole. Add more straw at the ankles. Tip: Make the shoes slightly different sizes to give your scarecrow a fun, quirky personality.
Giving the Scarecrow a Face
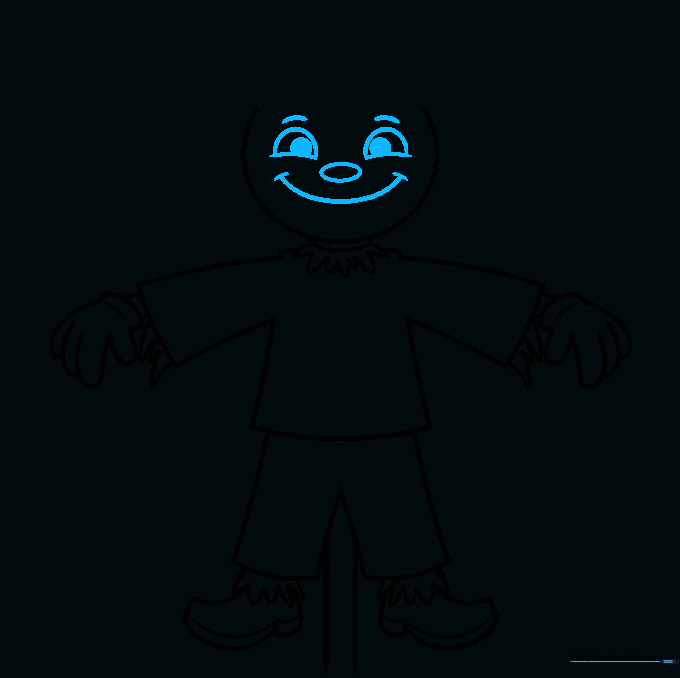
Sketch a wide, happy smile and two half-circle eyes. Add pupils and a small oval nose. Tip: Draw the eyes slightly off-center to make the scarecrow look like it has a playful, stitched-on expression.
Drawing the Hat
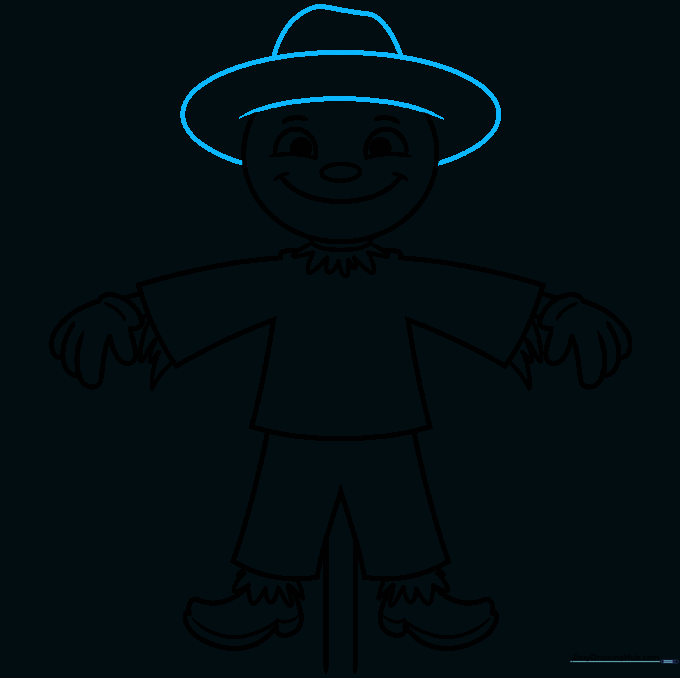
Draw a curved line across the forehead, then an oval brim around the head. Top it off with a smaller curved line for the crown. Tip: You can tilt the hat to one side to give your scarecrow more character!
Adding Clothing Details
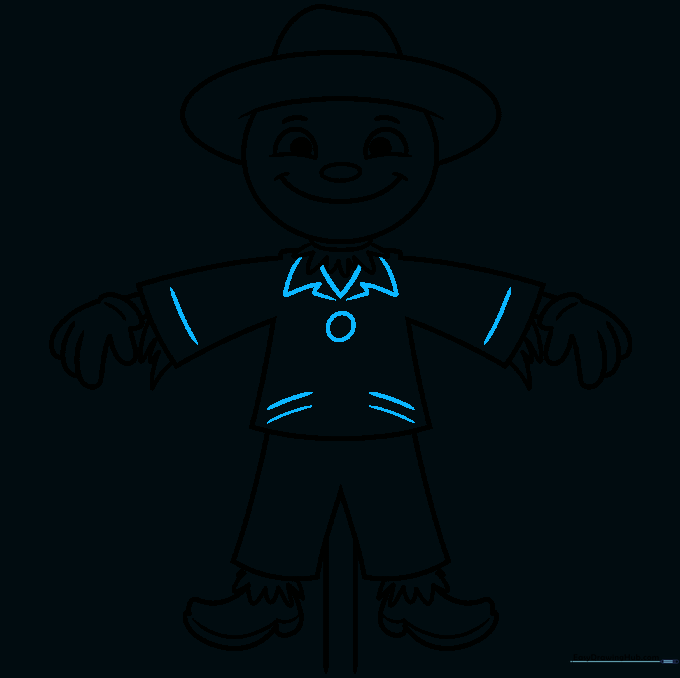
Add triangles for the collar and a circle for a button. Draw extra lines at the cuffs to show texture. Tip: Use a darker pencil stroke here to make these details pop against the rest of the drawing.
Final Touches on the Pants
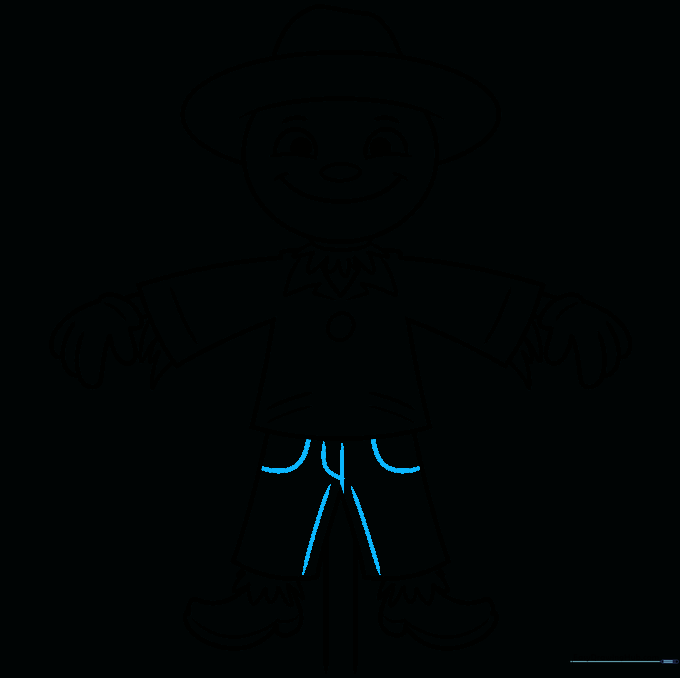
Finish the look by adding pockets, a zipper, and seam lines to the pants. Tip: Keep these lines simple to maintain the 'cartoon' style.
Coloring Your Scarecrow

Bring your drawing to life with color! Use warm yellows for the straw, earthy browns for the hat, and your favorite colors for the clothes. Tip: Use light pressure with your crayons to create a soft, blended look.
More Tutorials


