How to Draw a Cartoon Moose: Easy 10-Step Guide
Ready to bring a forest friend to life? This tutorial is perfect for young artists ages 5 and up. All you need is a pencil, an eraser, and a piece of paper to practice these simple shapes and lines. By the end, you'll have a charming cartoon moose ready for your next art project!
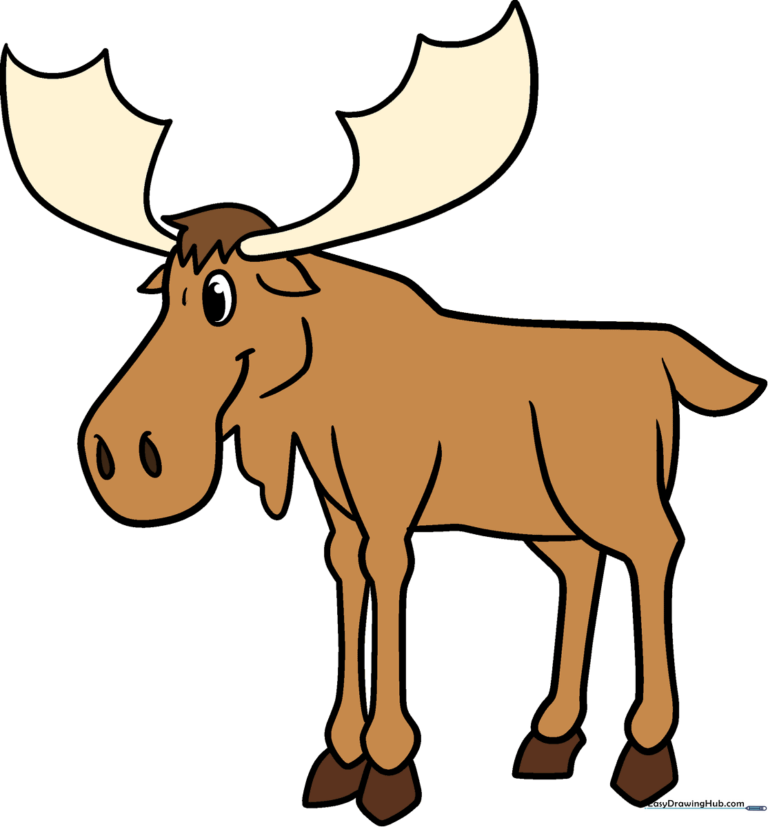
🎯 Final Result
Step-by-Step Instructions
Step 1: Sketching the Snout and Face
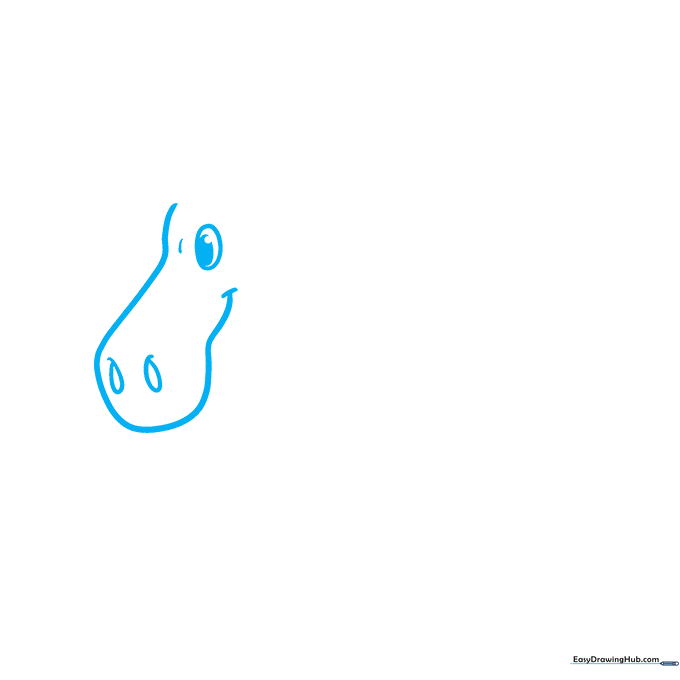
Start by drawing a long, gentle curve for the moose's snout. Add two small ovals for nostrils and a series of circles for the eyes, shading one to create a pupil. Tip: Keep your pencil pressure light here so you can easily adjust the shape of the snout if needed.
Step 2: Defining the Ears and Jaw
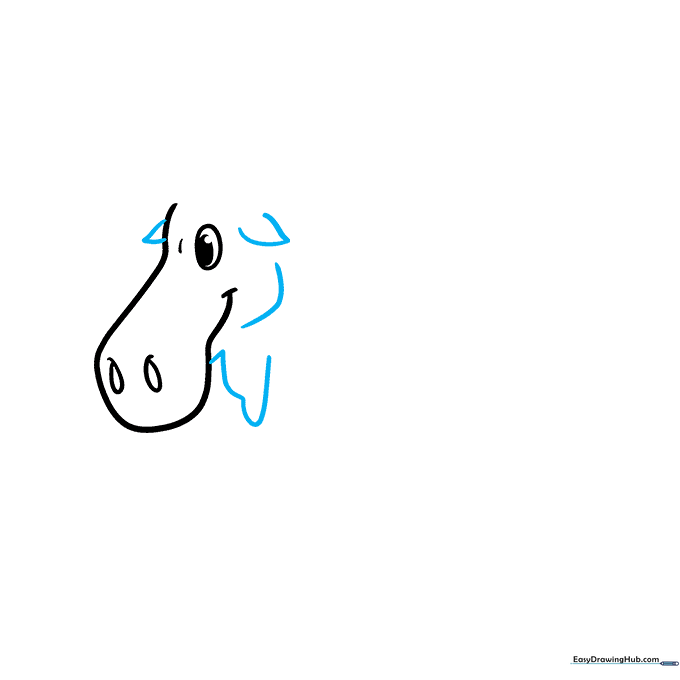
Draw two pointed ears using curved lines that meet at a tip. Then, sketch the jawline and the characteristic 'dewlap'—the loose skin hanging from the neck. Tip: The dewlap is what makes a moose look like a moose, so make it nice and floppy!
Step 3: Starting the Antlers
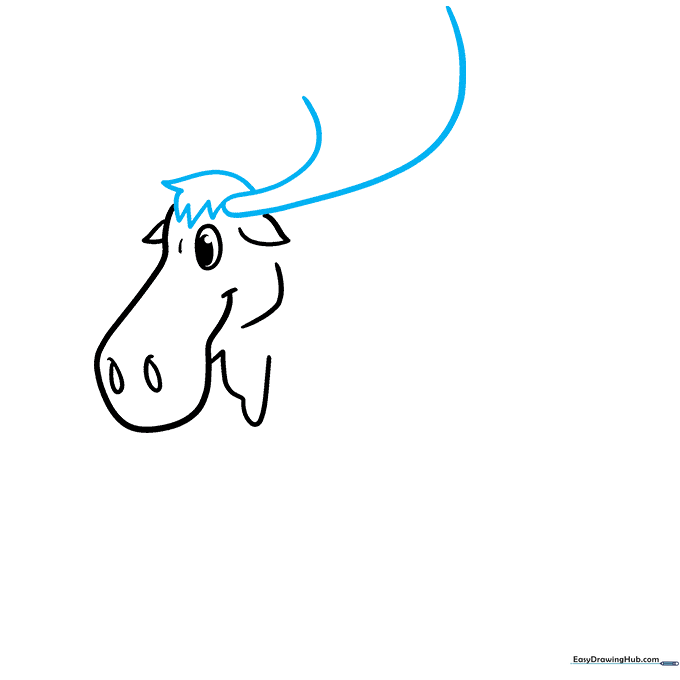
Extend two curved lines from the top of the head to form the base of the first antler. Add a little 'shaggy' fur at the base. Tip: Use short, quick strokes to make the fur look textured and natural.
Step 4: Completing the Antler Shape
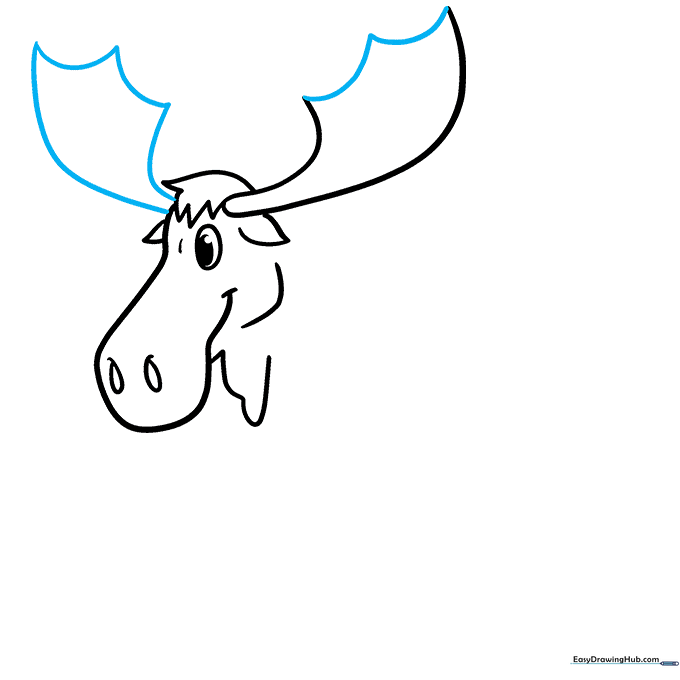
Connect the antler lines with a wide 'W' shape at the top to give it that classic moose look. Tip: Don't worry about making the antler perfectly symmetrical; real antlers are quite irregular!
Step 5: Drawing the Back and Tail
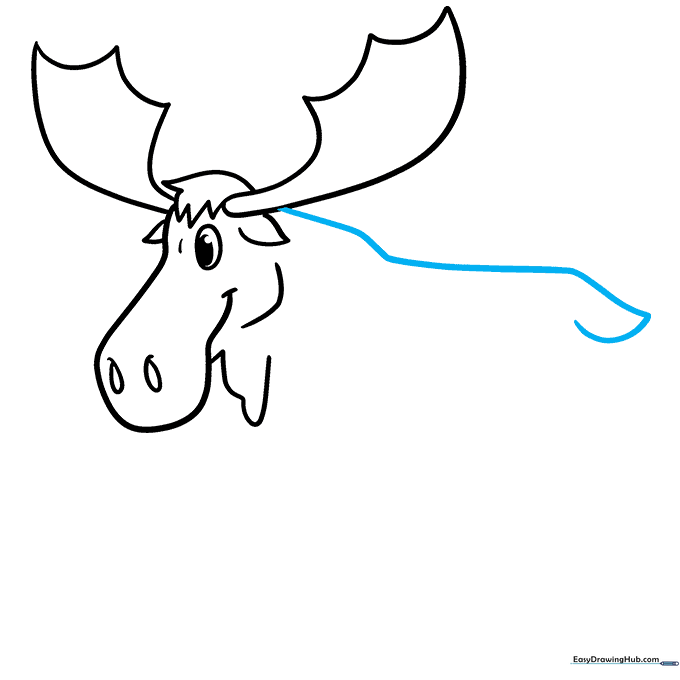
Draw a long, smooth curve from the antler down to create the back. Loop the line back at the end to form a small, simple tail. Tip: Keep this line fluid to show the moose's movement.
Step 6: Adding the First Front Leg
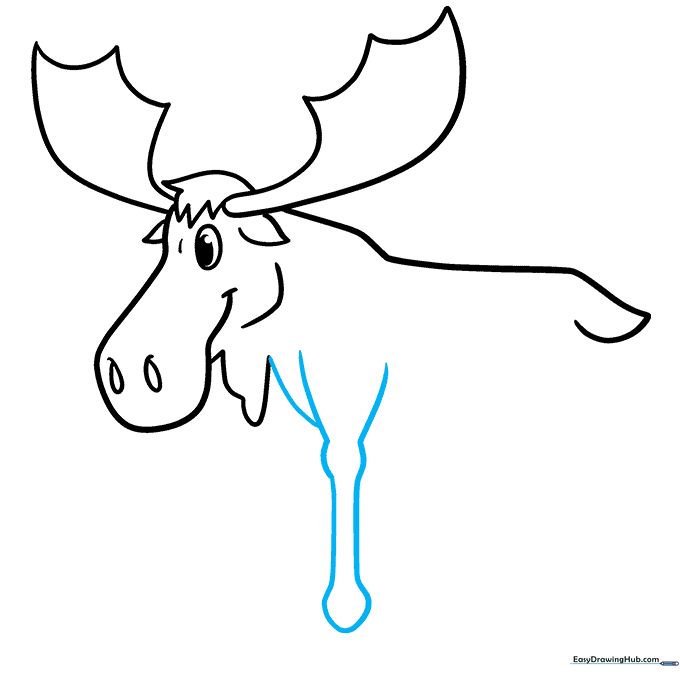
Draw a long, curved line that doubles back to form the first front leg. Add a slight bulge for the knee. Tip: Make sure the leg looks sturdy, as moose are large, powerful animals!
Step 7: Adding the Second Front Leg
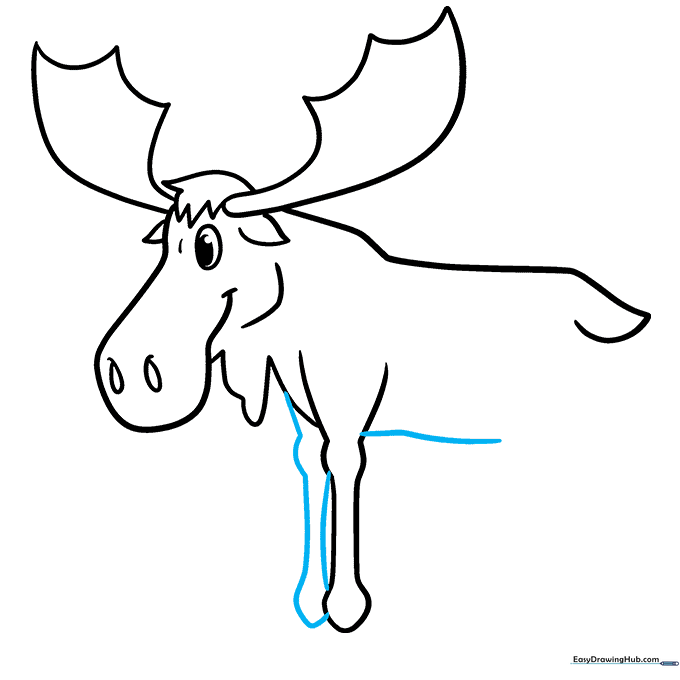
Draw the second front leg behind the first one, then connect them with a curved line for the stomach. Tip: This creates a sense of depth in your drawing.
Step 8: Drawing the Rear Leg
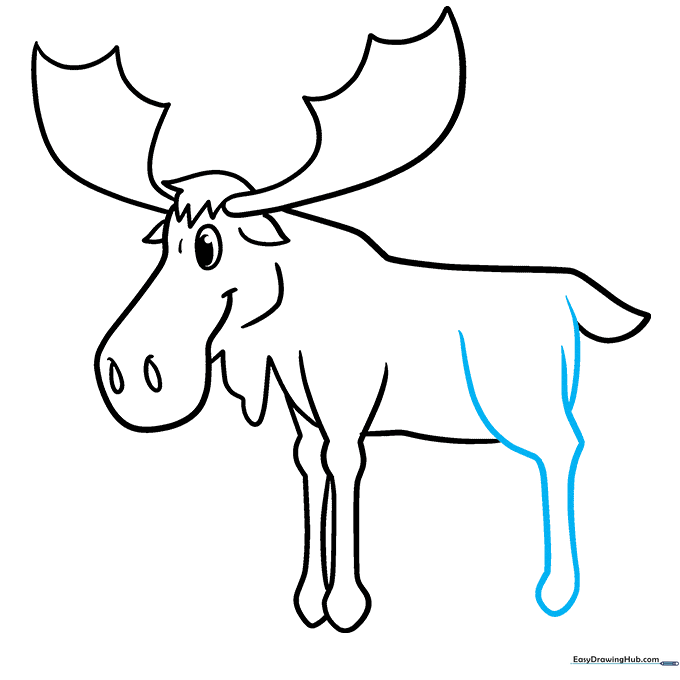
Sketch the rear leg using a similar curved technique, adding a point at the back of the leg for the hock. Connect the leg to the tail area. Tip: Notice how the rear leg is slightly thicker than the front legs.
Step 9: Finalizing the Hooves
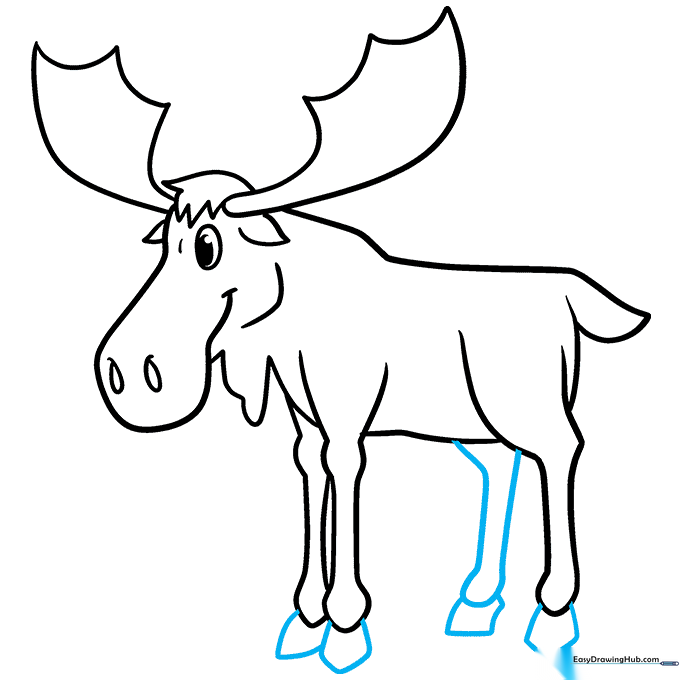
Draw the final leg and add small, rounded shapes at the bottom of all four legs to represent the hooves. Tip: Keep the hooves simple and dark to ground your character on the page.
Step 10: Bring Your Moose to Life with Color
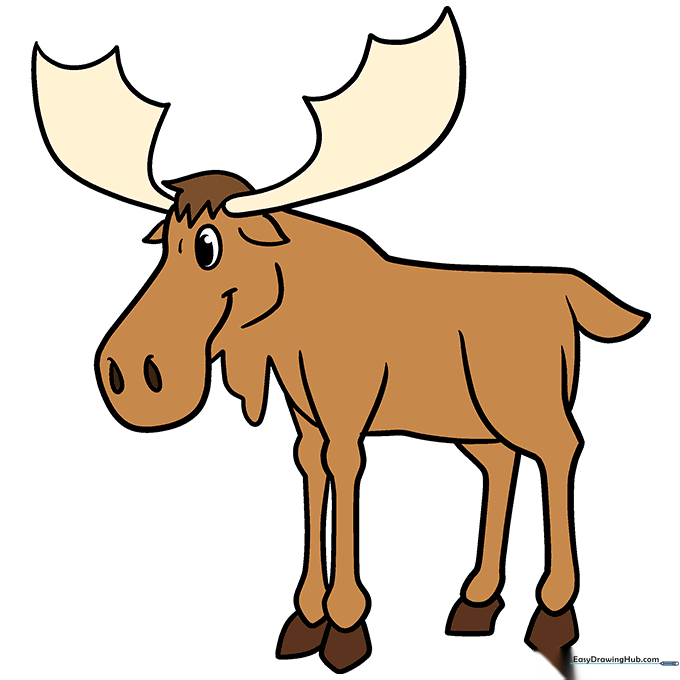
Your outline is finished! Now, grab your markers or crayons. We used rich browns to color our moose, but feel free to get creative. Tip: Try using a darker brown for the hooves and a lighter shade for the body to add contrast.
More Tutorials


