How to Draw a Cartoon Ice Cream Cone: Easy 10-Step Guide
Looking for a fun, screen-free activity? This step-by-step guide is perfect for young artists ages 5 and up to practice basic shapes and line work. Grab a pencil, an eraser, and your favorite markers to create a delicious, multi-scoop treat that looks good enough to eat!
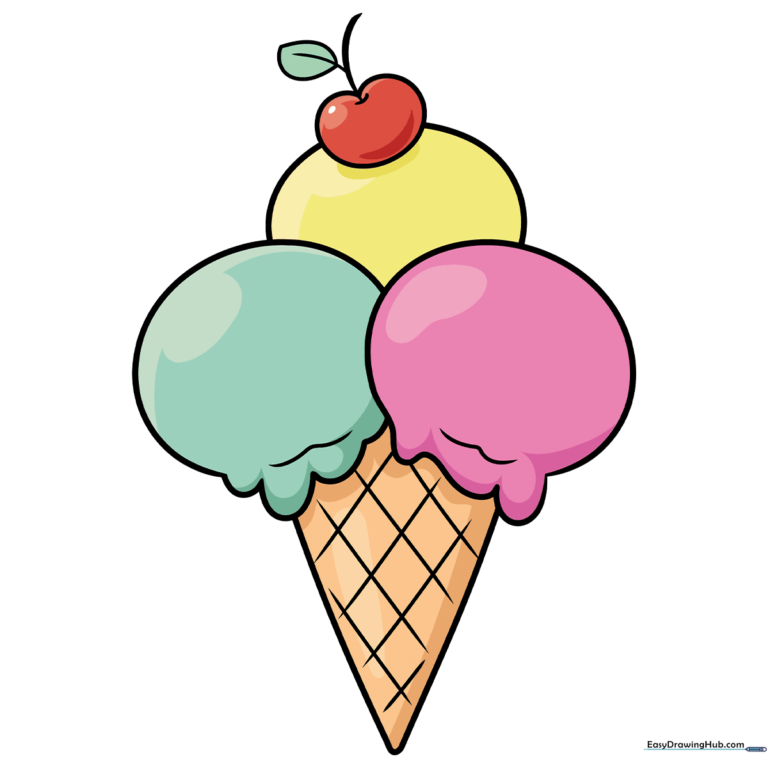
🎯 Final Result
Step-by-Step Instructions
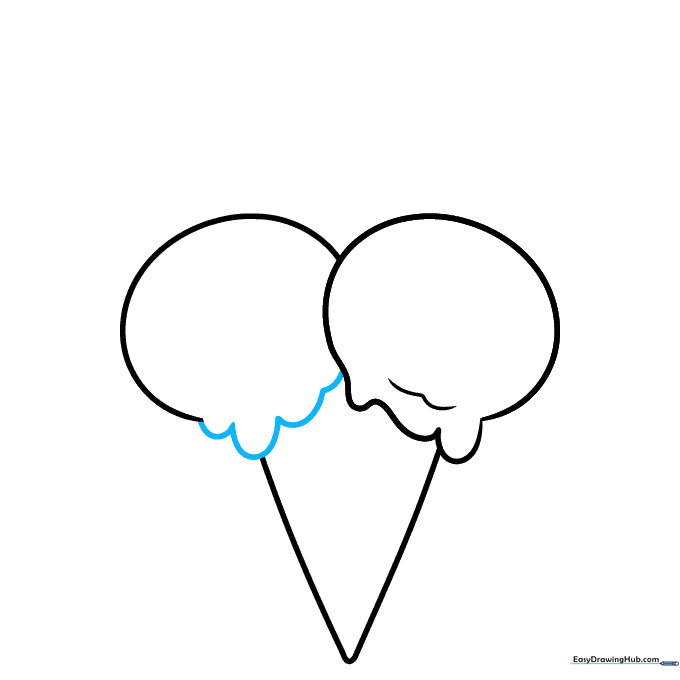
Step 1: Sketching the Cone Base
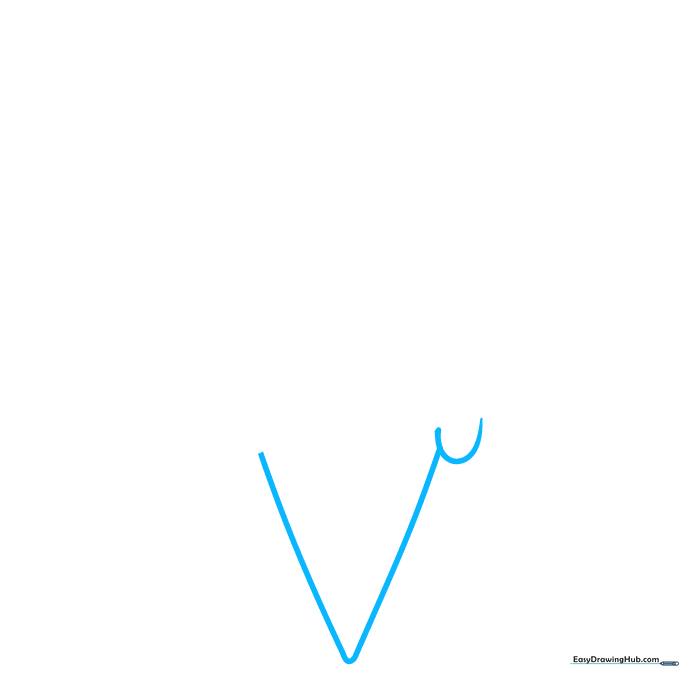
Draw a large 'V' shape to form the cone. Add a small 'U' curve on one side to represent a drip of melting ice cream. Teacher's Tip: Keep your pencil lines light so you can easily adjust the shape if the cone looks a bit lopsided.
Step 2: Forming the First Scoop
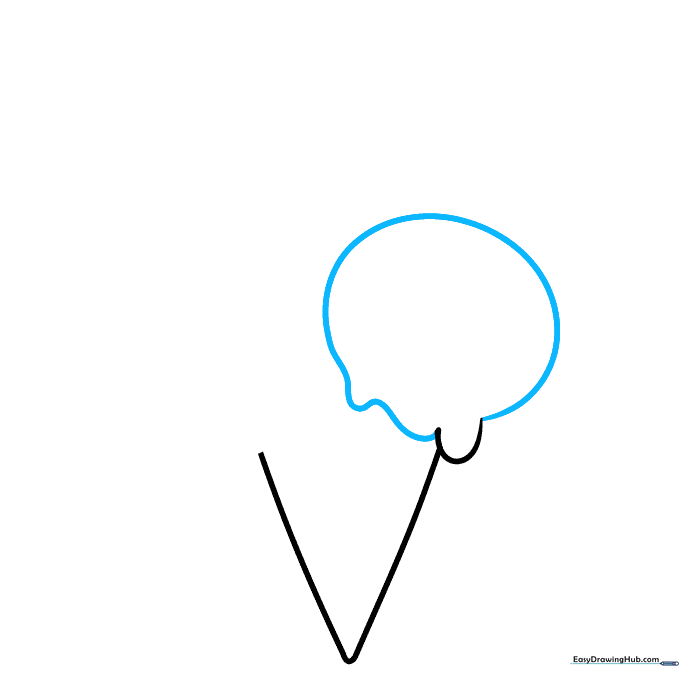
Draw an irregular oval on top of the drip. Use a long, wavy line at the bottom to make it look like soft-serve ice cream. Teacher's Tip: Don't worry about making the oval perfect; ice cream is naturally bumpy and organic!
Step 3: Adding the Second Scoop
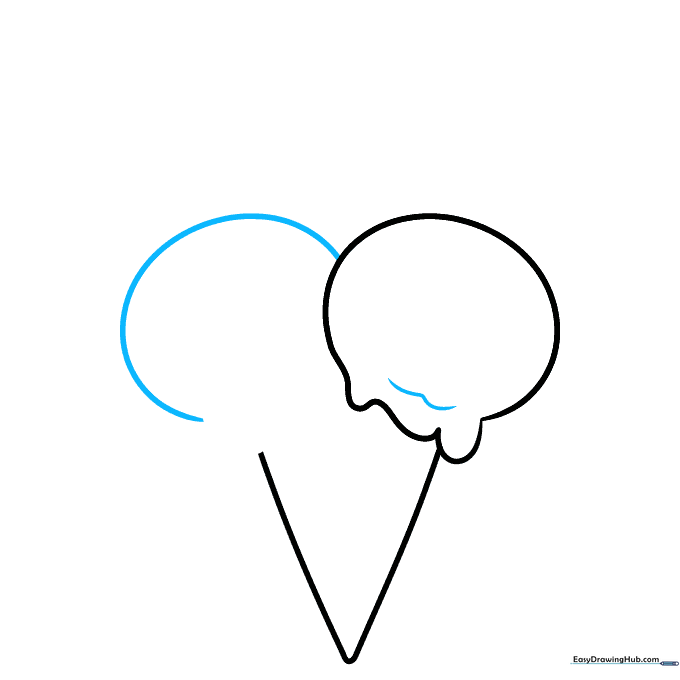
Draw a curved line across the top of the first scoop, then add a second oval shape above it. Teacher's Tip: Imagine you are stacking real scoops—make the second one slightly smaller than the first for a realistic look.
Step 4: Creating Melting Details
Use a series of 'U' shaped lines along the bottom of the second scoop to show it melting. Teacher's Tip: Vary the size of your 'U' shapes to make the melting look more natural and less uniform.
Step 5: The Cherry on Top
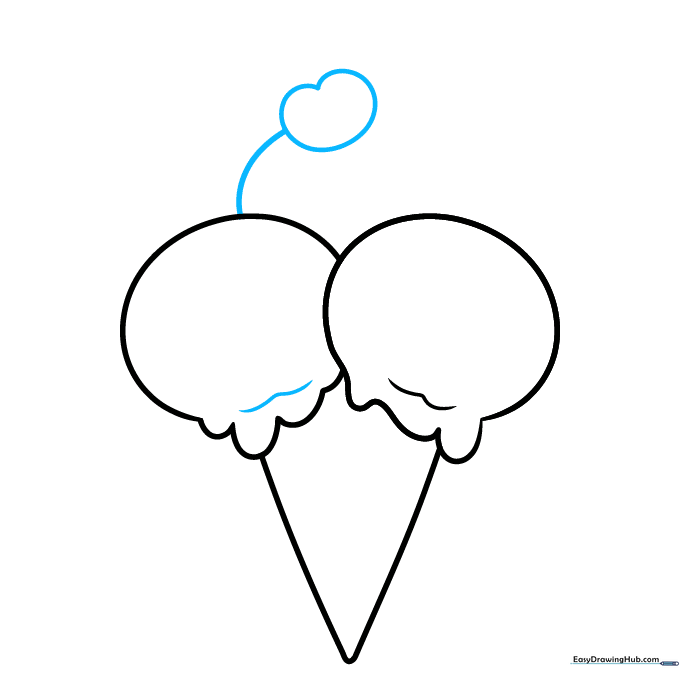
Draw a wavy line across the top of the drips, then add a heart shape above the scoops for the cherry. Teacher's Tip: A heart shape is a great shortcut for a cherry—it naturally creates that little dimple at the top!
Step 6: Completing the Scoop and Stem
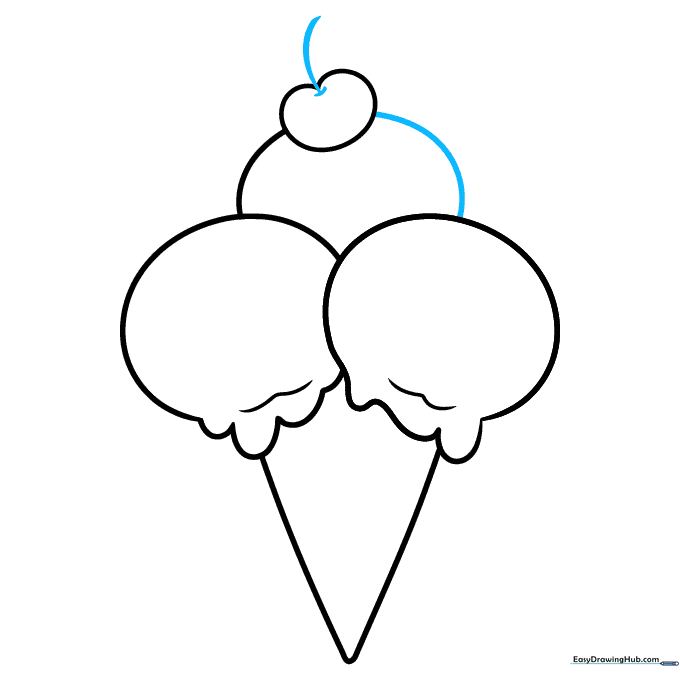
Finish the third scoop with a curved line and add a stem extending from the cherry. Teacher's Tip: Make the stem a single, smooth, slightly curved line to give it a graceful look.
Step 7: Adding a Leaf
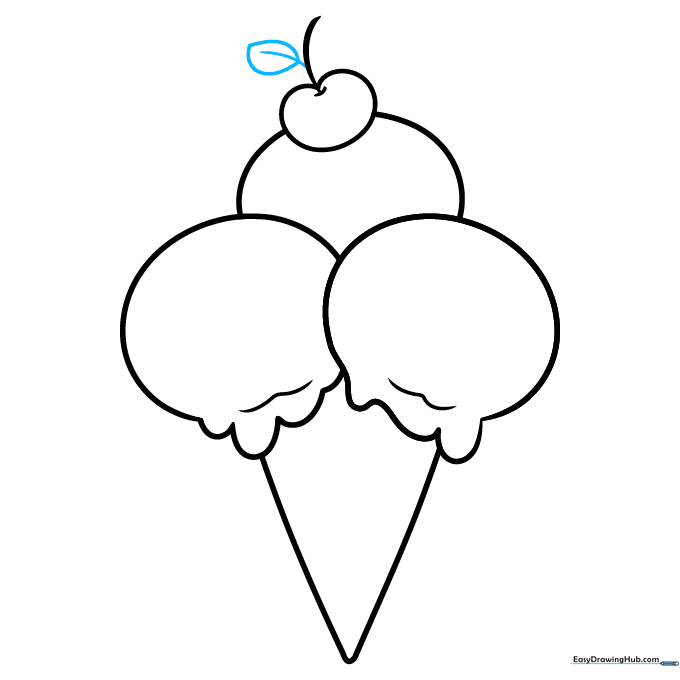
Draw a small leaf attached to the cherry stem. Teacher's Tip: Use two curved lines that meet at a sharp point to create the leaf shape; it adds a nice pop of detail.
Step 8: Texturing the Cone
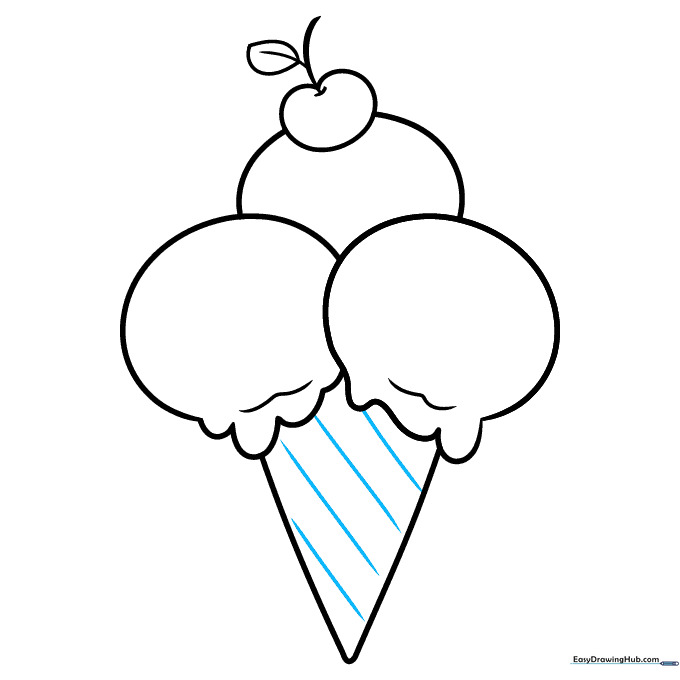
Draw diagonal, parallel lines across the cone. Teacher's Tip: Use a ruler if you want perfectly straight lines, or go freehand for a more whimsical, hand-drawn style.
Step 9: Finishing the Waffle Pattern
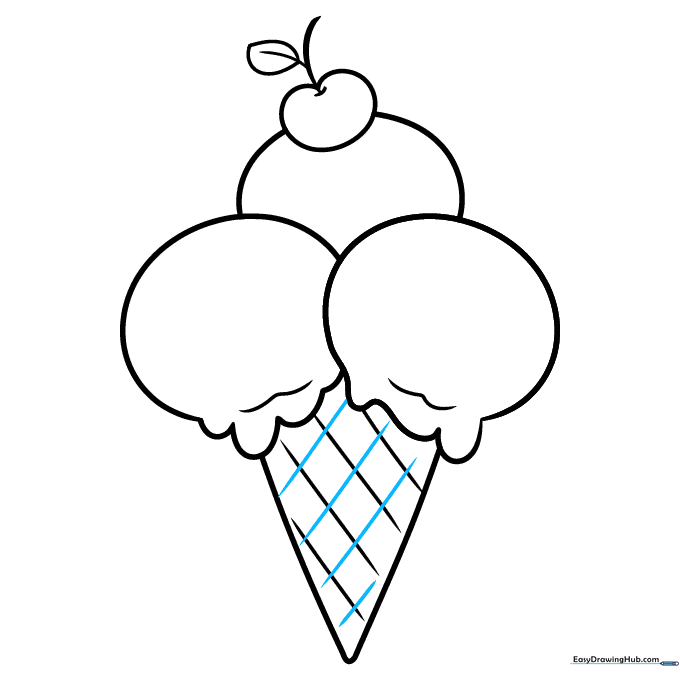
Draw lines in the opposite direction to create a crosshatch pattern on the cone. Teacher's Tip: This grid pattern is what makes it look like a real crispy waffle cone!
Step 10: Adding Color

Bring your drawing to life! Use golden brown for the cone and your favorite bright colors for the scoops. Teacher's Tip: Use a darker shade of brown for the cone's shadows to give it a 3D effect.
More Tutorials


