How to Draw a Cartoon Guitar: Easy 9-Step Guide
Ready to rock? This tutorial is perfect for young artists ages 5 and up who want to draw their own musical instrument. All you need is a pencil, an eraser, and a piece of paper to get started. By the end of this lesson, you will have a vibrant cartoon guitar ready for your next masterpiece.
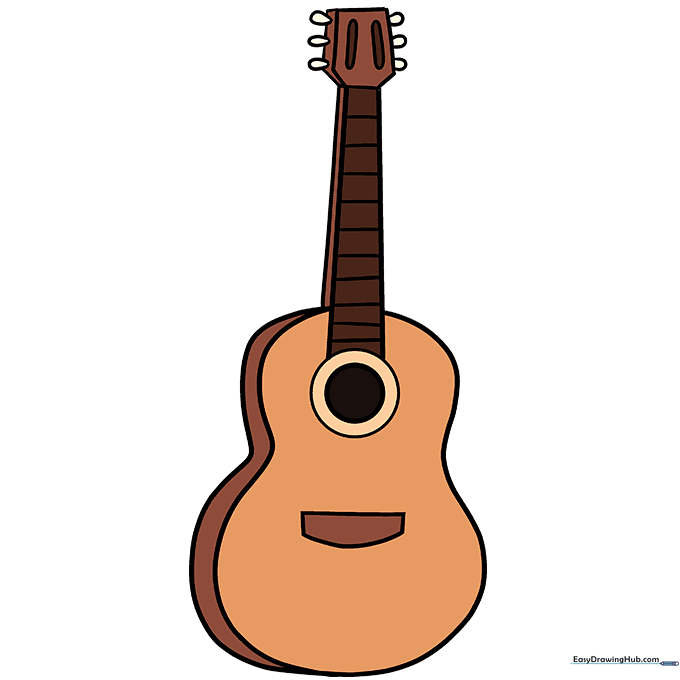
🎯 Final Result

Step-by-Step Instructions
Step 1: Sketching the Soundhole

Draw a small circle, then a larger circle around it to create the soundhole. Teacher's Tip: Keep your pencil pressure light so you can easily clean up any overlapping lines later.
Step 2: Forming the Neck
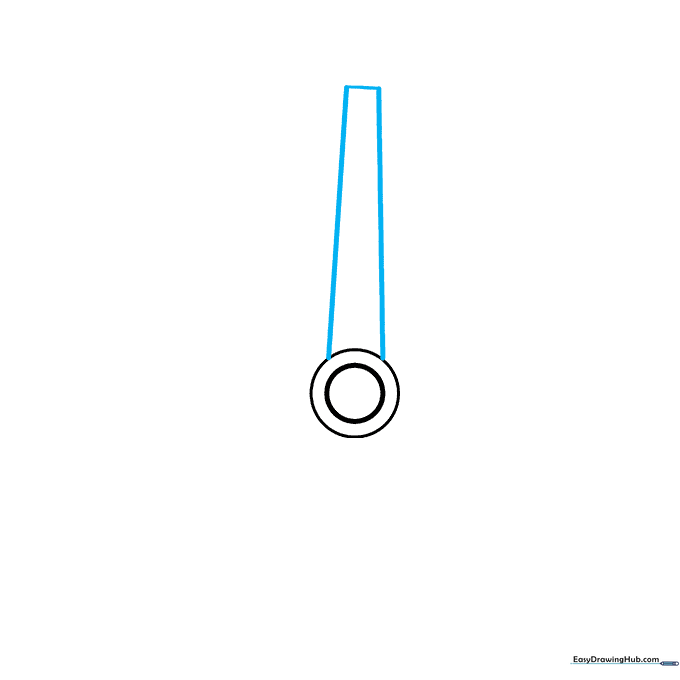
Extend two straight lines upward from the soundhole, angling them slightly toward each other. Connect them at the top. Teacher's Tip: Use a ruler if you want perfectly straight lines, or practice freehand for a more organic, cartoon look.
Step 3: Adding the Frets
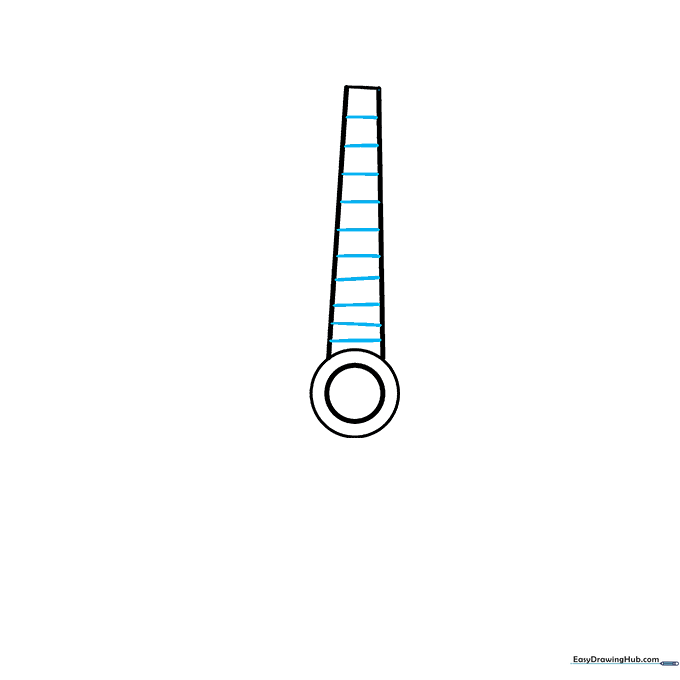
Draw several horizontal lines across the neck to create the frets. Teacher's Tip: Space them out evenly to make your guitar look professional and balanced.
Step 4: Sketching the Headstock
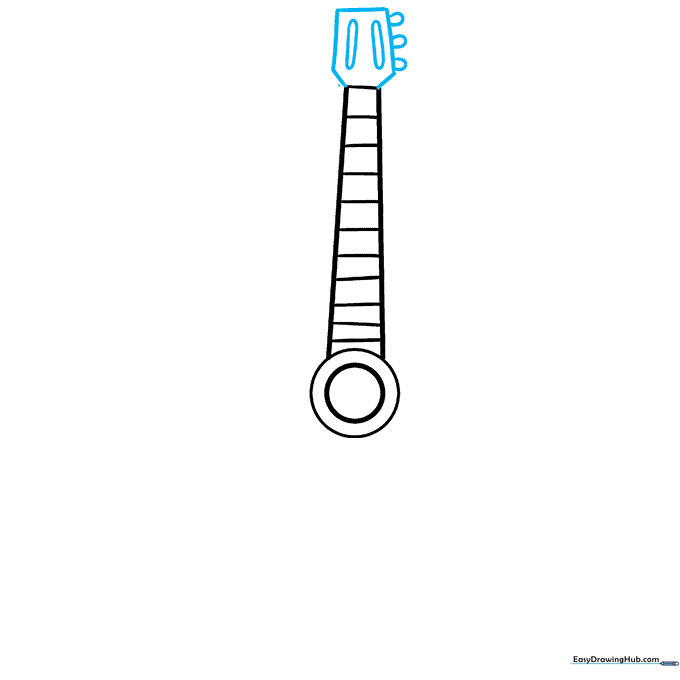
Draw an irregular hexagon at the top of the neck, then add small teardrop shapes on the side for the tuning pegs. Teacher's Tip: Think of these as the 'ears' of the guitar—keep them symmetrical for the best look.
Step 5: Adding Depth
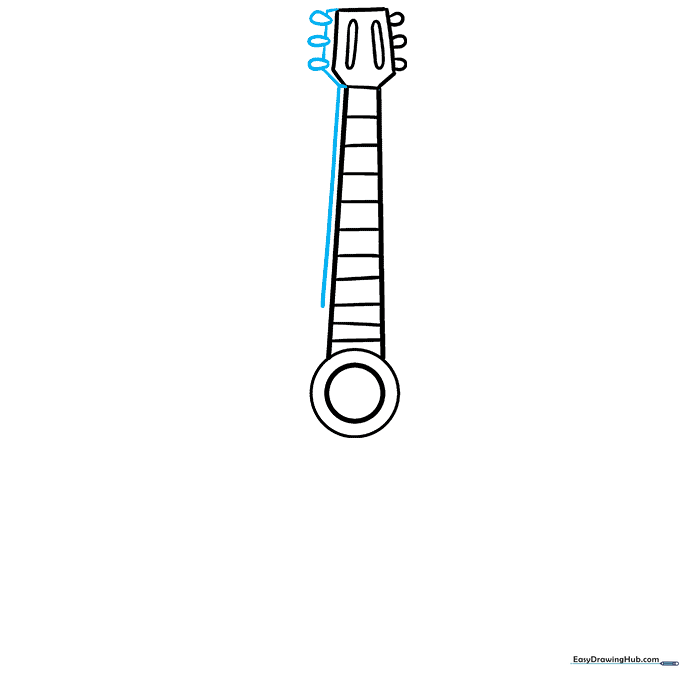
Draw parallel lines along the side of the neck and headstock to give them a 3D effect. Teacher's Tip: This simple technique makes your drawing pop off the page!
Step 6: Starting the Body
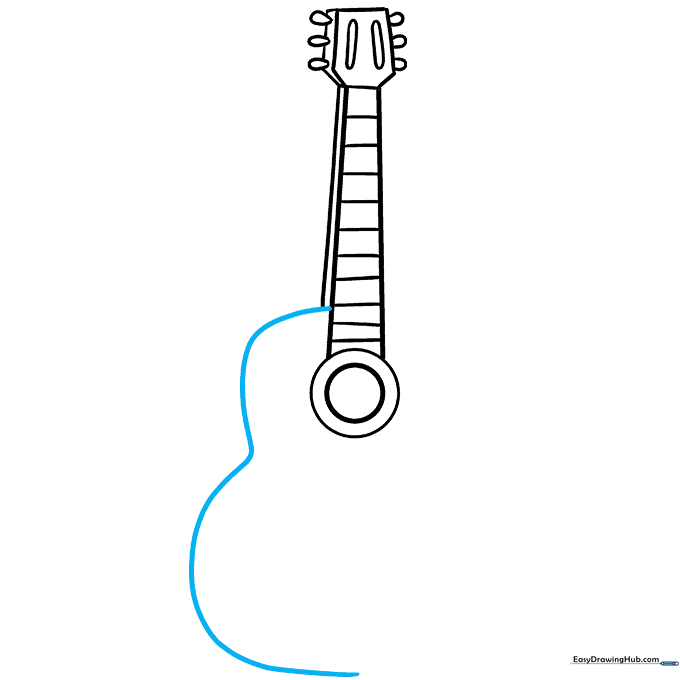
Draw a long, sweeping curved line starting from the neck to begin the guitar's body. Teacher's Tip: Imagine you are drawing a large peanut shape; keep your hand loose and fluid.
Step 7: Closing the Body
Continue the curved line until it meets back at the neck, completing the body shape. Teacher's Tip: Don't worry if it's not perfect—cartoon guitars look great with a little personality!
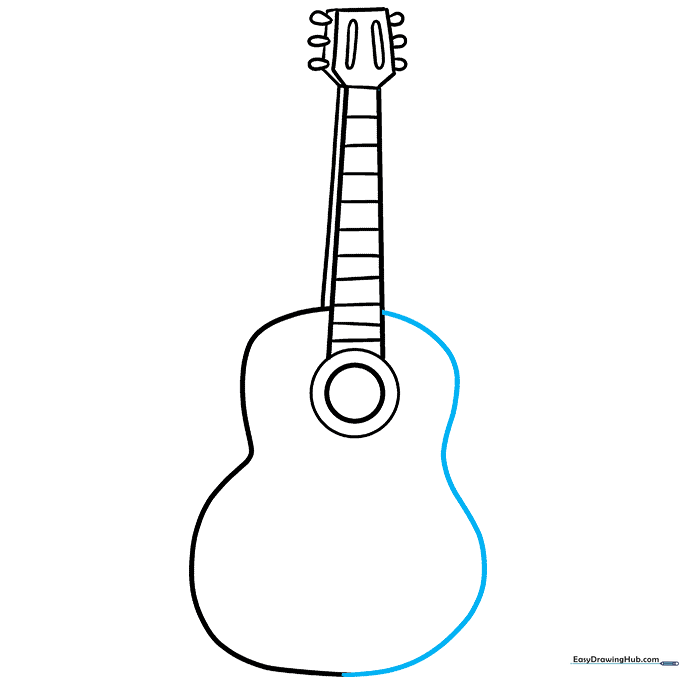
Step 8: Adding Body Dimension
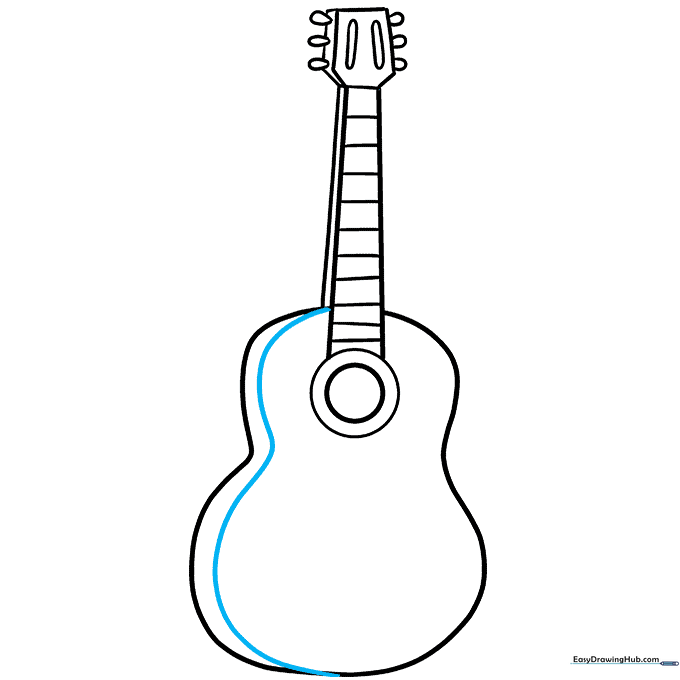
Draw a parallel curved line along the inside edge of the body. Teacher's Tip: This creates the illusion of the guitar's side panel, giving it a realistic 3D feel.
Step 9: Drawing the Bridge
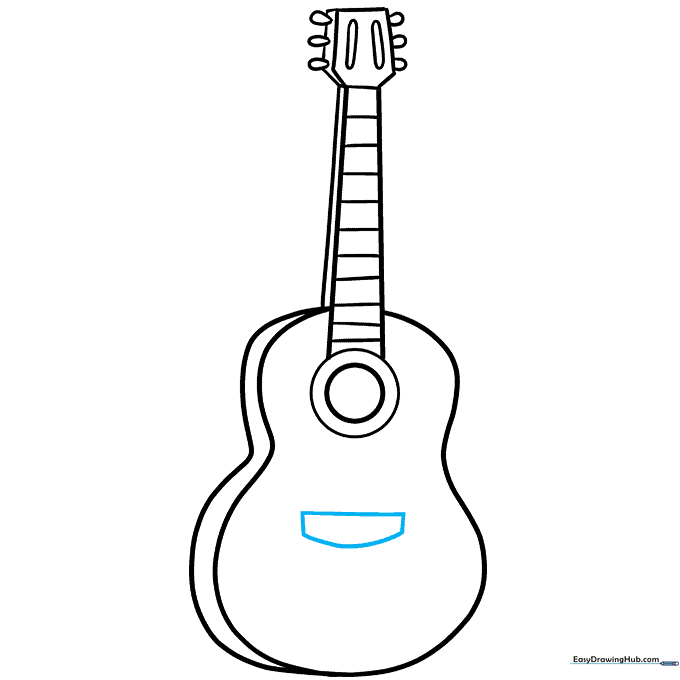
Add a small rectangular shape on the body to represent the bridge. Teacher's Tip: This is where the strings would be anchored, so place it just below the soundhole.
Step 10: Bring It to Life with Color
Your outline is finished! Use your favorite colors to fill in the guitar. Teacher's Tip: Try using bright colors like neon blue or hot pink for a fun, modern cartoon look, or classic wood tones for a traditional vibe.
More Tutorials


