How to Draw a Cute Cartoon Duck: Easy 10-Step Guide
This step-by-step tutorial is perfect for young artists ages 5 and up. All you need is a pencil, an eraser, and a piece of paper to bring this cheerful duck to life. Follow along to practice basic shapes and build your drawing confidence.
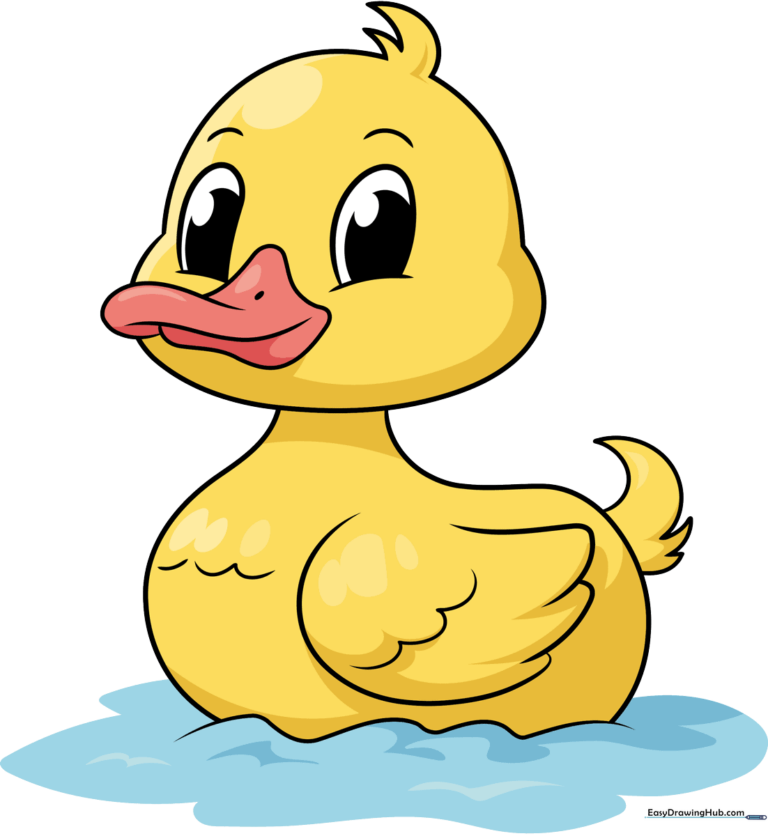
🎯 Final Result
Step-by-Step Instructions
Step 1: Sketching the Eye
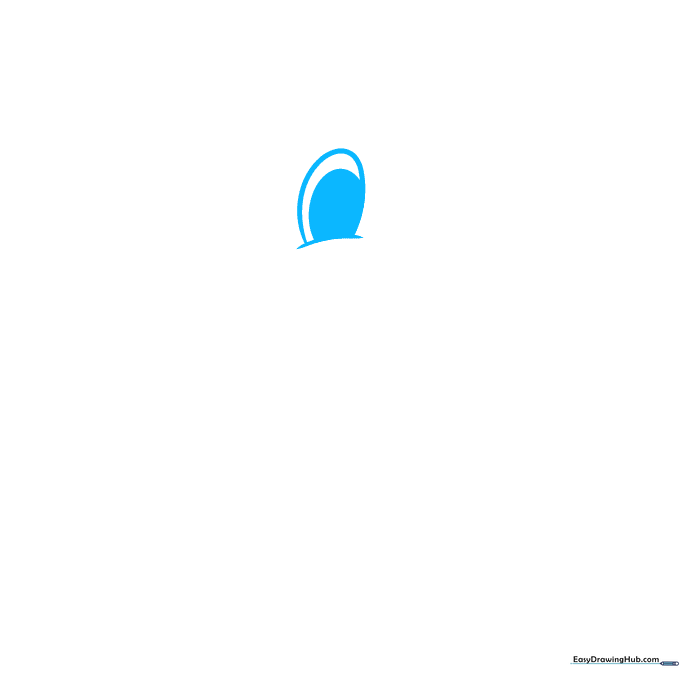
Draw a small, curved line for the cheek, then add a partial oval on top for the eye. Shade in a small pupil. Teacher's Tip: Keep the eye near the center of your paper to leave room for the rest of the body.
Step 2: Adding the Second Eye and Beak Base
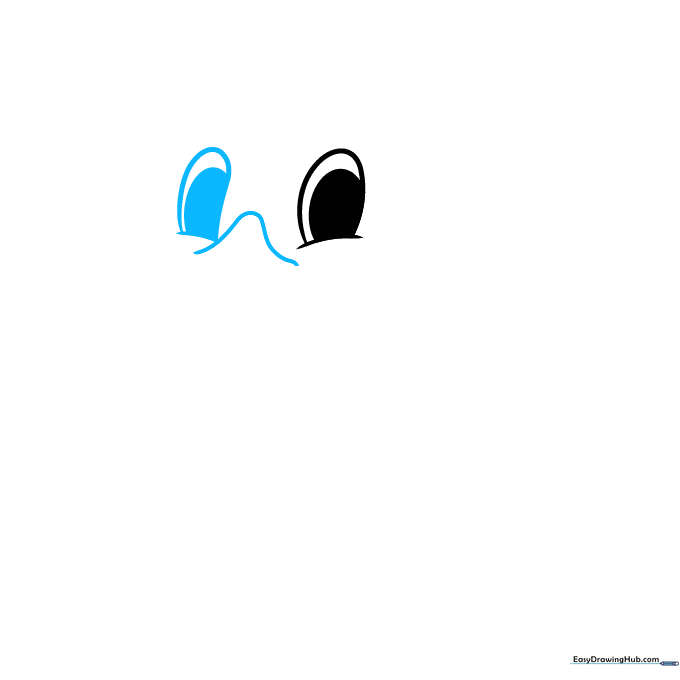
Repeat the eye shape on the other side. Then, draw a gentle curve between the eyes to start the top of the beak. Teacher's Tip: Make sure the eyes are level with each other to give your duck a friendly, balanced look.
Step 3: Shaping the Bill
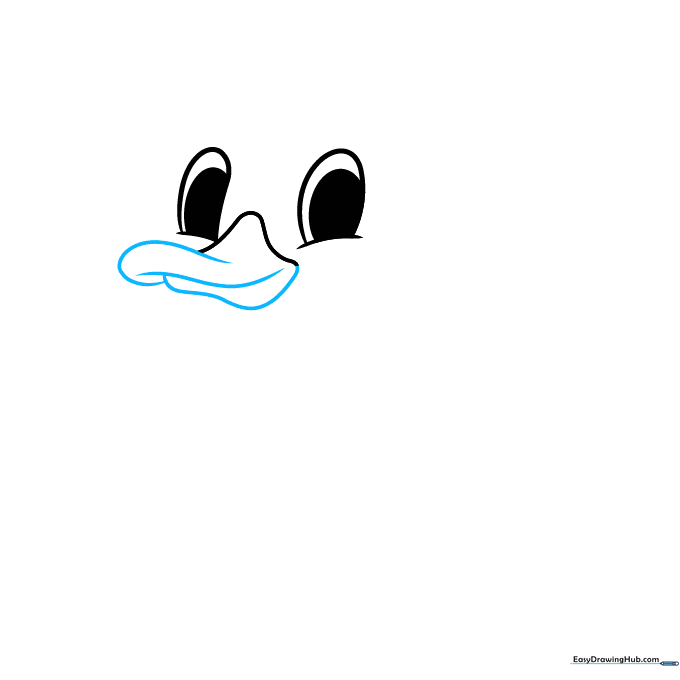
Use overlapping curved lines to sketch the full shape of the bill. Teacher's Tip: Think of the bill as a wide, flattened 'U' shape. Don't press too hard; keep the lines smooth.
Step 4: Defining the Face
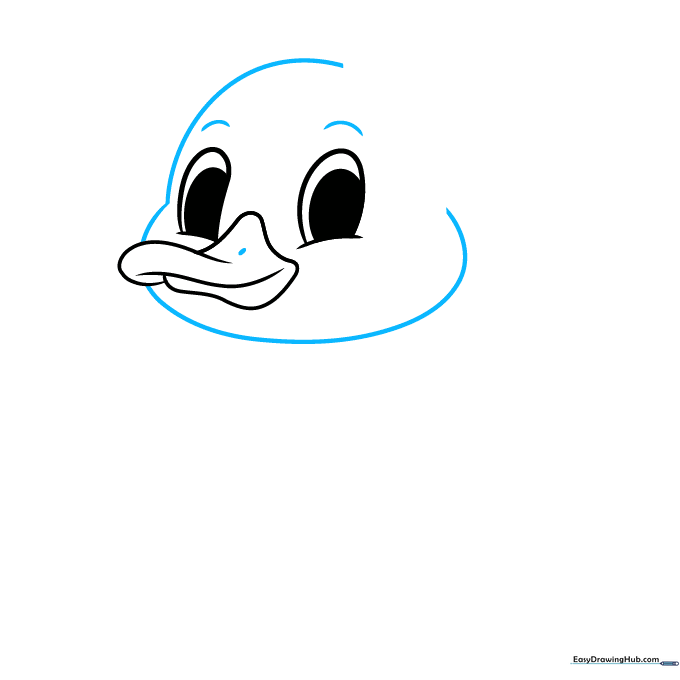
Outline the face with long curves, add small arches for eyebrows, and shade a tiny oval for the nostril. Teacher's Tip: Eyebrows add personality! Try angling them to make your duck look surprised or happy.
Step 5: Adding Feathers and Neck
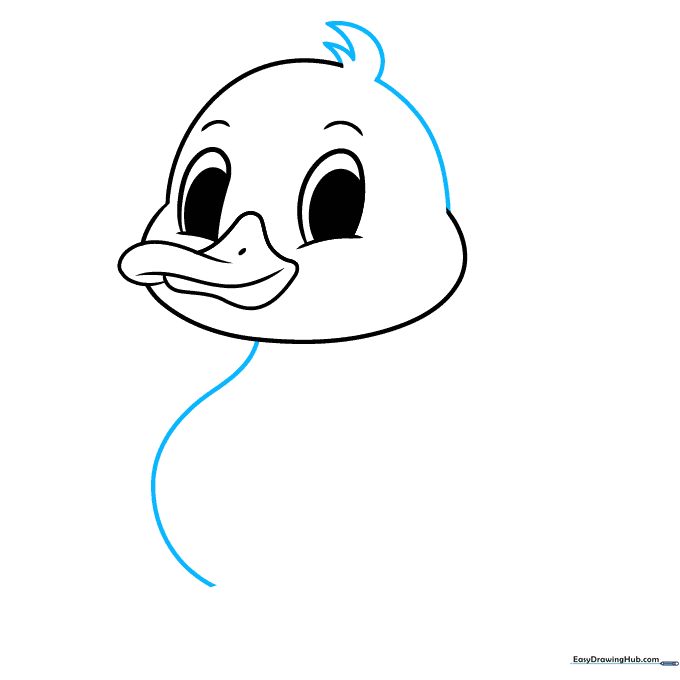
Finish the head with a tuft of feathers on top, then draw a long curve down for the neck. Teacher's Tip: Use short, quick strokes for the feathers to make them look soft and fluffy.
Step 6: Drawing the Back and Wing
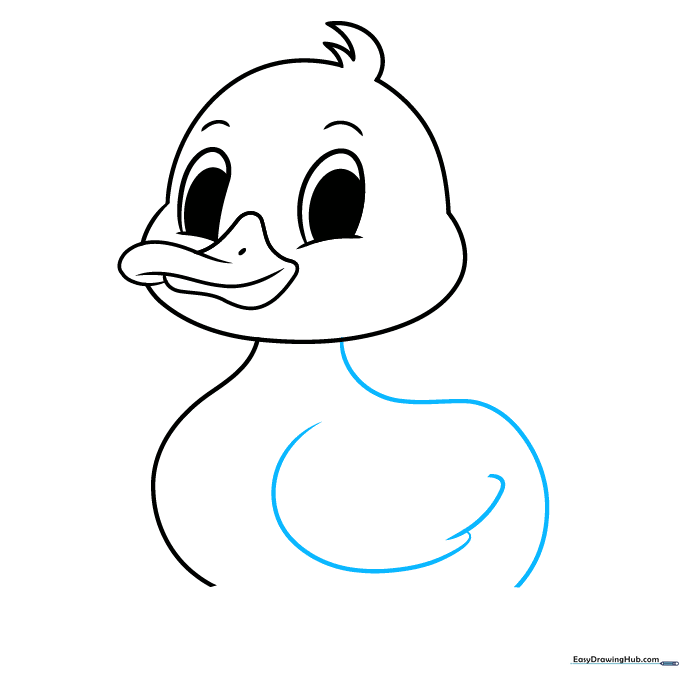
Extend the back line and sketch a wing using overlapping curves. Teacher's Tip: The wing should look like a folded fan. Keep your lines rounded to maintain the cartoon style.
Step 7: Detailing the Wing
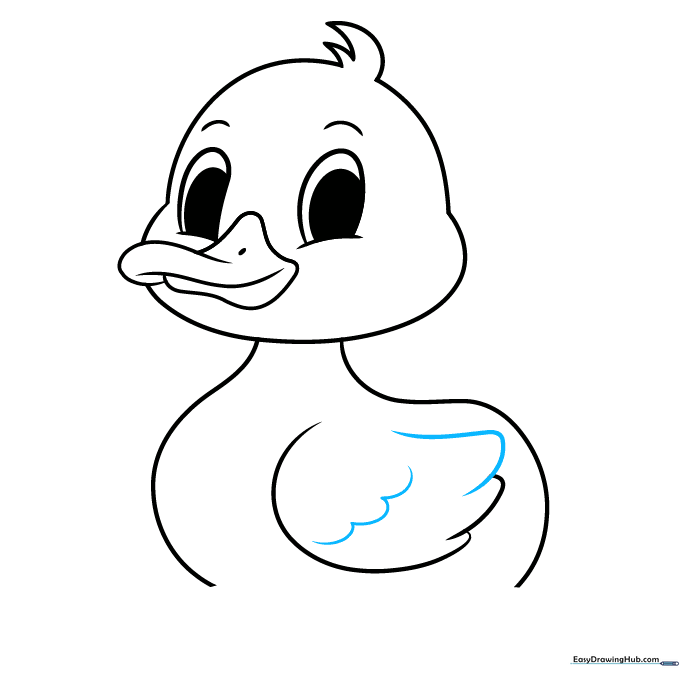
Add more curved lines to define the wing feathers. Teacher's Tip: Vary the length of your curves to make the feathers look layered and realistic.
Step 8: Adding the Tail
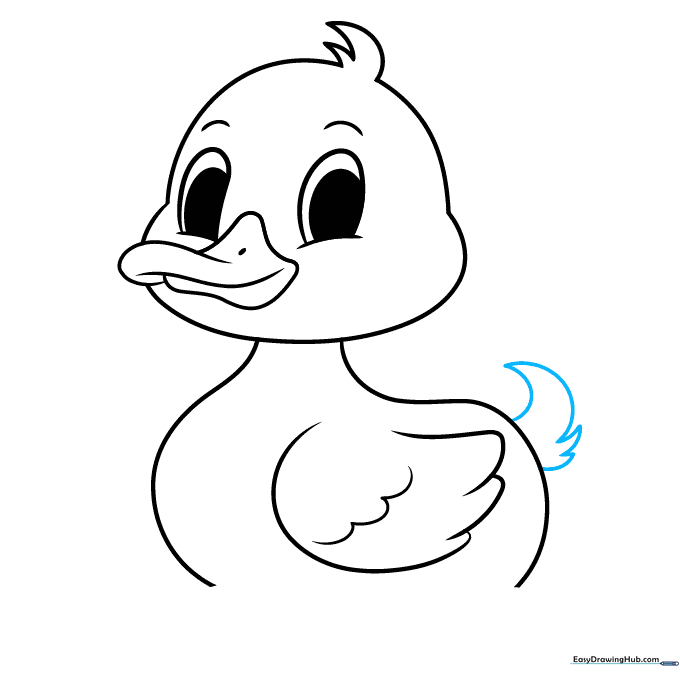
Draw the tail using curved lines that meet at sharp points. Teacher's Tip: The tail should look like a small, pointy fan sticking out from the back.
Step 9: Adding Texture and Water
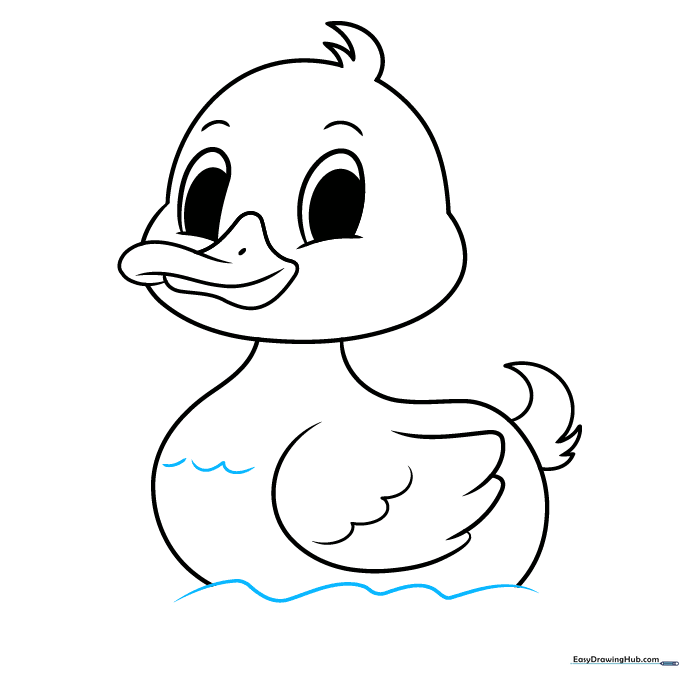
Add a few curved lines on the chest for texture and a wavy line below to show the duck is floating. Teacher's Tip: The wavy line helps ground your drawing and tells a story!
Step 10: Bring Your Duck to Life with Color
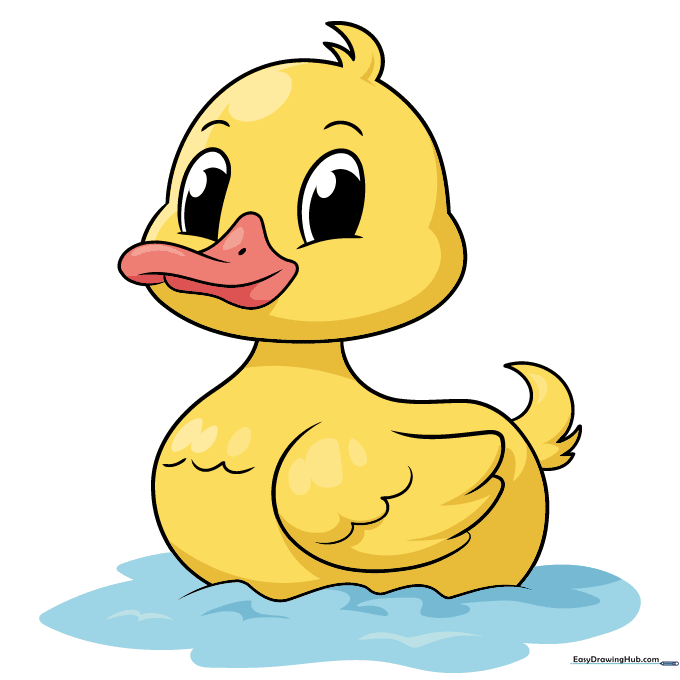
Now for the fun part! Use yellow for a classic rubber duck look, or browns and greens for a mallard. Teacher's Tip: Use light pressure with your colored pencils to blend colors smoothly.
More Tutorials


