How to Draw a Cartoon Caterpillar: Easy 10-Step Guide
Looking for a fun, screen-free activity? This step-by-step guide is perfect for children ages 5+ to practice basic shapes and line control. All you need is a pencil, an eraser, and a piece of paper to bring your own friendly bug to life.
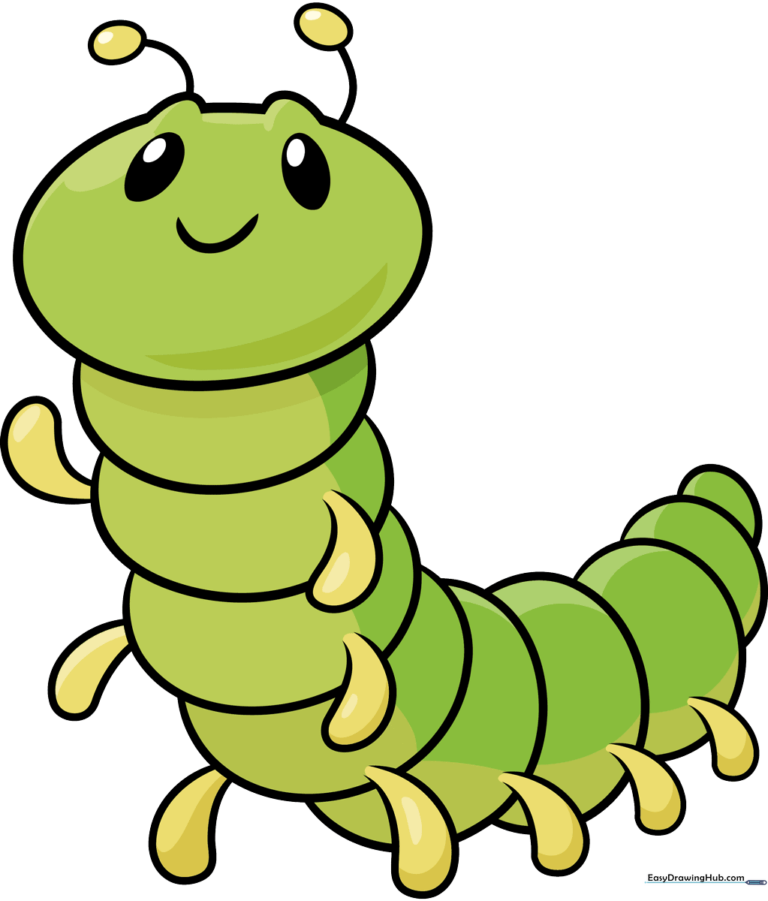
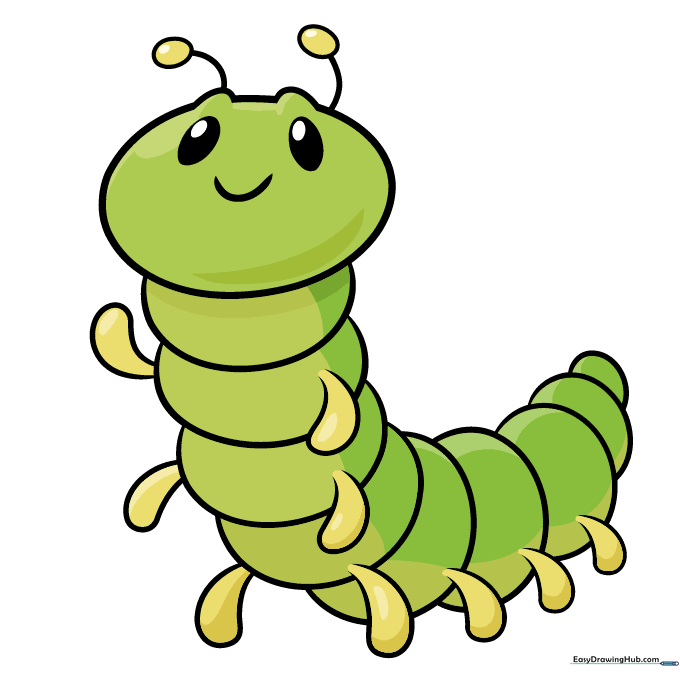
🎯 Final Result
Step-by-Step Instructions
Step 1: Sketching the Head
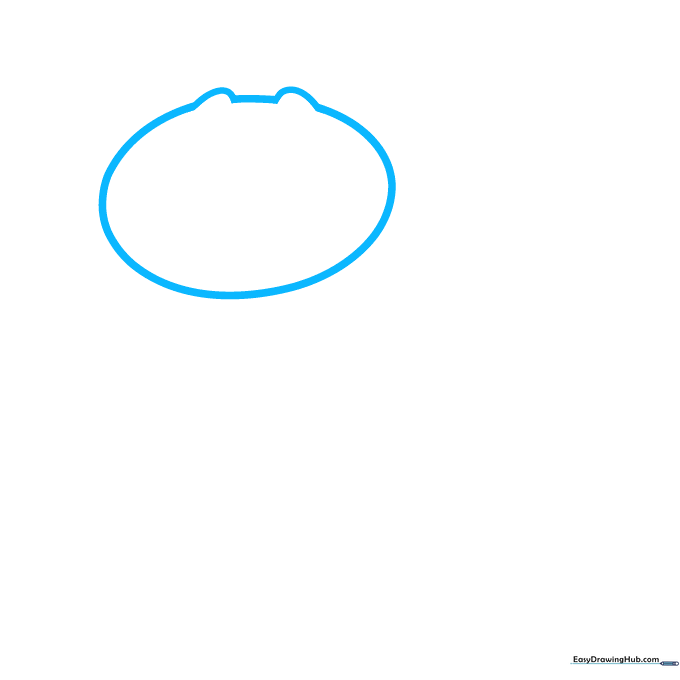
Start by drawing a large oval for the head, but leave a small gap at the top. Add two 'C' shapes on the sides of the gap and connect them with a curved line. Teacher's Tip: Keep your pencil pressure light here so you can easily adjust the shape if needed.
Step 2: Adding Facial Features
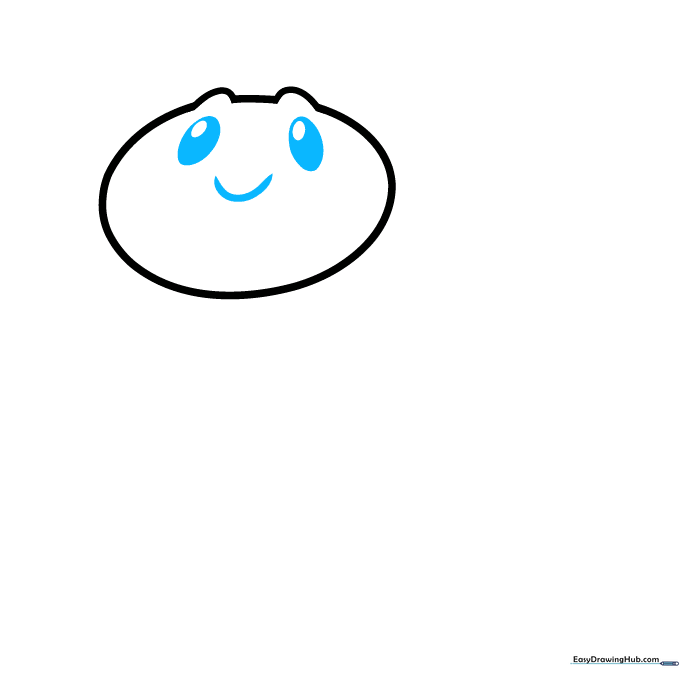
Draw two ovals for the eyes with smaller circles inside, then shade the area around the inner circles. Add a wide 'U' shaped smile between them. Teacher's Tip: Centering the eyes makes the character look friendly and approachable.
Step 3: Starting the Body Segments
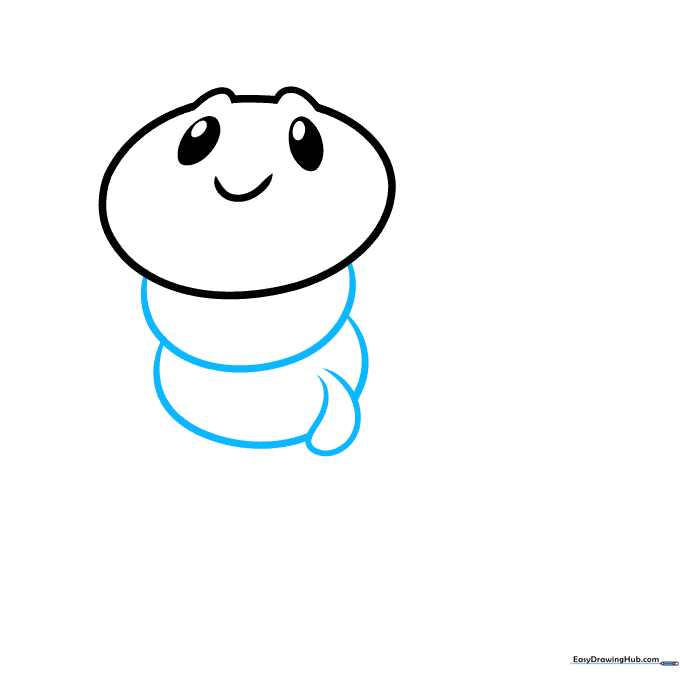
Begin the body by drawing overlapping ovals using curved lines. Add the first leg by drawing a curved line that doubles back to form a teardrop shape. Teacher's Tip: Erase the overlapping lines inside the body to make the segments look connected.
Step 4: Continuing the Body

Add another body segment and two more teardrop-shaped legs. Teacher's Tip: Keep the legs consistent in size to maintain the cartoon style.
Step 5: Adding More Segments

Draw another segment and two more teardrop-shaped legs. Teacher's Tip: If the caterpillar looks too long, you can stop here, but adding more segments creates a fun, wiggly effect.
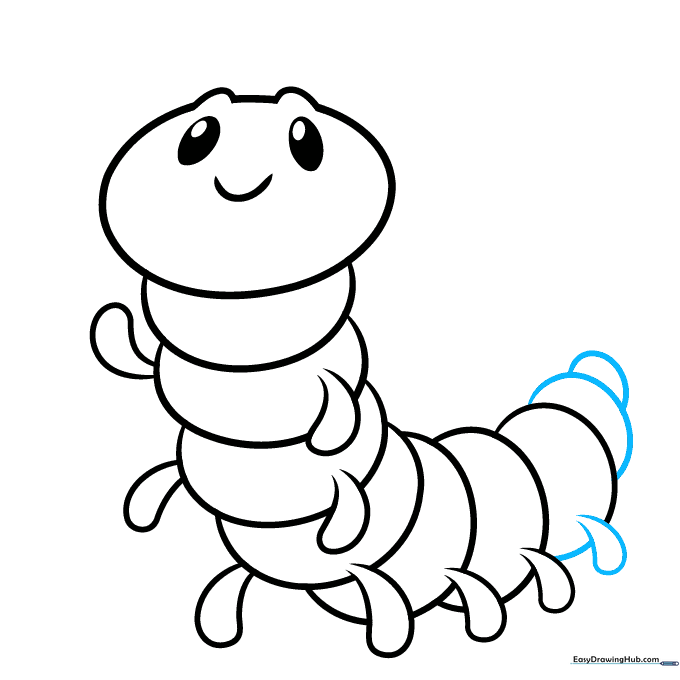
Step 6: Building the Length
Draw yet another body segment and two more legs. Teacher's Tip: Use a smooth, continuous motion when drawing the curved lines for the body segments.
Step 7: Adding More Body Parts
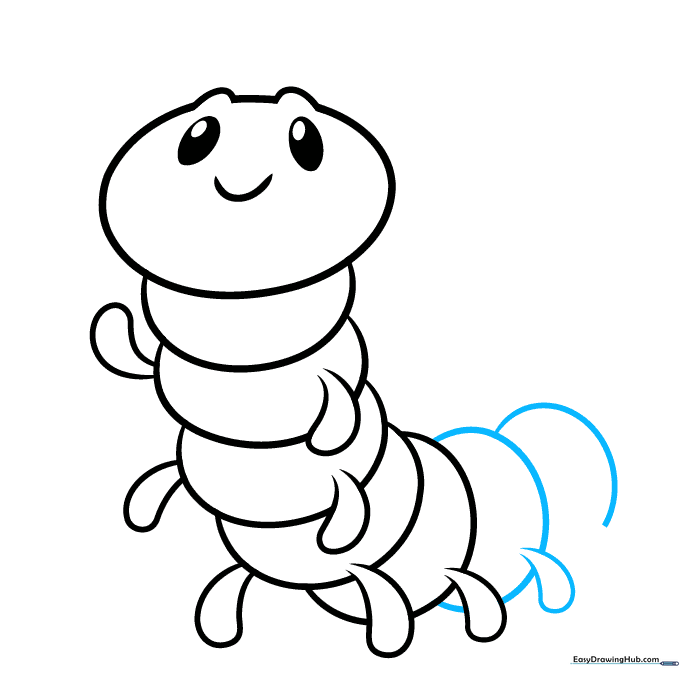
Draw two more body segments using curved lines and add one more leg. Teacher's Tip: Varying the size of the segments slightly can make the caterpillar look more natural.
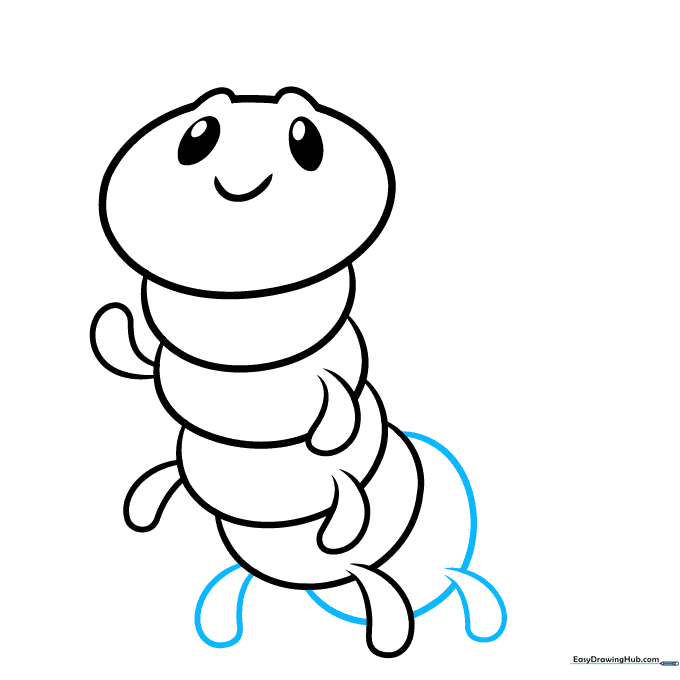
Step 8: Finishing the Tail
Draw the final teardrop-shaped leg and use smaller curved lines to taper the tail. Teacher's Tip: Make the final segments smaller to show the body curving away.
Step 9: Adding Antennae
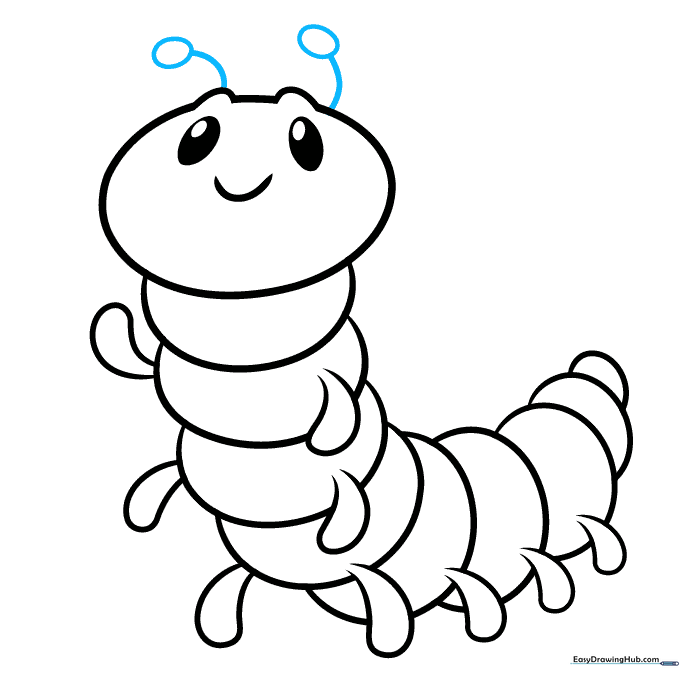
Extend two curved lines from the head and top them with small ovals. Teacher's Tip: These are the antennae! Make them slightly wobbly to give the caterpillar personality.
Step 10: Coloring Your Creation
Your outline is complete! Now, bring it to life with color. We used bright green, but you can use any colors you like. Teacher's Tip: Try using stripes or spots to make your caterpillar look like a real-life species!
More Tutorials


