How to Draw a Cartoon Boat: Easy 9-Step Guide for Kids
Ready to set sail? This tutorial is perfect for ages 5 and up, requiring only a pencil, paper, and an eraser. Follow these simple steps to build your own cartoon boat, developing hand-eye coordination and spatial awareness while having fun.
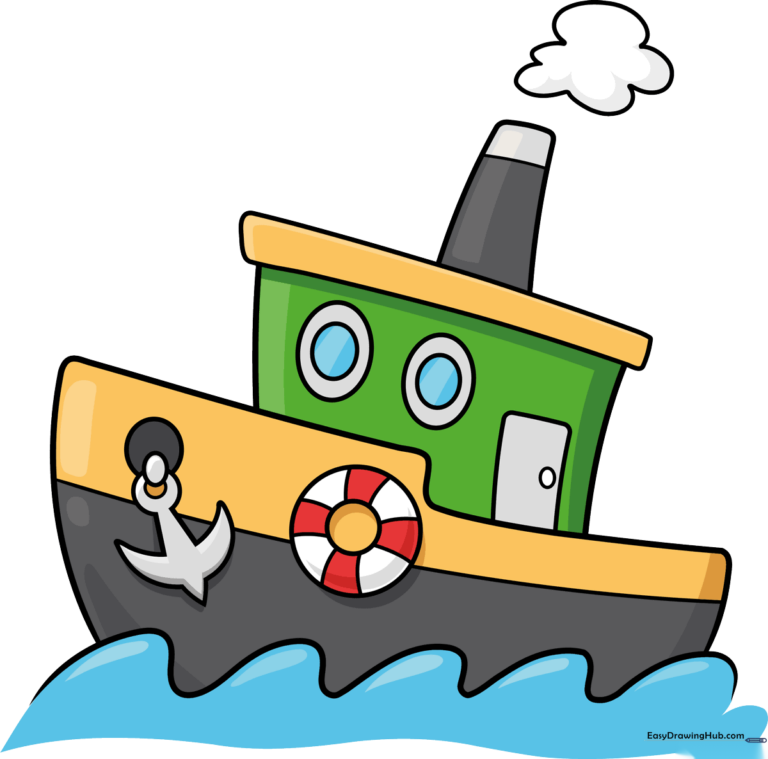
🎯 Final Result
Step-by-Step Instructions
Step 1: Sketching the Ocean Waves
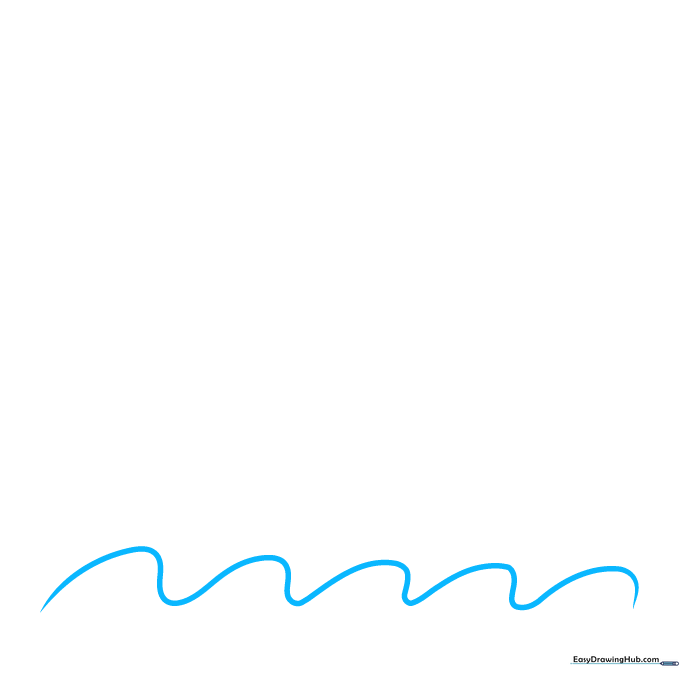
Draw a long, gentle wavy line across the bottom of your page to represent the sea. Teacher's Tip: Keep your pencil pressure light so you can easily adjust the waves later if you want to add more movement.
Step 2: Defining the Boat Hull
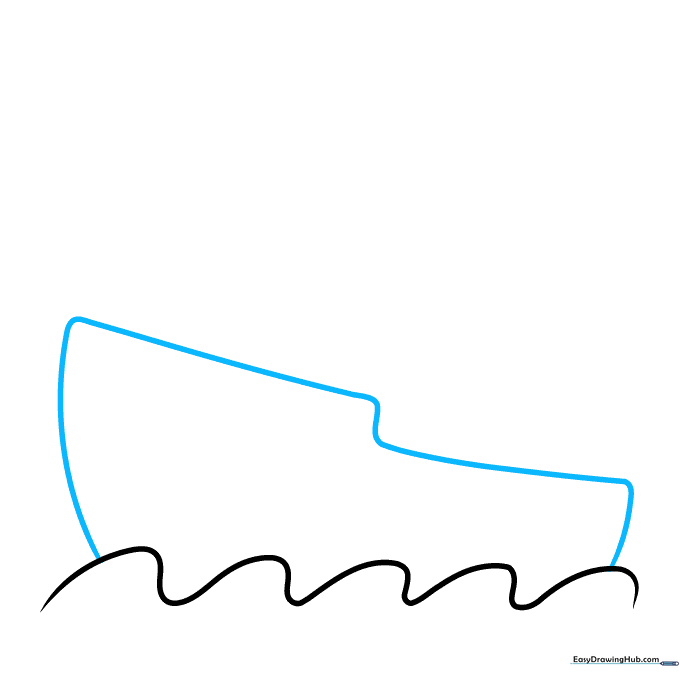
Draw a long, curved line above the waves to create the hull. It should look like a wide, shallow bowl. Teacher's Tip: Imagine the boat is bobbing in the water; make sure the bottom of the hull touches your wave line.
Step 3: Building the Cabin
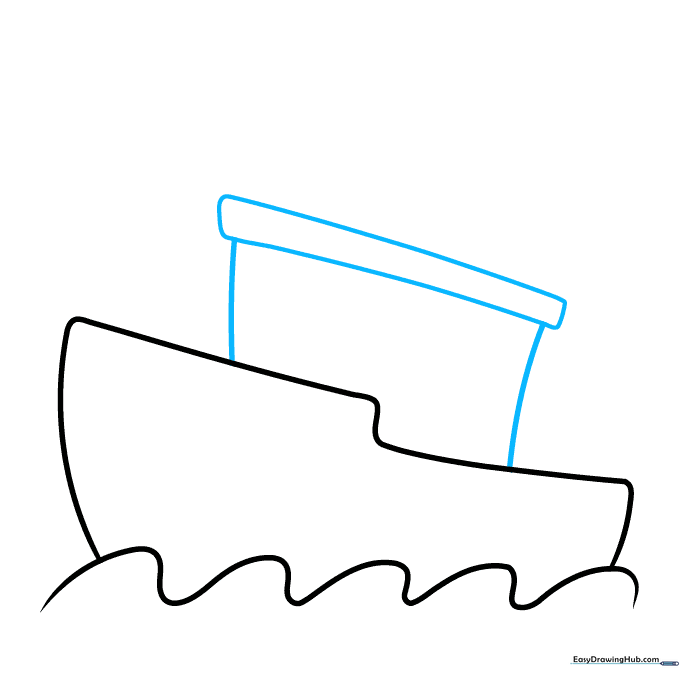
Stack two rectangular shapes on top of the hull to form the cabin. Teacher's Tip: Use a ruler if you want perfectly straight lines, or keep them slightly rounded for a softer, more 'cartoonish' look.
Step 4: Adding Windows and Smokestack
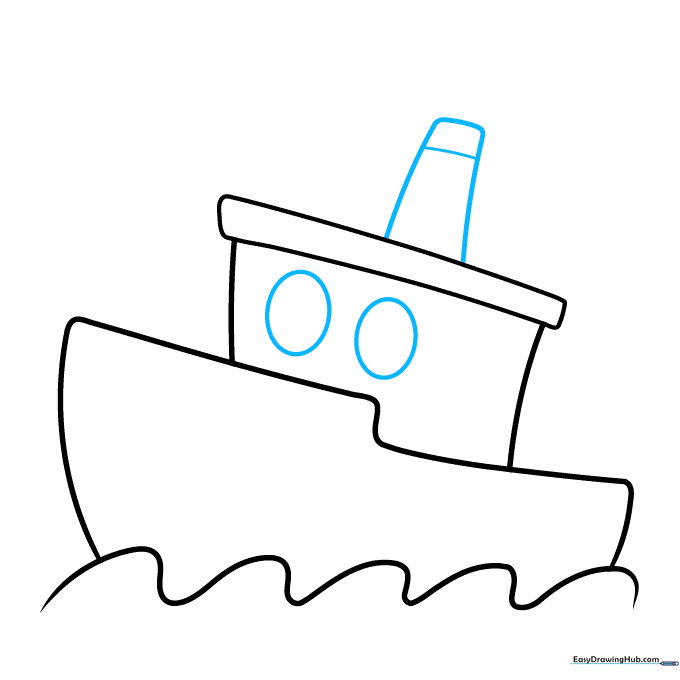
Draw two ovals on the cabin for portholes, and add a small rectangle on top of the cabin with a horizontal line near the top for the smokestack. Teacher's Tip: Keep the portholes centered to make the boat look balanced.
Step 5: Detailing the Cabin
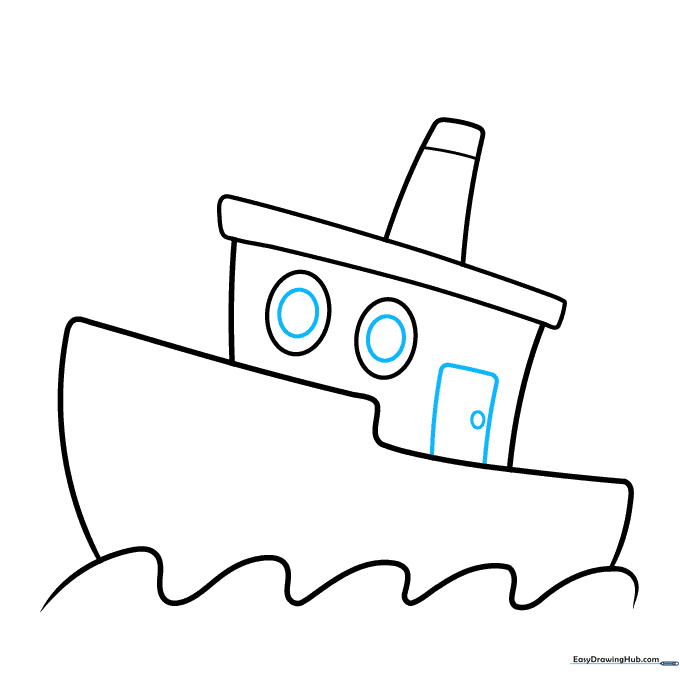
Draw smaller ovals inside the portholes to create a glass effect, and add a small rectangle with a tiny circle for a door and knob. Teacher's Tip: A small dot for the doorknob adds a great sense of scale to your drawing.
Step 6: Adding Safety Gear
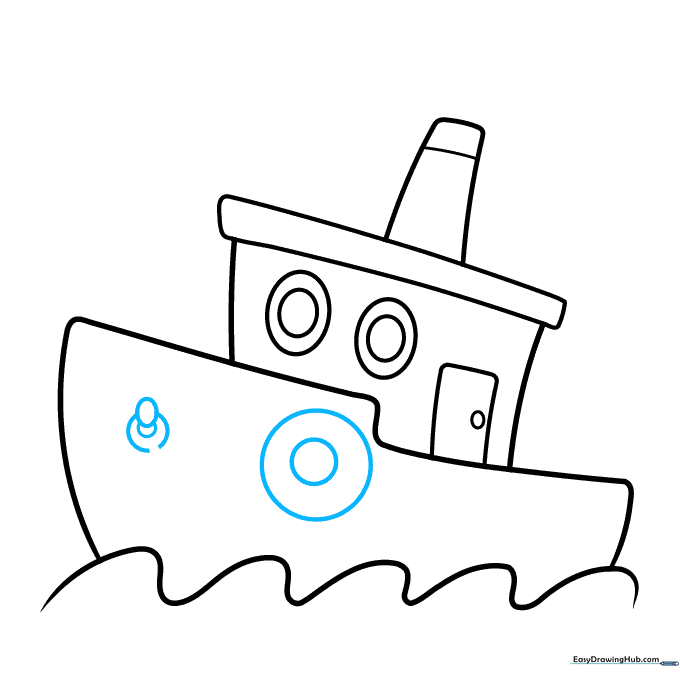
Draw a circle-within-a-circle on the hull for a life preserver, and sketch the top of an anchor nearby. Teacher's Tip: Use a circular object like a coin to trace the life preserver if you struggle with freehand circles.
Step 7: Finishing the Anchor
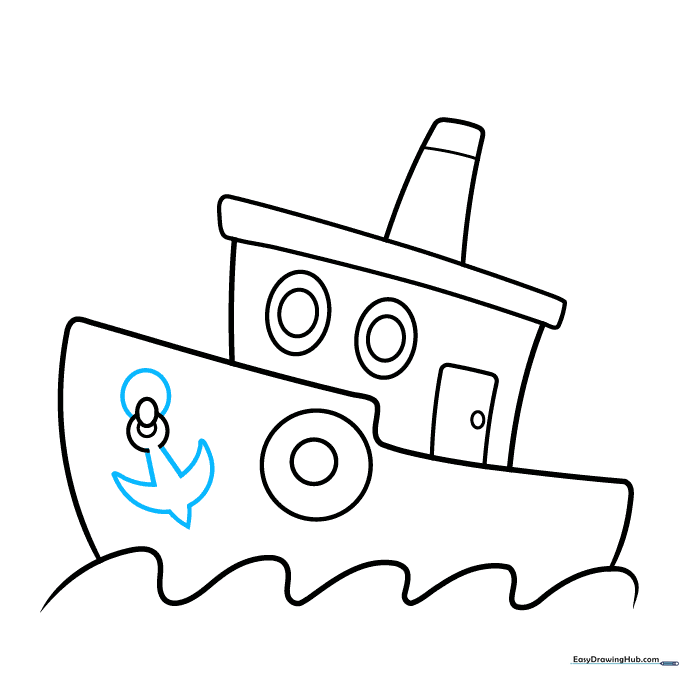
Complete the anchor by adding the bottom hooks using sharp, curved lines. Teacher's Tip: Anchors are symmetrical, so try to make the left and right sides match as closely as possible.
Step 8: Adding Final Touches
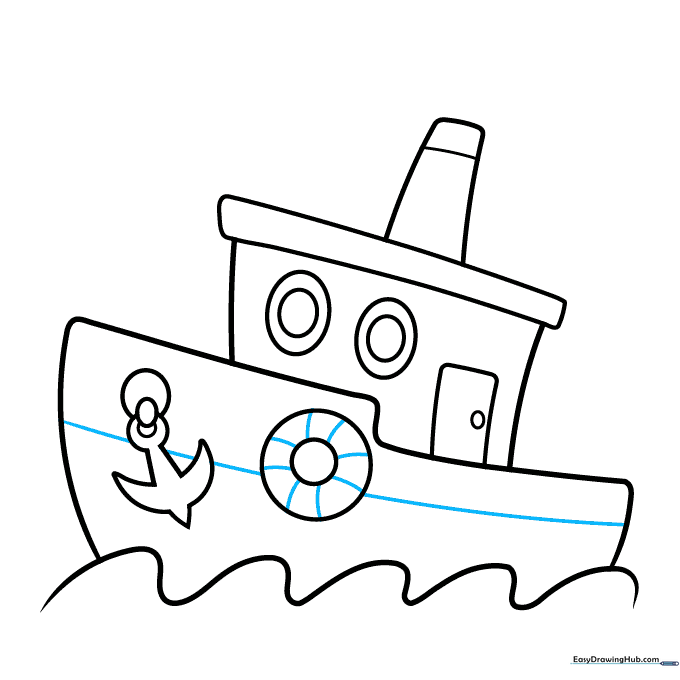
Add stripes to the life preserver and draw a long line across the hull for extra detail. Teacher's Tip: These small lines add texture and make your drawing look more professional.
Step 9: Adding Smoke
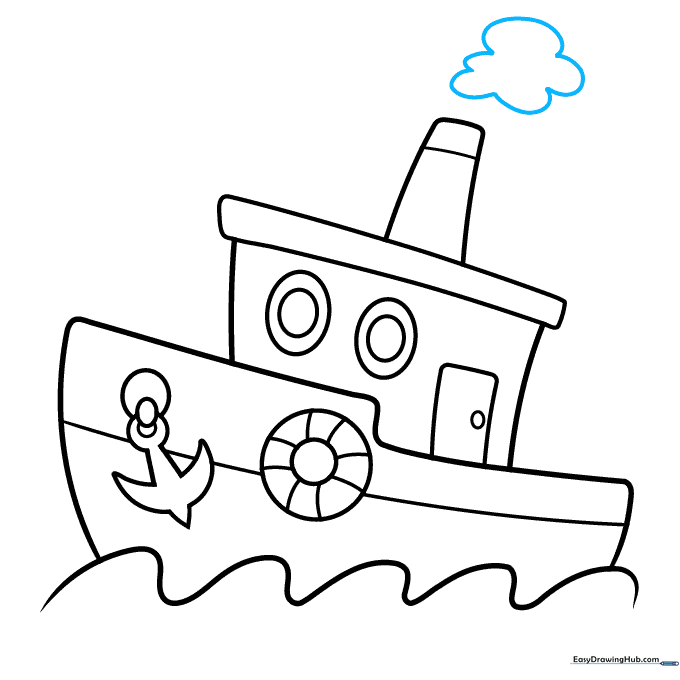
Draw a cloud-like puff of smoke coming from the smokestack using soft, rounded lines. Teacher's Tip: Make the smoke puff slightly larger as it gets further away from the stack to show it drifting in the wind.
Step 10: Bring Your Boat to Life with Color
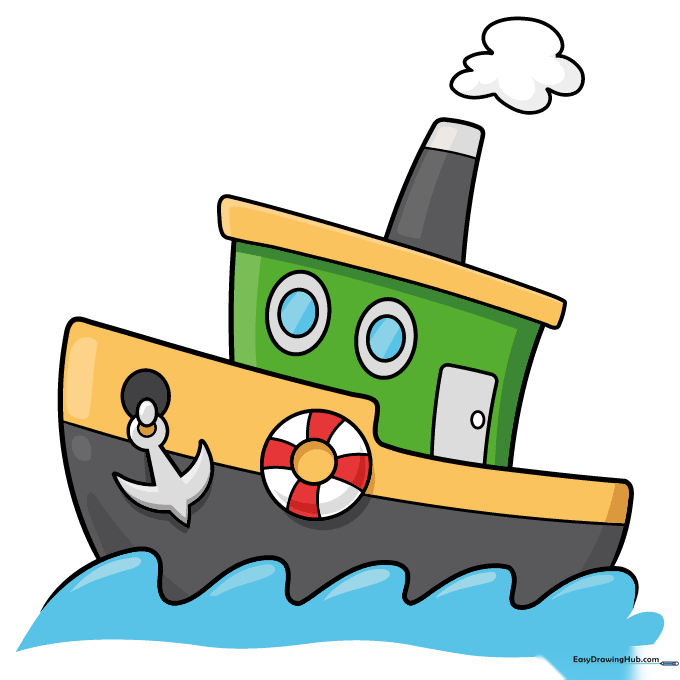
Your outline is complete! Use bright blues for the water and bold colors for the boat. Teacher's Tip: Try using markers for solid colors or colored pencils to practice shading and depth.
More Tutorials


