How to Draw a Cute Cartoon Baby: Simple Step-by-Step Guide
Ready to bring a sweet character to life? This tutorial is perfect for young artists ages 5 and up. All you need is a pencil, an eraser, and a piece of paper to start building your drawing skills with this adorable, chubby-cheeked baby.
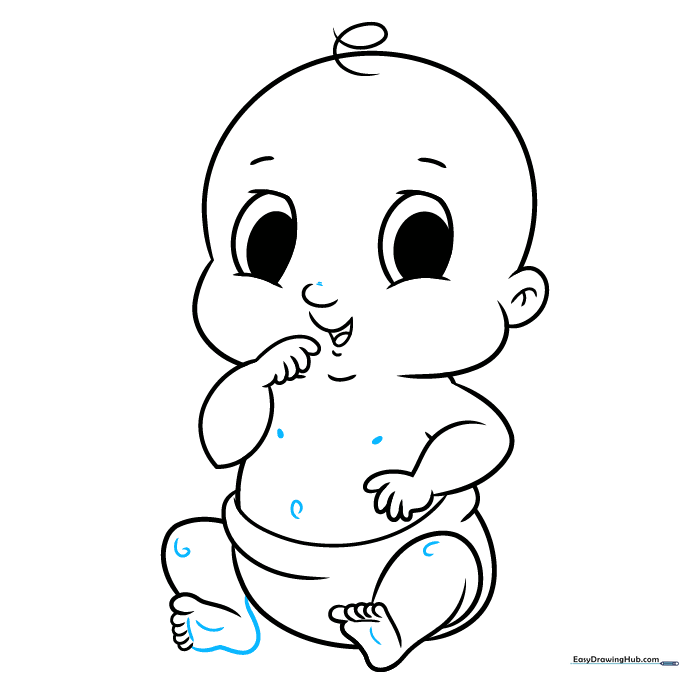
🎯 Final Result

Step-by-Step Instructions
Step 1: Sketching the Expressive Eyes

Draw two large, rounded shapes for the eyes. Add a smaller oval inside each for the pupils to give the baby a curious look. Add a tiny curved line between them for the nose. Teacher's Tip: Keep the eyes close together to make the face look extra sweet and youthful.
Step 2: Adding Chubby Cheeks and a Smile

Sketch the round, chubby cheeks and a wide, happy mouth. Add a small tongue inside and a tiny dimple below the lip. Teacher's Tip: Use soft, rounded lines for the cheeks to emphasize the baby's soft, squishy face.
Step 3: Defining the Head and Arm
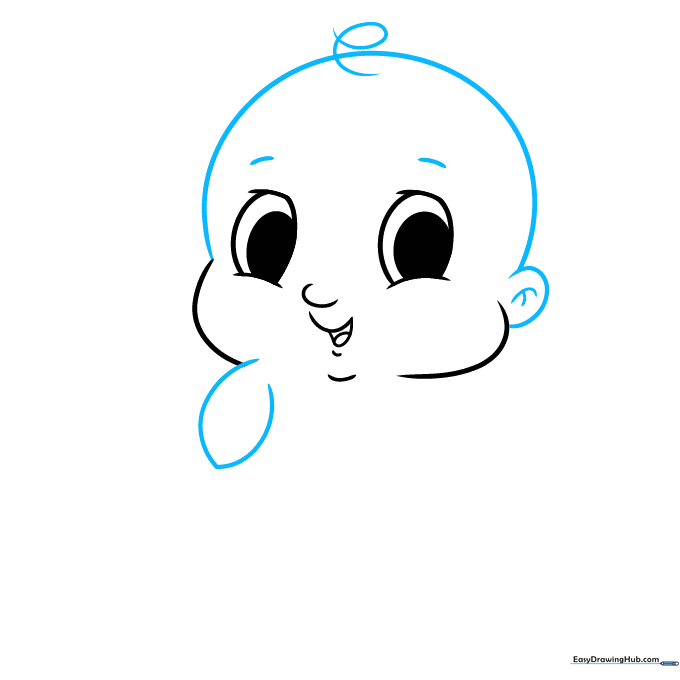
Add eyebrows, a small ear, and a large curve for the top of the head with a little spiral for hair. Draw a lemon-shaped curve for the first arm. Teacher's Tip: The spiral hair should look like a soft curl—don't press too hard with your pencil!
Step 4: Sketching the Hands
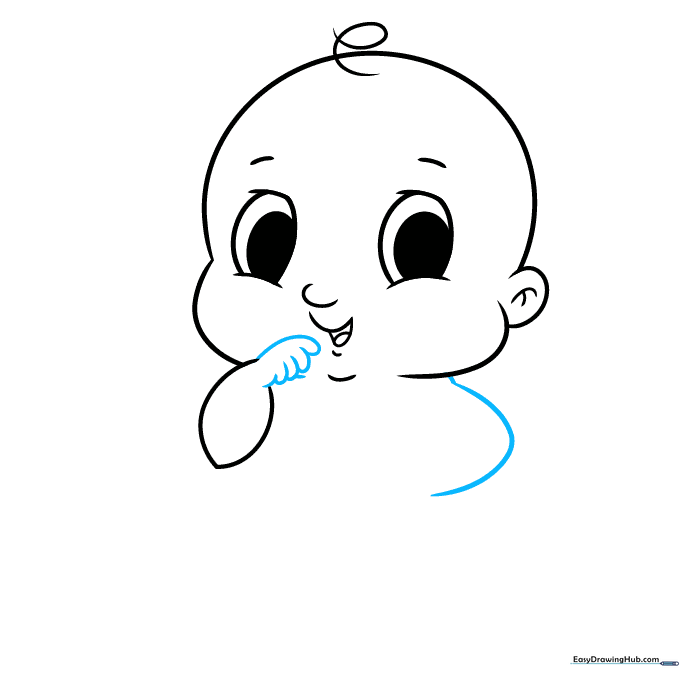
Use overlapping curves to create the baby's tiny hand and fingers. Start the outline for the second arm. Teacher's Tip: Baby fingers are very short and stubby, so keep your lines small and rounded.
Step 5: Shaping the Torso
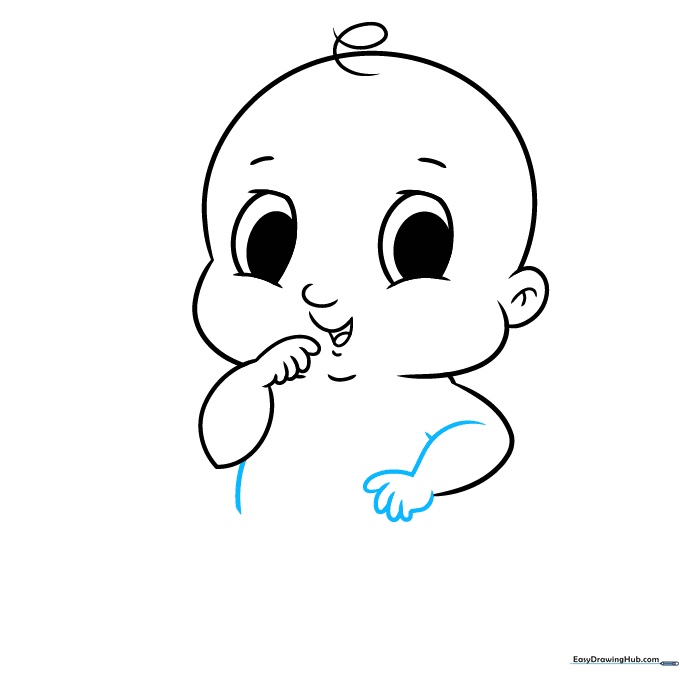
Draw the top of the second arm and add short curves for the fingers and the side of the torso. Teacher's Tip: Ensure the arm connects smoothly to the body to keep the character looking proportional.
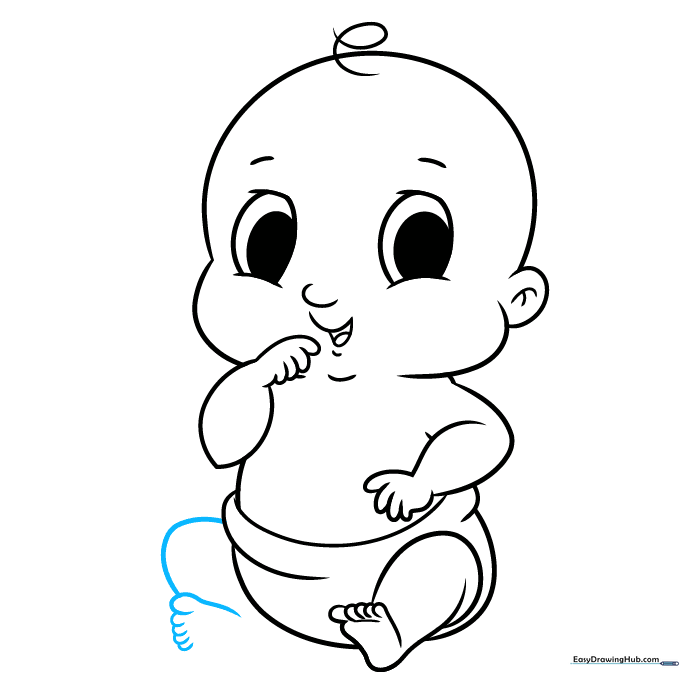
Step 6: Drawing the Diaper and Leg

Draw the top of the diaper and outline the pudgy leg. Notice how the lines overlap at the knee. Teacher's Tip: The overlap at the knee creates a sense of depth, making the leg look three-dimensional.
Step 7: Adding Tiny Toes

Draw the tiny toes and complete the foot. Then, sketch the sides of the diaper. Teacher's Tip: Keep the toes very small—they are just little bumps at the end of the foot!
Step 8: The Second Leg
Use overlapping curves to sketch the second leg and foot. Teacher's Tip: Make sure the second leg matches the size of the first one to keep the baby balanced.
Step 9: Final Details
Finish the feet and add small contour lines for the knees, belly button, chest, and a tiny wrinkle above the nose. Teacher's Tip: These small details add character and make your drawing look more professional.
Step 10: Color Your Masterpiece

Your outline is complete! Use soft skin tones, bright colors for the diaper, and have fun bringing your baby to life. Teacher's Tip: Try using light pinks or blues to shade the cheeks for an extra cute effect.
More Tutorials


