How to Draw an Easy Cartoon Alpaca: Step-by-Step Guide
Ready to bring a fluffy friend to life? This tutorial is perfect for young artists ages 5 and up. All you need is a pencil, an eraser, and some paper to start building your own cartoon alpaca, focusing on simple shapes that help develop foundational drawing confidence.
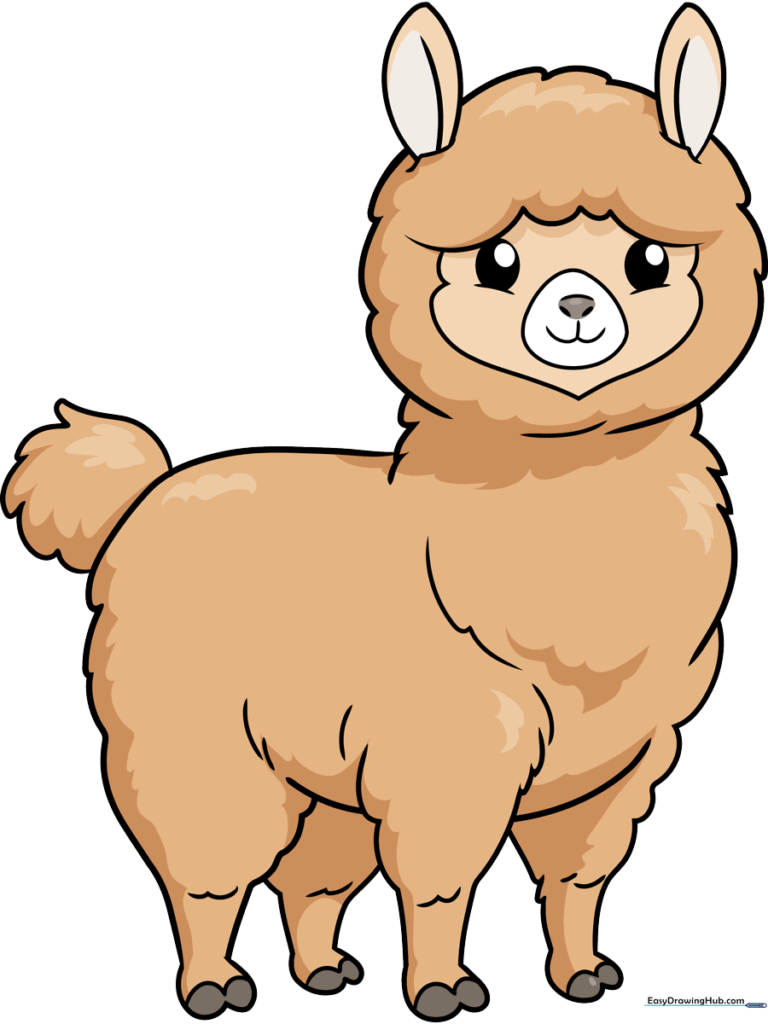
🎯 Final Result
Step-by-Step Instructions
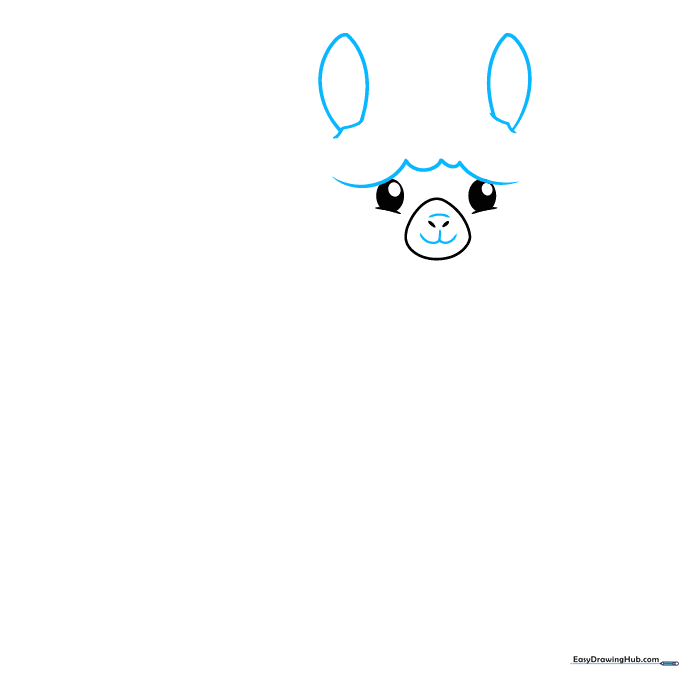
Step 1: Sketching the Face and Eyes

Start by drawing a small, rounded triangle for the nose, then add two tiny dots inside for nostrils. Place an oval on either side of the nose to create the eyes. Teacher's Tip: Keep your pencil pressure light so you can easily adjust the spacing if the eyes look a bit too wide or narrow.
Step 2: Adding Fur and Ears
Draw a small curved line above the nose and a 'W' shape below it to form the mouth. Add fluffy, connected curves above the eyes for the forehead, and cap them off with two pointed ears. Teacher's Tip: Use short, quick strokes to make the fur look soft and textured rather than perfectly smooth.
Step 3: Defining the Head Shape
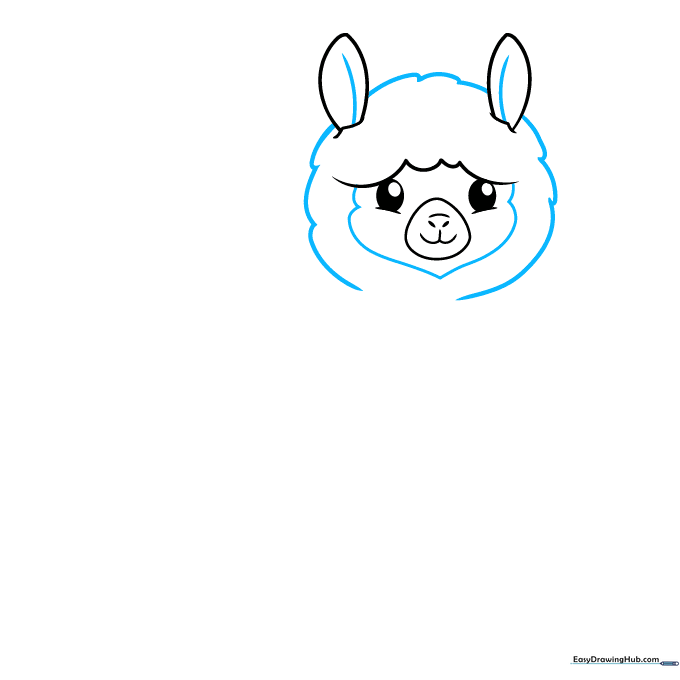
Add a small curved line inside each ear for depth. Surround the face with a series of overlapping, bumpy curved lines to create the signature woolly look of an alpaca. Teacher's Tip: Don't worry about making these curves uniform; the more irregular they are, the more 'fluffy' the alpaca will appear.
Step 4: Sketching the Neck
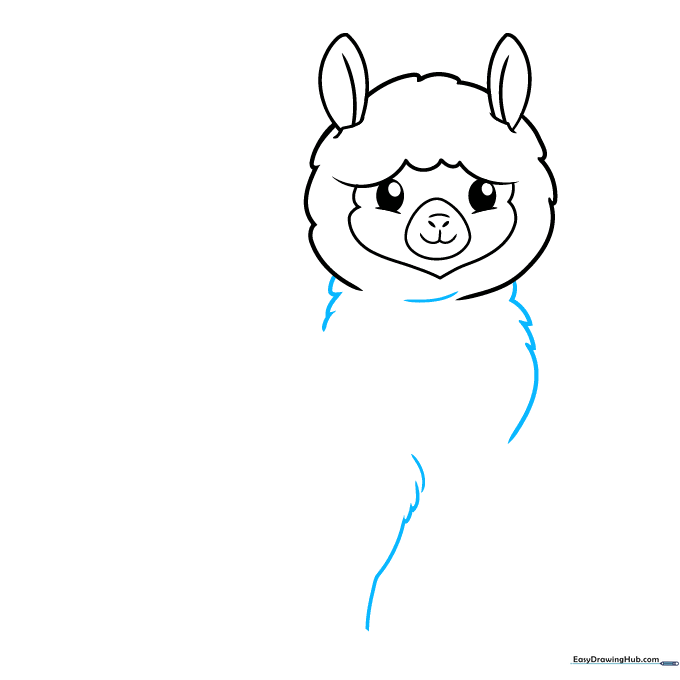
Extend two long, slightly curved lines downward from the head to form the neck. Connect them at the bottom with a gentle curve to start the chest area. Teacher's Tip: Keep the neck wide to give the alpaca a sturdy, cute appearance.
Step 5: Starting the Front Legs
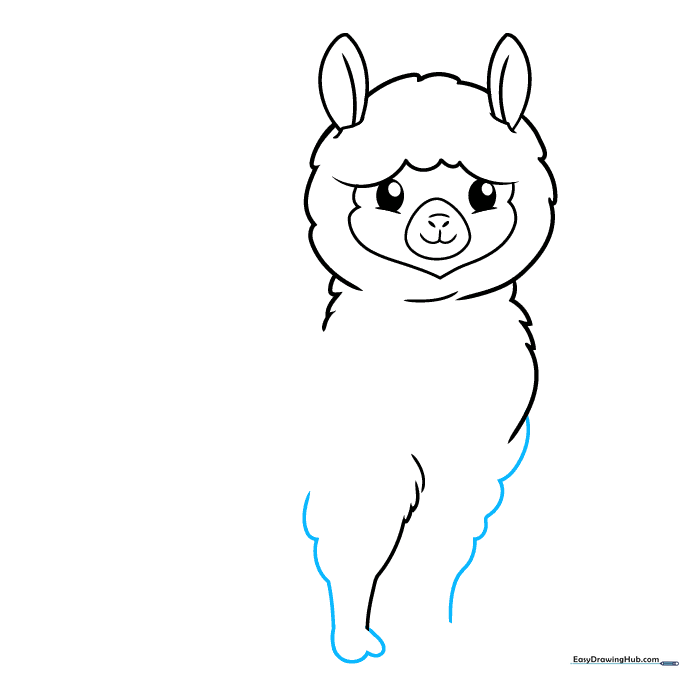
Draw two parallel curved lines for the first front leg, then begin a second leg right behind it. Teacher's Tip: Ensure the legs are slightly thicker at the top than the bottom to give them a natural, cartoonish weight.
Step 6: Drawing the Body
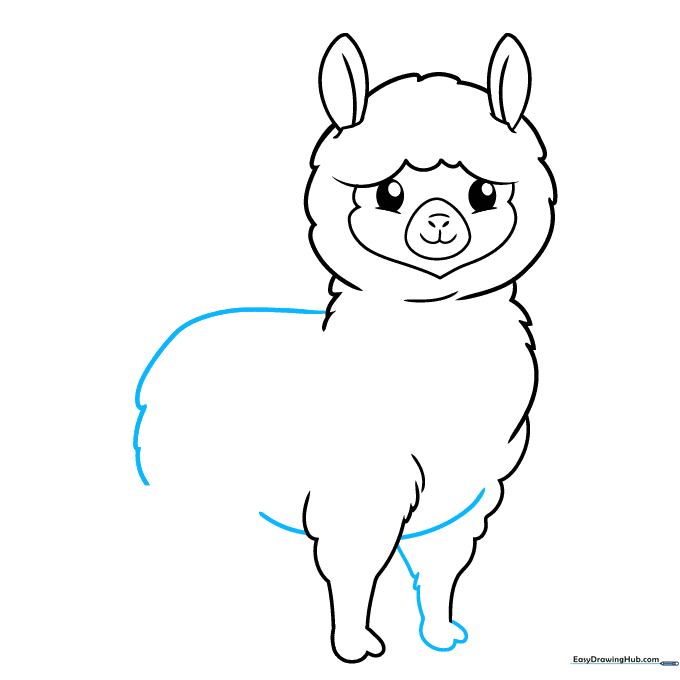
Connect the front legs to the rest of the body by drawing a long, continuous curved line for the belly and back. Teacher's Tip: Imagine the alpaca is standing on a gentle slope; this helps you visualize where to place the belly line.
Step 7: Adding Rear Legs
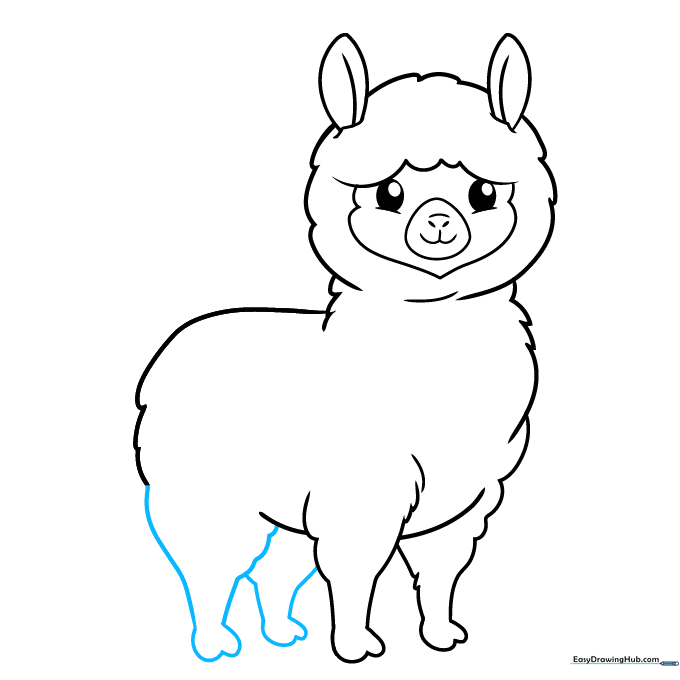
Draw the back legs using similar curved lines. Notice how the feet look like small, rounded heart shapes. Teacher's Tip: If the feet look too pointy, just round off the bottom edges with your eraser.
Step 8: Hooves and Tail
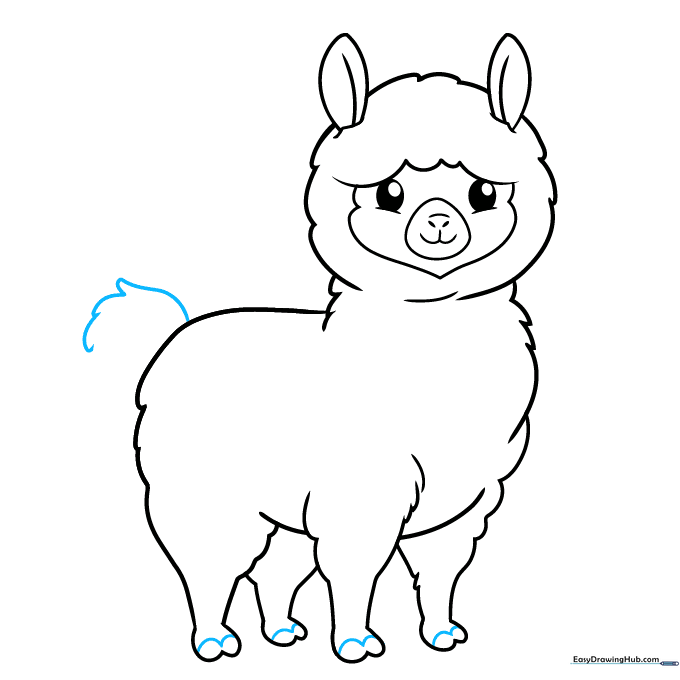
Add small 'M' shaped lines across the bottom of each foot to define the hooves. Then, sketch a fluffy tail using a series of connected, wavy lines. Teacher's Tip: Keep the tail small and perky to match the alpaca's happy expression.
Step 9: Final Fur Details
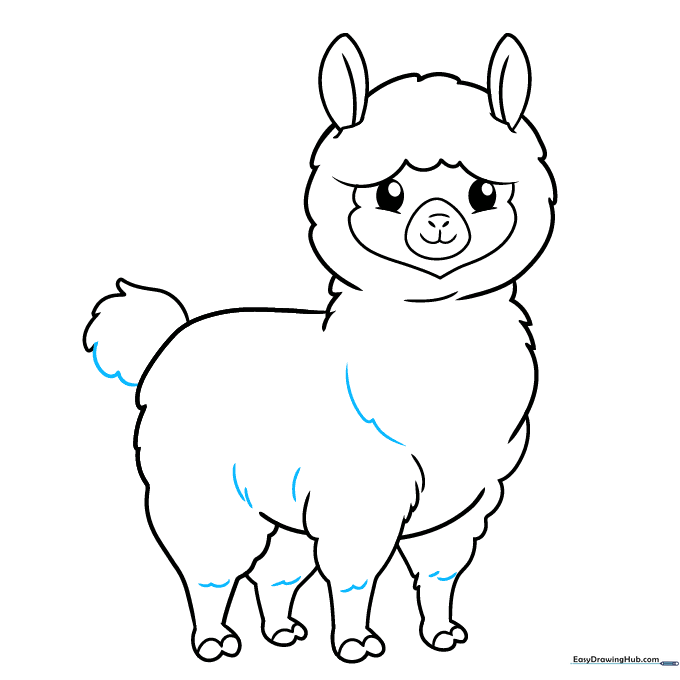
Complete the tail and add a few extra curved lines around the knees and body to emphasize the thick, woolly texture. Teacher's Tip: Use these lines sparingly—too many can make the drawing look cluttered.
Step 10: Bring Your Alpaca to Life with Color
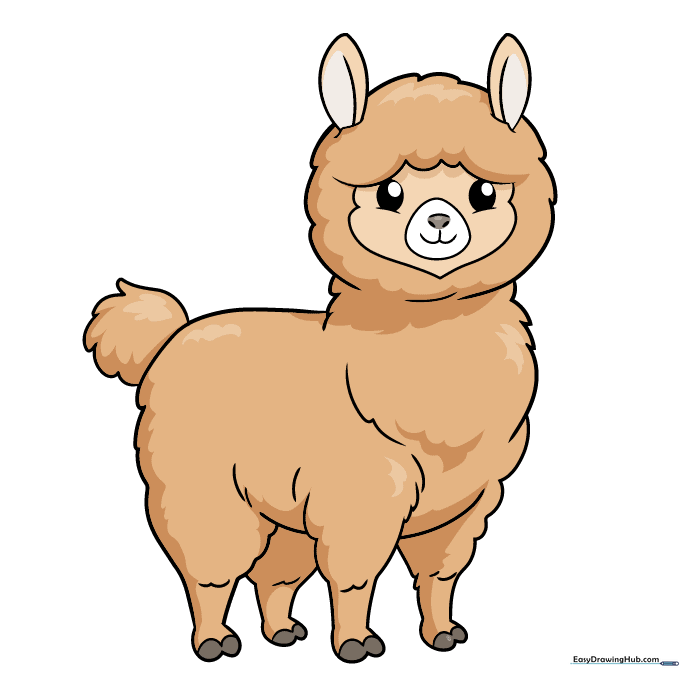
Your outline is complete! Now, choose your favorite colors. Alpacas come in beautiful shades of white, cream, brown, and even black. Teacher's Tip: Try using light brown for the body and a darker shade for the shadows under the neck to give your drawing a 3D effect.
More Tutorials


