How to Draw a Cartoon Alien: Easy 9-Step Guide for Kids
Ready to explore the galaxy? This tutorial is perfect for young artists ages 5 and up to practice basic shapes and character design. All you need is a pencil, an eraser, and a piece of paper to bring your own space traveler to life.
🎯 Final Result

Step-by-Step Instructions
Step 1: Sketching the Head and Face
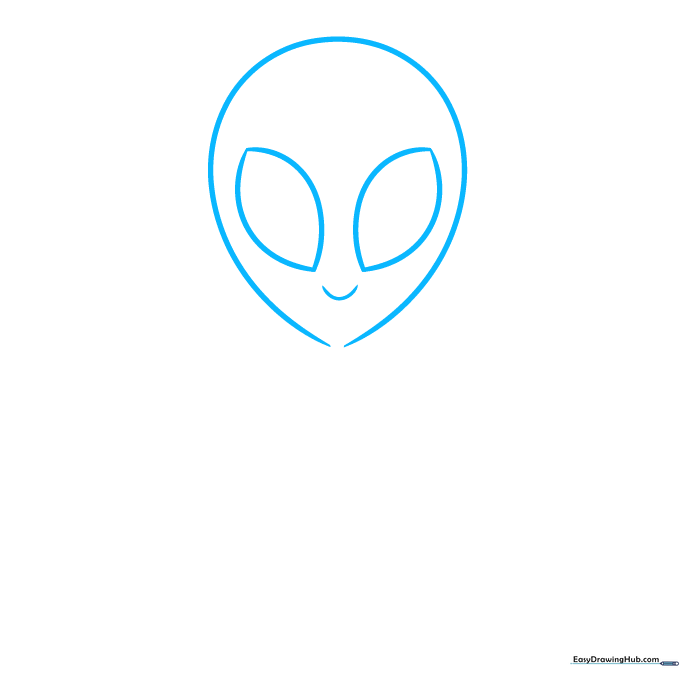
Draw a large, egg-shaped oval for the head. Add two large circles for the eyes, making them slightly pointed at the corners. Finish with a 'U' shaped smile. Teacher's Tip: Keep the eyes large to give your alien a friendly, expressive look.
Step 2: Adding Detail and Neck
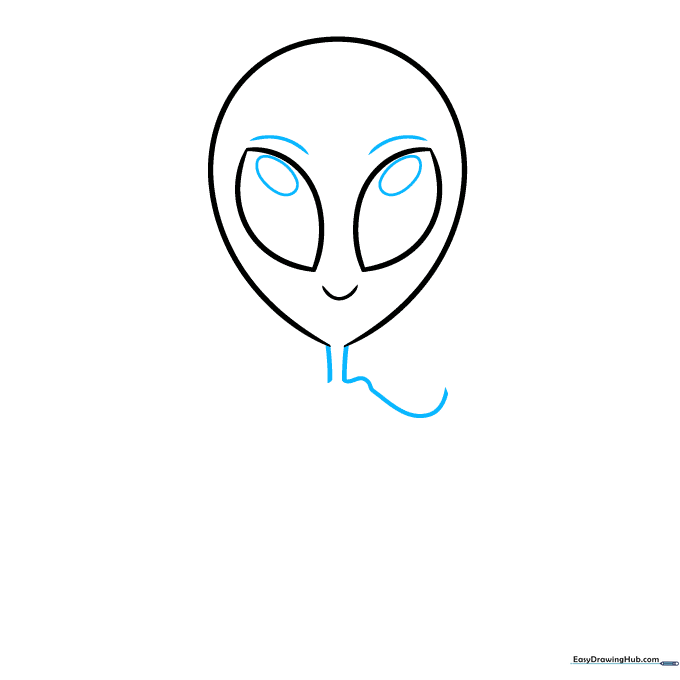
Add curved lines above the eyes for lids and small ovals inside for pupils. Extend two lines downward from the head to create a neck, then curve one line out to start the shoulder. Tip: Use light pressure so you can adjust the shoulder angle if needed.
Step 3: Drawing the Waving Arm
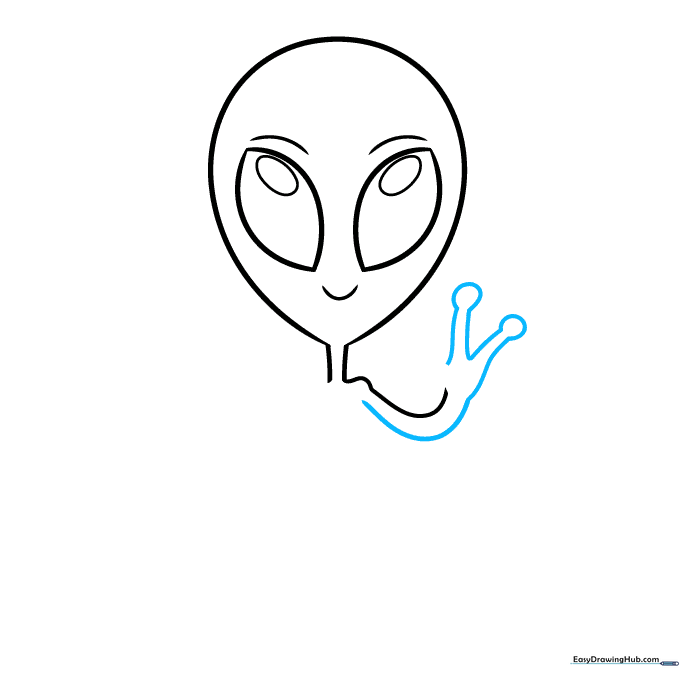
Draw a parallel line to form the arm. For the hand, draw three pairs of lines ending in small partial circles for fingers. Tip: Keep the fingers rounded to make the alien look soft and cartoonish.
Step 4: Defining the Belly
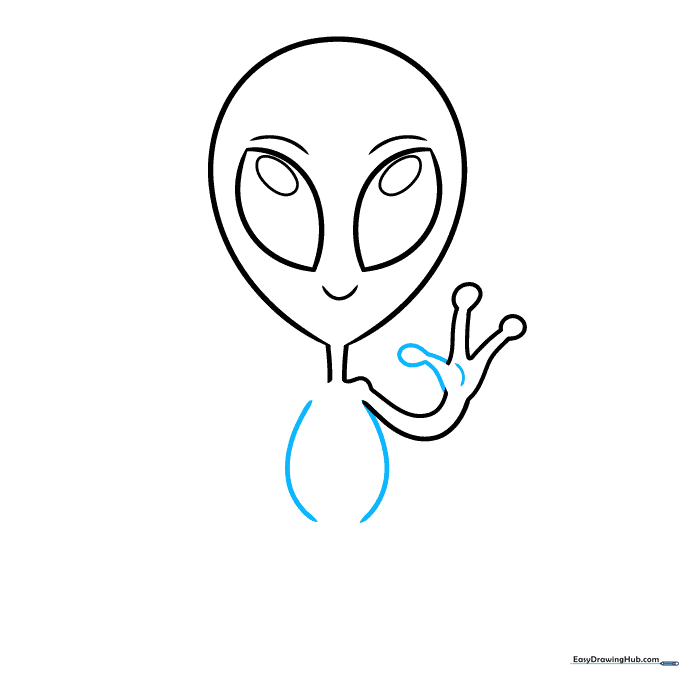
Finish the fingers and add a curved line in the palm for detail. Use two large curved lines to outline the oval-shaped belly. Tip: A nice, round belly makes the character look friendly and approachable.
Step 5: The Hip-Resting Arm

Draw the second arm curving toward the hip. Use overlapping curved lines to show the hand resting against the body. Tip: Overlapping lines help create the illusion of depth.
Step 6: Adding the Belly Button
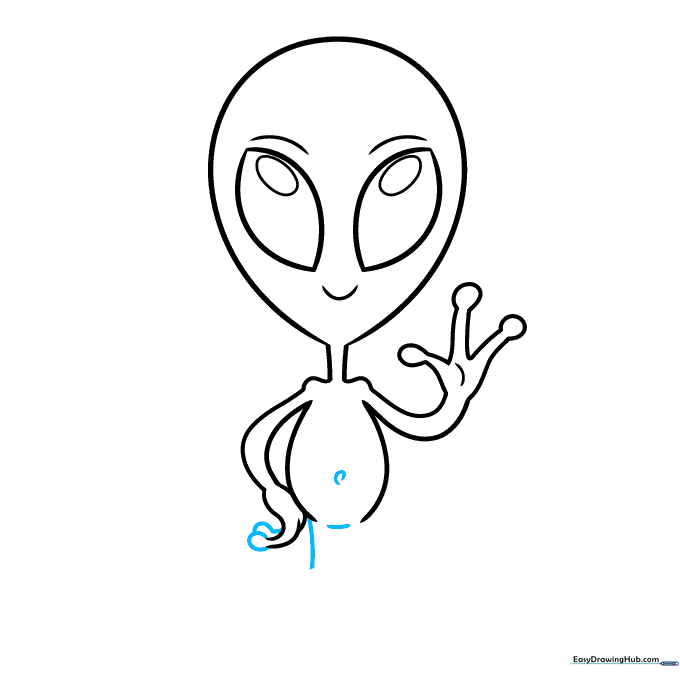
Complete the fingertips and draw a small spiral in the center of the belly. Sketch the bottom of the torso and the start of the leg. Tip: A spiral belly button is a fun, silly detail that kids love!
Step 7: Drawing the First Foot
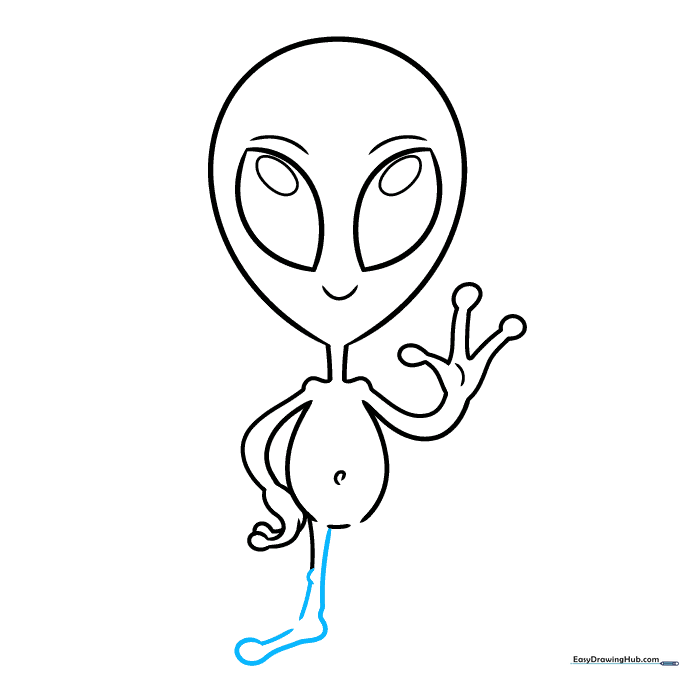
Continue the leg downward and draw the foot, ending the toes with partial circles just like the fingers. Tip: Keep the foot shape wide to make the alien look stable.
Step 8: Drawing the Second Foot

Add the second toe to the first foot, then begin sketching the second leg and foot behind it. Tip: Drawing the second foot slightly behind the first creates a sense of perspective.
Step 9: Finalizing the Outline

Complete the second leg and foot. Once you are happy with the shape, go over your lines with a darker pencil or marker and erase any stray guidelines. Tip: Take your time with the final outline to make it clean and bold.
Step 10: Color Your Alien

Bring your alien to life with color! Use classic green, or get creative with purple, blue, or even polka dots. Tip: Use lighter colors for the belly to make it stand out against the body.
More Tutorials


