How to Draw a Simple Car: Easy 9-Step Guide for Kids
Looking for a fun, screen-free activity to build your child's confidence? This simple car drawing guide is perfect for ages 5 and up. All you need is a pencil, an eraser, and a piece of paper to start creating your own vehicle masterpiece today.
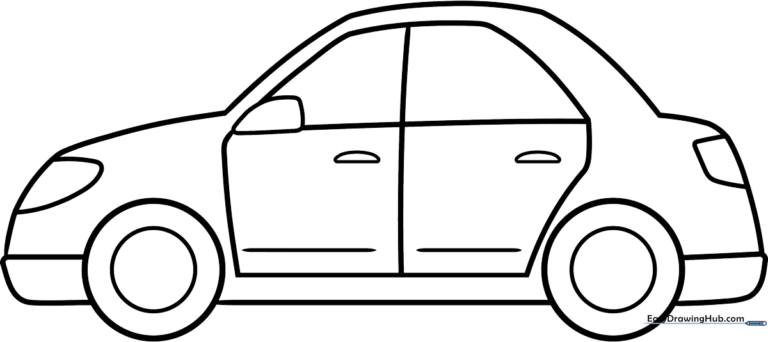
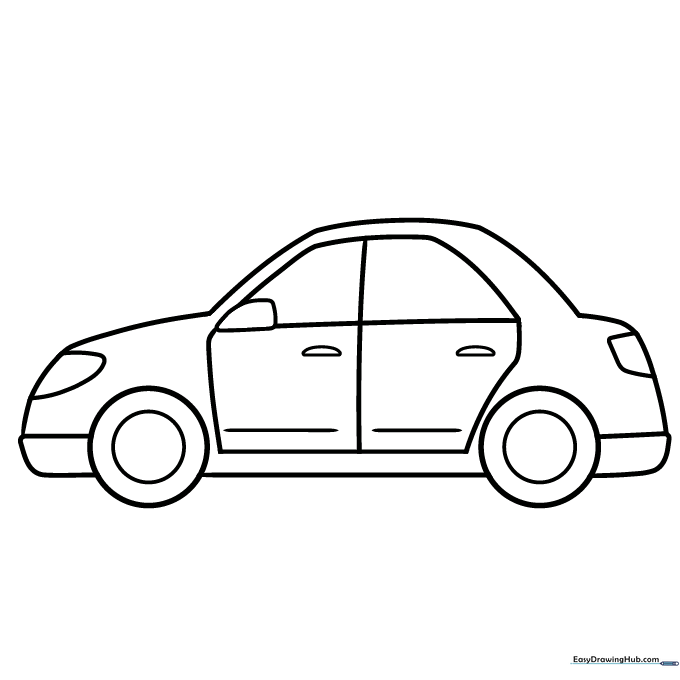
🎯 Final Result
Step-by-Step Instructions
Step 1: Sketching the Wheels

Start by drawing two circles for the wheels. Teacher's Tip: Draw them about the size of a coin and keep your pencil strokes light so you can easily erase any overlapping lines later.
Step 2: Forming the Chassis
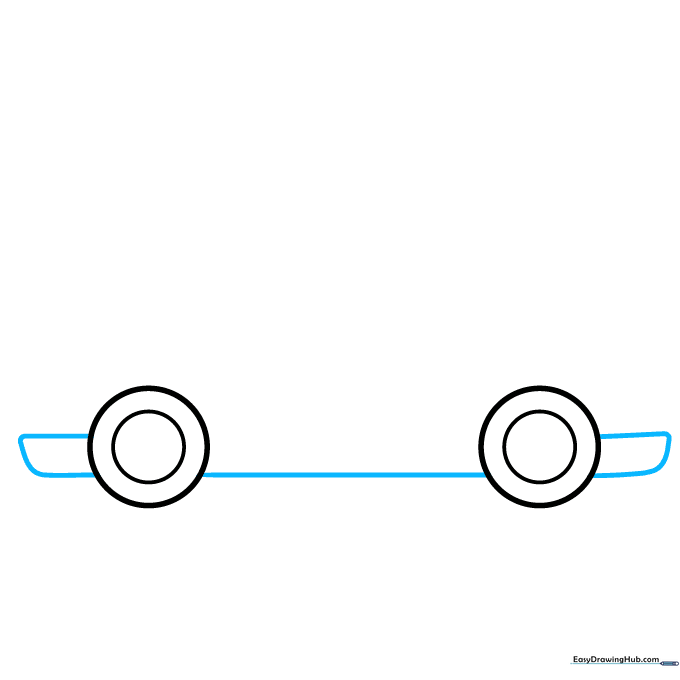
Connect the wheels with a straight line along the bottom. Then, draw a curved line off the outer edge of each wheel and loop it back to create the bumpers. Tip: Keep your wrist loose to get those smooth, rounded bumper shapes.
Step 3: Outlining the Body
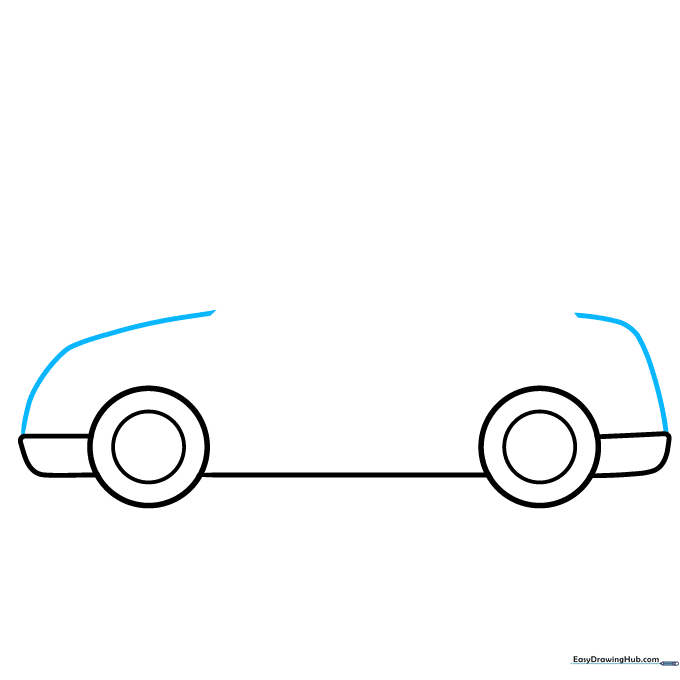
Extend a curved line upward from each bumper to begin the main body of the car. Tip: Imagine you are drawing the side profile of a loaf of bread to get the right curve.
Step 4: Connecting the Roof
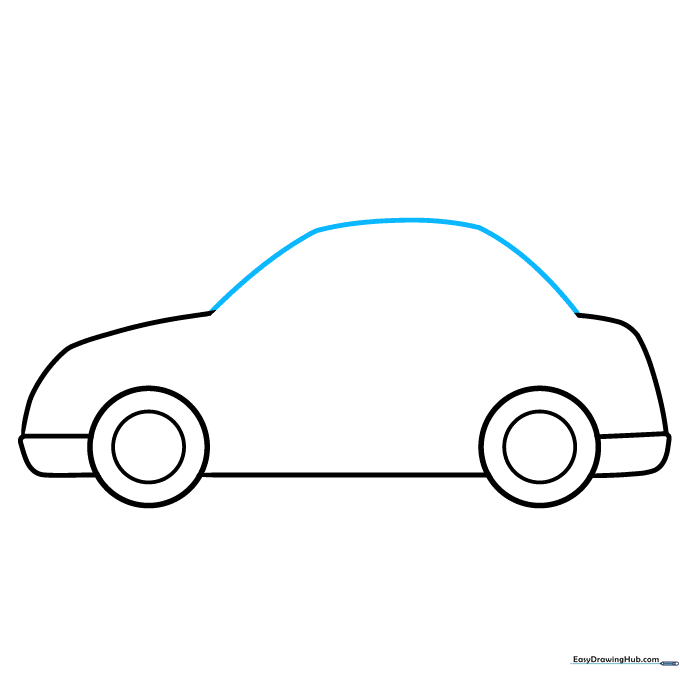
Draw a long, smooth curved line connecting the hood and the trunk to form the roof. Tip: Try to draw this in one continuous motion for a cleaner, more professional look.
Step 5: Adding the Window
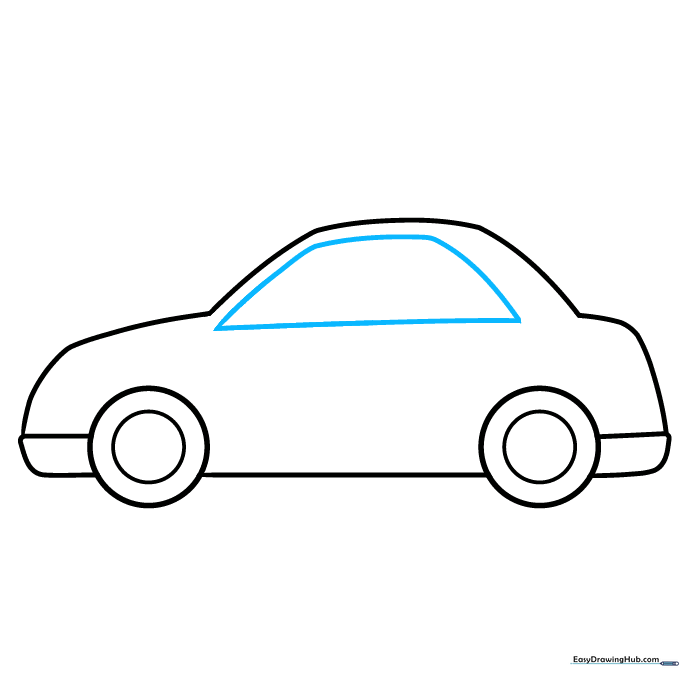
Draw a rounded trapezoid shape for the window. Tip: Keep the corners slightly rounded so the car looks friendly rather than sharp and aggressive.
Step 6: Defining the Doors
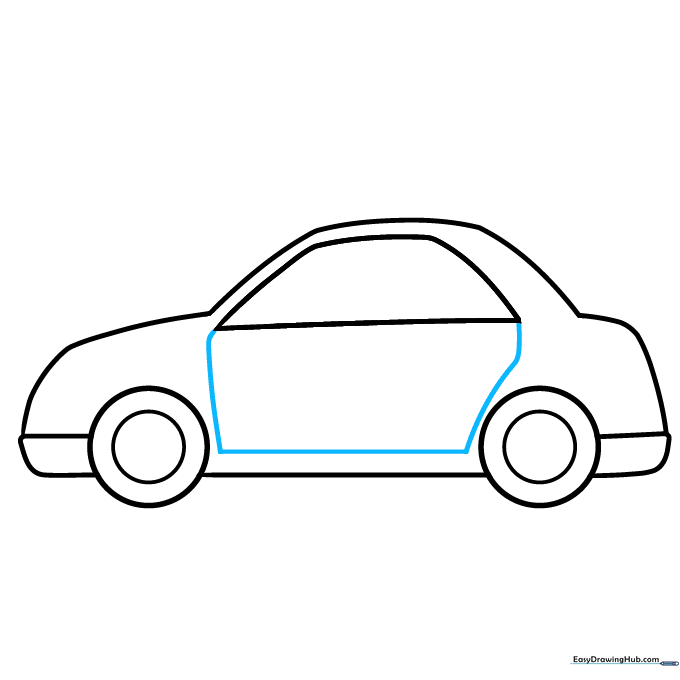
Draw two vertical lines downward from the window corners to create the door panels, connecting them with a horizontal line at the bottom. Tip: Use a ruler if you struggle with straight lines, but freehand is great for practice!
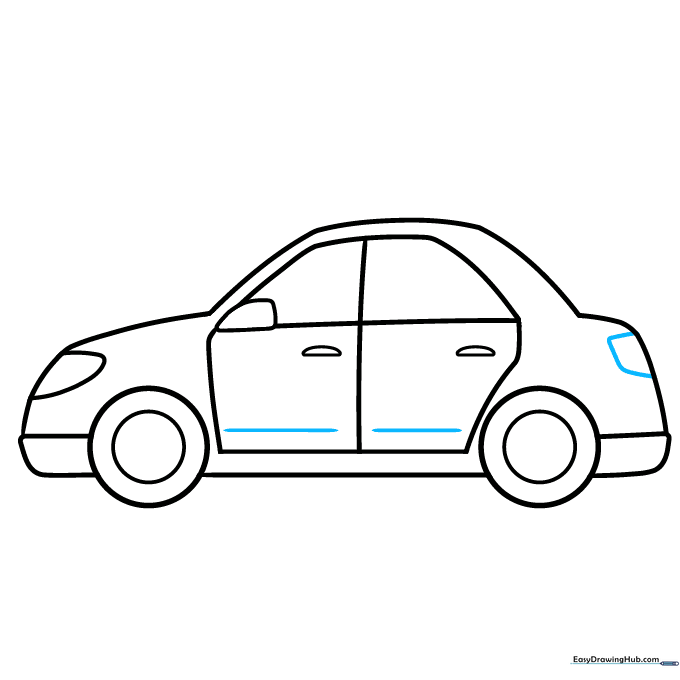
Step 7: Adding Details
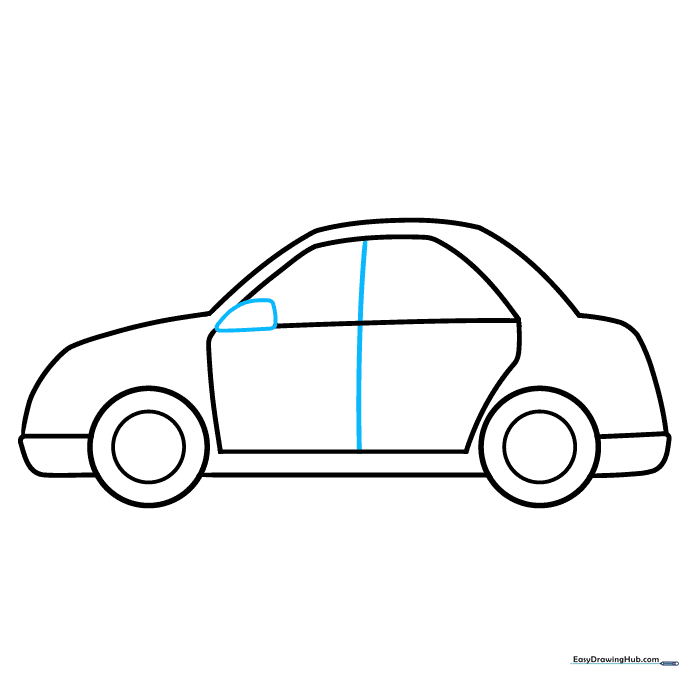
Draw a vertical line down the center of the door and add a small curved shape for the rearview mirror. Tip: If you make a mistake, just gently dab it with your eraser—don't press too hard!
Step 8: Handles and Headlights
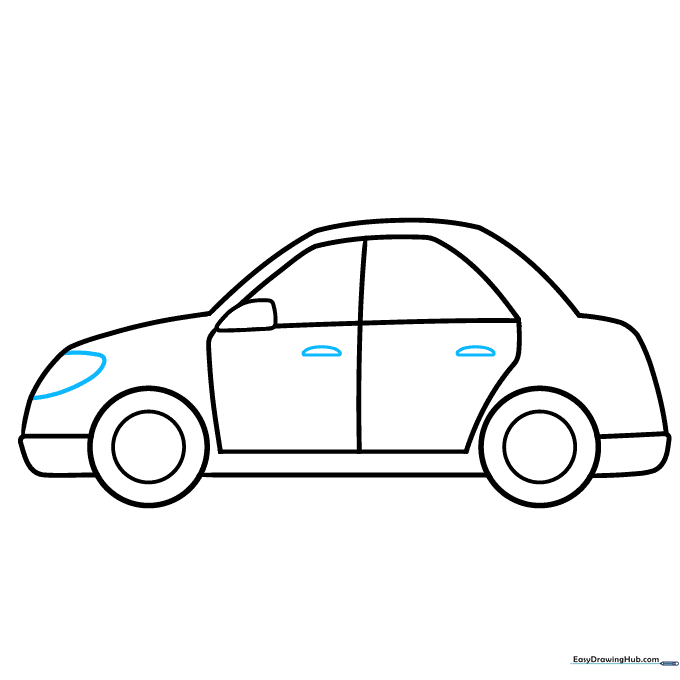
Sketch small curved shapes for the door handles and a larger curve for the headlight. Tip: Keep the headlight shape simple so it's easy to color in later.
Step 9: Final Touches
Add a taillight on the back and contour the bottom of the doors. Tip: Now is the time to go over your lines with a darker pencil or pen to make your drawing pop!
Step 10: Bring Your Car to Life
Your car outline is complete! Grab your favorite markers or crayons. Will it be a bright red race car or a cool blue cruiser? Let your imagination run wild.
More Tutorials


