How to Draw a Butterfly: Simple 9-Step Outline Guide
This butterfly drawing guide is perfect for young artists ages 5 and up. You only need a pencil, an eraser, and a piece of paper to get started. Follow these steps to build a symmetrical, graceful butterfly outline that is ready for your favorite colors.
🎯 Final Result

Step-by-Step Instructions
Step 1: Sketching the Body
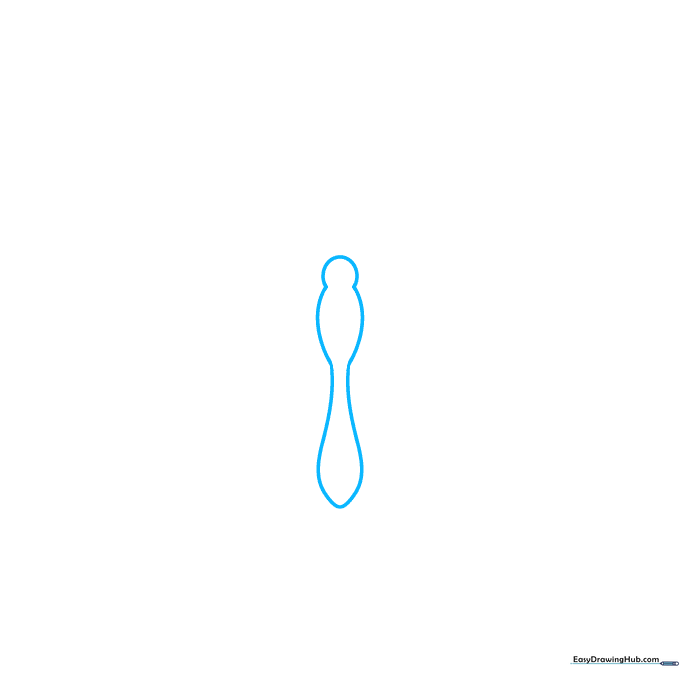
Start by drawing a small 'C' shape for the head. From there, extend a long, curved line and loop it back to create the thorax and abdomen. Teacher's Tip: Keep the body slim so your butterfly has plenty of room for those large, beautiful wings!
Step 2: Drawing the Upper Wings
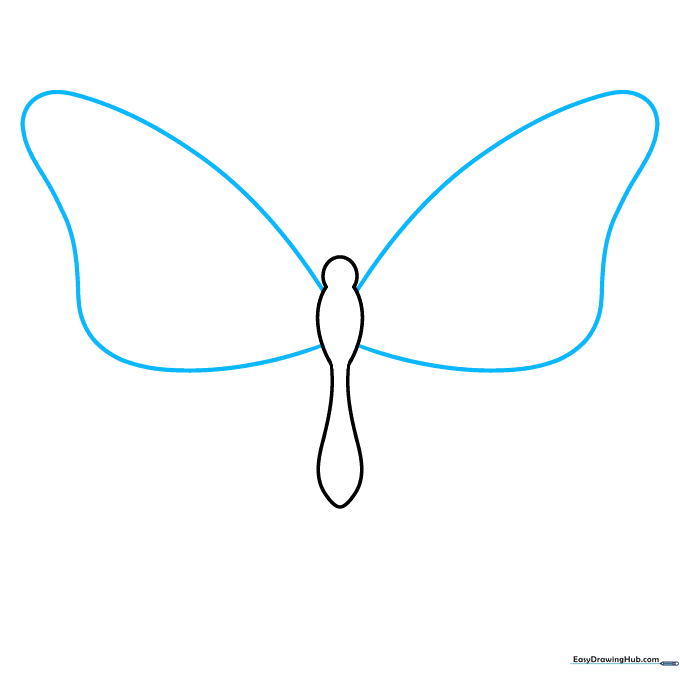
Extend a long, graceful curved line from the thorax and loop it back to meet the lower body. Repeat this on the other side. Teacher's Tip: Try to make both sides match as closely as possible for a balanced look.
Step 3: Adding the Lower Wings
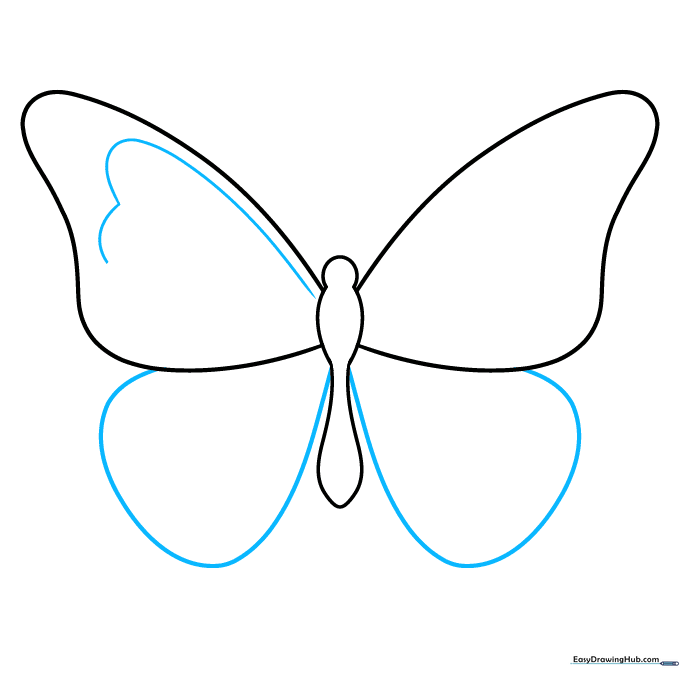
Draw smaller curved lines from the bottom of the upper wings, connecting them back to the thorax. Then, add a curved line inside the upper wing to begin your pattern. Teacher's Tip: Use smooth, fluid motions to get that natural wing shape.
Step 4: Creating Scalloped Patterns
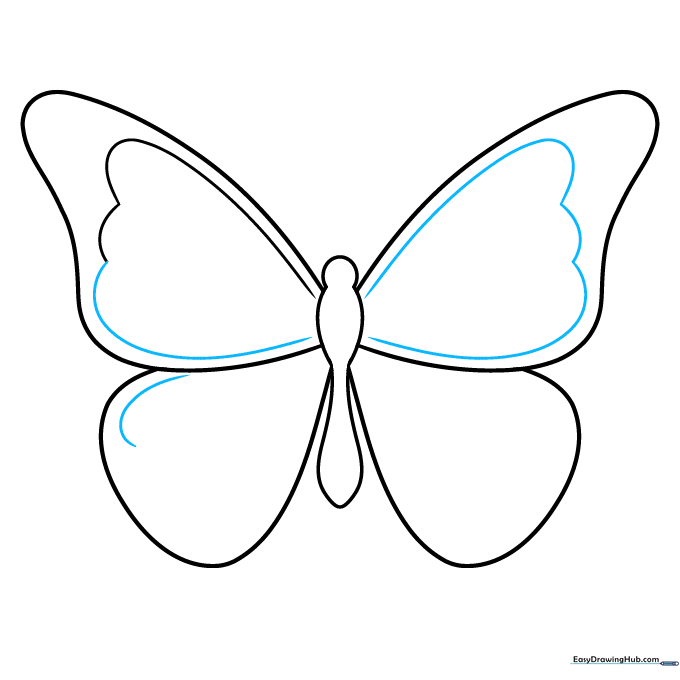
Add a scalloped, wavy line parallel to the outer edge of the upper wing. Mirror this on the other side. Teacher's Tip: Think of these as little hills and valleys—keep them rounded and soft.
Step 5: Detailing the Lower Wings
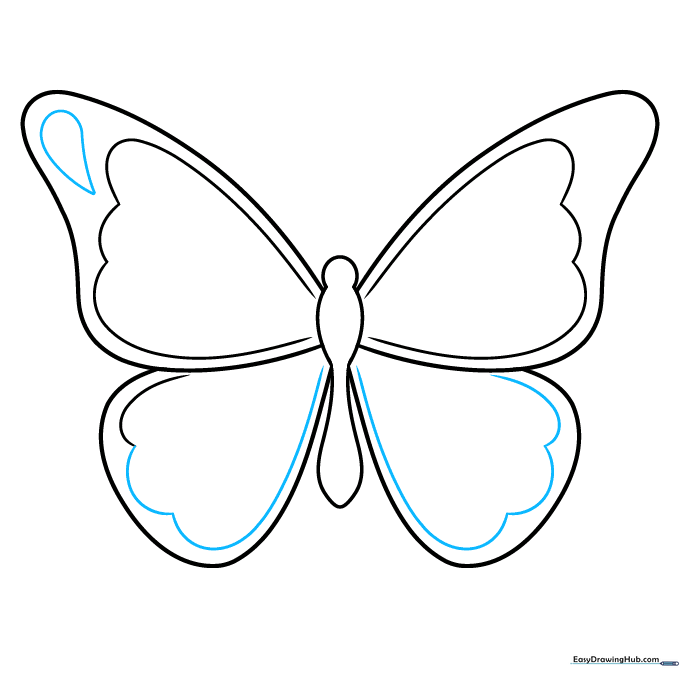
Continue the scalloped pattern onto the lower wings. Add a teardrop shape near the top of the upper wing. Teacher's Tip: Teardrops are great for adding visual interest—vary their size to make the butterfly look more realistic.
Step 6: Adding More Teardrop Shapes
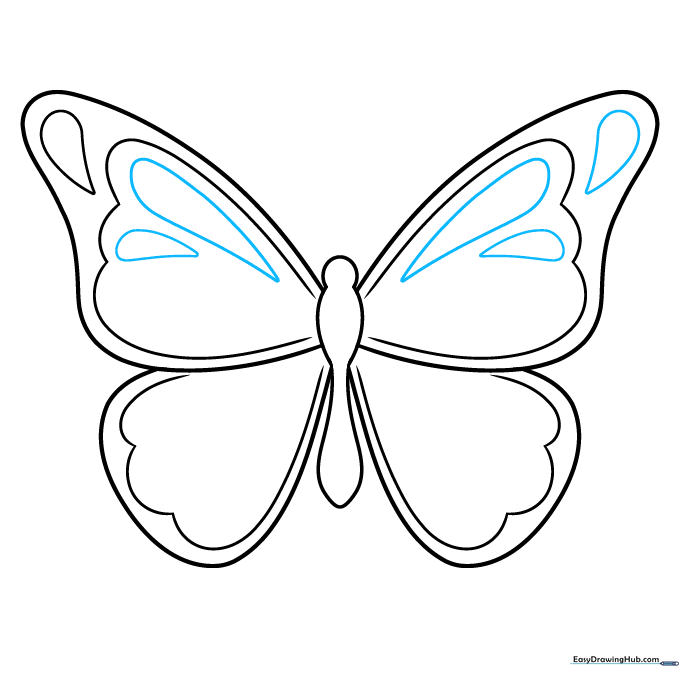
Add a matching teardrop to the other upper wing, then fill the scalloped areas with smaller teardrop shapes. Teacher's Tip: Don't worry if they aren't perfect; nature is full of irregular shapes!
Step 7: Filling the Wings
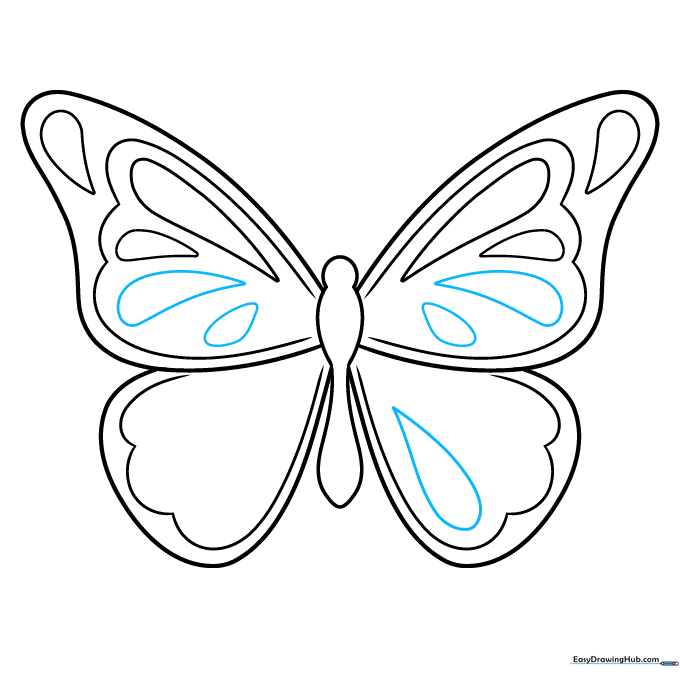
Continue adding teardrop shapes within the upper and lower wings to create a rich, decorative pattern. Teacher's Tip: Leave some white space between the shapes so your butterfly doesn't look too crowded.
Step 8: Finishing the Patterns
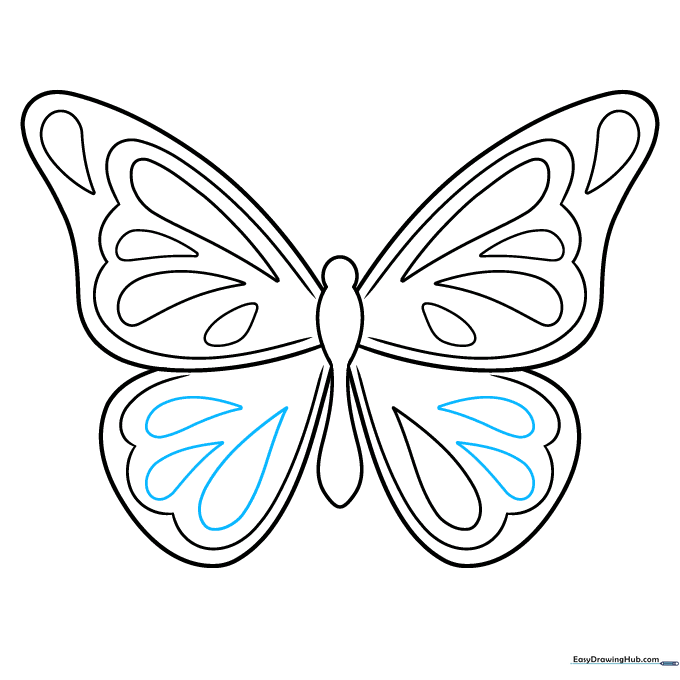
Complete the pattern by filling in the remaining scalloped spaces with teardrops. Teacher's Tip: Take your time here—this is where your butterfly starts to look really professional.
Step 9: Adding Antennae
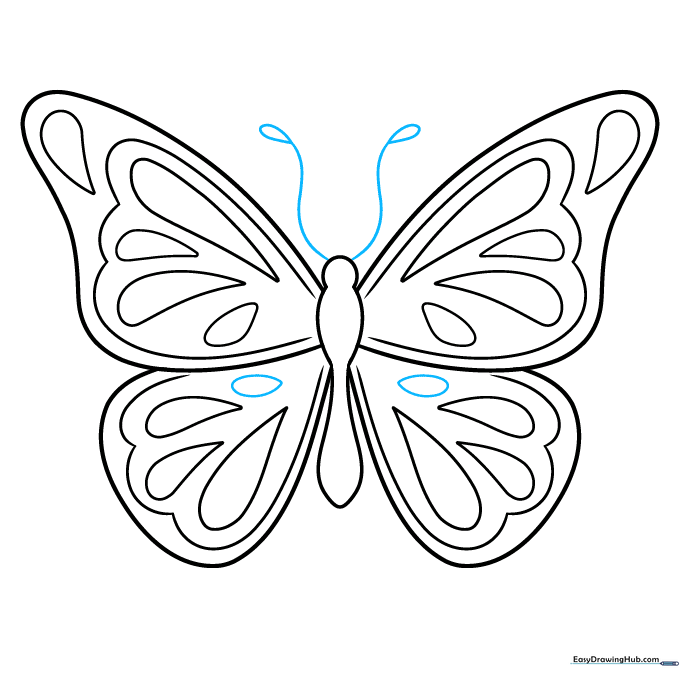
Draw two long, curved lines from the head, ending in small circles or teardrops for the antennae. Teacher's Tip: Make the antennae thin and delicate to match the butterfly's graceful nature.
Step 10: Color Your Masterpiece
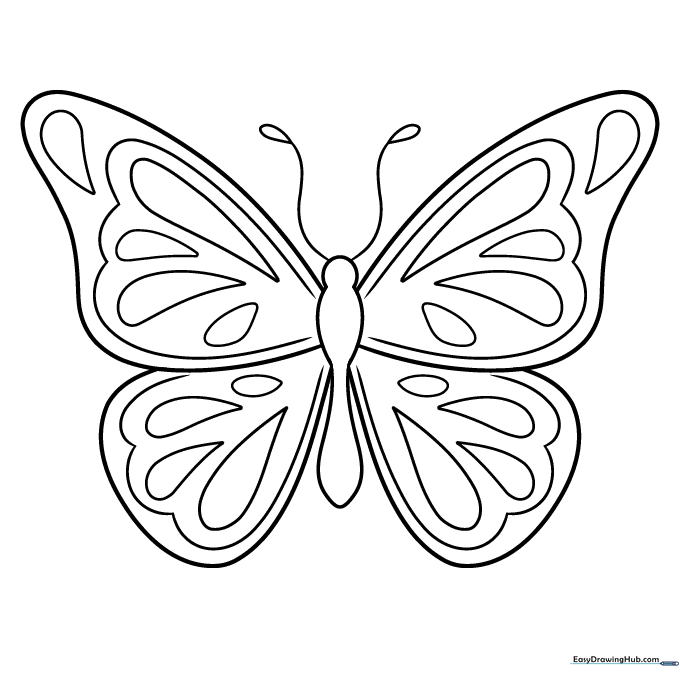
Your outline is ready! Now, bring it to life with color. Use bright, bold colors for a tropical look, or stick to classic monarch colors like orange and black. The choice is yours!
More Tutorials


