How to Draw a Bunny: Easy 9-Step Outline Guide
This bunny drawing guide is perfect for young artists ages 5 and up. All you need is a pencil, an eraser, and a piece of paper to get started. Follow these simple steps to build your bunny from basic shapes into a charming character.
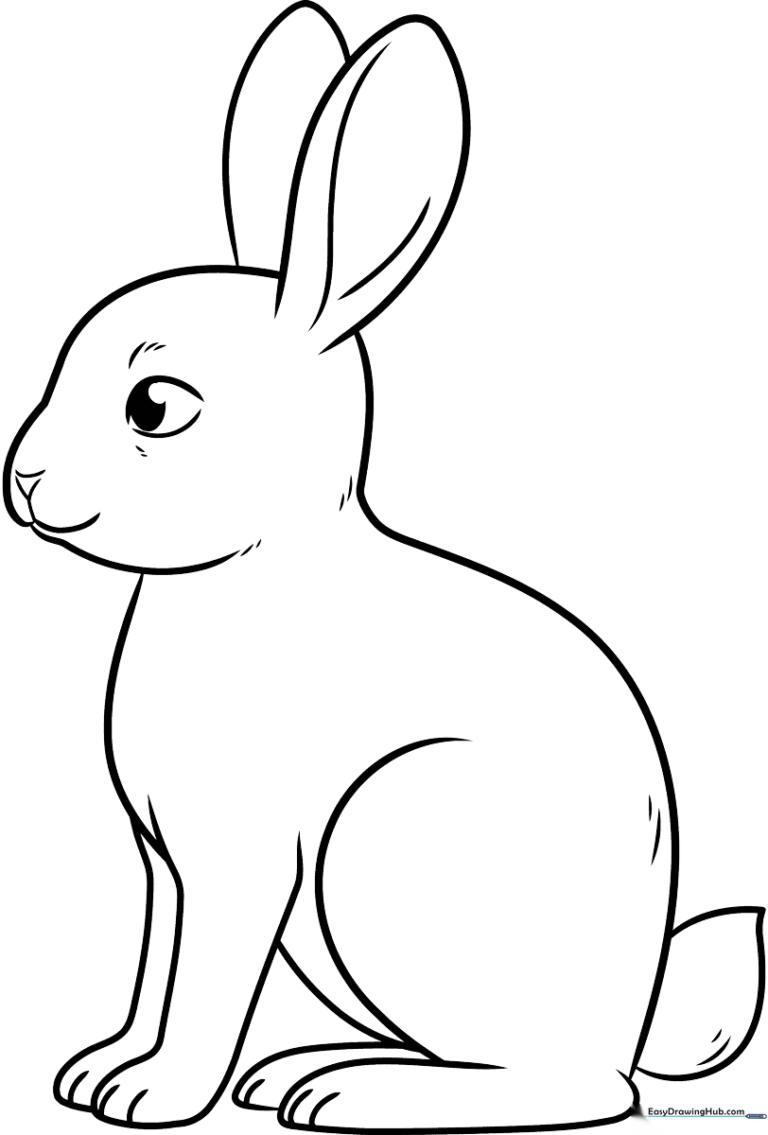
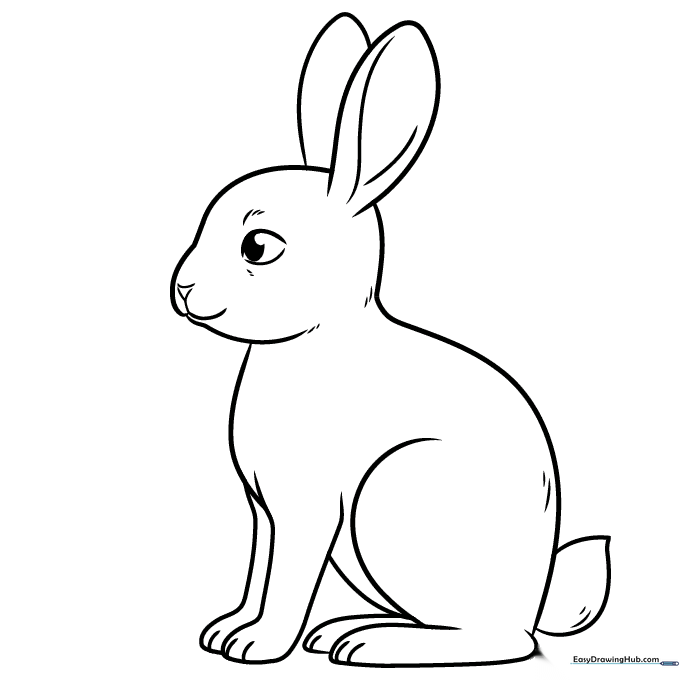
🎯 Final Result
Step-by-Step Instructions
Step 1: Sketching the Eye

Start by drawing the bunny's eye using two curved lines that almost meet. Add an oval inside an oval and shade the center. Teacher's Tip: Keep your pencil lines light so you can easily adjust the shape if needed.
Step 2: Defining the Face

Draw a long, smooth curved line to form the front of the rabbit's face. Add smaller curves for the nose and upper lip. Teacher's Tip: Think of the nose as a small, soft button.
Step 3: Adding the First Ear
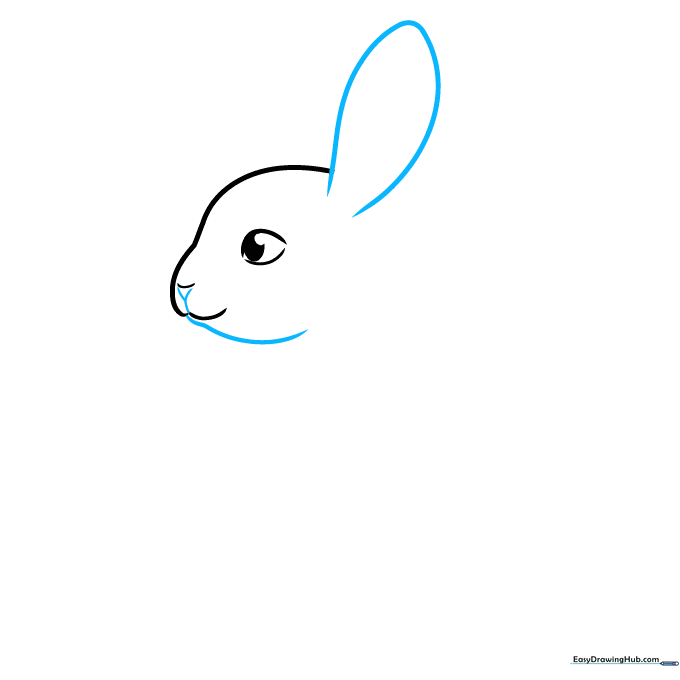
Draw a 'Y' shape for the mouth and a curved line for the jaw. Extend a long, looping line upward to create the first ear. Teacher's Tip: Make the ear tall and slightly rounded at the tip to give it a friendly look.
Step 4: Completing the Ears
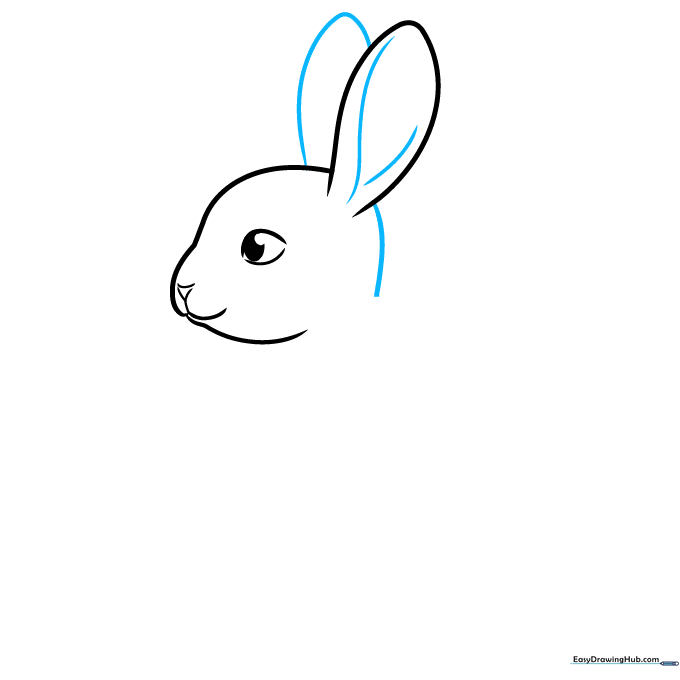
Enclose the second ear and add a 'Y' shape inside the first ear for detail. Draw a line from the ear to define the back of the head. Teacher's Tip: Varying the thickness of your lines here adds character.
Step 5: Sketching the Chest and Leg
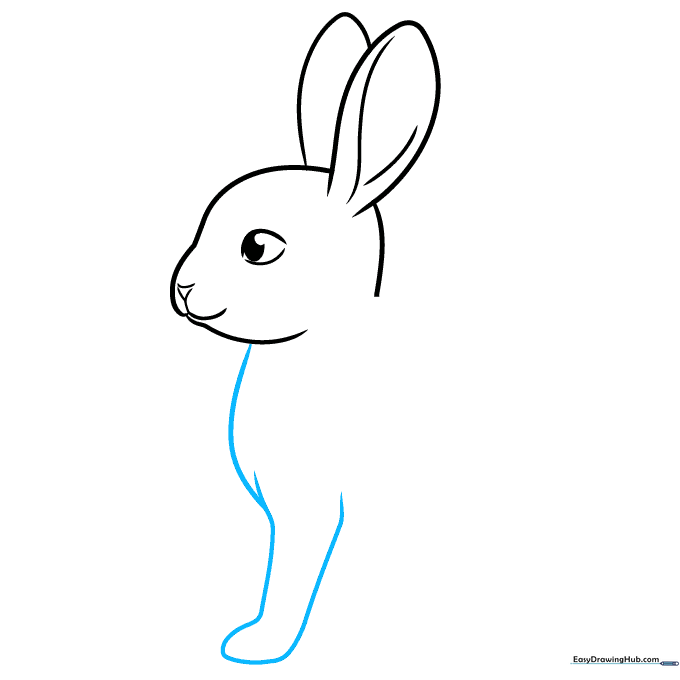
Extend a curved line from the head to form the chest. Add another overlapping line to create the front leg. Teacher's Tip: Keep the leg line smooth to suggest soft fur.
Step 6: Adding Paw Details
Add two short lines to the paw for toes. Draw overlapping curves for the belly and the back foot. Teacher's Tip: Use light, quick strokes to make the paws look delicate.
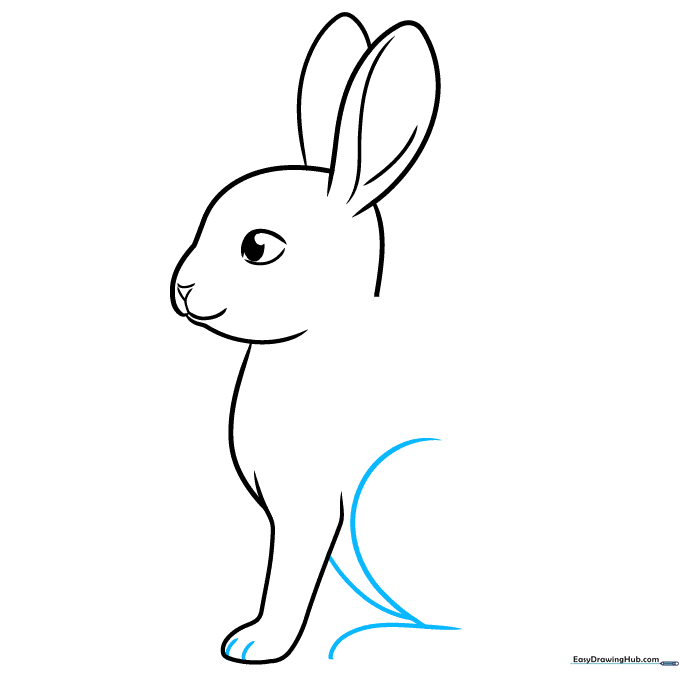
Step 7: Shaping the Back and Foot
Extend the back line and draw the bottom of the large rear foot. Add short lines for toe detail. Teacher's Tip: The rear foot should be larger than the front paw to keep the proportions realistic.
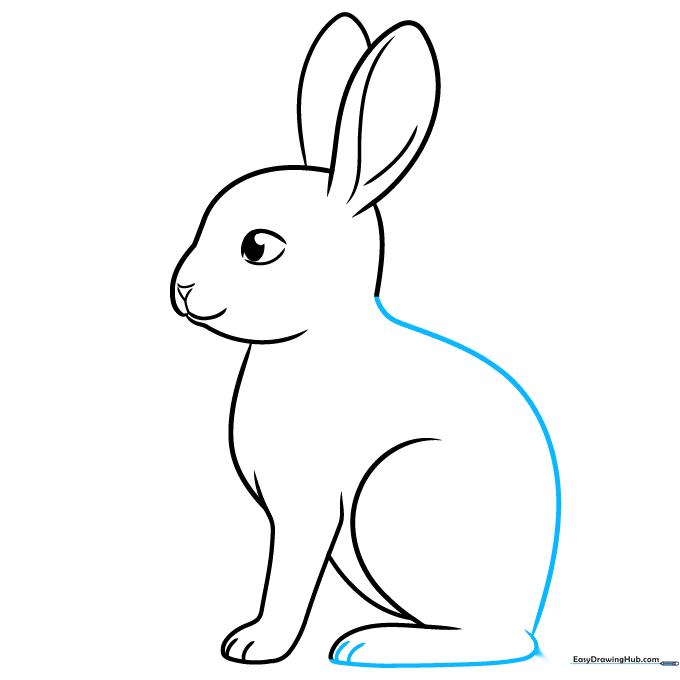
Step 8: Finalizing Legs
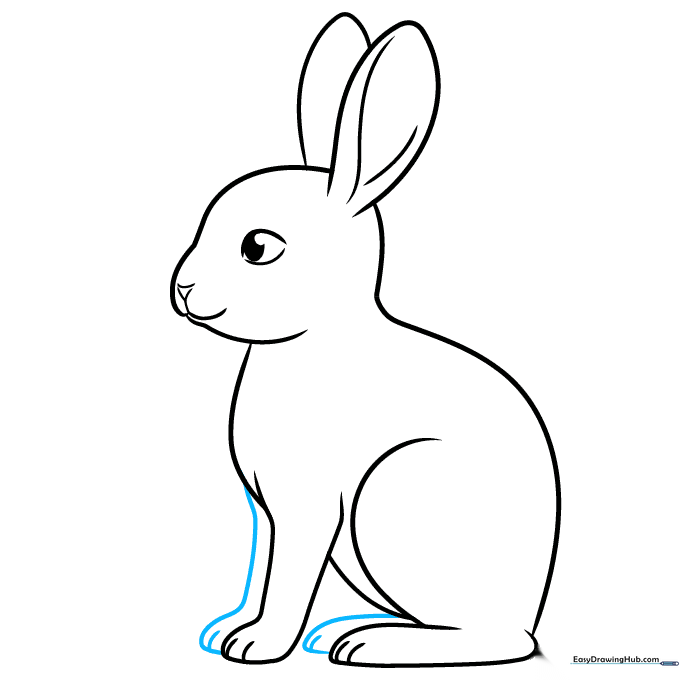
Enclose the remaining legs with curved lines and add toe details. Teacher's Tip: Ensure the legs look connected to the body by overlapping your lines slightly.
Step 9: Adding Texture
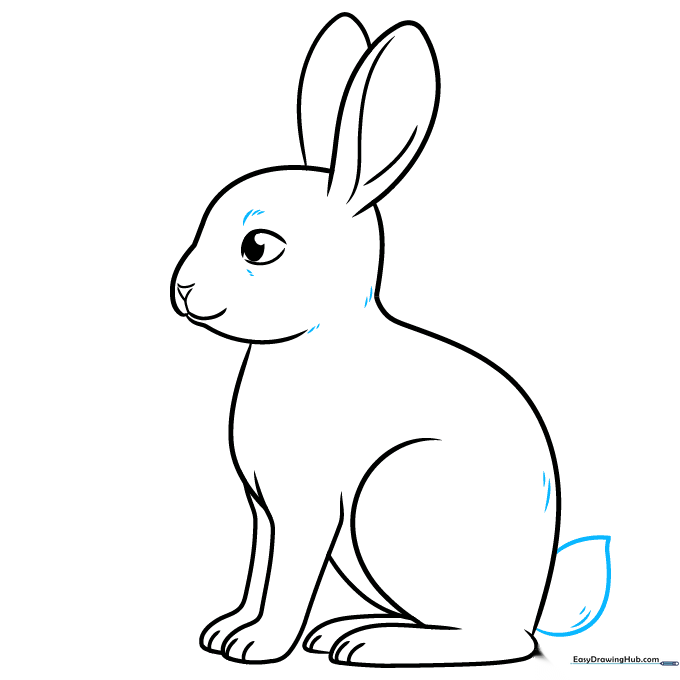
Draw a small, teardrop-shaped tail. Add short, quick lines along the head, back, and tail to suggest soft fur. Teacher's Tip: Don't overdo the fur lines—a few well-placed marks are enough to create texture.
Step 10: Bringing Your Bunny to Life
Your outline is complete! Now, add color. Use soft browns, grays, or even white for a classic look. Teacher's Tip: Use light pressure with your colored pencils to blend colors for a softer, more realistic coat.
More Tutorials


