How to Draw a Brownie: Easy Step-by-Step Guide
Ready to draw something sweet? This tutorial is perfect for young artists ages 5 and up. All you need is a pencil, an eraser, and your favorite coloring supplies to create a stack of mouth-watering brownies.
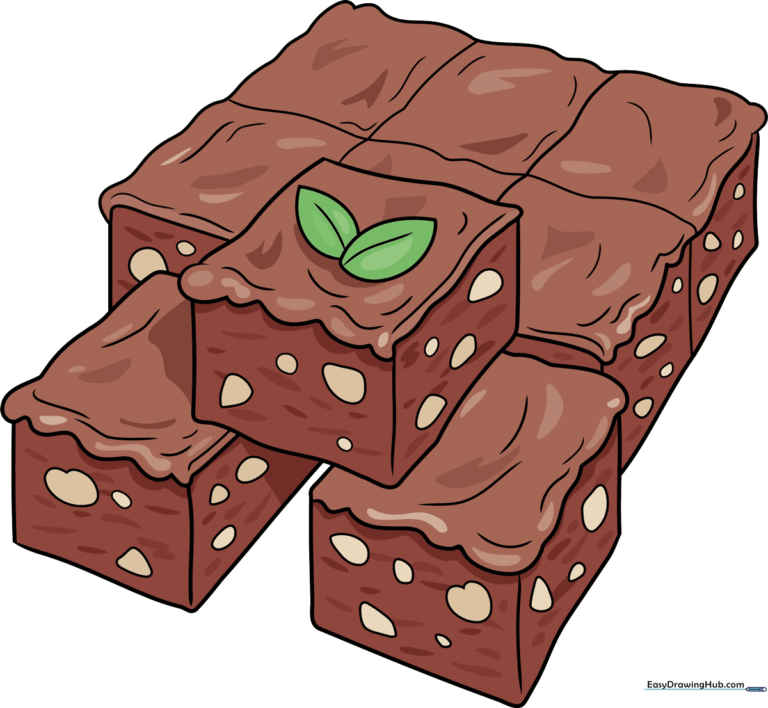
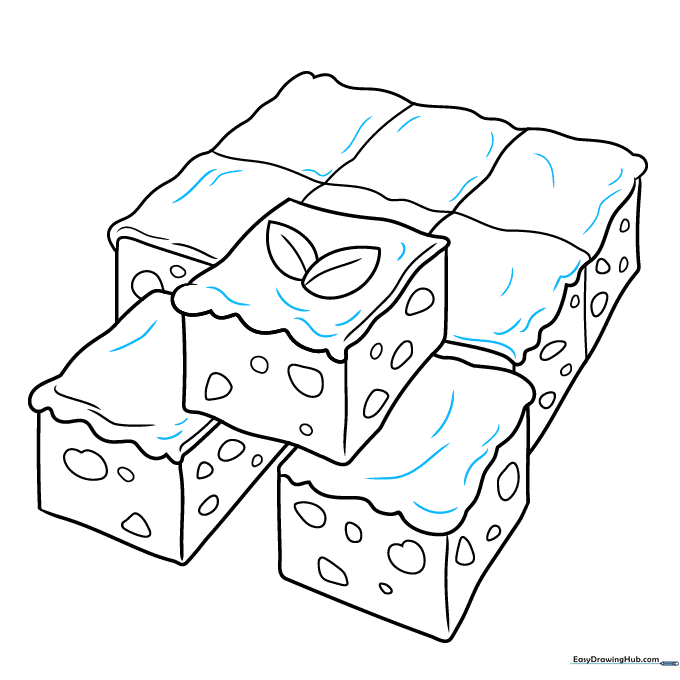
🎯 Final Result
Step-by-Step Instructions
Step 1: Sketching the First Brownie
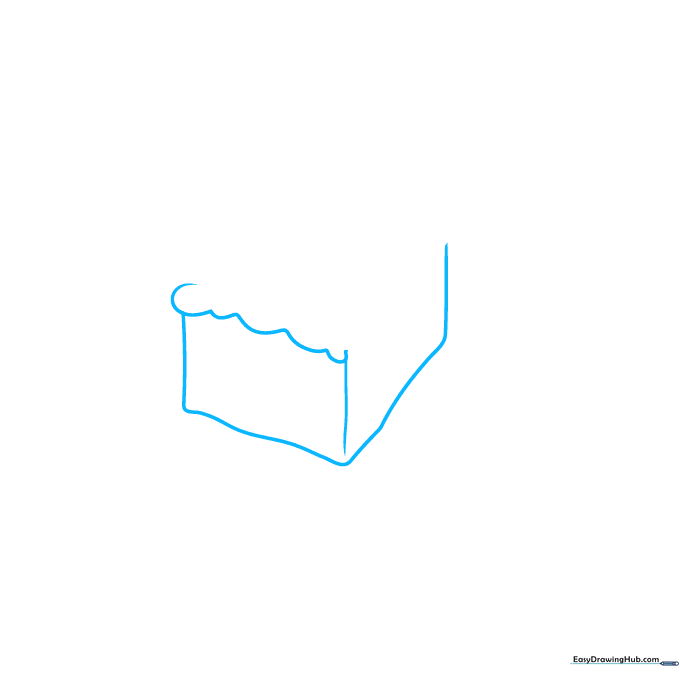
Start by drawing a series of wavy, connected lines to form the top of your first brownie. Below these, use short, straight lines to create a partial cube shape. Teacher's Tip: Keep your pencil pressure light so you can easily adjust the shape if it looks a bit lopsided.
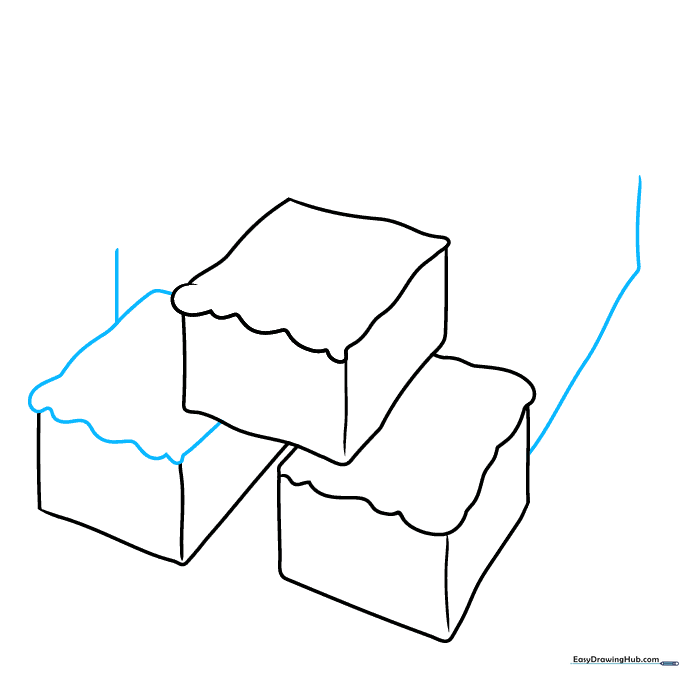
Step 2: Building the Stack
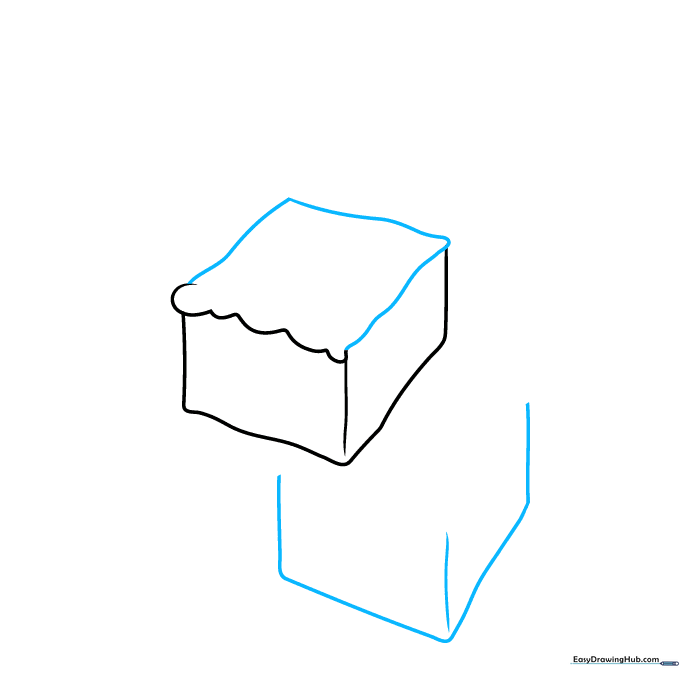
Close the top of your first brownie with three wavy lines to finish the cube. Directly underneath, begin sketching a second brownie cube using five wavy lines. Teacher's Tip: Imagine you are stacking real blocks—keep the edges aligned to make the stack look sturdy.
Step 3: Adding Icing Details
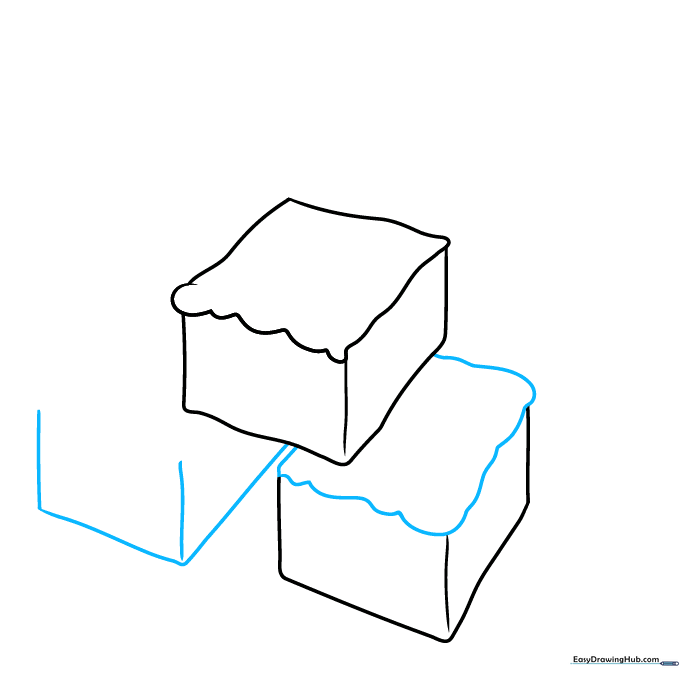
Draw the wavy, melted icing on top of the second brownie. Then, start the cube shape for a third brownie below it using four slightly wavy lines. Teacher's Tip: Make the icing lines 'wiggly' to show that it's thick and gooey.
Step 4: Creating the Base
Finish the third brownie with more wavy icing lines. Behind your stack, sketch the base of a larger rectangular pan. Teacher's Tip: Use a ruler if you want the pan to look perfectly straight, or keep it freehand for a rustic, homemade look.
Step 5: Filling the Pan
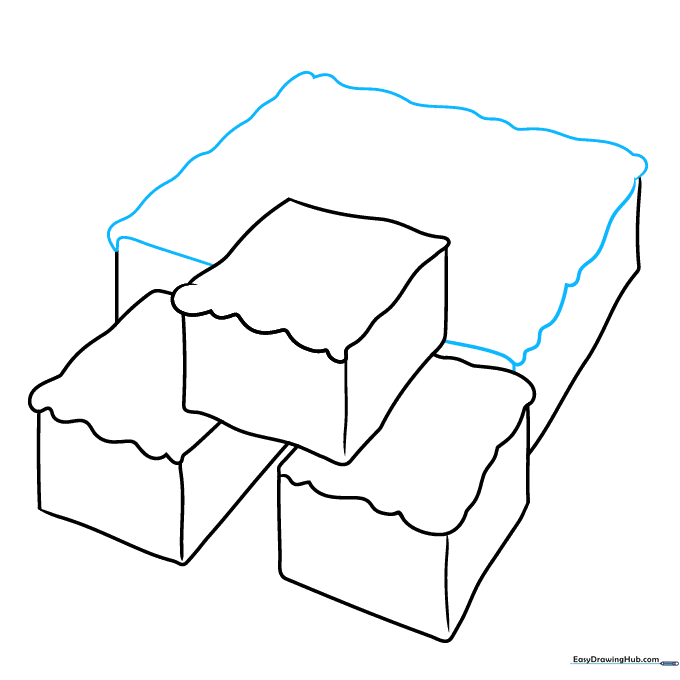
Add icing to the tops of the brownies in the pan using wavy lines to complete the cube shapes. Teacher's Tip: Vary the height of your wavy lines so the icing looks natural and uneven.
Step 6: Slicing and Garnish
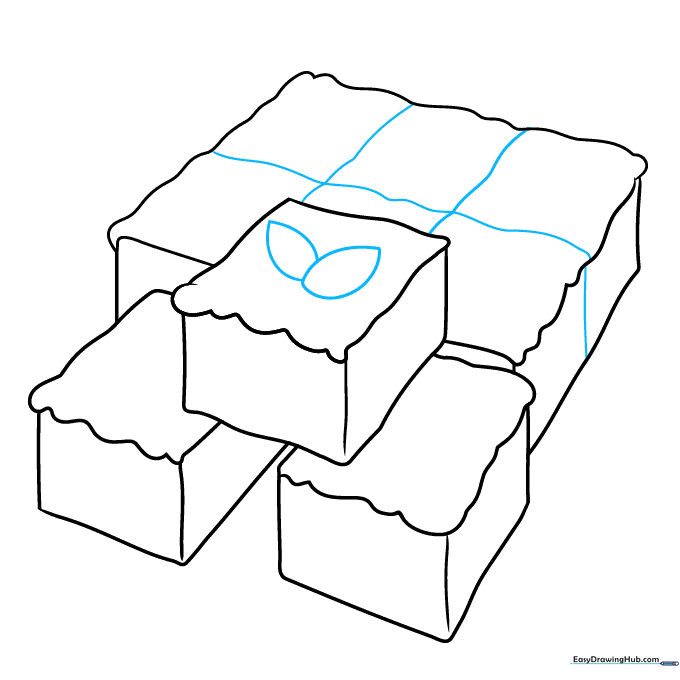
Draw a checkerboard pattern across the brownies in the pan to show slices. On the top brownie, draw two teardrop shapes for a mint garnish. Teacher's Tip: Keep the mint leaves small so they don't overpower the brownie!
Step 7: Adding Texture
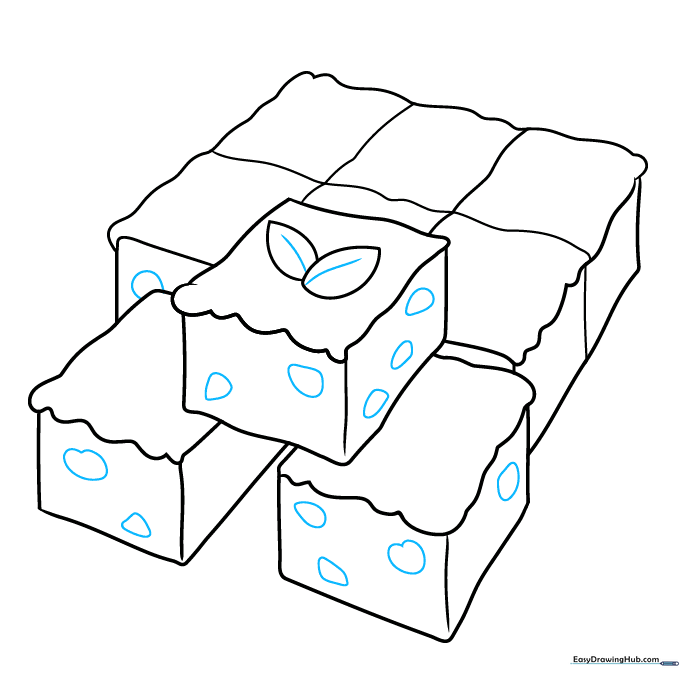
Draw a center vein in each mint leaf. Add irregular shapes inside the brownie slices to represent chocolate chunks or nuts. Teacher's Tip: Don't make the chunks too perfect; real chocolate chips are always a bit lumpy!
Step 8: Refining the Icing
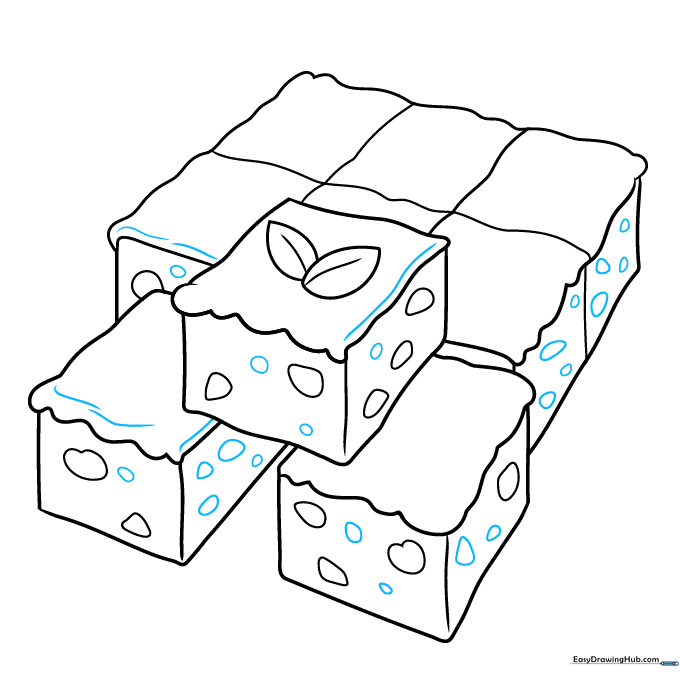
Add more irregular shapes for extra texture. Use curved lines along the edges of the icing to make it look thick and dimensional. Teacher's Tip: Use short, quick strokes to suggest the texture of the brownie crumb.
Step 9: Final Touches
Go over your lines one last time to ensure the icing looks smooth and consistent. Teacher's Tip: If you're using a fine-liner pen, now is the time to trace your pencil lines for a bold, cartoon look.
Step 10: Bring It to Life with Color
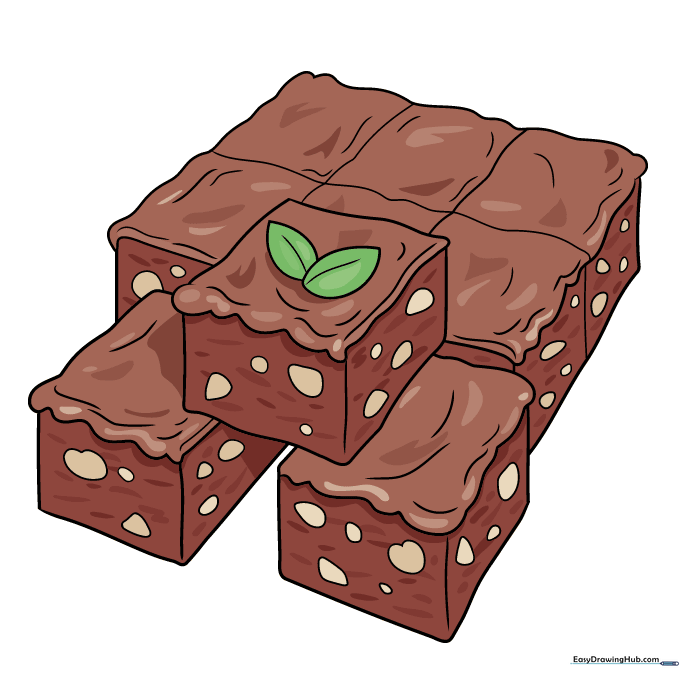
Your brownie drawing is finished! Use rich, dark browns for the cake and lighter shades for the icing. Teacher's Tip: Add a little white highlight on the icing to make it look shiny and fresh from the oven!
More Tutorials


