How to Draw a Barbie Face: Easy Step-by-Step Guide
Bring your favorite doll to life with this simple portrait guide, perfect for young artists ages 5 and up. You only need a pencil, an eraser, and a piece of paper to get started. Follow these steps to master facial proportions and create a charming, stylized character design.
🎯 Final Result

Step-by-Step Instructions
Step 1: Sketching the First Eye

Start by drawing the outline of the first eye using two soft, curved lines that don't quite touch at the corners. Inside, draw a circle for the iris and a smaller, shaded circle for the pupil. Teacher's Tip: Keep your pencil pressure light so you can easily adjust the shape if needed.
Step 2: Adding Eyelashes and the Second Eye

Add short, flicking lines to the top and bottom lids to create eyelashes. Then, mirror the shape of the first eye to sketch the second one. Teacher's Tip: Try to space the eyes about one eye-width apart to keep the face looking balanced.
Step 3: Defining the Pupils

Draw two circles inside the second eye, shading the inner one to match the first. Add matching eyelashes to the second eye. Teacher's Tip: Ensure the pupils are aligned horizontally so the character looks straight ahead.
Step 4: Eyelids, Brows, and Nose
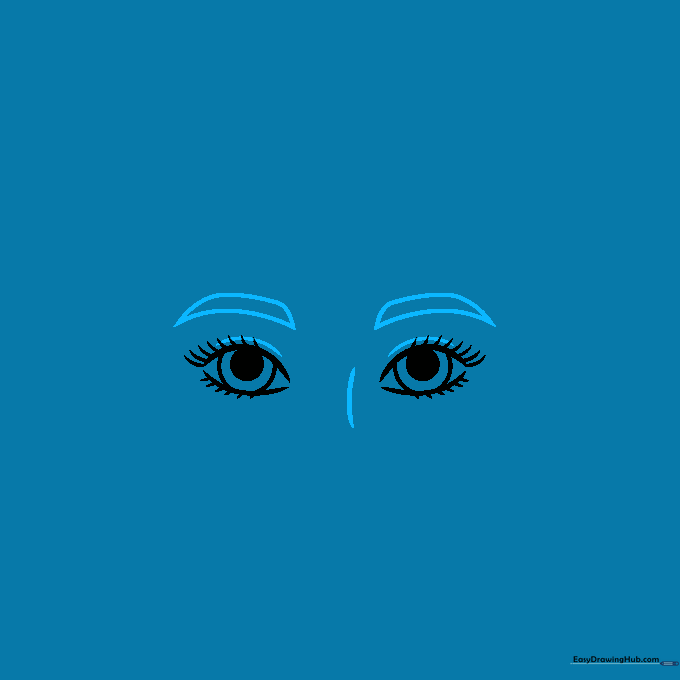
Draw a soft, curved line above each eye for the eyelid. Add a pointed shape for the eyebrows, and a small curve between the eyes to suggest the bridge of the nose. Teacher's Tip: Keep the nose line very subtle—less is more when drawing cartoon faces!
Step 5: Nose and Mouth

Use small curved lines to define the tip of the nose and nostrils. Draw a gentle, smiling mouth using two curved lines with small marks at the corners. Teacher's Tip: A slight upward curve at the corners of the mouth makes the character look friendly and happy.
Step 6: Face Shape and Lips
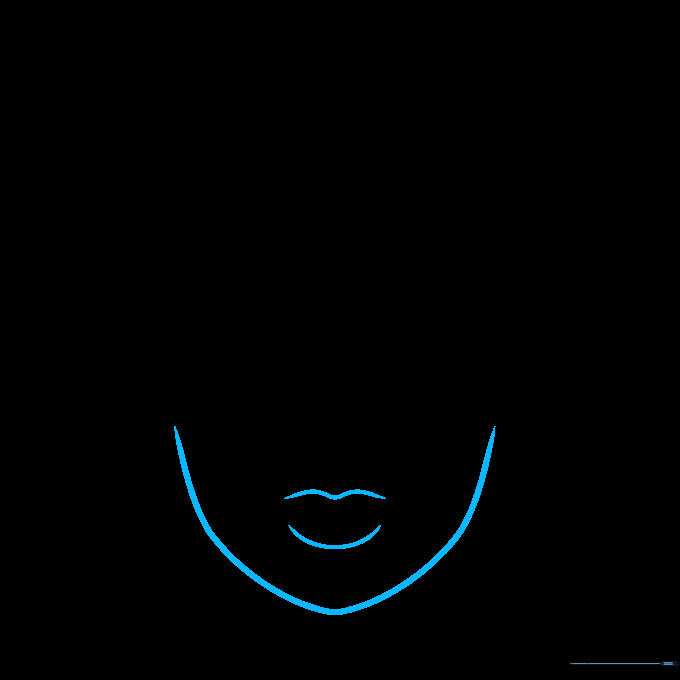
Outline the face with a long, smooth curve, tapering down to a gentle point at the chin. Add curved lines above and below the mouth to define the lips. Teacher's Tip: If the chin looks too sharp, use your eraser to round it out slightly.
Step 7: Hairline, Ears, and Neck
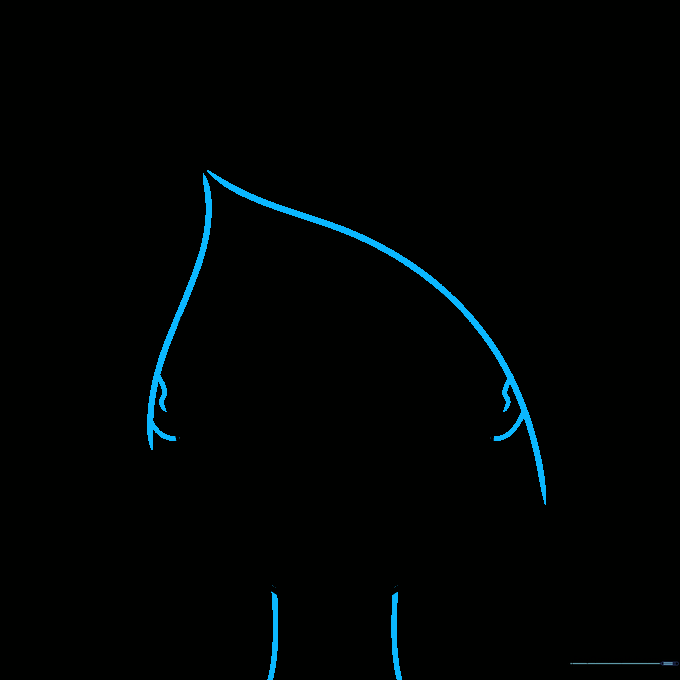
Draw curved lines across the forehead to form the hair. Sketch the ears on the sides of the face and add two lines for the neck. Teacher's Tip: Use long, sweeping strokes for the hair to make it look smooth and flowing.
Step 8: Styling the Hair
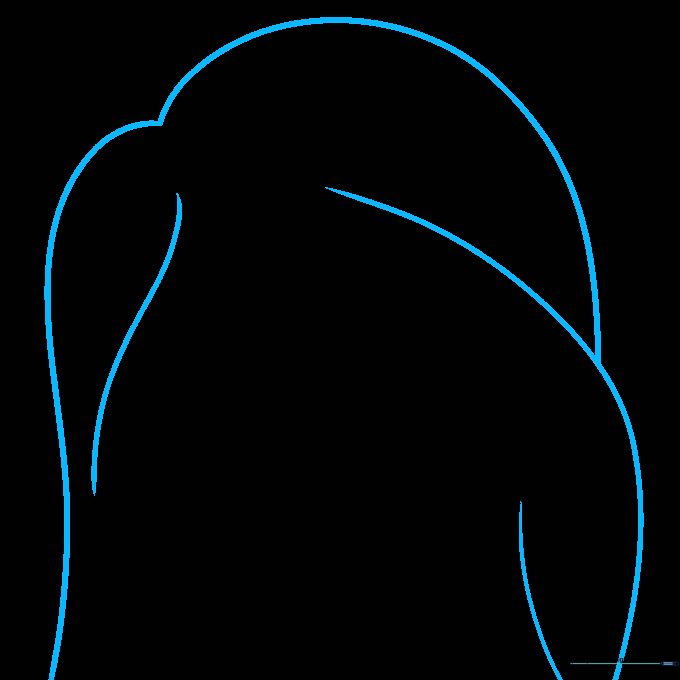
Continue the hair by drawing long, graceful curved lines that frame the face. Teacher's Tip: Don't worry about making every line perfect; hair is naturally wavy and organic.
Step 9: Adding Hair Texture
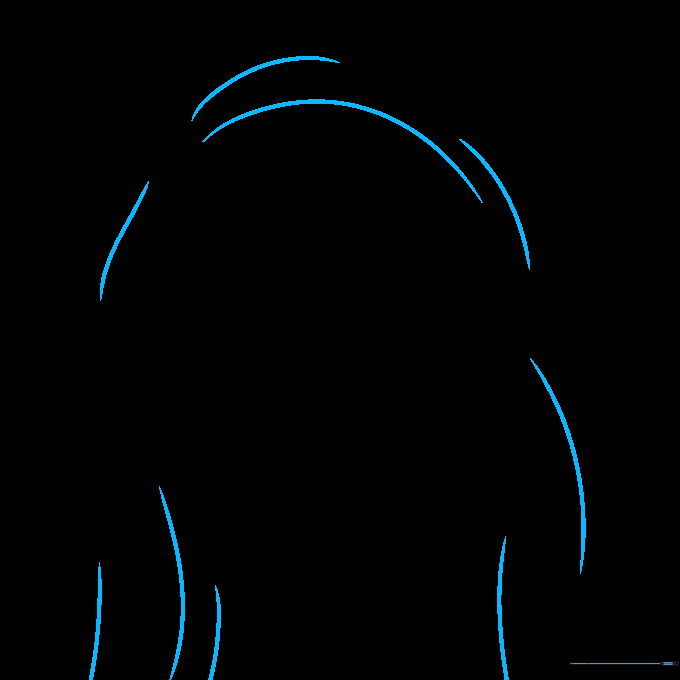
Complete the hair by adding smaller, curved lines to create texture and movement. Teacher's Tip: Follow the direction of the hair flow to make it look realistic.
Step 10: Bringing it to Life with Color

Add color to your drawing! We used classic blonde for the hair, blue for the eyes, and a soft pink for the lips. Teacher's Tip: Use colored pencils and layer your colors lightly to create a smooth, professional finish.
More Tutorials


