How to Draw a Baby Penguin: Easy 10-Step Guide
Looking for a fun, screen-free activity? This tutorial is perfect for young artists ages 5+ to practice basic shapes and line control. Grab a pencil, eraser, and paper, and let’s bring this fluffy penguin chick to life together!
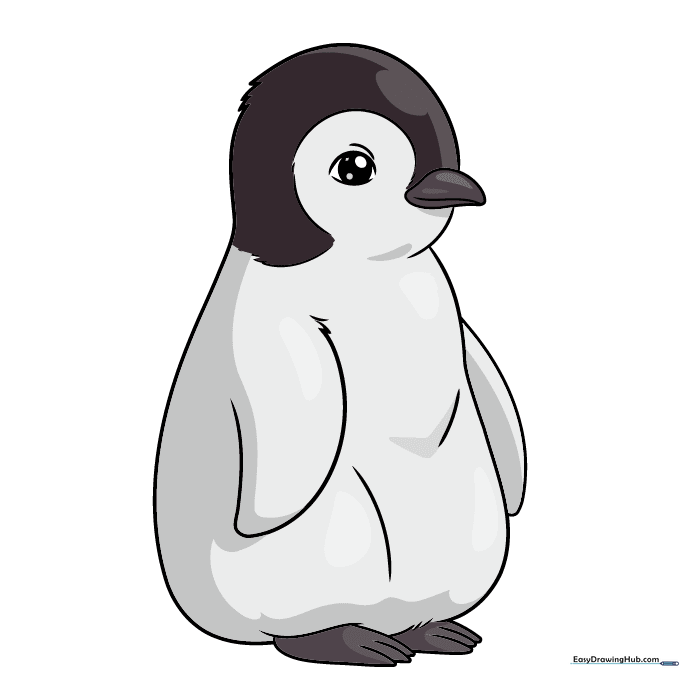
🎯 Final Result

Step-by-Step Instructions
Step 1: Sketching the Eye
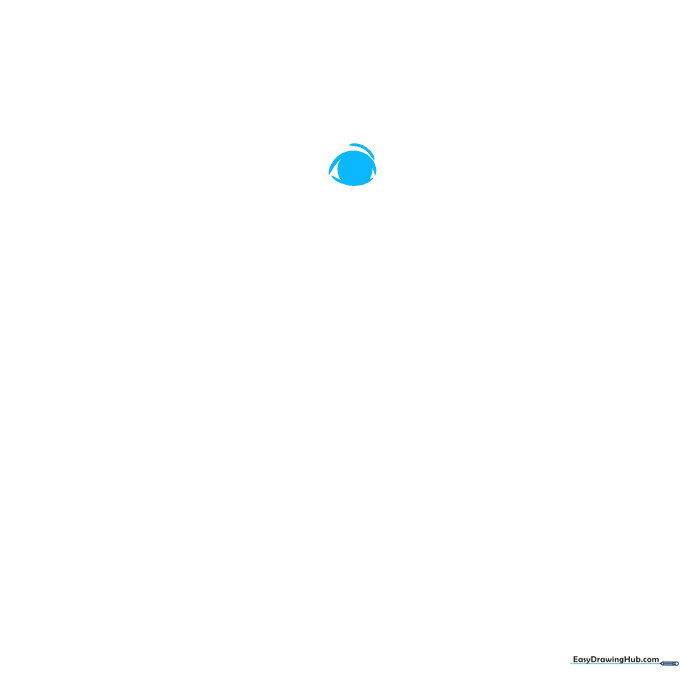
Draw two curved lines for the top and bottom of the eye, leaving the corners open. Shade a large circle inside for the pupil. Teacher's Tip: Keep your pencil pressure light so you can easily adjust the shape if needed.
Step 2: Forming the Beak
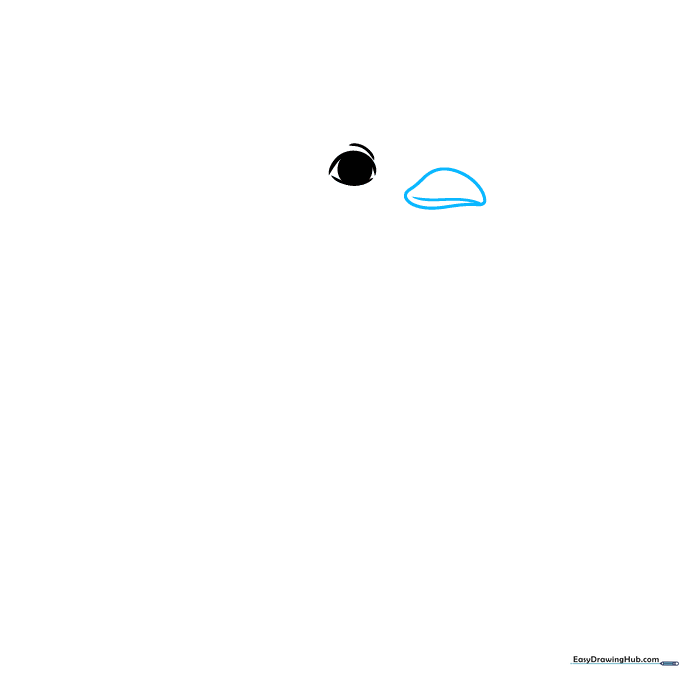
Enclose an irregular, rounded shape for the beak, then add a small curved line down the center. Teacher's Tip: Think of the beak as a small, sideways 'V' shape with rounded edges.
Step 3: Creating the Fuzzy Head
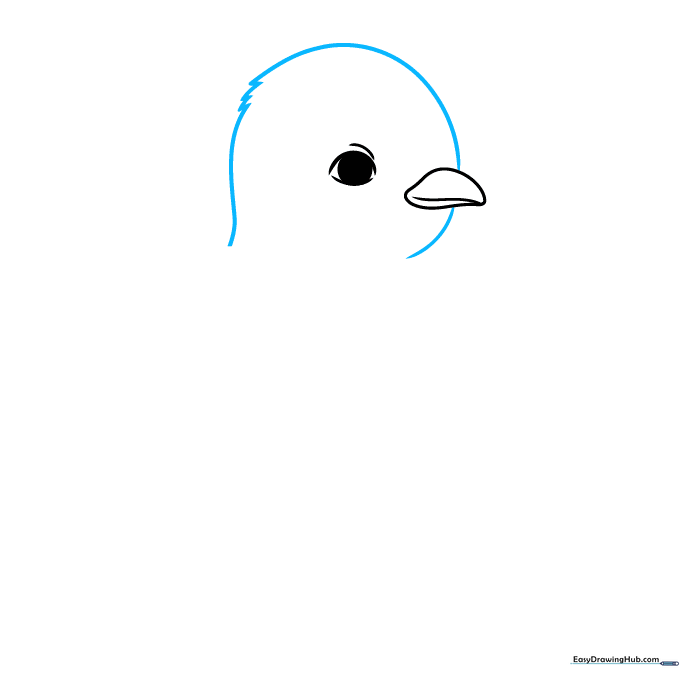
Use a long, curved line to outline the head. At the back, use short, quick strokes to suggest fuzzy baby feathers. Teacher's Tip: Use a 'flicking' motion with your pencil to make the feathers look soft and textured.
Step 4: Sketching the Body
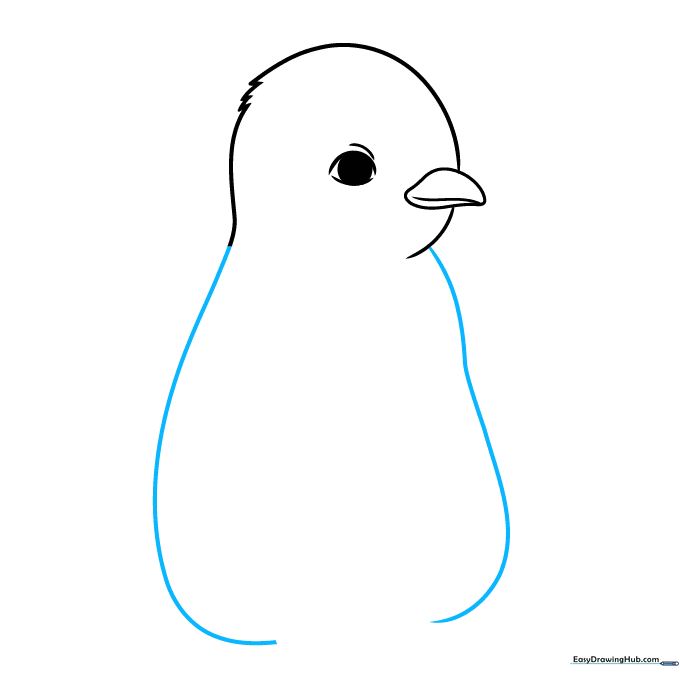
Draw two long, graceful curved lines extending down from the head to form the sides of the body. Teacher's Tip: Keep these lines smooth to make the penguin look plump and cute.
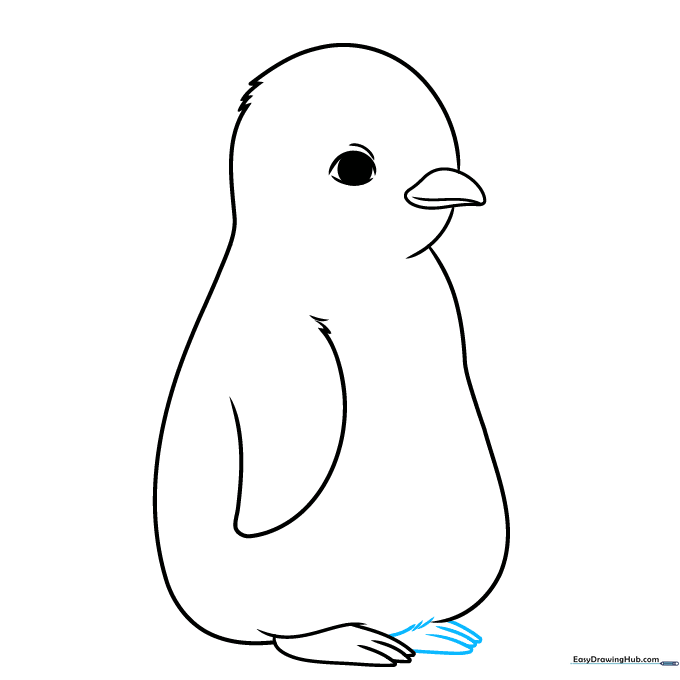
Step 5: Adding Wings and Legs

Draw a curved wing shape on the body, adding jagged points at the top for feather texture. Add a small curve at the bottom for the leg. Teacher's Tip: The jagged lines create a nice contrast against the smooth body.
Step 6: Drawing the First Foot
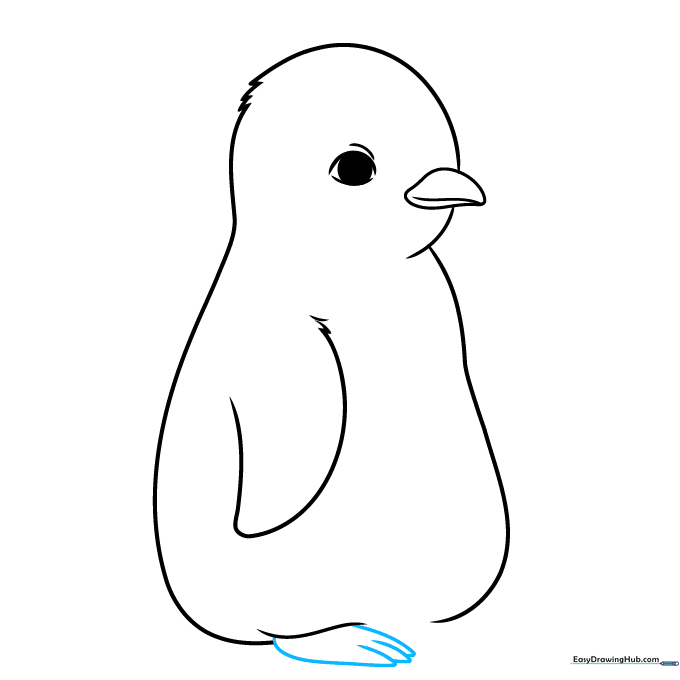
Form the foot using overlapping curved lines that meet at gentle points for the toes. Teacher's Tip: Think of these as little 'U' shapes connected together.
Step 7: Adding the Second Foot
Repeat the process for the second foot and finish the bottom of the body with short, soft lines. Teacher's Tip: Make sure the feet look balanced so the penguin looks like it's standing firmly.
Step 8: Adding Wing and Facial Details
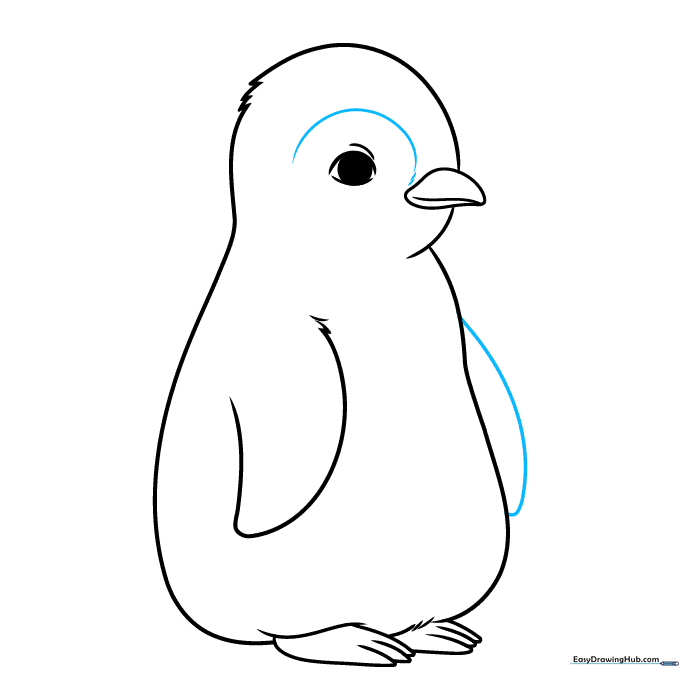
Enclose the second wing and draw a curved line from the beak over the eye to start the feather pattern. Teacher's Tip: This line helps define the penguin's face mask.
Step 9: Finalizing the Pattern
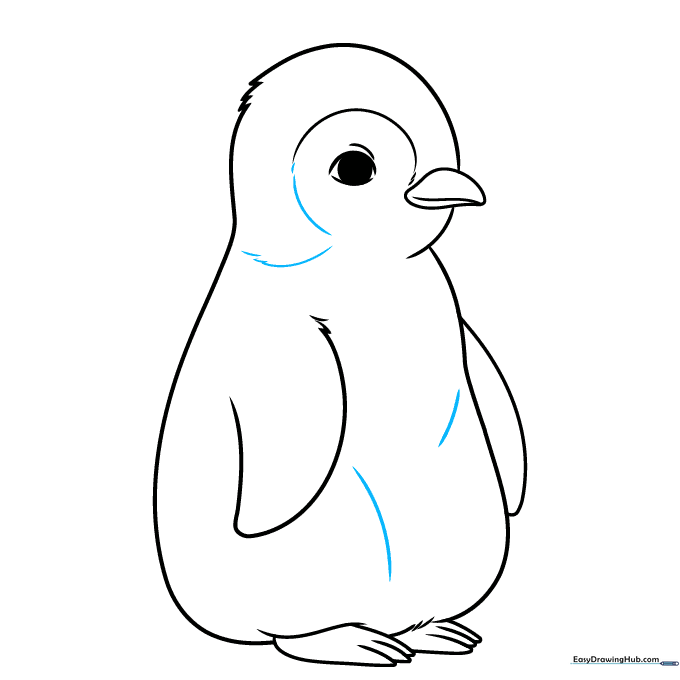
Continue the pattern around the eye and down to the neck, then add a few curves on the stomach. Teacher's Tip: Keep these lines loose and natural to mimic real feathers.
Step 10: Color Your Penguin
Your outline is complete! Use grey for the body and black for the wings and facial markings. Teacher's Tip: Use a light touch with your grey pencil to make the downy feathers look soft.
More Tutorials


