How to Draw an Easy Angel: Simple 9-Step Guide
This angel drawing tutorial is perfect for children ages 5 and up looking to practice their character sketching. All you need is a pencil, an eraser, and a sheet of paper to get started. Follow these simple steps to build confidence in your linework and create a beautiful, serene character.
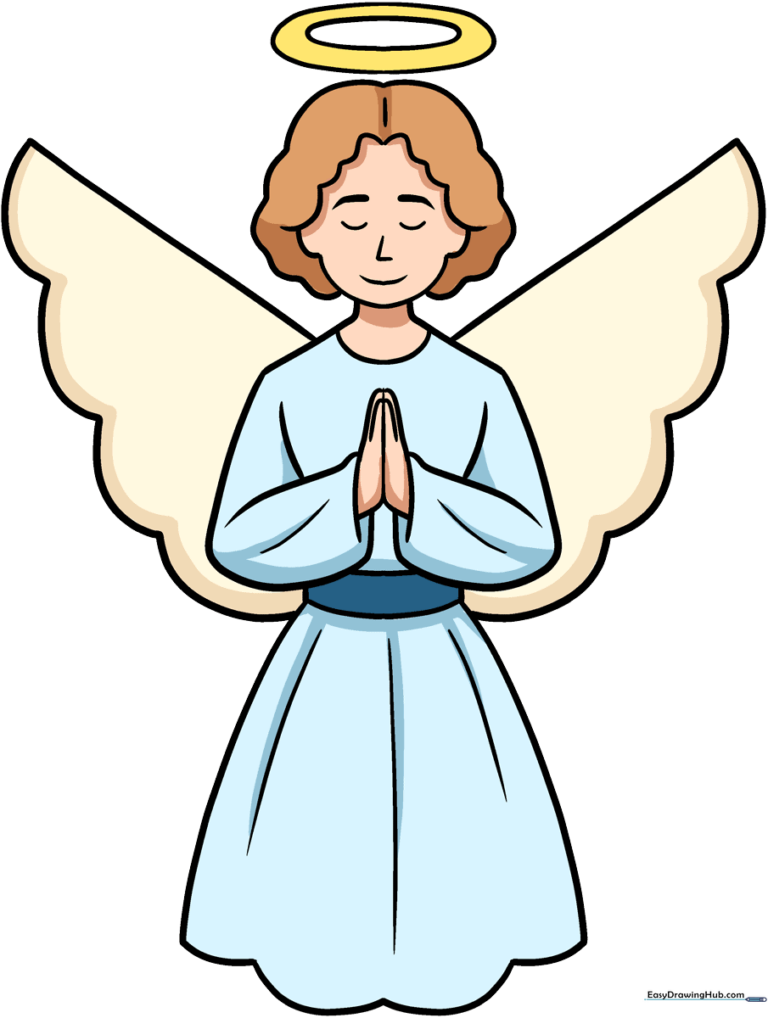
🎯 Final Result
Step-by-Step Instructions
Step 1: Sketching the Face
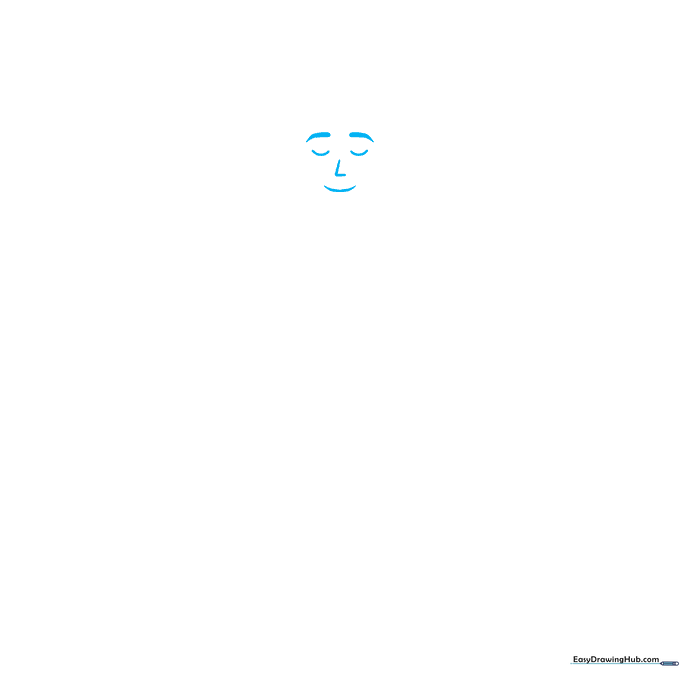
Start by drawing the face. Use gentle curved lines for the closed eyes, a small nose, and a soft smile. Add thick, arched lines above the eyes for the eyebrows. Teacher's Tip: Keep the expression peaceful by ensuring the eyes are symmetrical.
Step 2: Defining the Hair and Chin
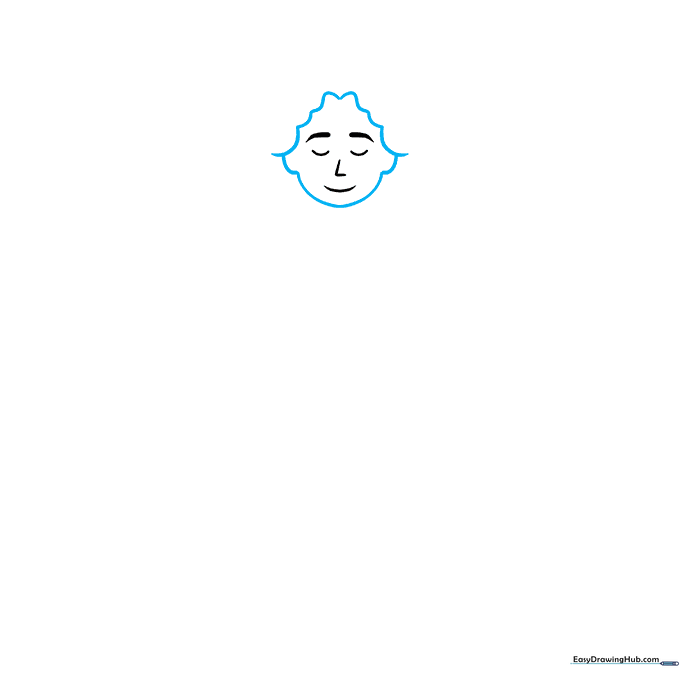
Outline the face shape using a long, smooth curve for the chin and cheeks. Add scalloped lines around the top for the hair and short curves for the ears. Teacher's Tip: Use light, feathery strokes for the hair to make it look soft.
Step 3: Adding the Neck and Shoulders
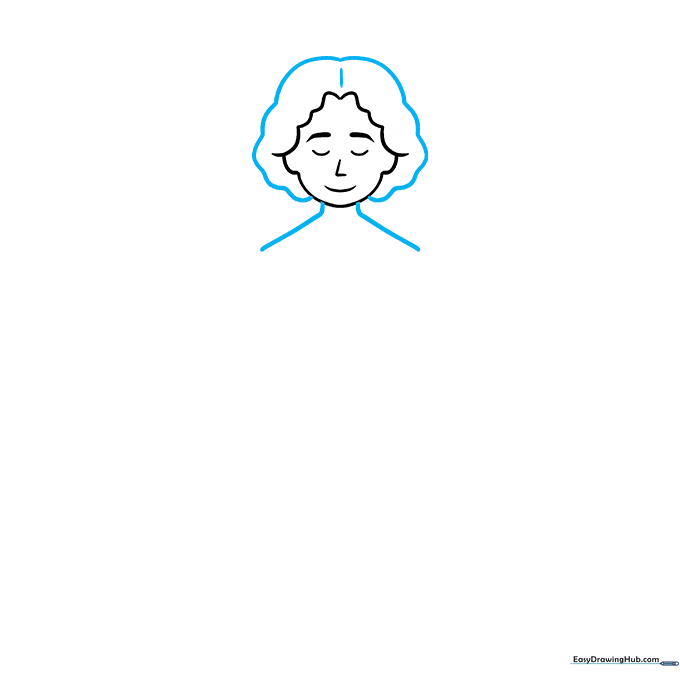
Finish the hair with a wavy line and add a vertical part down the center. Extend two lines downward from the head to create the neck and shoulders. Teacher's Tip: Make sure the neck is centered so the angel looks balanced.
Step 4: Drawing the Praying Hands
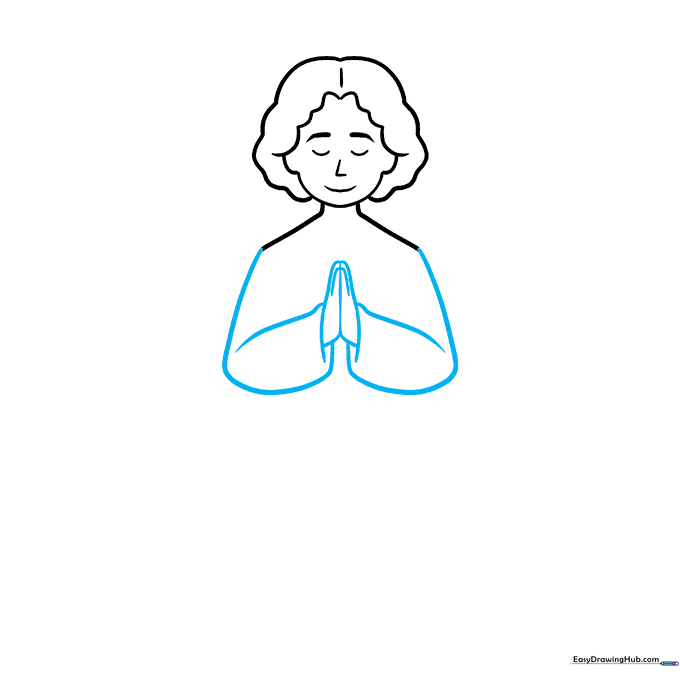
Extend the shoulder lines into arms. Sketch the hands pressed together in a prayer position, adding small lines for the fingers and the sleeve opening. Teacher's Tip: Keep the hands simple—two small shapes pressed together work perfectly.
Step 5: Detailing the Gown
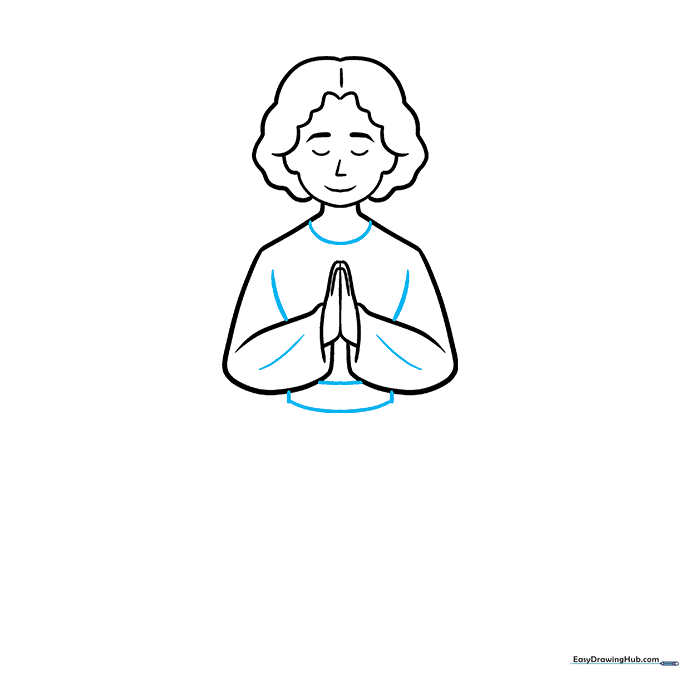
Draw the neckline of the gown and the sides of the torso. Add a curved rectangle for the belt and small lines to suggest folds in the sleeves. Teacher's Tip: Folds are just small 'V' shapes; they add a sense of movement to the fabric.
Step 6: Sketching the Skirt
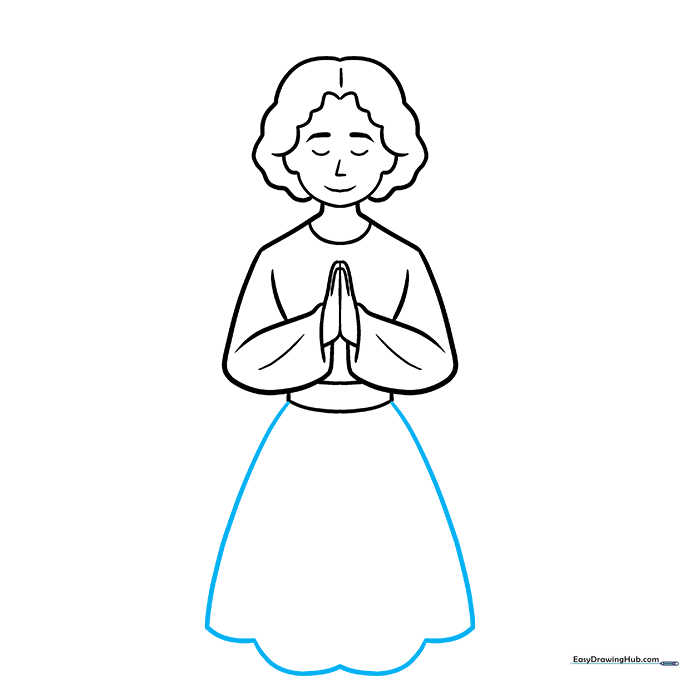
Draw the bottom of the gown using long, sweeping curved lines for the sides and a scalloped line to connect them at the hem. Teacher's Tip: Make the skirt wide to give the angel a graceful, flowing appearance.
Step 7: Adding the Halo
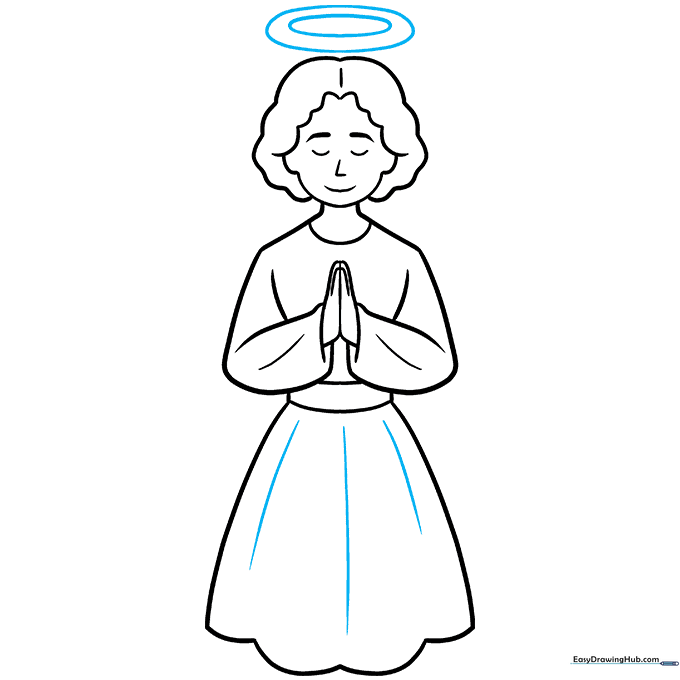
Add vertical lines to the skirt to show fabric folds. Draw an oval within an oval above the head to create the halo. Teacher's Tip: Keep the halo oval thin so it looks like it's floating just above the head.
Step 8: Drawing the First Wing
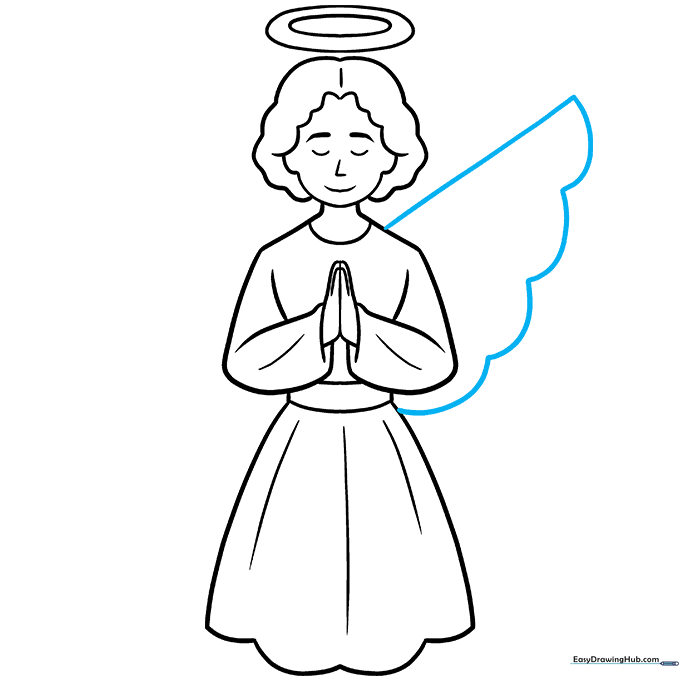
Draw the first wing using a diagonal line for the top edge and a scalloped line for the bottom edge. Teacher's Tip: Think of the wing as a soft, rounded triangle shape.
Step 9: Completing the Wings
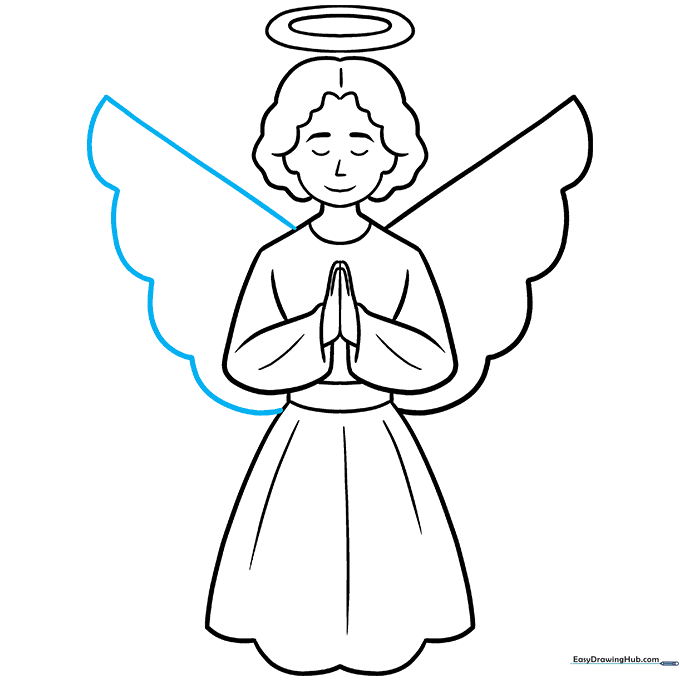
Repeat the process on the other side to draw the second wing, mirroring the shape of the first. Teacher's Tip: Try to make the wings roughly the same size for a balanced look.
Step 10: Bringing Your Angel to Life with Color
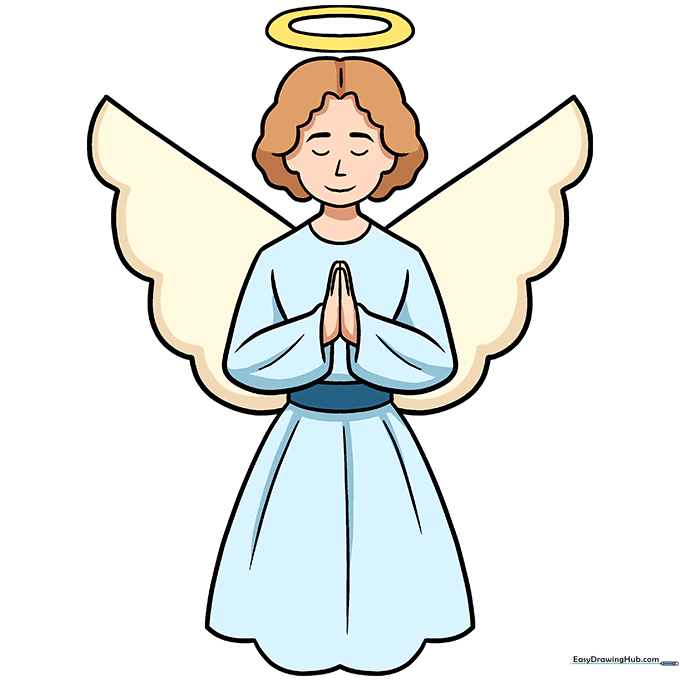
Your outline is complete! Now, add color. We used cream for the wings, blue for the gown, brown for the hair, and yellow for the halo. Teacher's Tip: Use light pressure with your colored pencils to blend colors smoothly.
More Tutorials


