How to Draw an Eastern Bluebird: Easy 10-Step Guide
Capture the beauty of nature with this beginner-friendly Eastern Bluebird drawing guide. Designed for young artists ages 5 and up, this activity requires only a pencil, paper, and an eraser. Follow these steps to develop your sketching confidence and learn how to structure a bird’s form from beak to tail.
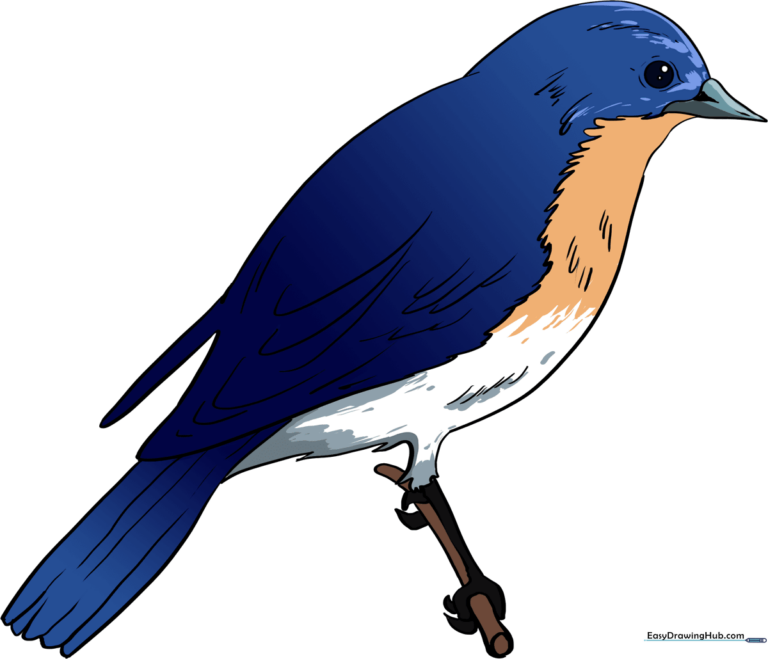
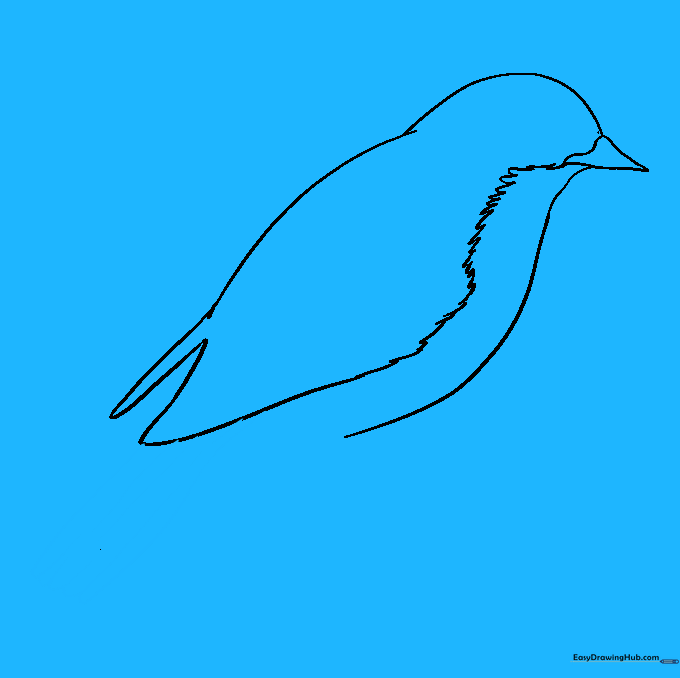
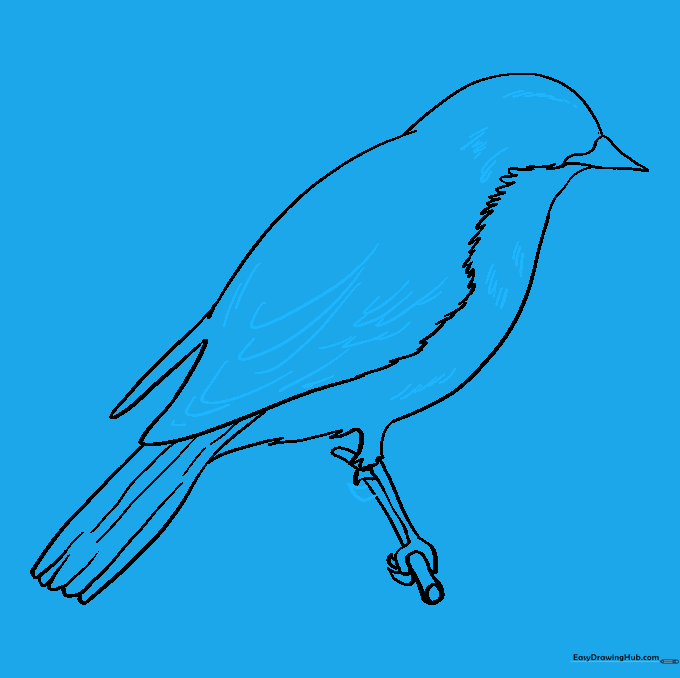
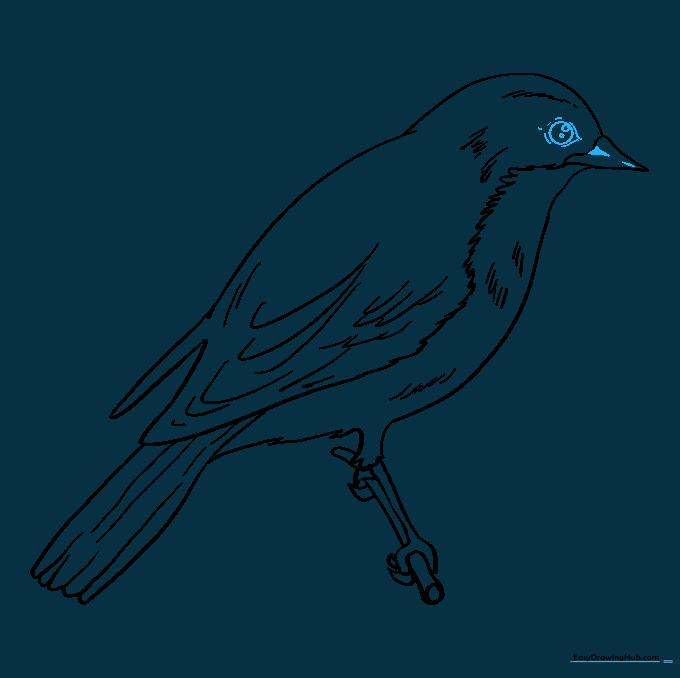
🎯 Final Result
Step-by-Step Instructions
Step 1: Sketching the Head and Beak
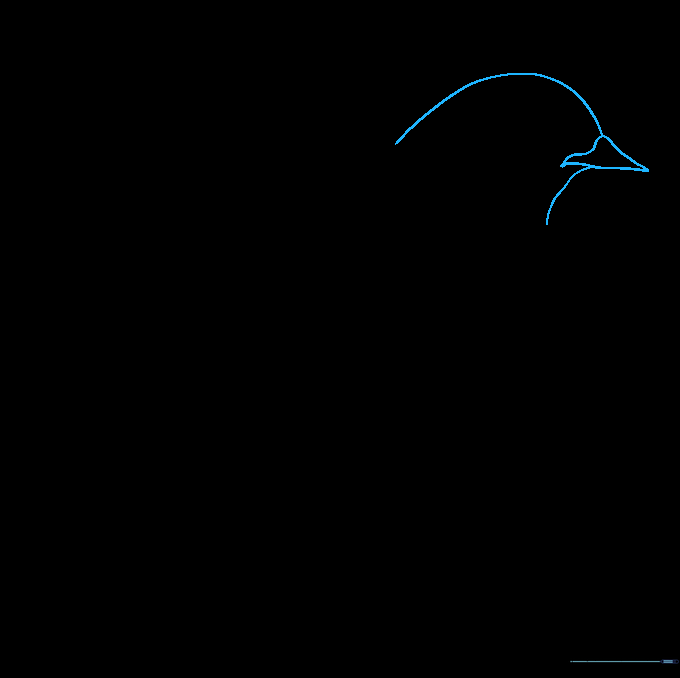
Start by sketching a light, rounded shape for the head. Add a small, triangular beak pointing forward, then draw a smooth curve for the neck. Teacher's Tip: Keep your pencil pressure very light here so you can easily erase any overlapping lines later.
Step 2: Outlining the Body
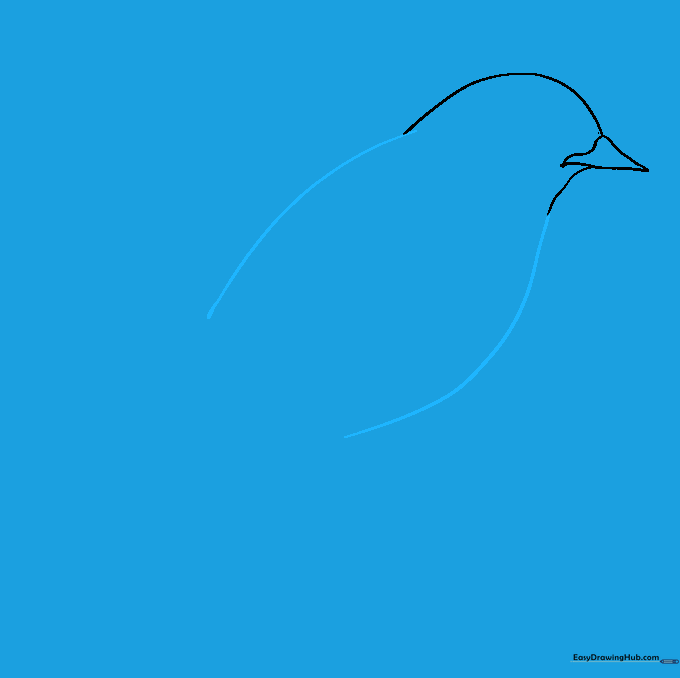
Extend long, graceful curved lines from the neck to define the bird's back and rounded belly. Teacher's Tip: Imagine the bird is sitting comfortably; keep the belly line soft and plump to give your bluebird a friendly, natural look.
Step 3: Defining the Wing
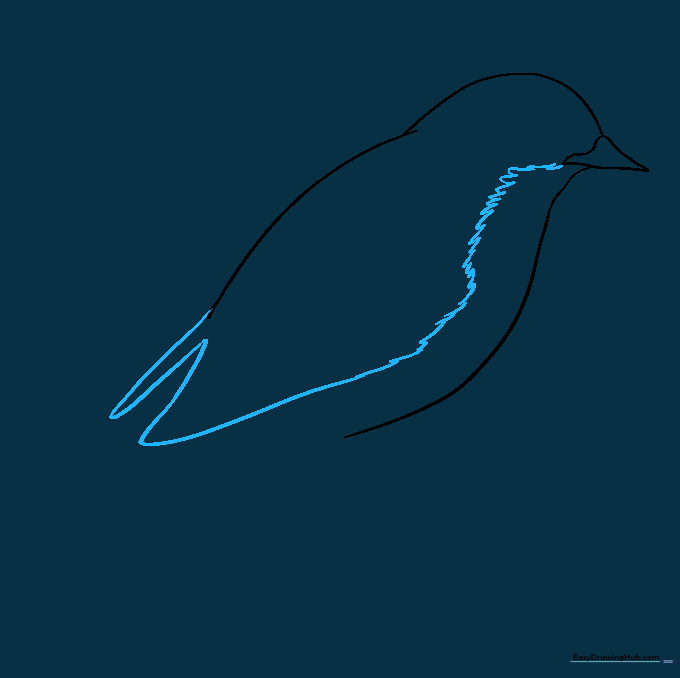
Draw a 'W' shaped line on the back to suggest the wingtips. Add a series of 'U' shaped curves leading toward the beak to represent the layered feathers. Teacher's Tip: Use short, rhythmic strokes to make the feathers look soft rather than stiff.
Step 4: Sketching the Tail
Extend two lines from the wing area to form the tail, closing it with small 'U' shapes. Add straight lines down the center to show the tail feathers. Teacher's Tip: Keep the tail narrow to maintain the bird's sleek profile.
Step 5: Connecting the Body and Legs
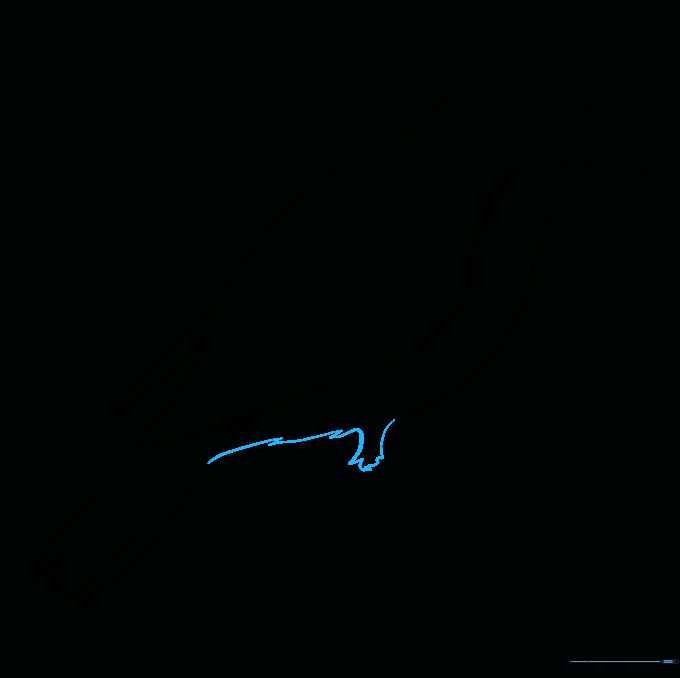
Use short, jagged lines to connect the belly to the tail, creating a natural transition. Sketch two parallel lines for the upper leg. Teacher's Tip: Jagged lines are great for mimicking the texture of real feathers!
Step 6: Drawing the Feet

Draw the lower leg and a 'U' shape for the foot. Add small curved hooks at the back for the claws. Teacher's Tip: Birds have very thin legs; keep your lines close together to make them look realistic.
Step 7: Adding the Perch
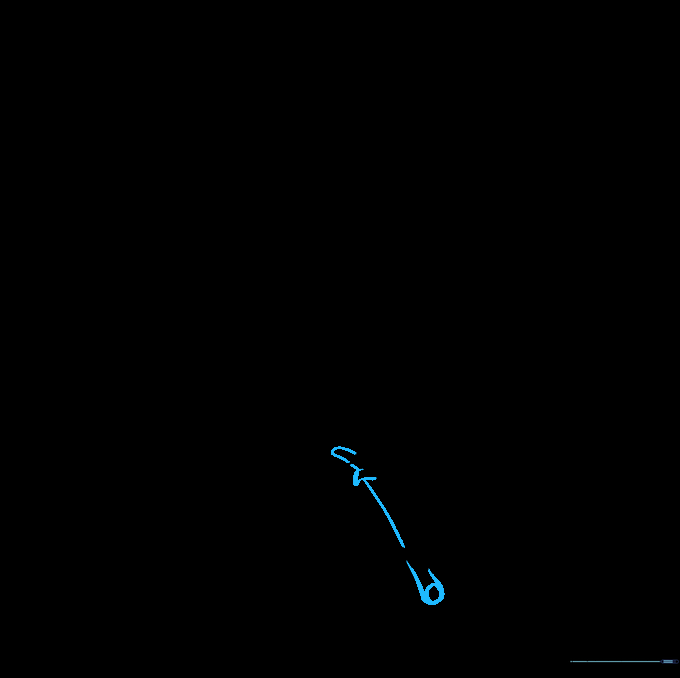
Draw a small circle near the foot and connect it with lines to create a twig. Add a small shape for the second foot resting on the branch. Teacher's Tip: Vary the thickness of the branch lines to make it look like a natural piece of wood.
Step 8: Adding Feather Texture
Use 'U' and 'J' shaped lines across the wings and chest to add texture. Use light hatching on the head and neck. Teacher's Tip: Don't overdo it—a few well-placed marks suggest feathers better than drawing every single one.
Step 9: Final Facial Details
Draw a circular eye with a smaller pupil inside. Add short lines around the eye and beak for detail. Teacher's Tip: Leave a tiny white dot inside the pupil to make the eye look bright and alive.
Step 10: Bringing It to Life with Color

Color your bird! Use bright blue for the head, back, and wings. Add a warm orange or red to the chest and keep the belly white. Teacher's Tip: If you're drawing a male, use bolder, brighter blues to make him stand out!
More Tutorials


