How to Draw an Easter Egg Tree: Easy 10-Step Guide
Bring the joy of spring to your sketchbook with this festive Easter egg tree tutorial. Designed for young artists ages 5 and up, this screen-free activity uses basic shapes to build confidence and fine motor skills. Grab your pencil, eraser, and markers to create a colorful holiday masterpiece.
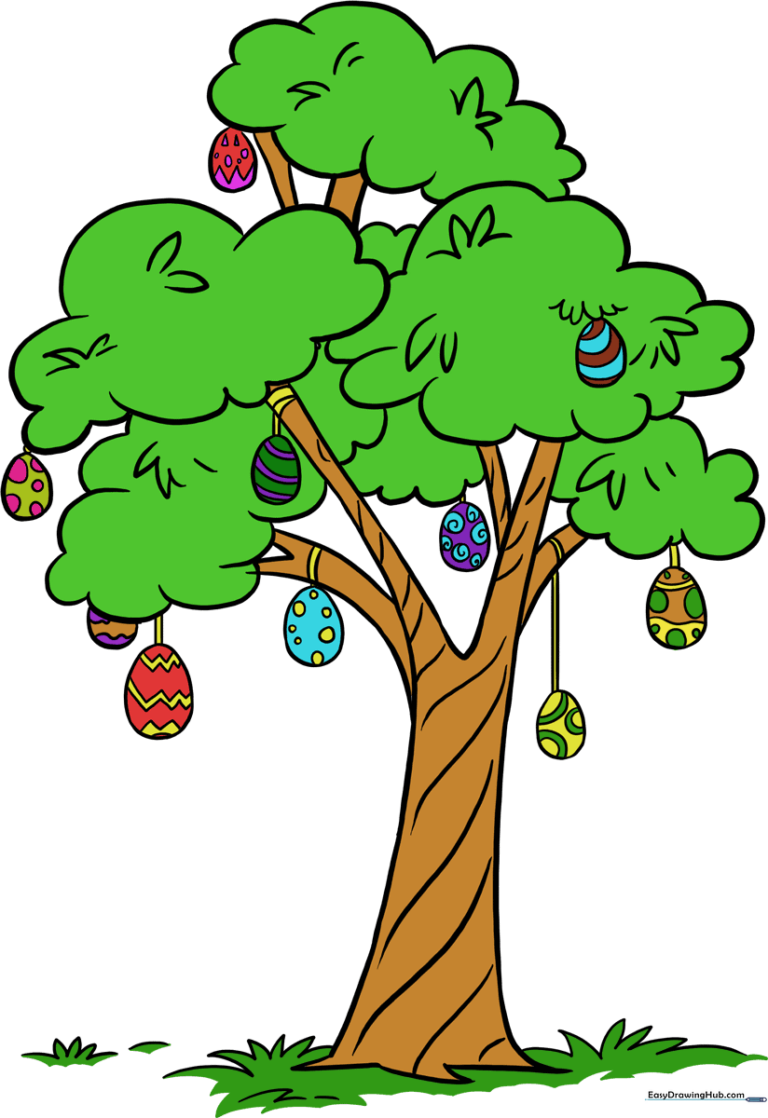
🎯 Final Result
Step-by-Step Instructions
Step 1: Sketching the Trunk

Draw two long, slightly curved vertical lines to form the trunk. At the bottom, add small, rounded 'U' shapes to create the roots. Teacher's Tip: Keep the trunk narrow at the top and wider at the base to make the tree look sturdy and realistic.
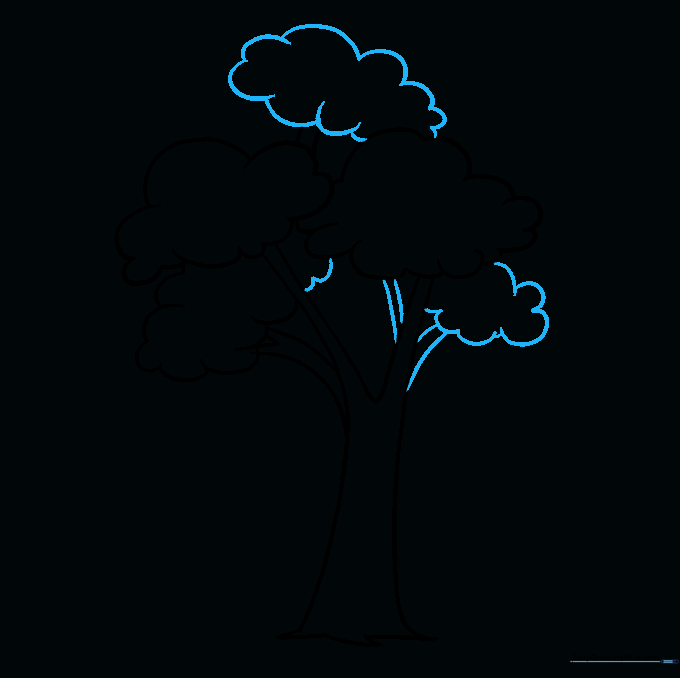
Step 2: Starting the Branches

Draw a 'V' shape at the top of the trunk to start your first branch. Above this, use a series of connected, scalloped lines to create a cloud-like leaf cluster. Teacher's Tip: Don't worry about making the clouds perfect; nature is full of irregular, beautiful shapes!
Step 3: Adding More Foliage

Continue adding scalloped lines to fill out the leaf bunches. Extend another pair of curved lines upward to form a second branch, adding a small 'V' at the tip to fork it. Teacher's Tip: Think of these as little 'Y' shapes reaching for the sun.
Step 4: Expanding the Canopy

Draw another pair of curved lines extending outward from the side of the trunk. Fork the end with a 'V' and add another cloud-like bunch of leaves. Teacher's Tip: Vary the size of your leaf clusters to make the tree look more natural and balanced.
Step 5: Balancing the Branches
Add branches to the opposite side of the tree to create symmetry. Cap each new branch with a fluffy, cloud-like leaf cluster. Teacher's Tip: If your branches look too thin, simply thicken the lines by drawing a second line right next to the first.
Step 6: Adding Texture
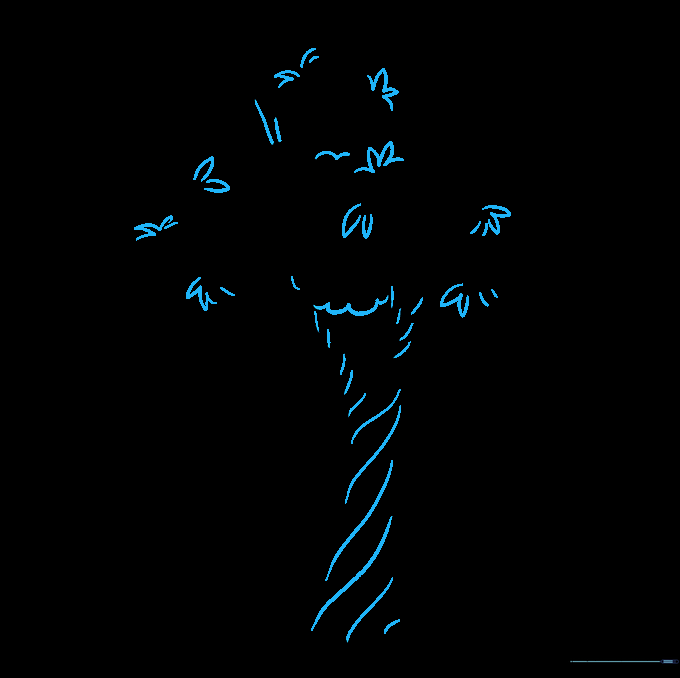
Add diagonal curved lines along the trunk to suggest bark texture. Use small 'U' shapes within the leaf clusters to add depth. Teacher's Tip: Keep these marks light and sporadic so you don't overcrowd the drawing.
Step 7: Drawing the Eggs
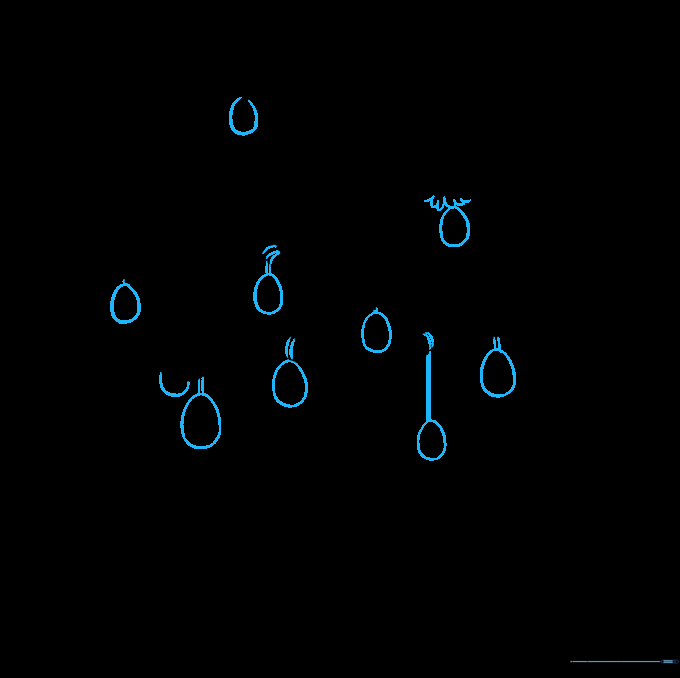
Draw ovals hanging from the branches. Connect them to the tree with two short, parallel lines to represent the string. Teacher's Tip: Make some eggs overlap the branches to show they are hanging in front of the tree.
Step 8: Decorating the Eggs
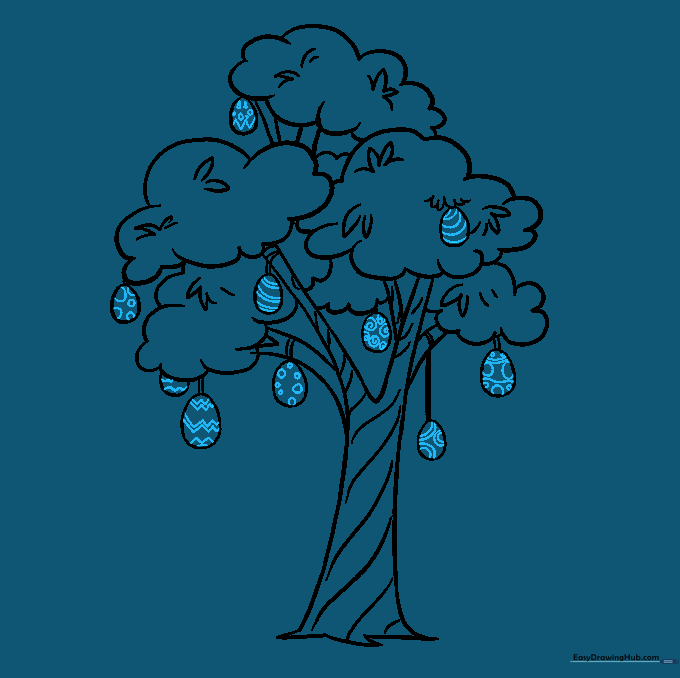
Get creative! Add stripes, polka dots, zigzags, or wavy lines to each egg. Teacher's Tip: Use a fine-tip marker for these details to keep the patterns crisp and clear.
Step 9: Adding Ground Detail

Draw short, jagged lines at the base of the trunk to create patches of shaggy grass. Teacher's Tip: Vary the height of the grass blades to make the ground look more natural.
Step 10: Bringing it to Life with Color
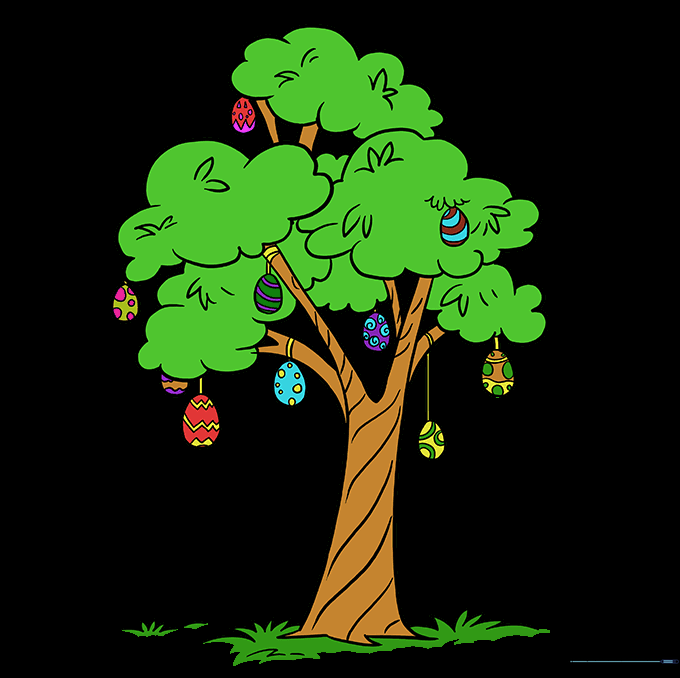
Time to color! Use bright, spring-inspired colors for the eggs and earthy tones for the tree. Teacher's Tip: Use a light green for the leaves and a dark brown for the trunk to create nice contrast.
More Tutorials


