How to Draw an Easter Bunny: Easy 10-Step Guide for Kids
Looking for a fun, screen-free activity this spring? This step-by-step tutorial is perfect for artists ages 5 and up. All you need is a pencil, an eraser, and some paper to bring your own festive bunny to life.
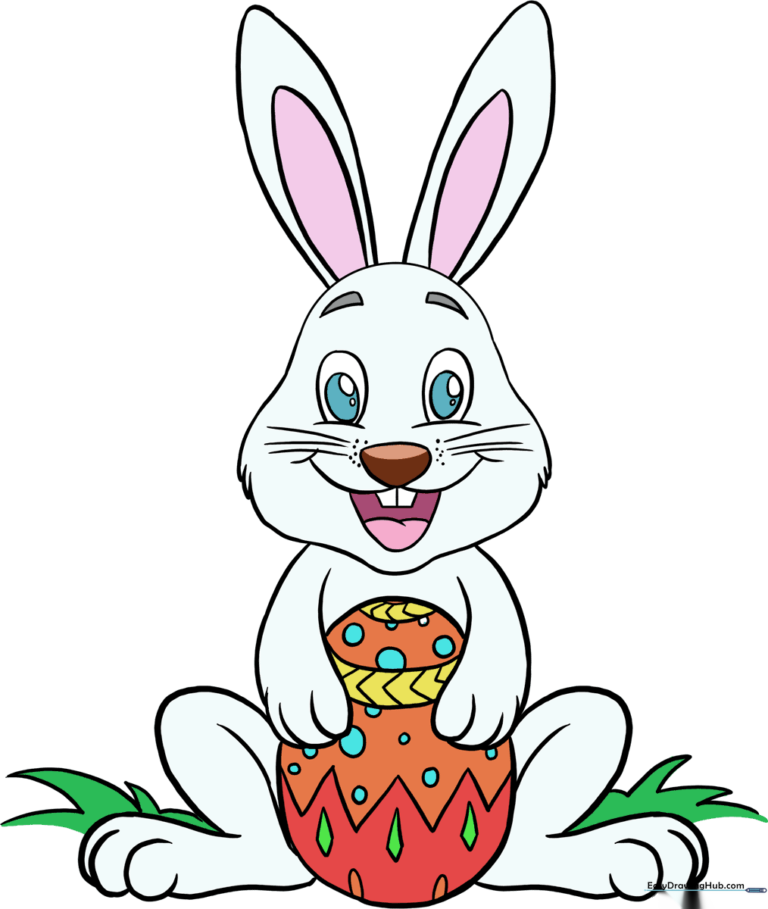
🎯 Final Result
Step-by-Step Instructions
Step 1: Sketching the Head
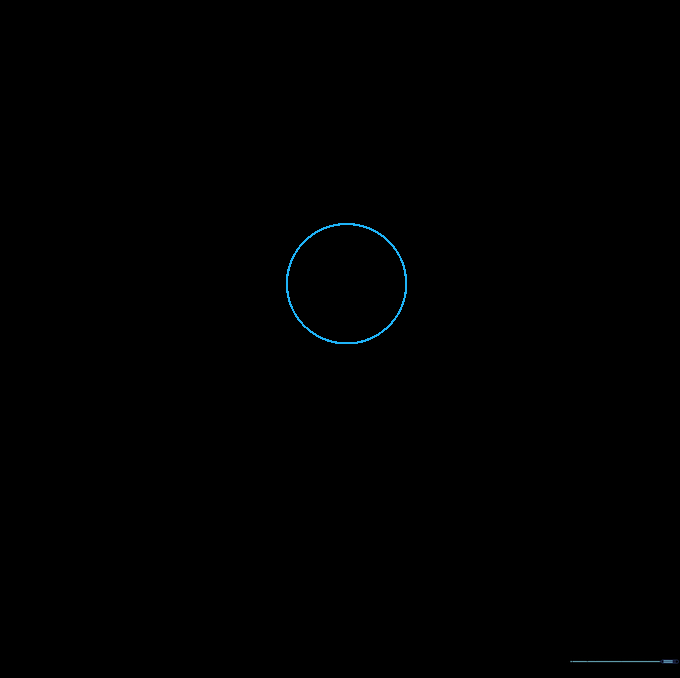
Draw a light circle to serve as the head. Tip: Keep it about the size of a coin; drawing it lightly makes it much easier to erase your guide lines later.
Step 2: Defining the Cheeks

Add a soft, curved line underneath the circle to create the cheeks and chin. Tip: Think of this as a 'U' shape that gives your bunny a friendly, chubby face.
Step 3: Drawing the Ears
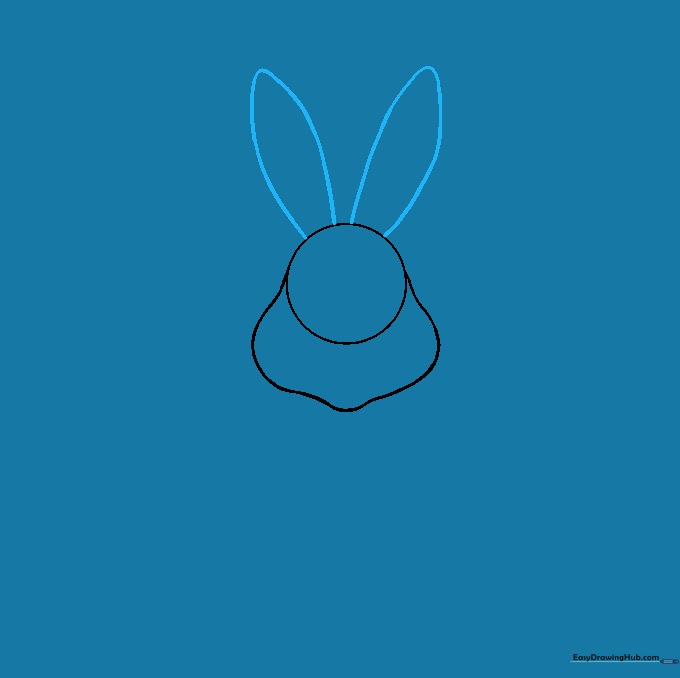
Draw two long, narrow shapes extending from the top of the head. Tip: Make them slightly asymmetrical to give your bunny a playful, curious personality.
Step 4: Sketching the Paws
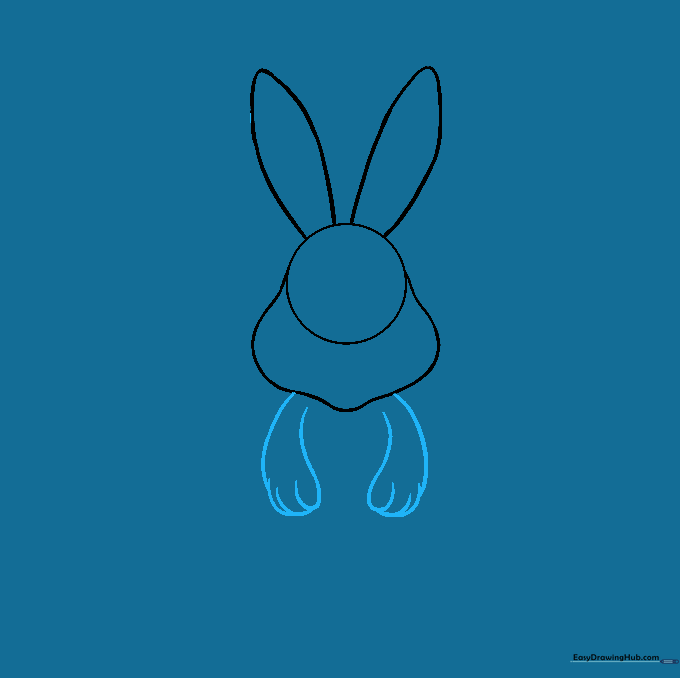
Draw two curved lines for the arms, ending in small paws. Tip: Add tiny 'v' shapes at the end of the paws to represent little bunny fingers.
Step 5: Adding the Easter Egg
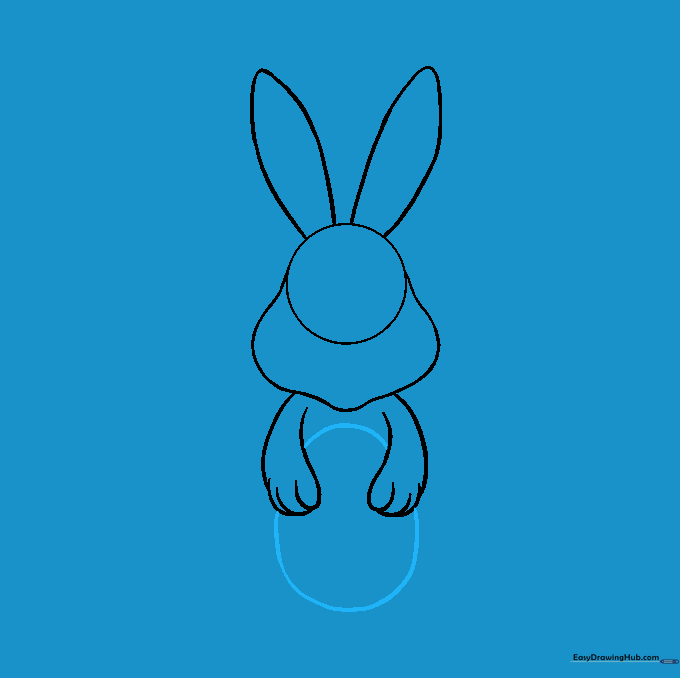
Draw an oval shape between the paws. Tip: Make sure the paws overlap the egg slightly so it looks like the bunny is holding it securely.
Step 6: Drawing the Legs
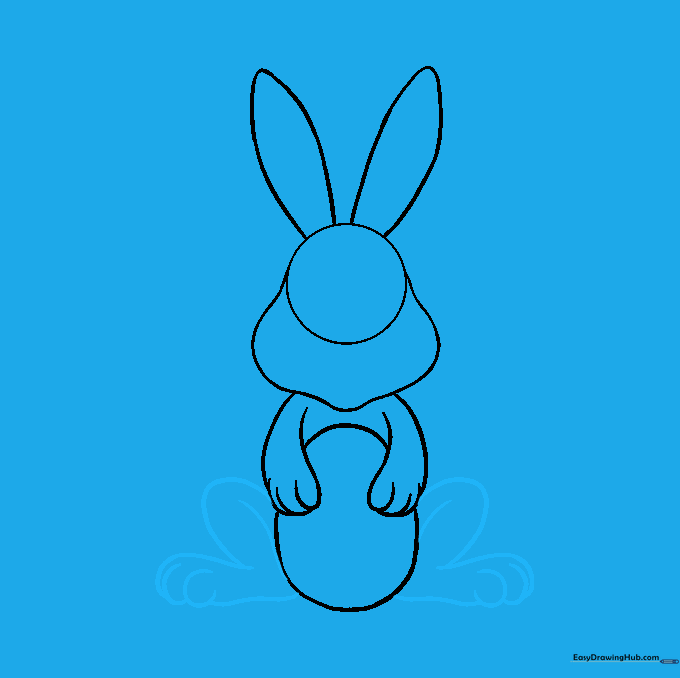
Extend curved lines from behind the egg to form the knees and feet. Tip: Add small curved lines at the bottom of the feet to show the toes.
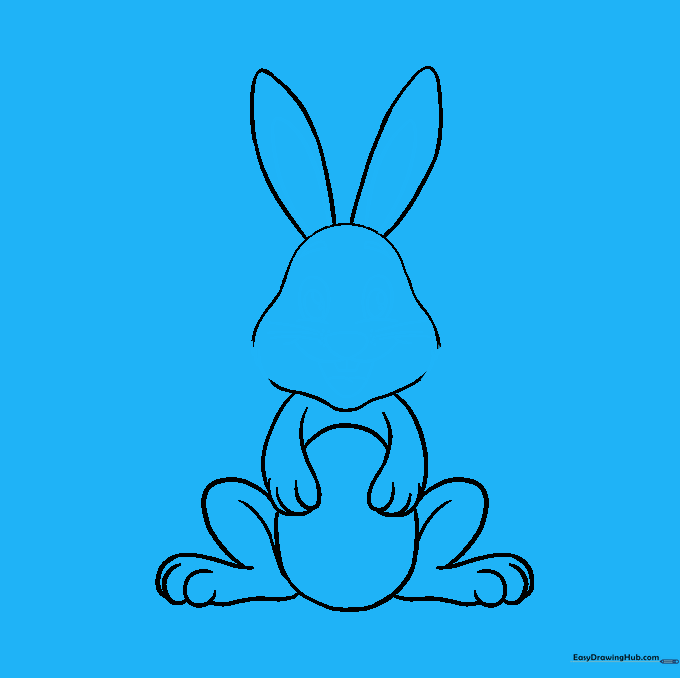
Step 7: Cleaning Up

Gently erase the overlapping guide lines inside the head. Tip: Use a soft eraser and brush away the crumbs so your paper stays clean for the final details.
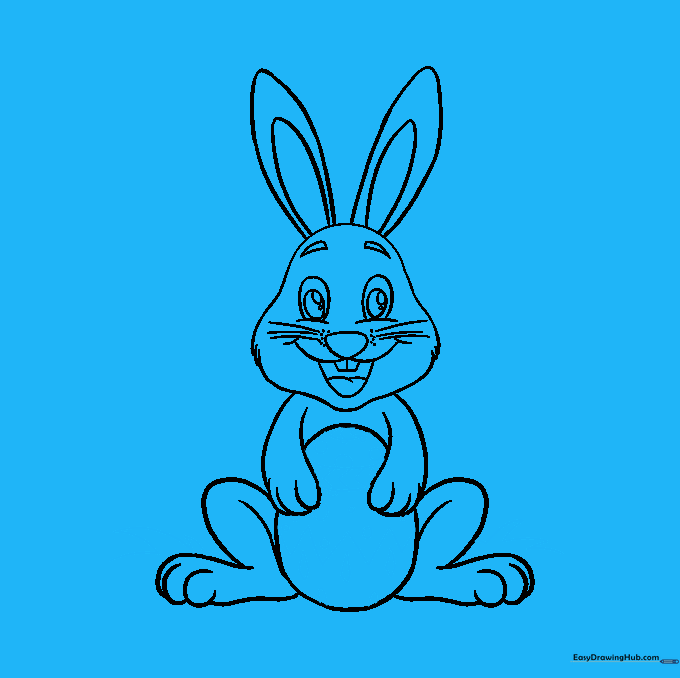
Step 8: Adding Facial Features
Draw the eyes, nose, whiskers, and mouth. Tip: Give the bunny a happy expression by drawing a small, curved line for the mouth and adding a little tongue.
Step 9: Adding Background and Patterns
Draw some grass behind the bunny and decorate the egg with zigzags or circles. Tip: Keep the patterns simple so they are easy to color in later.
Step 10: Bringing it to Life with Color

Color your bunny! Tip: Use soft pastels for a spring look, or go bold with bright colors to make your Easter egg pop.
More Tutorials


