How to Draw an Easter Basket: Easy 10-Step Guide
This step-by-step tutorial is perfect for children ages 5 and up looking to celebrate spring through art. All you need is a pencil, an eraser, and your favorite coloring supplies to bring this basket to life. Follow along to master basic shapes and decorative line work while creating a festive holiday masterpiece.
🎯 Final Result

Step-by-Step Instructions
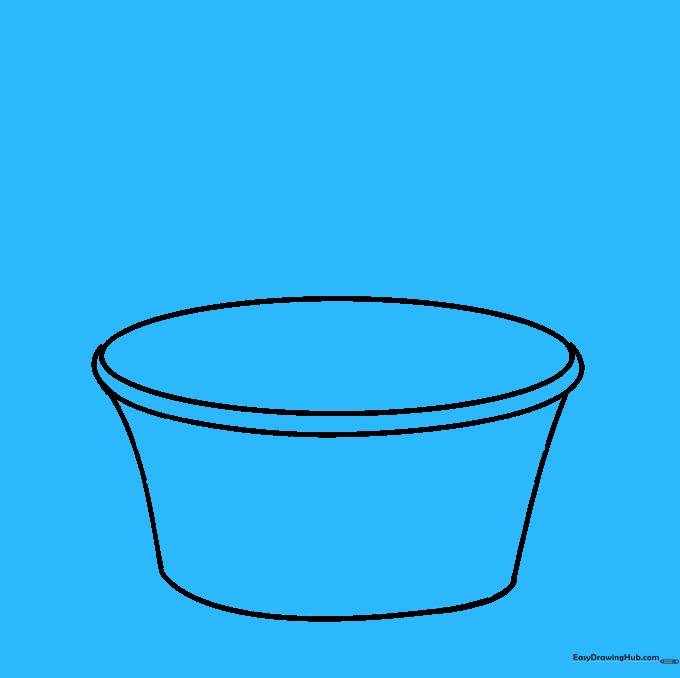
Step 1: Sketching the Opening

Draw a horizontal, flattened oval to represent the top opening of your basket. Teacher's Tip: Keep this shape light and airy; it acts as the foundation for the entire drawing.
Step 2: Defining the Rim

Draw a curved line parallel to the bottom of your oval, connecting it at both ends. This creates the thickness of the basket's rim. Tip: Try to keep the distance between the two lines consistent for a professional look.
Step 3: Shaping the Body

Extend two curved lines downward from the sides of the rim and connect them with a horizontal curve. This forms the main body of your basket. Tip: A wider base makes the basket look more stable.
Step 4: Adding Weave Texture
Divide the basket into four horizontal sections. Use squiggly lines for the top, zig-zags for the second, and vertical lines for the bottom. Tip: Varying your line styles helps create the illusion of a woven wicker texture.
Step 5: Sketching the Handle

Draw two large, parallel curved lines arching over the top of the basket. Tip: Use a fluid, continuous motion to keep the handle looking smooth and natural.
Step 6: Drawing the Decorative Bow

Add a bow at the base of the handle. Start with a small square for the knot, then add irregular shapes for the loops and ribbons. Tip: Add a few short lines on the ribbon to show folds and depth.
Step 7: Adding Easter Eggs
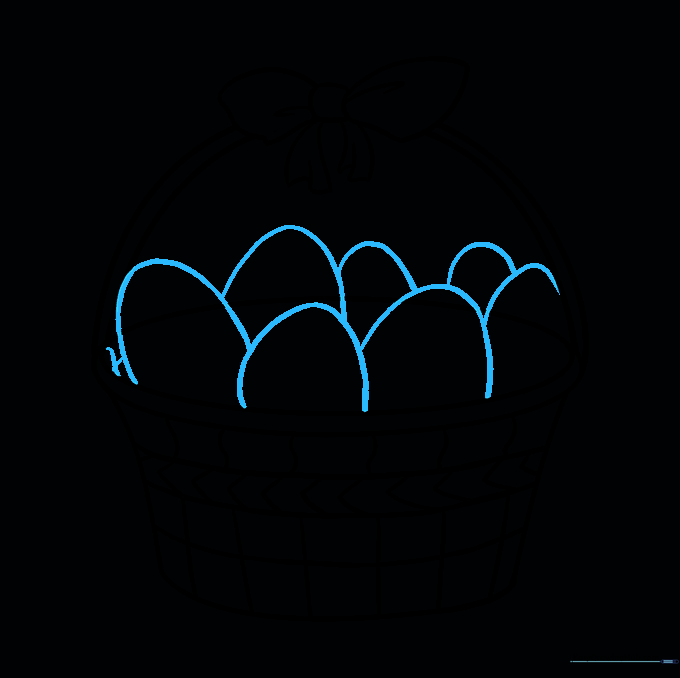
Draw several upside-down 'U' shapes inside the basket to represent eggs. Tip: Overlap them slightly to make the basket look full and realistic.
Step 8: Cleaning Up

Carefully erase any overlapping guide lines inside the eggs or the basket. Tip: Use a clean eraser and gentle pressure to avoid smudging your work.
Step 9: Decorating the Eggs
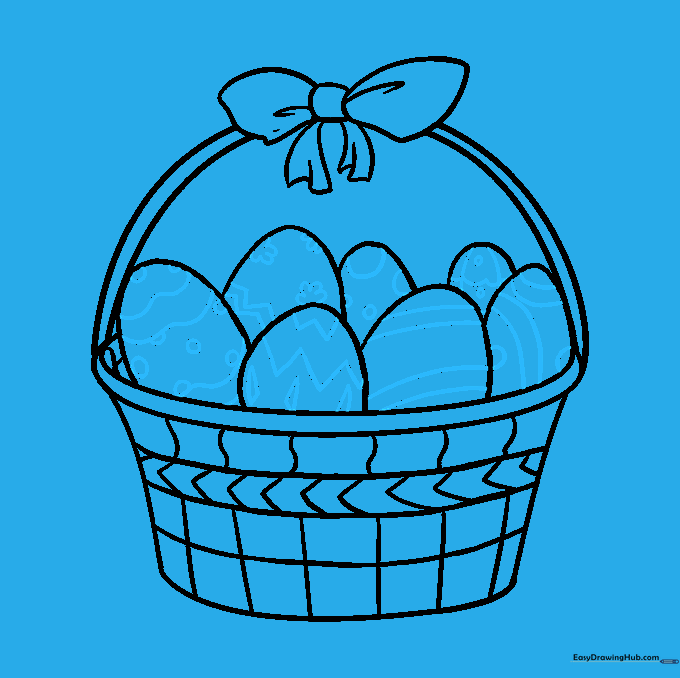
Add personality to your eggs with stars, stripes, flowers, or polka dots. Tip: Keep your patterns simple so they stand out when you add color later.
Step 10: Bringing it to Life with Color

Fill your basket with vibrant colors! Use bright pastels for the eggs and warm browns for the basket weave. Tip: Use a darker shade of brown to add shadows under the rim to make your drawing look 3D.
More Tutorials


