How to Draw an Earthquake: Easy Cartoon Scene Tutorial
Bring a dramatic comic-book scene to life with this earthquake drawing guide. Designed for young artists ages 7+, this activity uses basic geometric shapes to build a house and adds expressive details to show motion. Grab your pencil, eraser, and paper to start sketching your own disaster-themed cartoon.
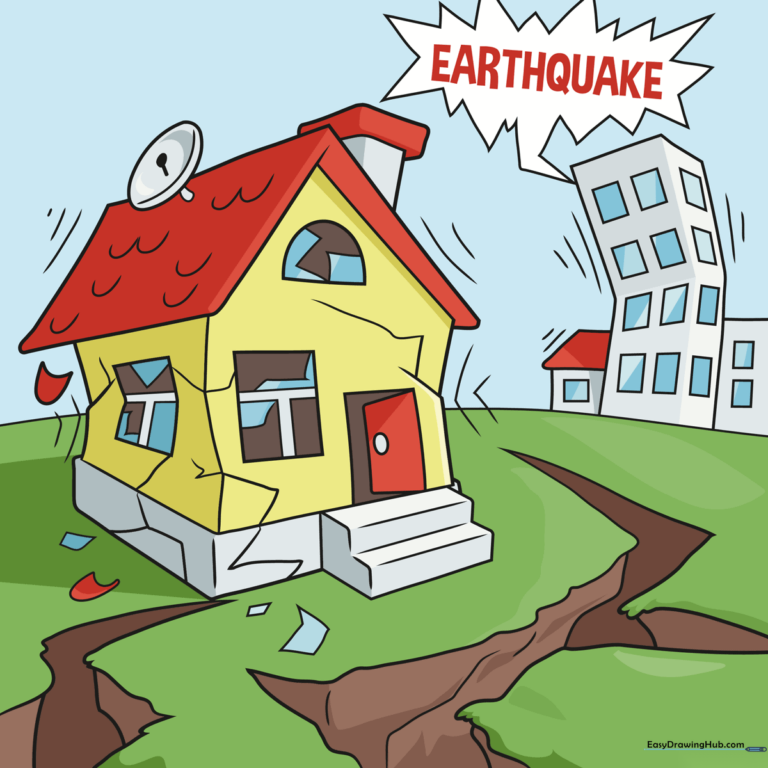
🎯 Final Result
Step-by-Step Instructions
Step 1: Sketching the Foundation
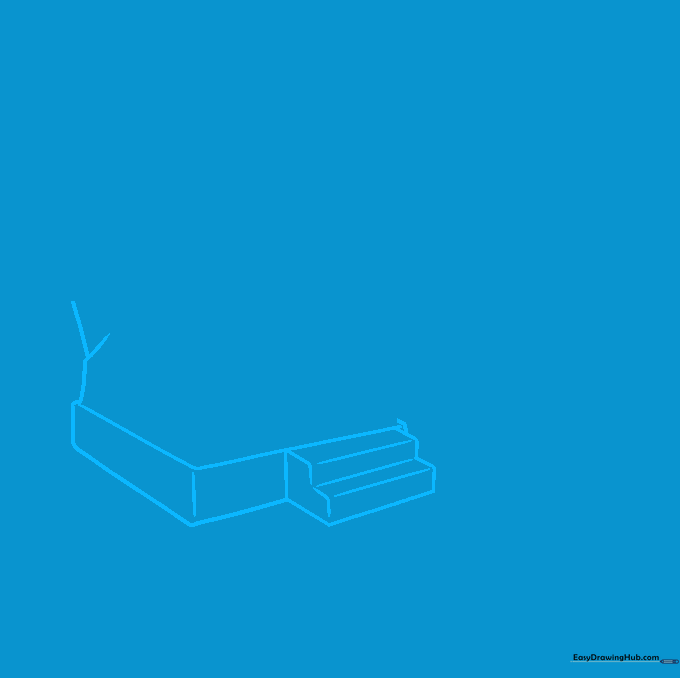
Start by drawing the house foundation using L-shaped lines for the stairs and base. Teacher's Tip: Keep your pencil pressure light here; these structural lines act as a guide and will be easier to clean up later if you make a mistake.
Step 2: Constructing the Walls and Roof

Use curved and Y-shaped lines to define the walls and add the roof structure. Tip: Think of the roof as a simple rectangle; don't worry about perfect straight lines—a slightly wobbly line adds character to your cartoon house.
Step 3: Adding Roof Details

Add a satellite dish using an oval and a chimney using straight lines. Tip: Use small U-shaped lines to create a shingle texture on the roof; this adds visual interest and makes the house look more realistic.
Step 4: Drawing Windows and Doors

Draw the door and windows using rectangles and semi-circles. Tip: When drawing the T-shaped window panes, use a ruler if you want them perfectly straight, or freehand them for a more 'shaken' look.
Step 5: Adding Cracks and Debris
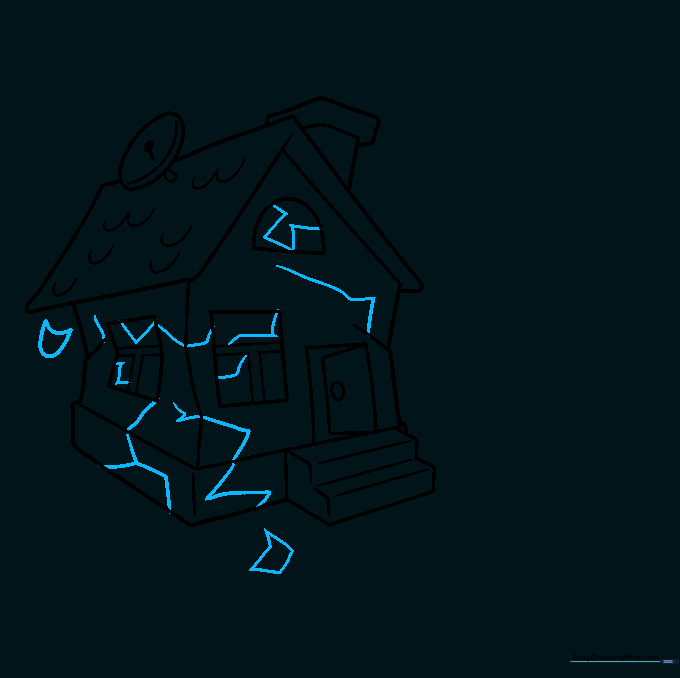
Add jagged, irregular lines across the walls to represent cracks. Tip: Scatter small, irregular shapes around the base of the house to simulate falling debris—this is where your drawing starts to look like an earthquake scene!
Step 6: Creating Ground Cracks
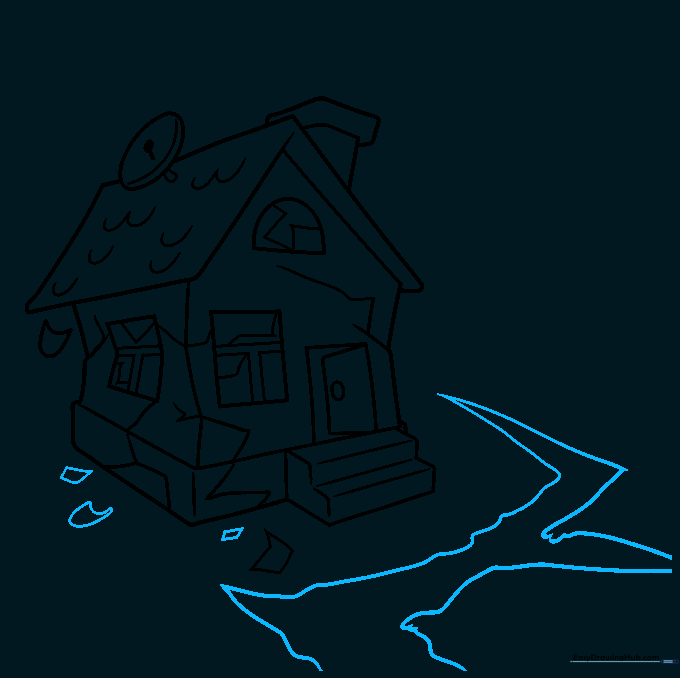
Draw a large, branching zigzag line on the ground to show a fissure. Tip: Vary the thickness of your lines to give the crack depth; thicker lines make the ground look like it has truly split open.
Step 7: Adding Texture and Horizon
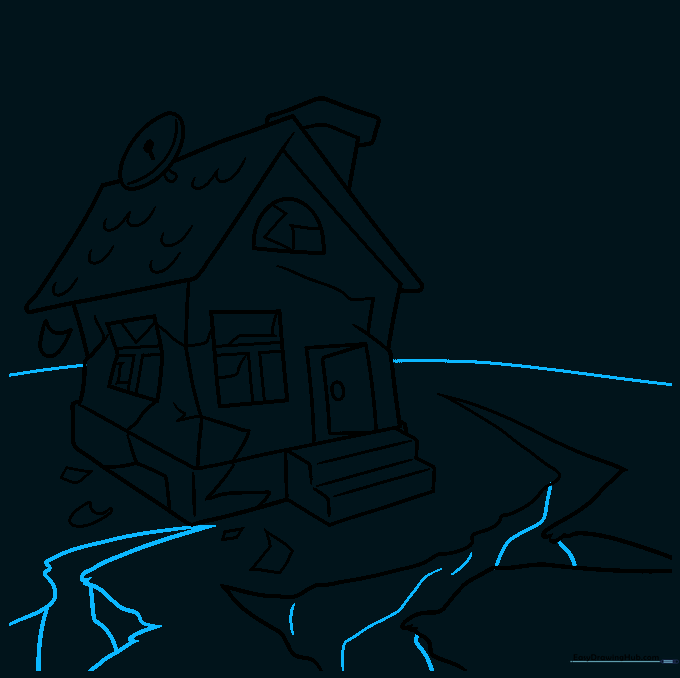
Add more cracks and a long horizontal line behind the house to define the horizon. Tip: Use short, quick strokes inside the cracks to add texture, making the earth look rough and uneven.
Step 8: Drawing the Cityscape

Sketch simple building silhouettes in the background. Tip: Keep these buildings smaller and less detailed than your main house to create a sense of distance and perspective.
Step 9: Adding Motion and Text
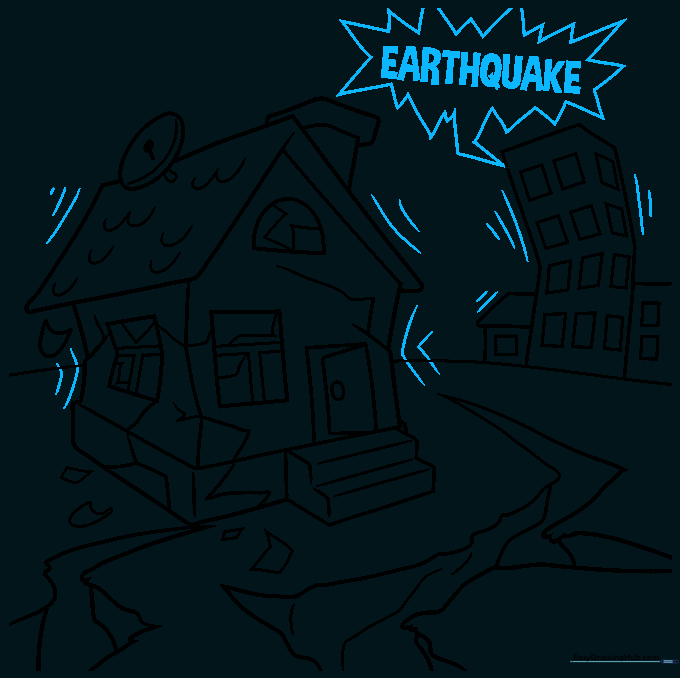
Draw V-shaped lines around the structures to indicate shaking motion. Add a jagged speech bubble with the word 'EARTHQUAKE' inside. Tip: Use bold, blocky letters to make the sound effect pop!
Step 10: Coloring Your Scene
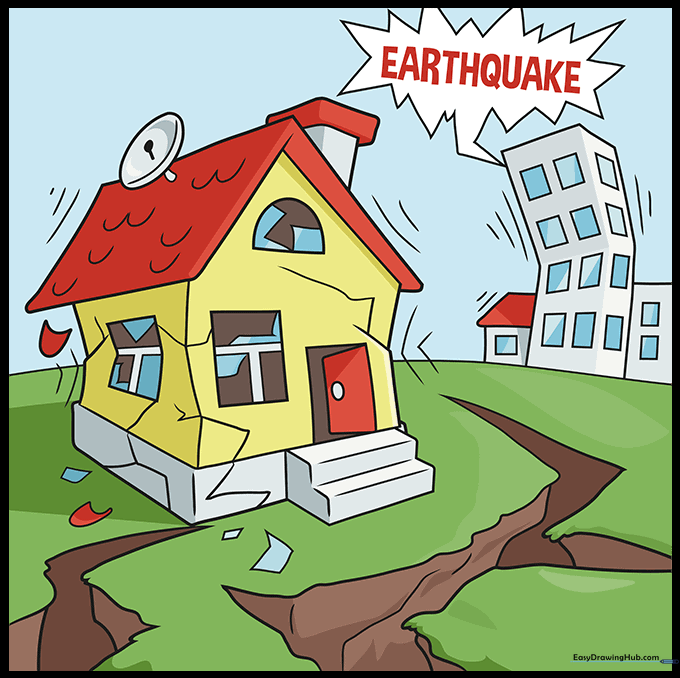
Bring your drawing to life with color. Tip: Use warm colors like oranges and reds for the cracks to create a sense of intensity, or cool blues and greys for a more somber, realistic look.
More Tutorials


