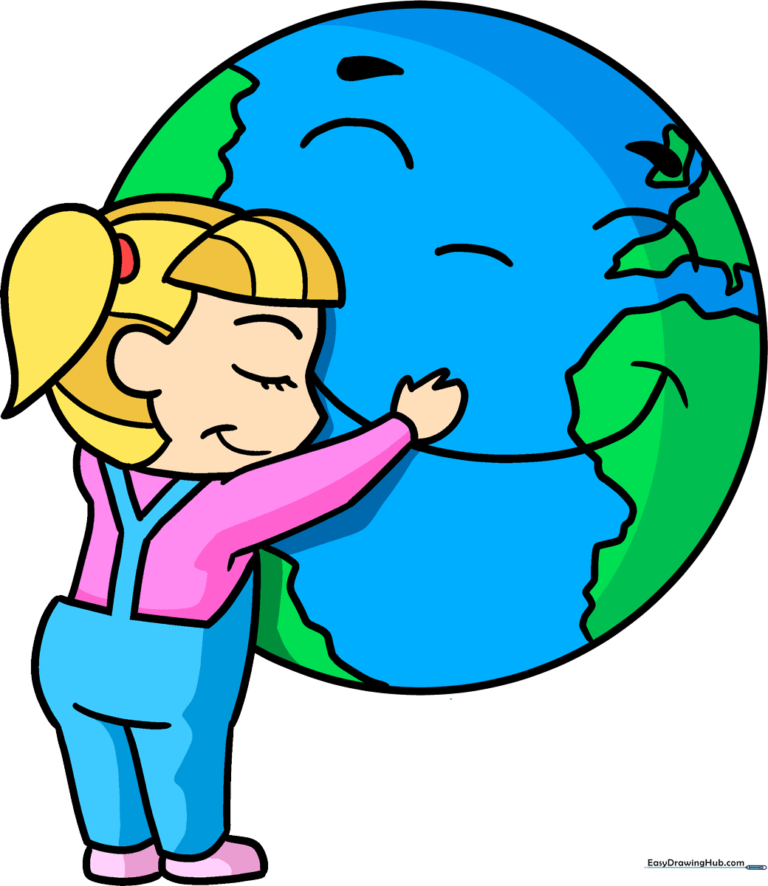
How to Draw an Earth Day Card: Easy 10-Step Guide
Celebrate our planet with this fun, screen-free art project perfect for children ages 5 and up. You will only need a pencil, an eraser, and your favorite markers or crayons to bring this design to life. Follow these simple steps to create a heartfelt, hand-drawn card that makes a perfect gift for Earth Day.
🎯 Final Result
Step-by-Step Instructions
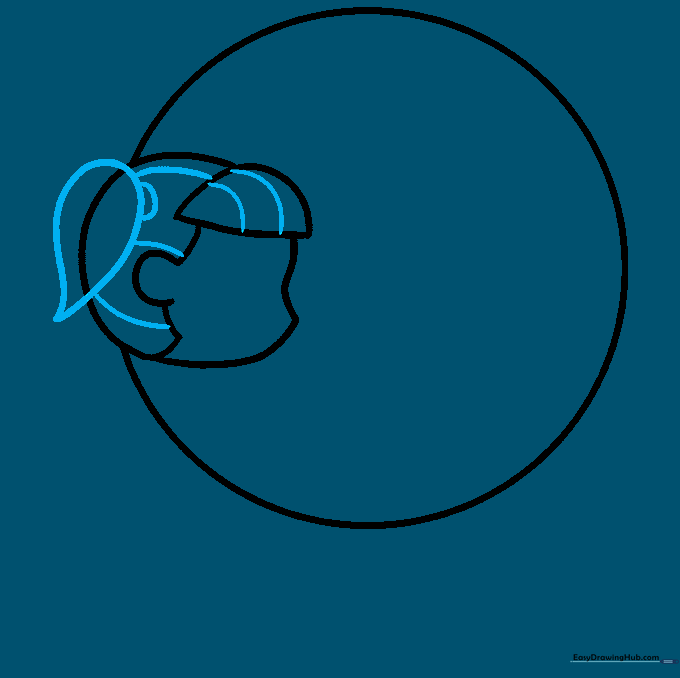
Step 1: Sketching the Planet

Draw a large, light circle to serve as the base for our planet. Teacher's Tip: Keep your pencil strokes very faint so you can easily erase any overlapping lines later.
Step 2: Outlining the Face

Begin sketching the cartoon girl next to the planet. Use soft, curved lines to create her bangs, the rounded shape of her face, and a small 'C' shape for her ear.
Step 3: Adding the Ponytail
Draw a ponytail shaped like an inverted teardrop. Add a small curved line for the hair barrette, then add a few extra lines to give the hair some texture.
Step 4: Drawing the Torso
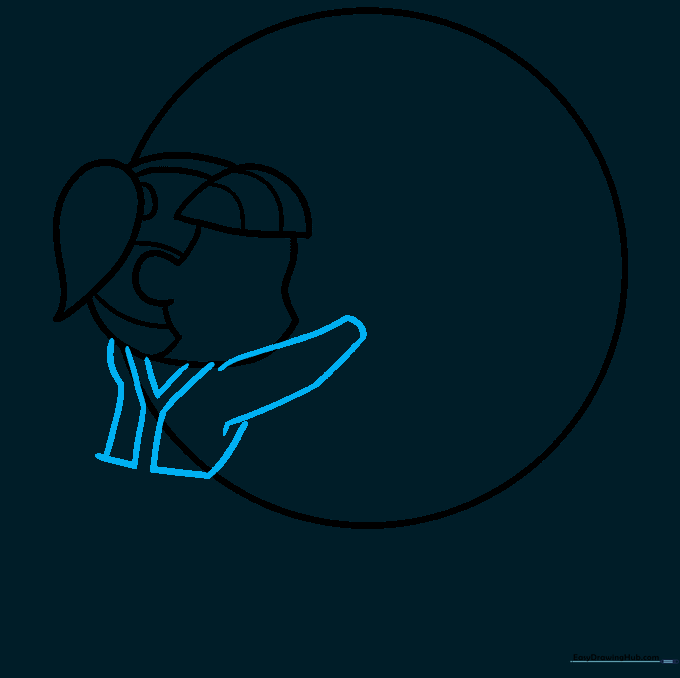
Sketch the girl's arms and shirt using smooth, curved lines. Add a 'Y' shape across her back to represent the straps of her overalls.
Step 5: Sketching the Legs

Use long, sweeping curved lines to outline the legs of the overalls. Connect them with a small perpendicular line where the legs meet. Tip: Keep these lines fluid to make the character look natural.
Step 6: Adding Hands and Shoes
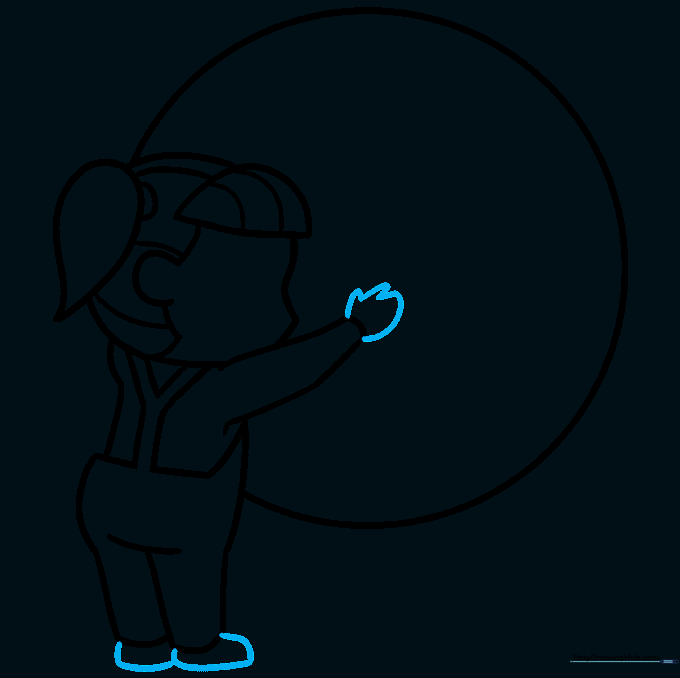
Use a wavy line to suggest the girl's hand, and add simple, rounded shapes at the bottom of the legs to form her shoes.
Step 7: Facial Expressions
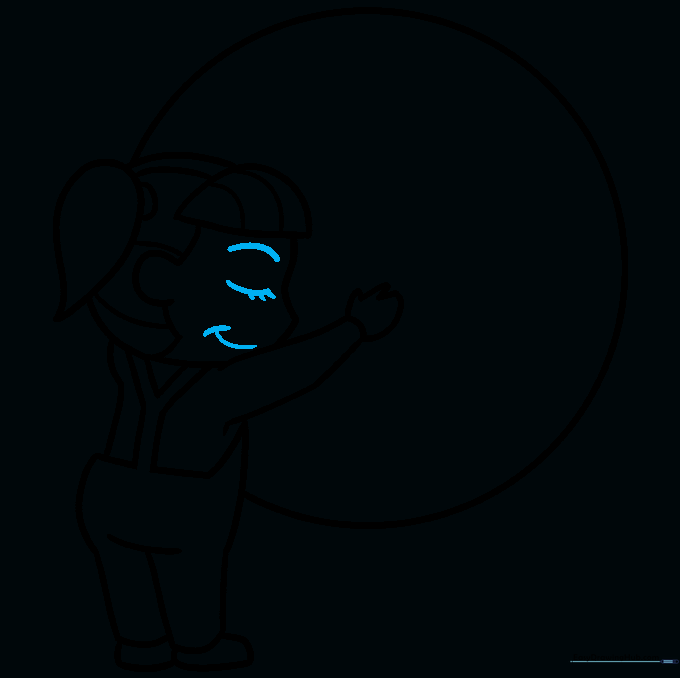
Give your character a friendly face! Sketch a curved eyebrow, a closed eye with lashes, and a gentle smile with a small dimple at the corner.
Step 8: Giving Earth a Personality

Now, let's give the planet a face! Add a happy mouth, a small nose, and two eyes. Use small teardrop shapes for the eyebrows to make it look extra cheerful.
Step 9: Adding Continental Details
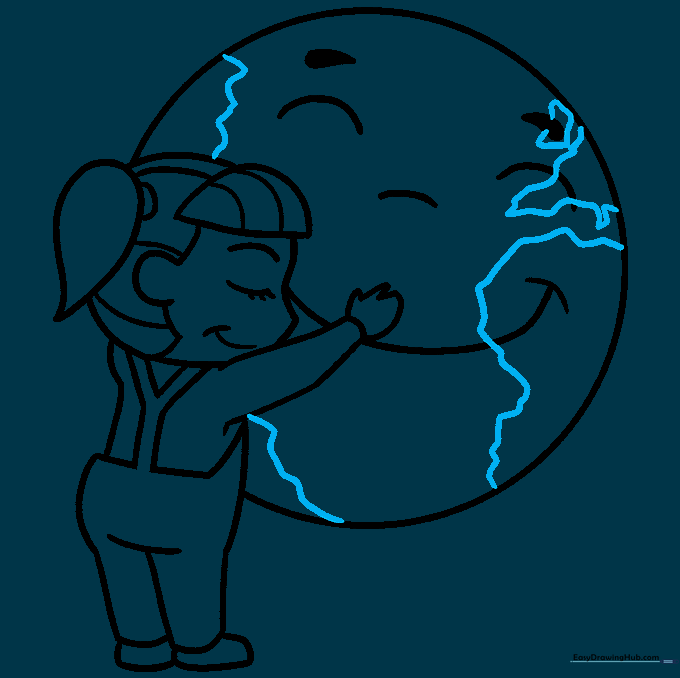
Define the surface of the Earth by drawing wavy, irregular lines to separate the oceans from the continents. Don't worry about being perfect—continents are naturally wiggly!
Step 10: Bringing It to Life with Color
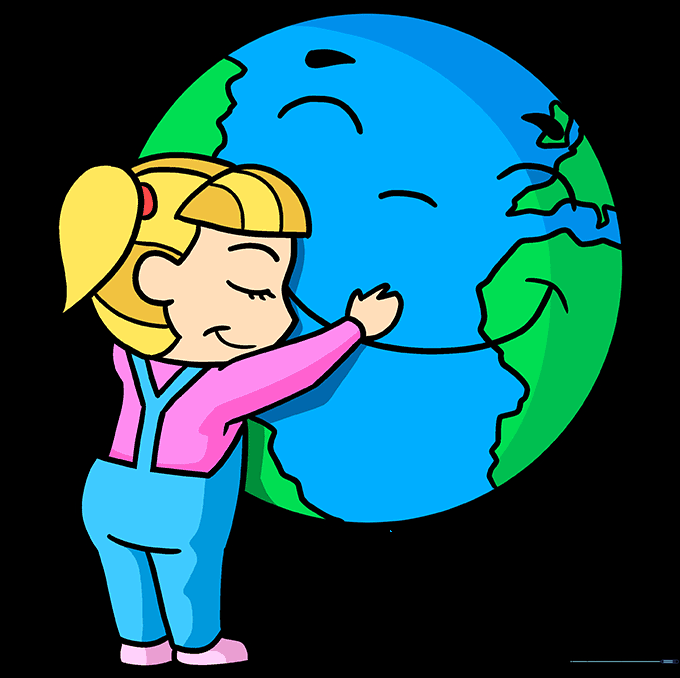
Time to color! Use vibrant blues for the oceans and lush greens for the land. You can even add a touch of white for clouds or brown for sandy deserts to make your Earth Day card pop.
More Tutorials


