How to Draw an Ear: Simple 10-Step Guide for Beginners
Drawing facial features can be tricky, but this step-by-step guide breaks the ear down into simple, manageable shapes. Perfect for artists ages 6 and up, all you need is a pencil, an eraser, and a piece of paper. Follow along to master the anatomy of the ear and add realistic detail to your character portraits.
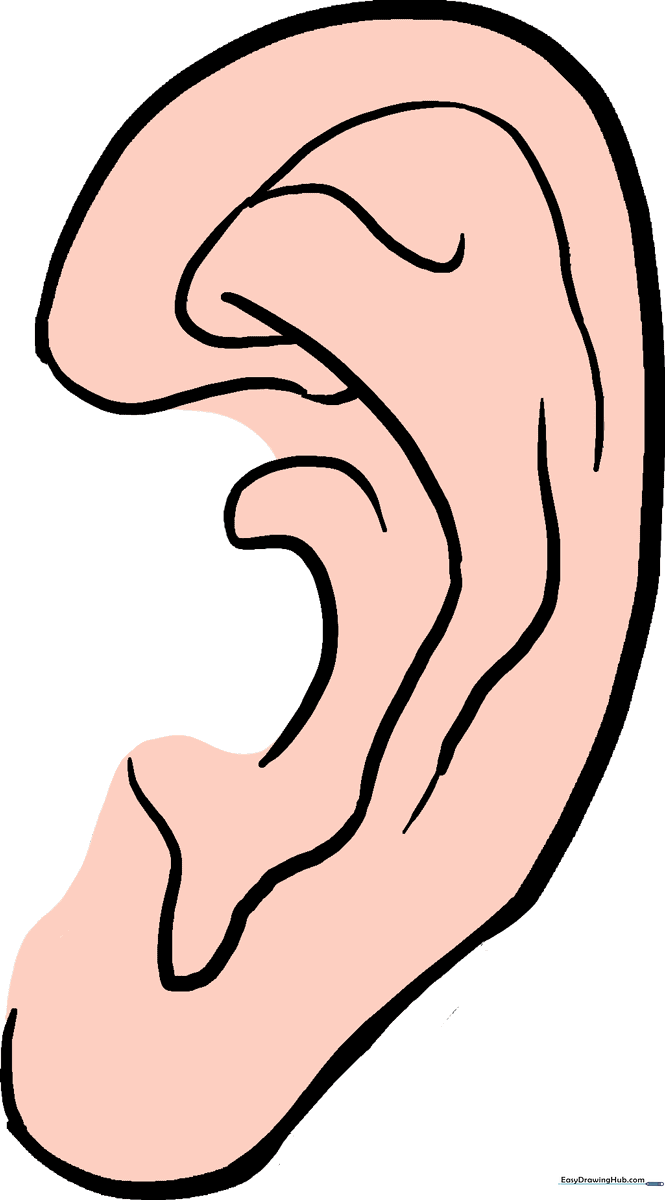
🎯 Final Result
Step-by-Step Instructions
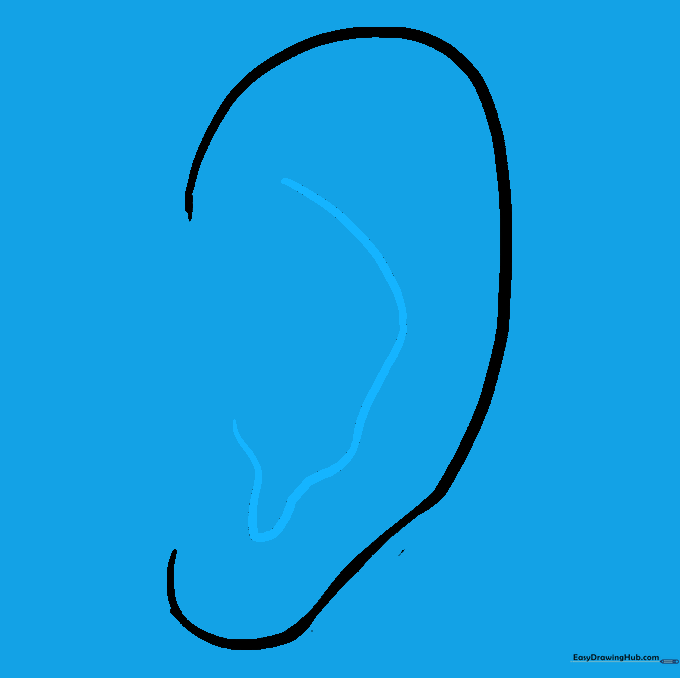
Step 1: Sketching the Outer Curve

Draw a long, curved line that looks like a backwards letter 'C'. This forms the outer rim of the ear. Teacher's Tip: Keep your pencil pressure light so you can easily adjust the shape if it looks a bit too wide.
Step 2: Defining the Earlobe

Add a short, rounded curve at the bottom of your 'C' shape to create the earlobe. Tip: Think of the earlobe as a soft, teardrop shape attached to the main structure.
Step 3: Cleaning the Outline

Carefully erase any overlapping guide lines where the earlobe meets the main curve. Tip: Use a kneaded eraser if you have one; it’s perfect for picking up graphite without smudging your paper.
Step 4: Adding the Inner Fold
Draw a long, irregular curved line inside the ear to represent the inner fold. Notice how it tapers to a sharp point near the bottom. Tip: Don't worry about making this line perfectly smooth; ears have natural, organic bumps and curves.
Step 5: Connecting the Cartilage

Connect the inner fold line to the outer edge of the ear using a small, wavy line. Tip: This creates the 'tragus' area—the little bump that protects the ear canal.
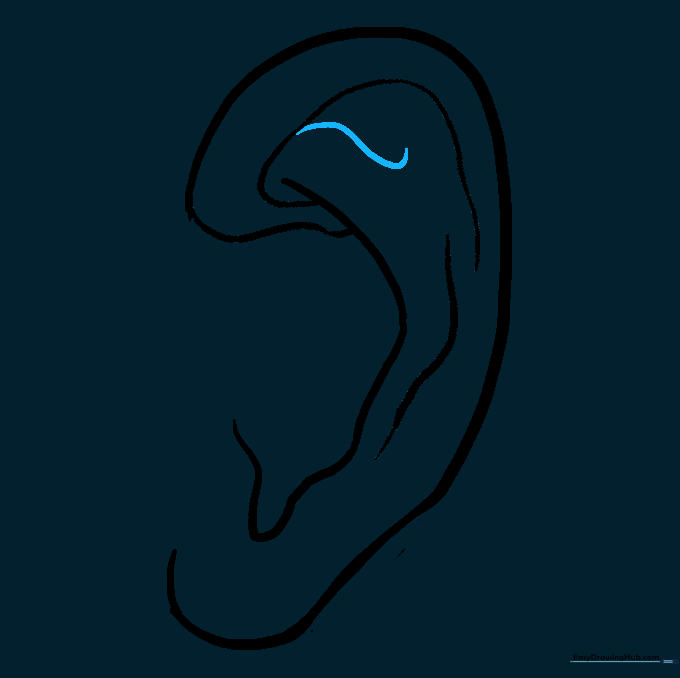
Step 6: Detailing the Upper Fold
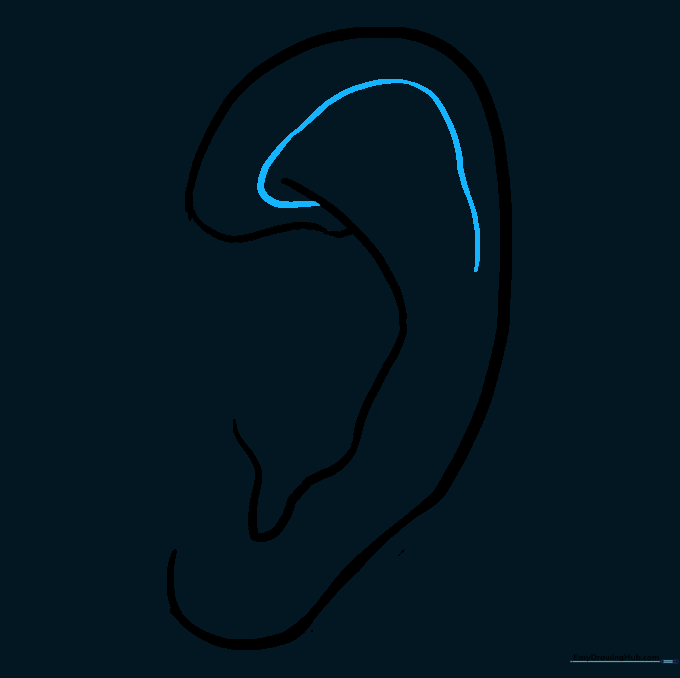
Draw a curved line starting from the top of your inner fold, arching upwards parallel to the outer rim. Tip: This represents the helix, the top folded part of the ear.
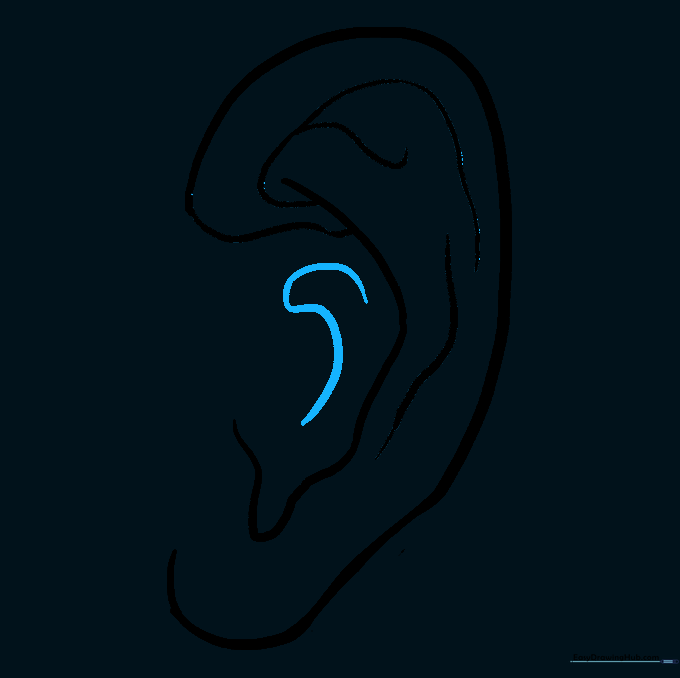
Step 7: Adding Depth
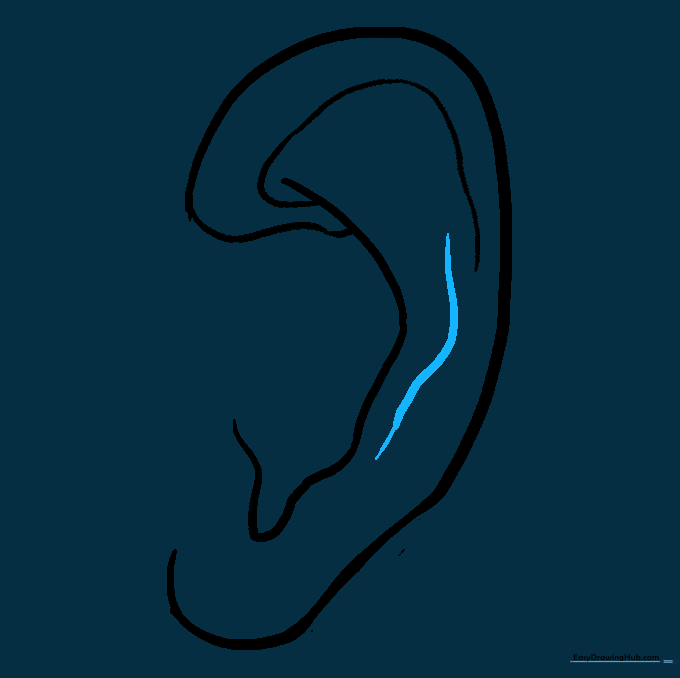
Add a curved line down the middle of the ear, near the outer edge. This adds a sense of depth and shadow to the cartilage. Tip: Keep this line soft to suggest the rounded nature of the ear.
Step 8: Refining the Folds
Extend a short, curved line from your previous work to further define the complex folds of the ear. Tip: Think of this as adding the 'shadow' lines that make the ear look 3D.
Step 9: The Ear Canal
Draw a small, 'S' shaped curve in the deepest part of the ear to represent the opening of the ear canal. Tip: Keep this small; it’s a subtle detail that adds a lot of realism.
Step 10: Final Touches and Coloring
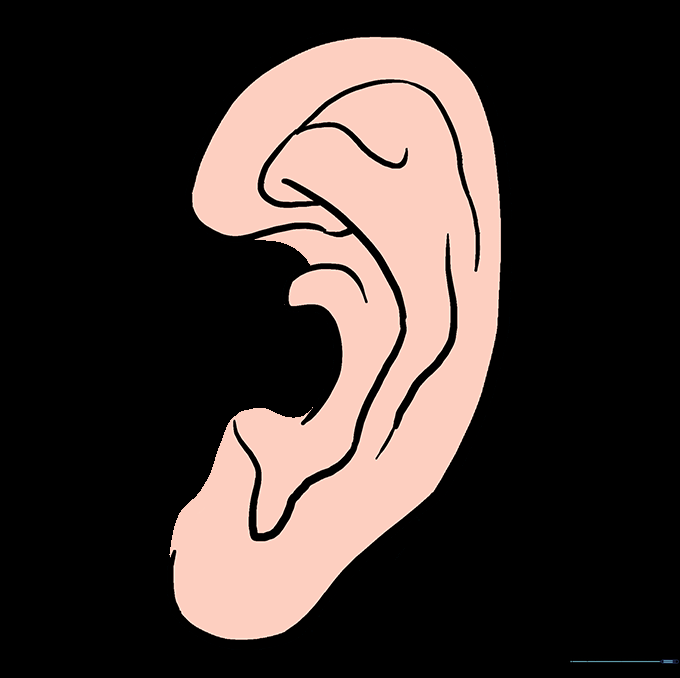
Review your lines and darken them if needed. Now, add color! Use soft skin tones and add a little shading in the folds to make it pop. Ready for more? Try drawing an eye or a nose next to complete your portrait.
More Tutorials


