How to Draw an Eagle: Easy 10-Step Guide for Kids
Ready to capture the spirit of the wild? This tutorial is perfect for young artists ages 7+ looking to master bird anatomy. All you need is a pencil, an eraser, and a piece of paper to bring this powerful raptor to life.
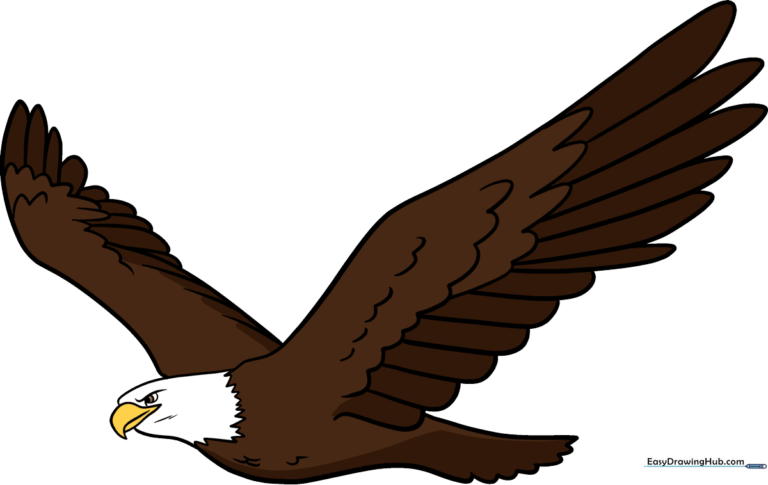
🎯 Final Result
Step-by-Step Instructions
Step 1: Sketching the Head and Beak
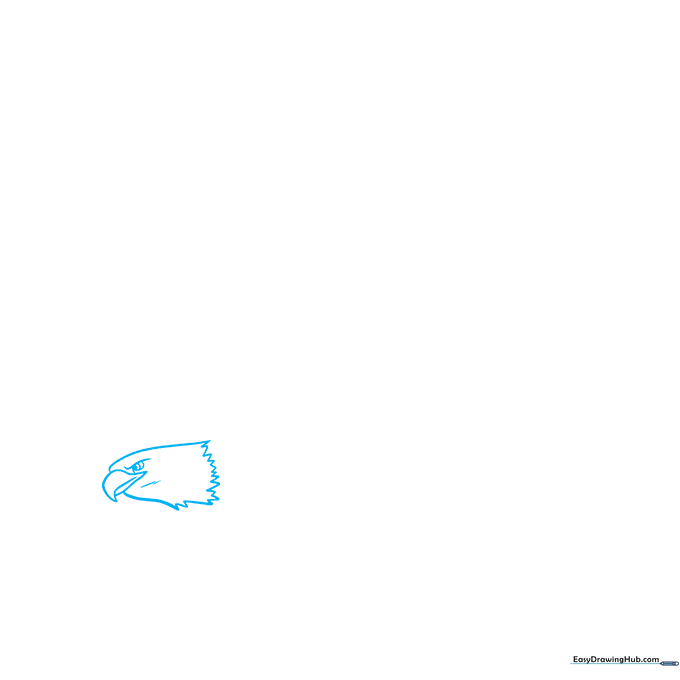
Start by sketching the eagle's head using light, curved lines. Draw the hooked beak with two overlapping shapes to show the upper and lower parts. Add a circle for the eye with a smaller dot inside for the pupil. Teacher's Tip: Keep your pencil pressure light so you can easily erase any stray lines later.
Step 2: Starting the Primary Wing
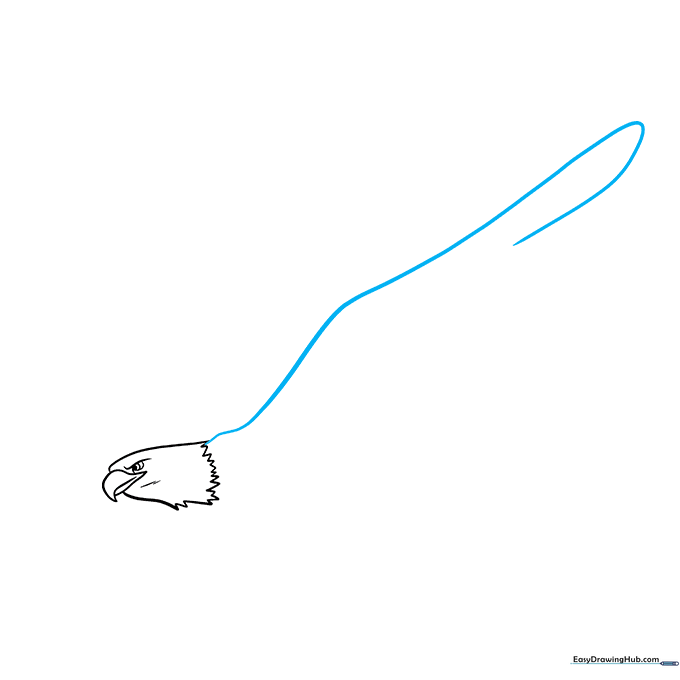
Extend a long, graceful curve from the back of the head to form the top of the wing. Double the line back to create the first large flight feather. Teacher's Tip: Think of this as a long, sweeping 'S' curve to give the wing a sense of motion.
Step 3: Adding Flight Feathers

At the base of your first feather, draw a series of connected 'U' shapes. These represent the layered flight feathers. Teacher's Tip: Vary the size of your 'U' shapes slightly to make the wing look more natural and less like a robot!
Step 4: Building Wing Depth
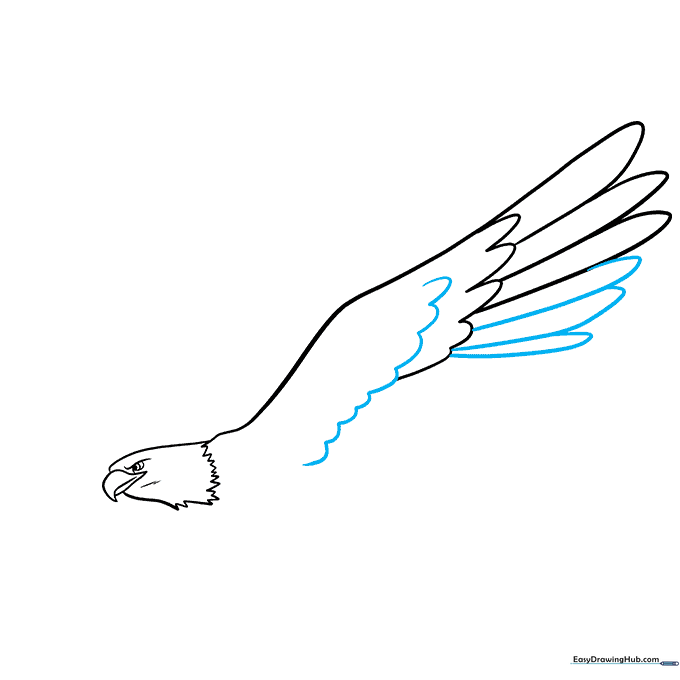
Continue adding more flight feathers below the first row. Add a secondary row of curved lines in the middle of the wing to create depth. Teacher's Tip: Imagine the feathers are like shingles on a roof—they should overlap neatly.
Step 5: Defining the Wing Edge
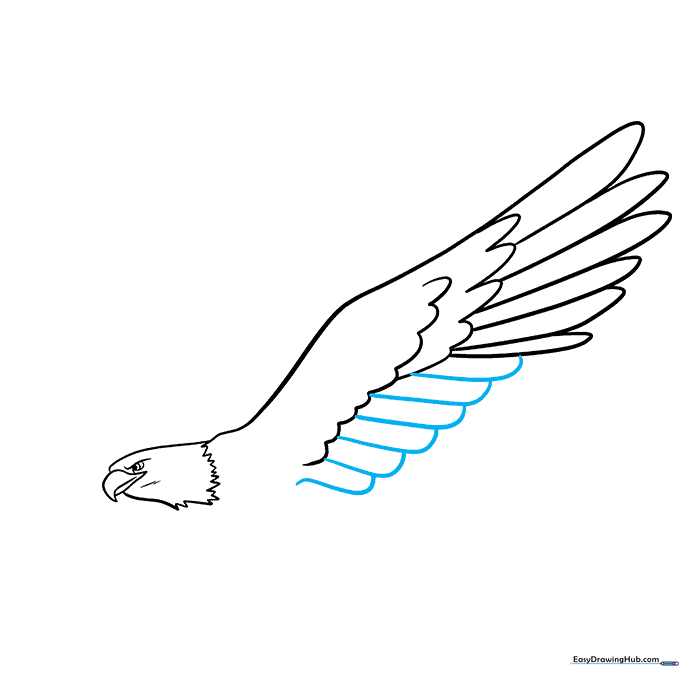
Use overlapping curved lines to enclose the final row of flight feathers along the trailing edge of the wing. Teacher's Tip: Make these feathers slightly longer than the ones above to show the wing's span.
Step 6: Outlining the Body and Tail
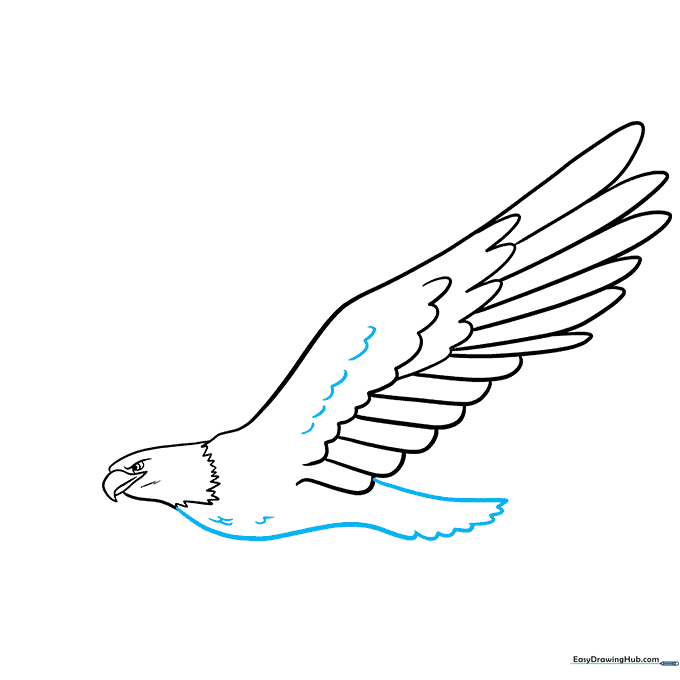
Extend lines from the neck and wing to form the body and tail. Use small 'U' shapes to add a textured, fluffy look to the chest. Teacher's Tip: Short, quick strokes create the illusion of soft feathers better than long, straight lines.
Step 7: Sketching the Second Wing
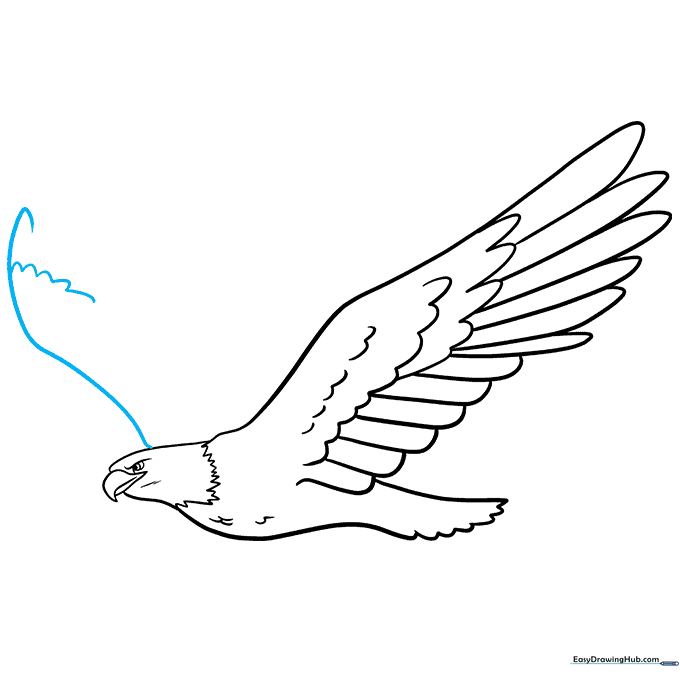
Draw a long curve from the top of the head to trace the leading edge of the second wing. Double it back and add 'U' shapes for the feathers. Teacher's Tip: Since this wing is further away, try to keep the lines slightly thinner to create a sense of perspective.
Step 8: Adding Wing Detail
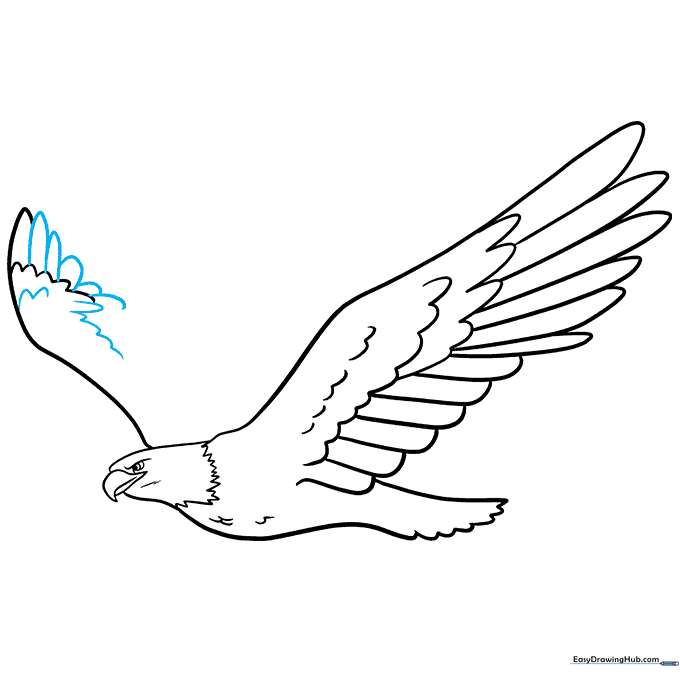
Fill in the second wing with overlapping curved lines to match the detail of the first wing. Teacher's Tip: Don't worry about making every feather identical; nature is rarely perfectly symmetrical!
Step 9: Finalizing the Outline
Complete the outline of the second wing with final curved strokes. Check your work and erase any overlapping guidelines. Teacher's Tip: Use a darker pencil or a fine-liner pen to go over your final lines for a clean, professional look.
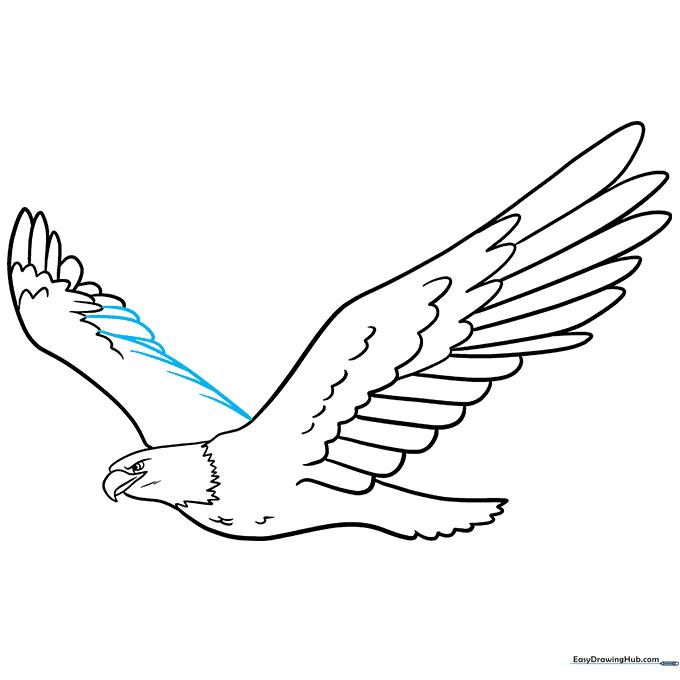
Step 10: Bringing Your Eagle to Life with Color
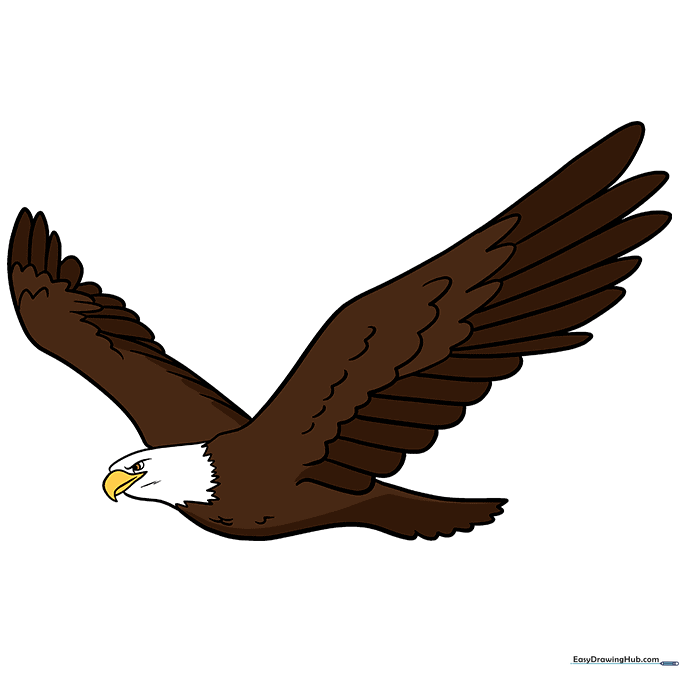
Time to color! For a classic bald eagle, use bright yellow for the beak and feet, and deep brown for the body feathers, leaving the head white. Teacher's Tip: Use light pressure with your brown pencil to create shadows under the wings for a 3D effect.
More Tutorials


