How to Draw an Axolotl: Easy 10-Step Guide for Kids
Ready to bring the world's cutest salamander to life? This tutorial is perfect for young artists ages 5 and up. All you need is a pencil, an eraser, and some paper to start building your own underwater friend.
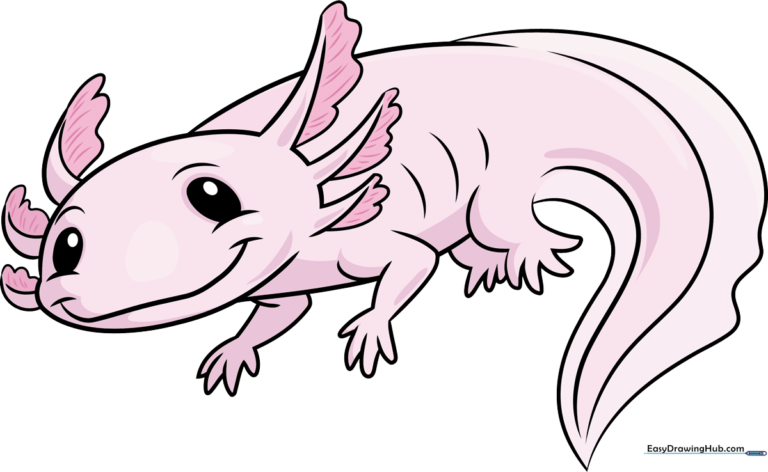
🎯 Final Result
Step-by-Step Instructions
Step 1: Sketching the Face

Start by drawing a wide, gentle curve for the mouth. Add small curves at the ends for a smile. Above the mouth, draw two ovals for the eyes, shading the centers. Tip: Keep the eyes symmetrical to give your axolotl a friendly, balanced look.
Step 2: Shaping the Head and Gills

Outline the top of the head with a smooth, rounded line. Add the base of the external gills on the sides of the head. Tip: Think of these as 'head ferns'—keep the lines soft and organic.
Step 3: Detailing the First Gills
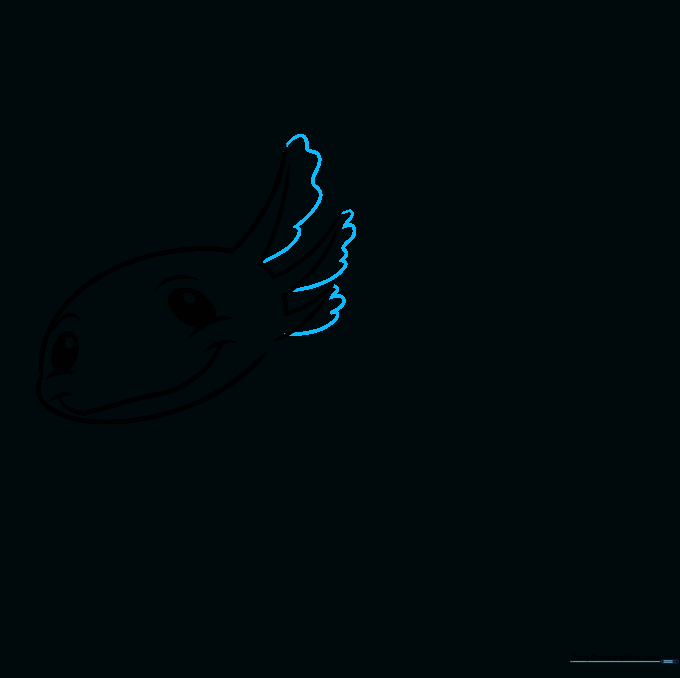
Use wavy, zig-zag lines to enclose the gill filaments. Tip: Don't worry about making them perfectly straight; nature is full of wiggles!
Step 4: Adding Opposite Gills
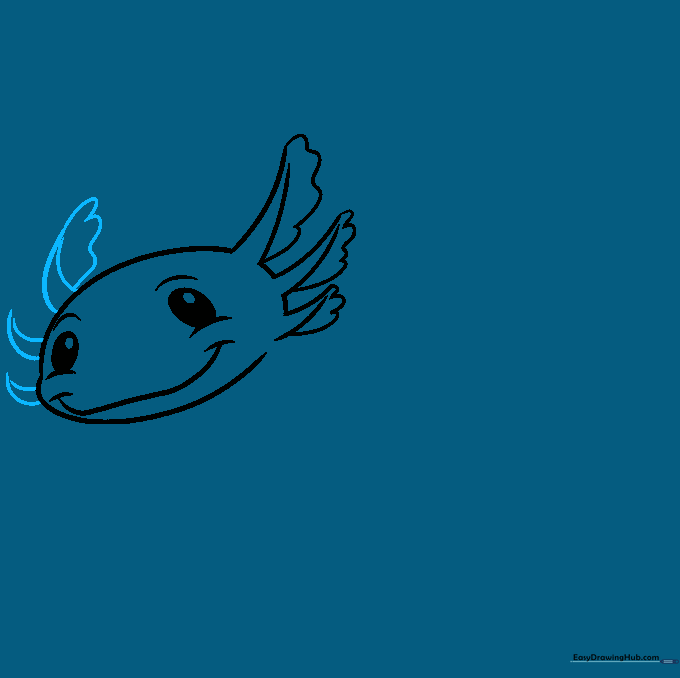
Repeat the process on the other side of the head. Add the gill structures and start the wavy filaments. Tip: Try to match the size of the gills on both sides for symmetry.
Step 5: Defining the Body
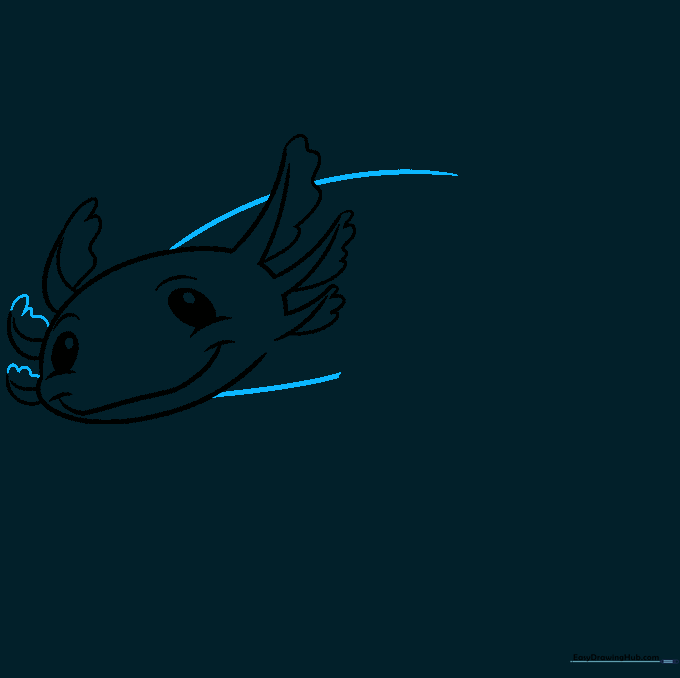
Finish the remaining gill filaments. Then, draw two long, sweeping curved lines extending from the head to form the body. Tip: Keep these lines fluid to make your axolotl look like it's swimming.
Step 6: Drawing the Legs
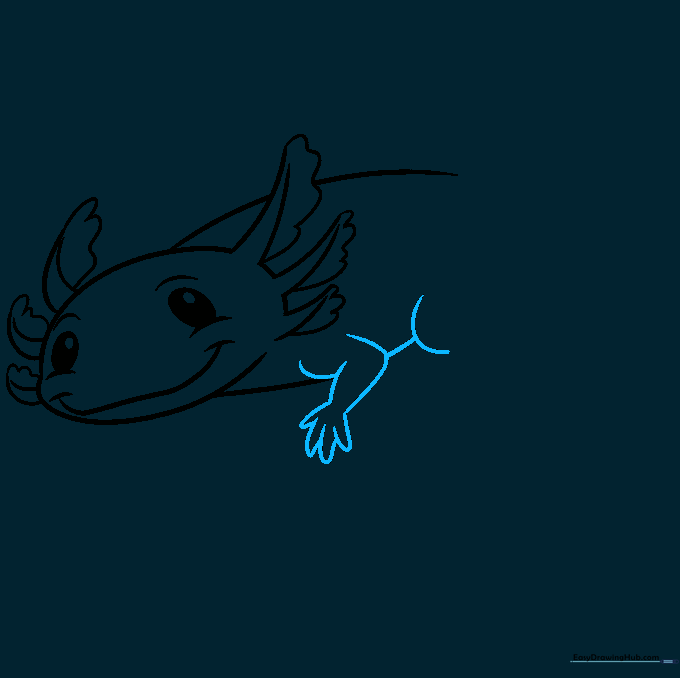
Draw the front legs using simple curved lines, adding a slight bend for the elbow. Use small 'U' shapes for the tiny fingers. Tip: Keep the legs short and stubby—that’s what makes them look so cute!
Step 7: Adding the Tail
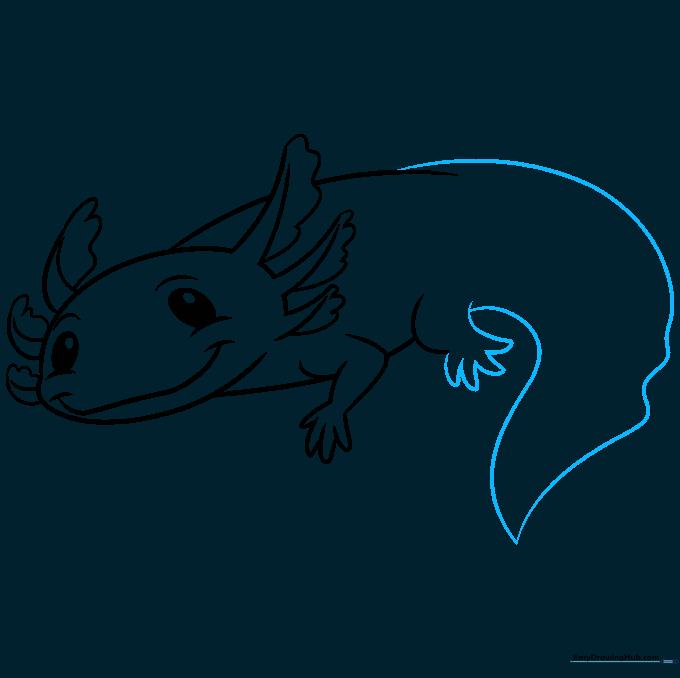
Complete the rear legs and draw a large, tadpole-like tail using two long curved lines that meet at a point. Tip: Let the tail line overlap slightly with the back for a more natural look.
Step 8: Refining the Body
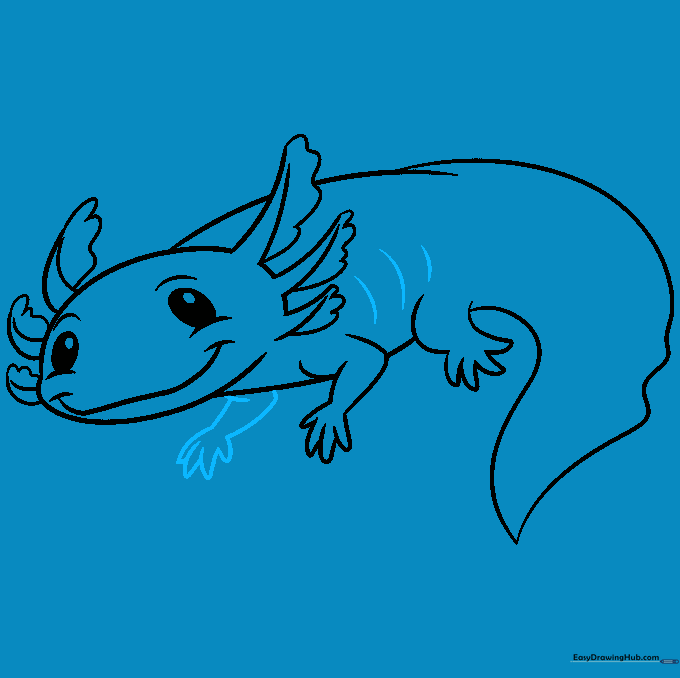
Add contour lines along the side of the body to show depth. Draw the remaining foreleg to complete the pose. Tip: Use light pressure so you can easily erase any overlapping guidelines later.
Step 9: Final Details

Finish the remaining rear foot and add a long line down the center of the tail to give it structure. Tip: A clean, single stroke for the tail line looks best.
Step 10: Coloring Your Masterpiece
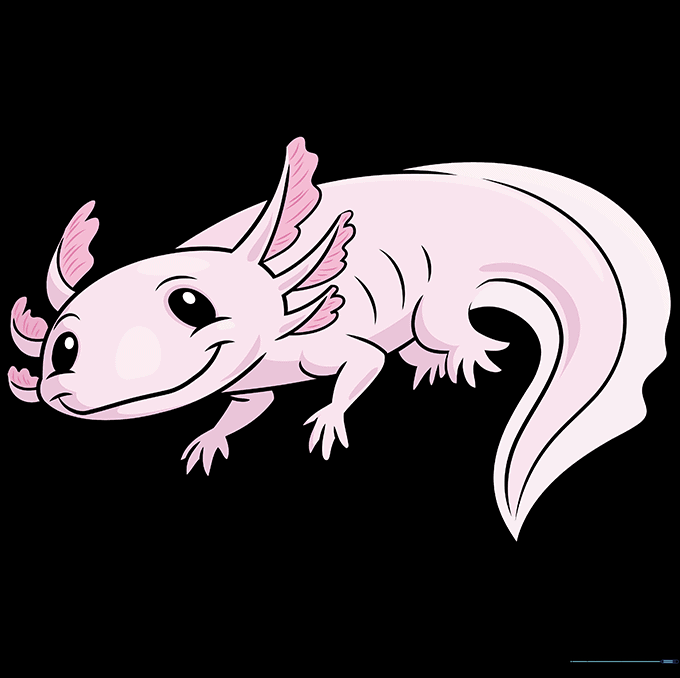
Time to color! Axolotls are famous for their pink or white bodies and bright red gills. If you want to get creative, try a dark brown with black speckles. Tip: Use light, circular motions with your colored pencils for a smooth finish.
More Tutorials


