How to Draw an Axe: Easy 10-Step Guide for Beginners
Ready to add a classic tool to your sketchbook? This tutorial is perfect for artists ages 5 and up, requiring only a pencil, paper, and an eraser. Follow along to master basic shapes and structural drawing while creating a fun, stylized axe.
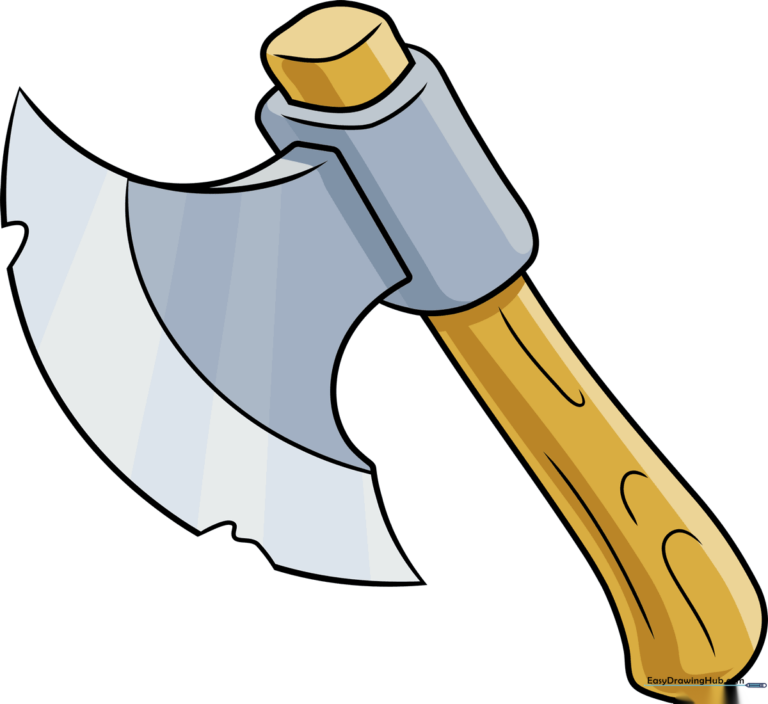
🎯 Final Result
Step-by-Step Instructions
Step 1: Sketching the Axe Eye

Start by drawing a small, rounded shape at the top of your page. Teacher's Tip: This is the 'eye' where the handle meets the blade; keep it small to ensure your axe stays well-proportioned.
Step 2: Defining the Poll
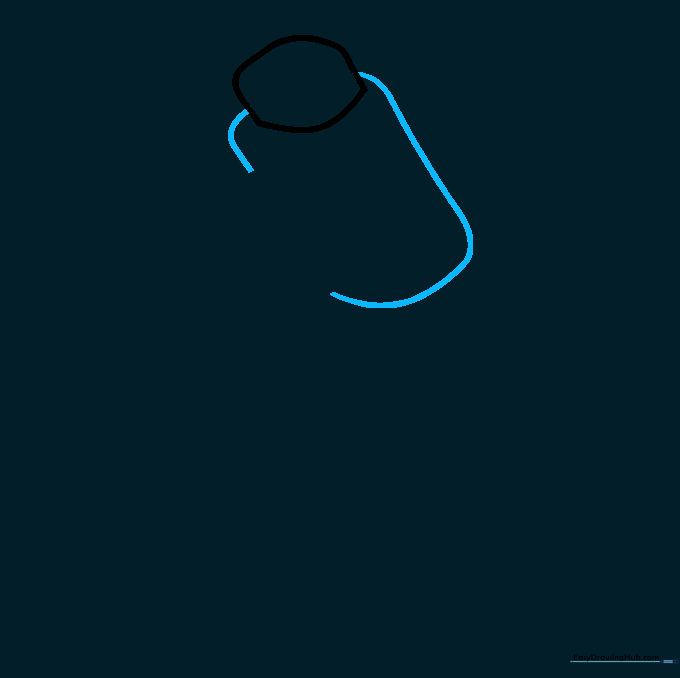
Draw a backward 'C' shape around the eye. Teacher's Tip: This forms the 'poll' or the back of the axe head. Make sure your lines are symmetrical for a balanced look.
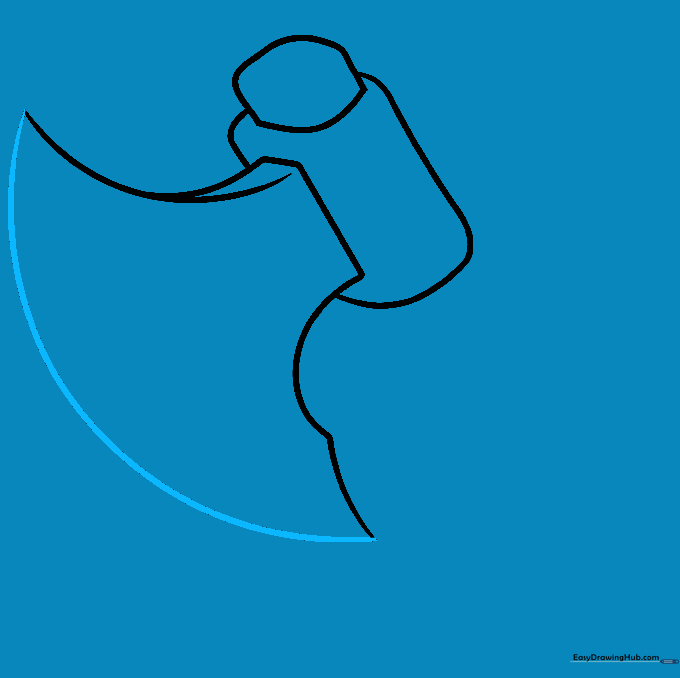
Step 3: Outlining the Blade

Add straight lines across the head and curved lines extending outward. Teacher's Tip: These curves define the 'cheek' and 'beard' of the axe. Keep your wrist loose to get those smooth, sweeping arcs.
Step 4: Refining the Edges

Draw overlapping curved lines at the top and bottom of the blade. Teacher's Tip: These details add depth, making the axe look like a solid, three-dimensional object.
Step 5: Connecting the Cutting Edge
Connect the top and bottom with a long, sweeping curve to form the bit. Teacher's Tip: This is the sharpest part of the axe, so try to make this line as clean as possible.
Step 6: Adding Wear and Tear
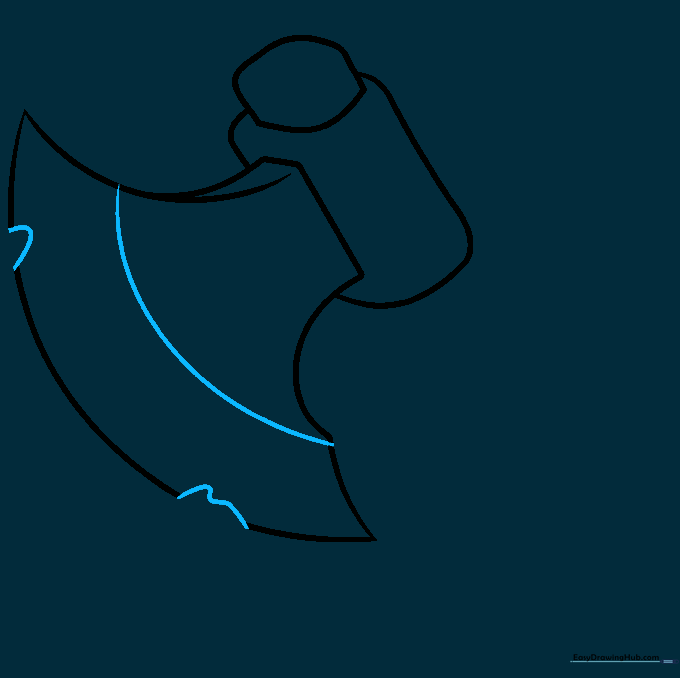
Erase small sections of the bit and replace them with 'U' shapes to show chips in the metal. Teacher's Tip: Adding these details makes your drawing look like a well-used, realistic tool.
Step 7: Drawing the Handle
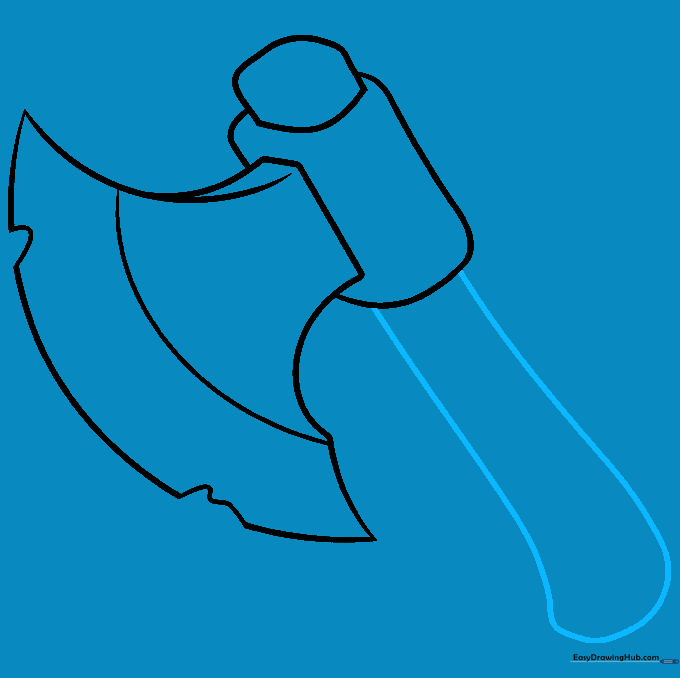
Extend two long lines downward and flare them out at the bottom to create the knob. Teacher's Tip: The knob is essential for grip; making it wider at the bottom adds realism.
Step 8: Adding Depth
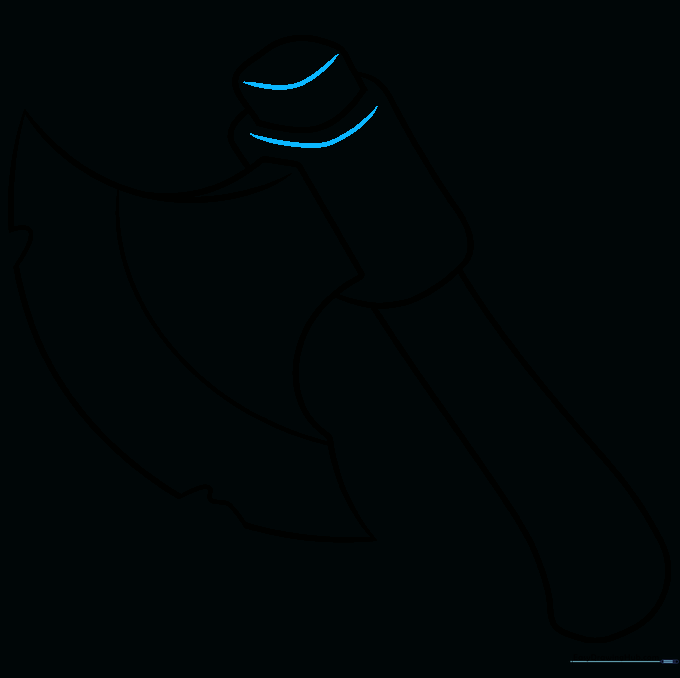
Add curved lines across the top of the eye and butt. Teacher's Tip: These small lines create a 3D effect, showing the thickness of the metal head.
Step 9: Adding Wood Texture
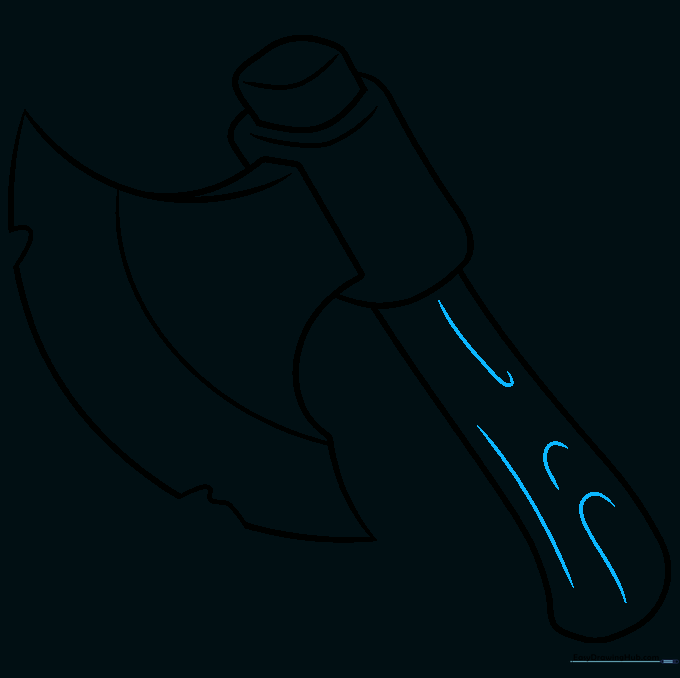
Draw light, wavy lines along the handle. Teacher's Tip: Don't make them too uniform; wood grain is naturally irregular, so keep your lines loose and organic.
Step 10: Bringing it to Life with Color
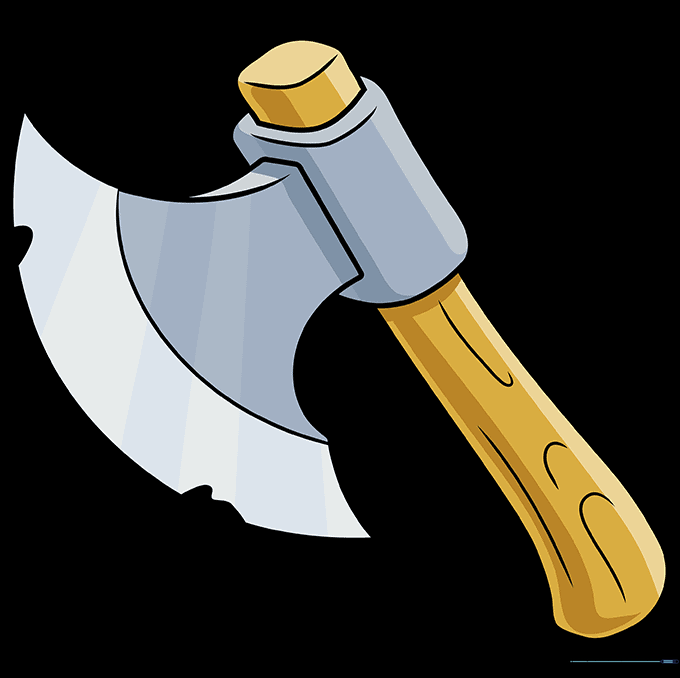
Color your axe! Use earthy browns for the handle and cool greys or metallic silvers for the blade. Teacher's Tip: Use a darker shade of grey near the edges to create a metallic shine.
More Tutorials


