How to Draw an Atom: Simple 10-Step Science Illustration
Bring science to life with this fun, step-by-step atom drawing tutorial. Designed for students and budding artists, this lesson uses basic shapes to build a complex-looking structure. Grab your pencil and paper to master this iconic scientific symbol in minutes.
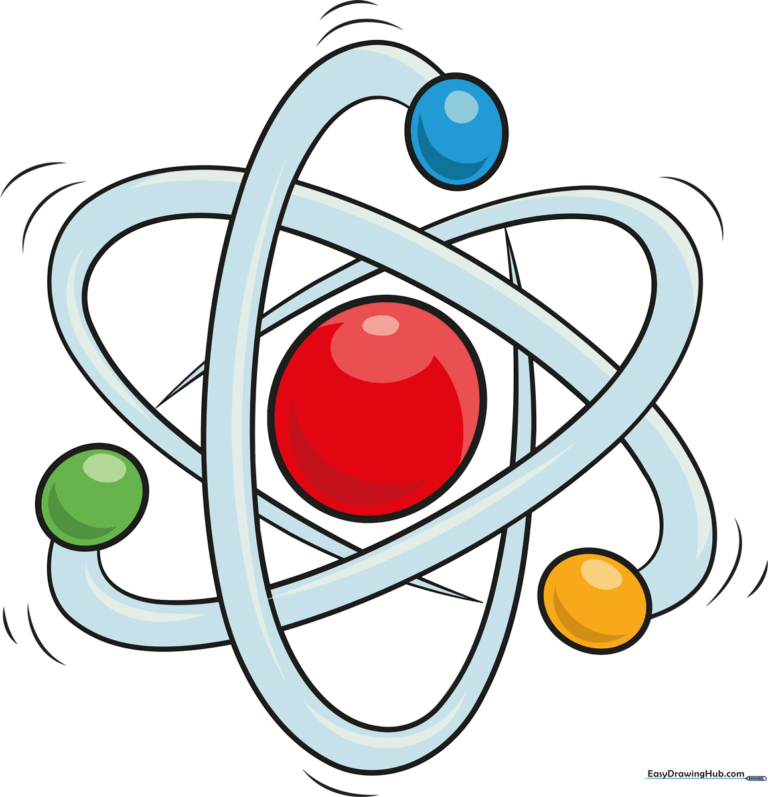
🎯 Final Result
Step-by-Step Instructions
Step 1: Sketching the Nucleus

Draw a clean, centered circle to represent the atom's nucleus. Teacher's Tip: Keep your pencil pressure light so you can easily adjust the size if needed later.
Step 2: Placing the First Electron

Draw a smaller, solid circle at a distance from the nucleus to act as your first electron. Tip: Think of this as a tiny planet orbiting a sun.
Step 3: Defining the Orbital Path

Sketch an incomplete oval around the nucleus, ensuring the electron sits directly on the line. This represents the electron's energy shell. Tip: Use smooth, fluid wrist movements for a perfect curve.
Step 4: Completing the First Orbit

Draw a parallel curved line to close the oval, bringing it to a sharp point near the electron. Tip: Keep the gap between the two lines consistent for a professional look.
Step 5: Adding the Second Electron

Place a second small circle outside the first orbital path. This adds depth to your drawing. Tip: Vary the placement slightly to make the atom look dynamic.
Step 6: Drawing the Second Orbital

Draw a second orbital path that appears to pass behind the first. Use an eraser to clean up overlapping lines where the paths intersect. Tip: This 'behind' technique creates a 3D effect.
Step 7: Adding the Third Electron

Draw a third small circle along the new orbital path. Tip: Ensure it is spaced evenly from the other electrons to maintain balance.
Step 8: Refining the Orbital Intersections

Add complex curved lines to connect the orbital paths, making them look like they are weaving through each other. Tip: Take your time with the eraser here to keep the lines crisp.
Step 9: Adding Motion Lines

Draw small, curved 'speed lines' near the electrons to suggest they are in constant motion. Tip: Keep these lines short and light to avoid cluttering the drawing.
Step 10: Final Coloring

Bring your atom to life with color! Use bright, contrasting colors for the nucleus and electrons to make them pop. Tip: Use a yellow background if you want to create a classic 'science lab' warning sign aesthetic.
More Tutorials


