How to Draw an Atom: Simple Science Diagram for Kids
Looking for a fun way to visualize science? This tutorial is perfect for students ages 7+ needing a clean, accurate atom diagram for school projects. All you need is a pencil, an eraser, and a steady hand to map out the nucleus and electron orbits.
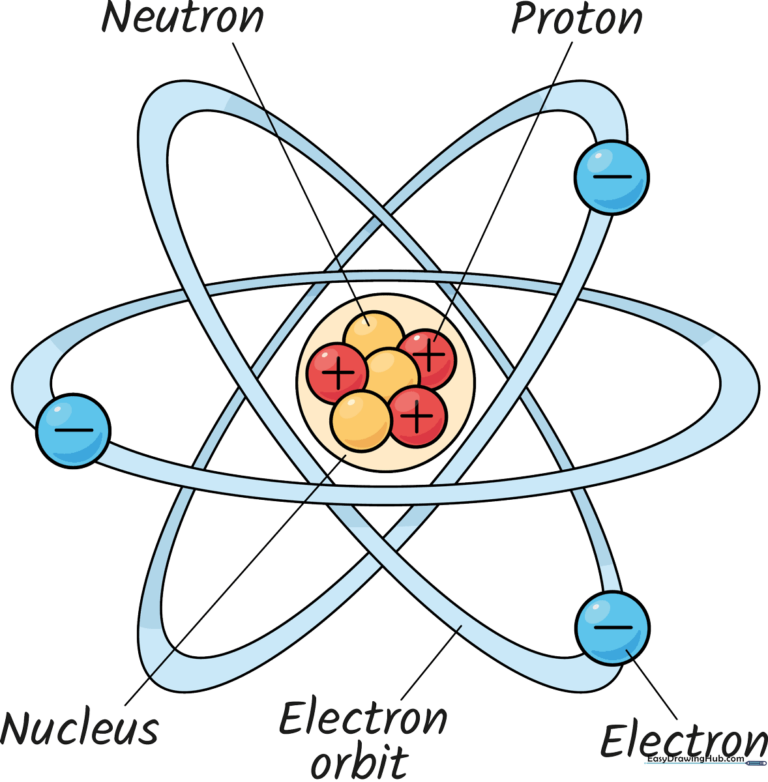
🎯 Final Result
Step-by-Step Instructions
Step 1: Sketching the First Orbit
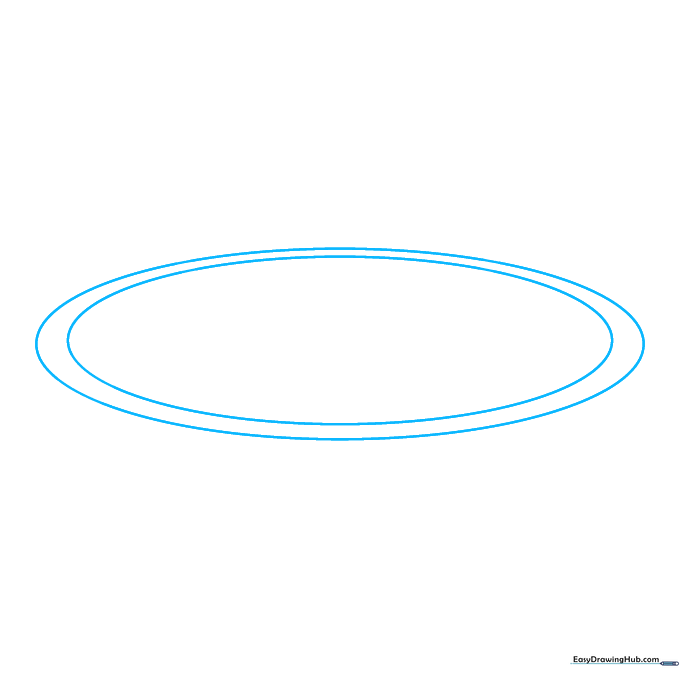
Draw two concentric ovals, one inside the other, to create the first electron path. Teacher's Tip: Use a light touch with your pencil so you can easily adjust the shape if it looks a bit lopsided.
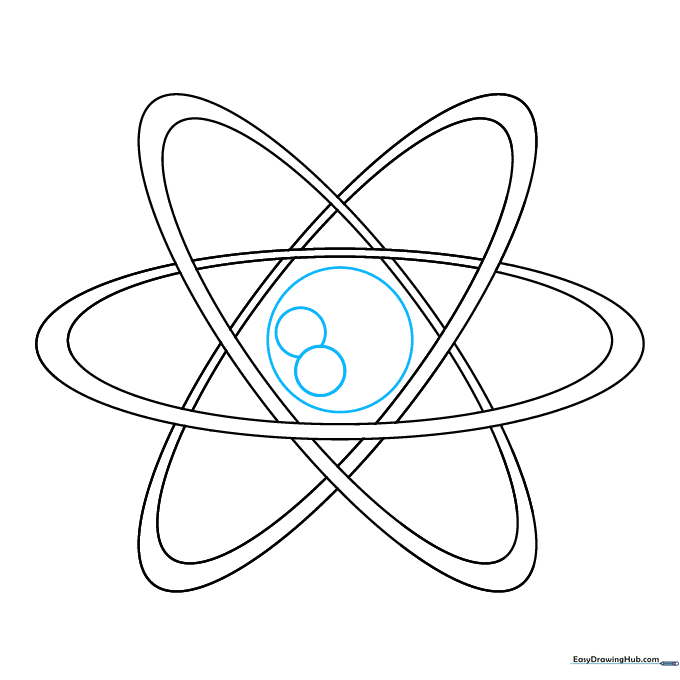
Step 2: Adding the Second Orbit
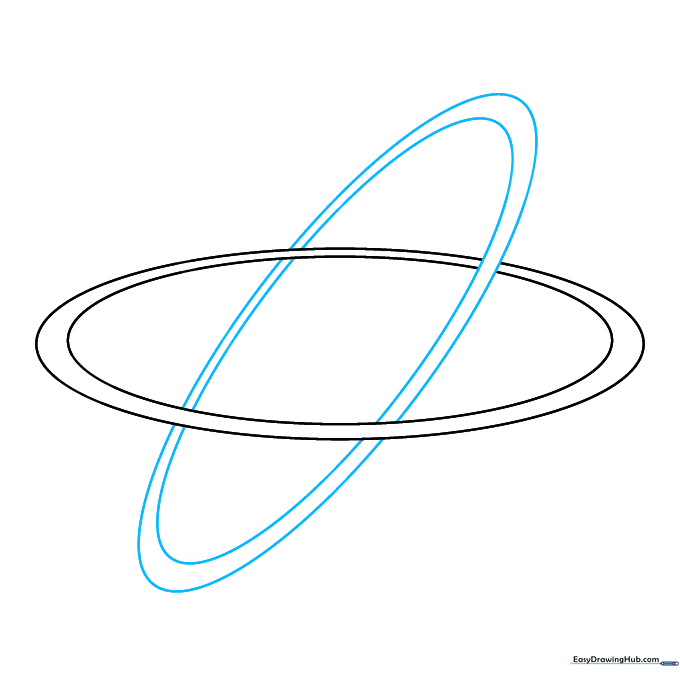
Draw a second set of concentric ovals at a diagonal angle. Tip: To make it look 3D, erase the small segments where the new orbit crosses behind the first one.
Step 3: Completing the Orbital Paths
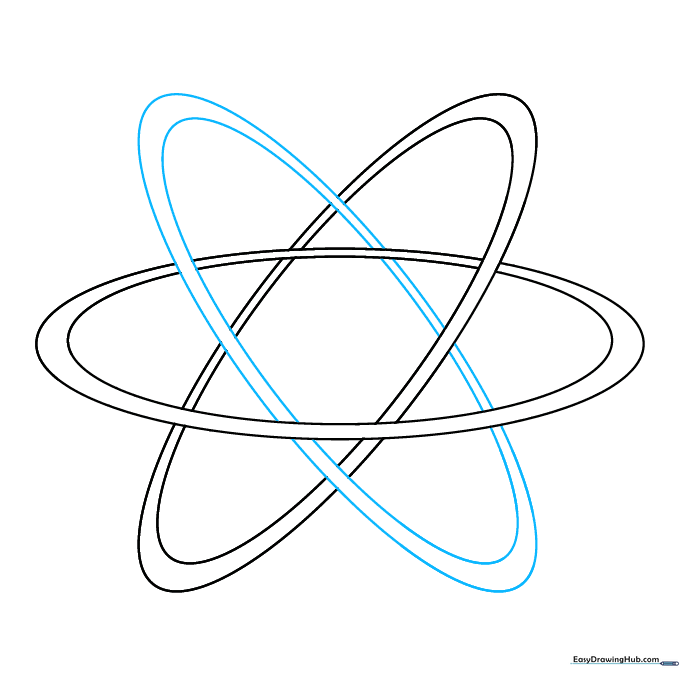
Add a third set of concentric ovals at the opposite diagonal. Tip: Keep your spacing consistent between the inner and outer lines to maintain a professional, scientific look.
Step 4: Drawing the Nucleus
Draw a circle in the very center, then add two smaller circles inside it to represent protons and neutrons. Tip: Use a circular object like a bottle cap if you struggle to draw a perfect circle freehand.
Step 5: Filling the Nucleus
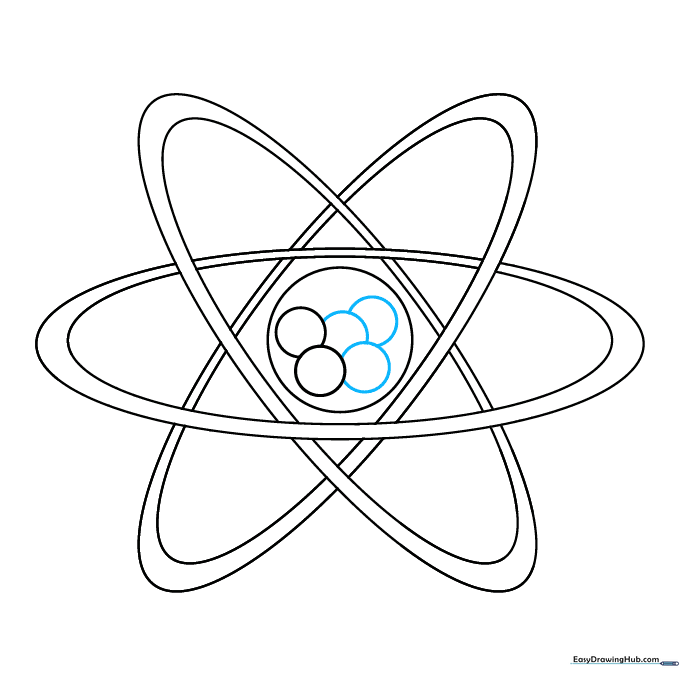
Continue adding overlapping circles inside the nucleus until it looks crowded. Tip: Vary the sizes slightly to make the protons and neutrons look like a cluster of grapes.
Step 6: Placing the Electrons
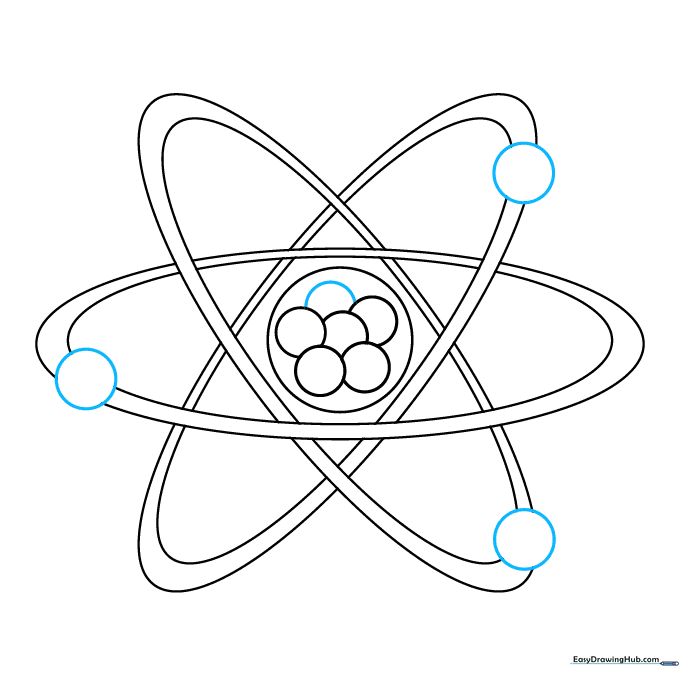
Draw a small circle on each orbital path. Tip: Erase the line of the orbit where it passes through the electron to show that the electron is sitting 'on' the path.
Step 7: Adding Electrical Charges
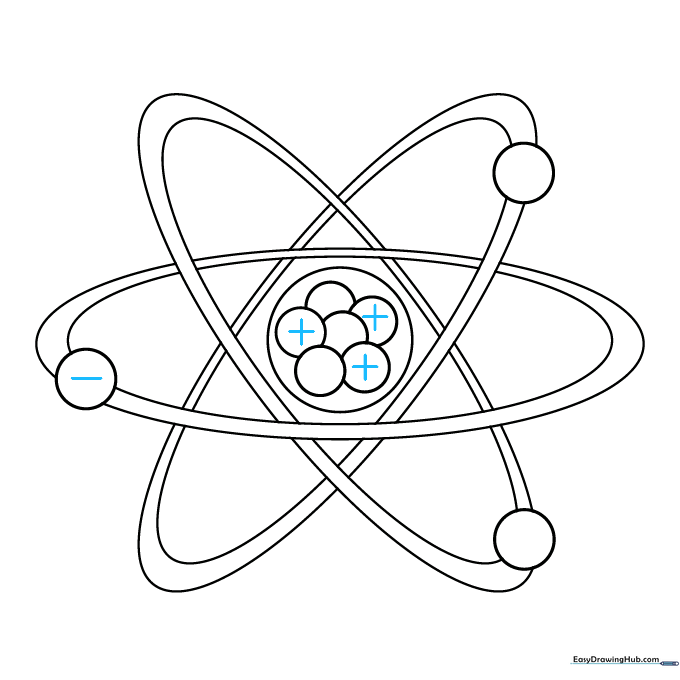
Add a minus sign inside each electron and a plus sign inside half of the nuclear particles. Tip: Keep your signs small and centered so they don't clutter the diagram.
Step 8: Labeling the Nucleus
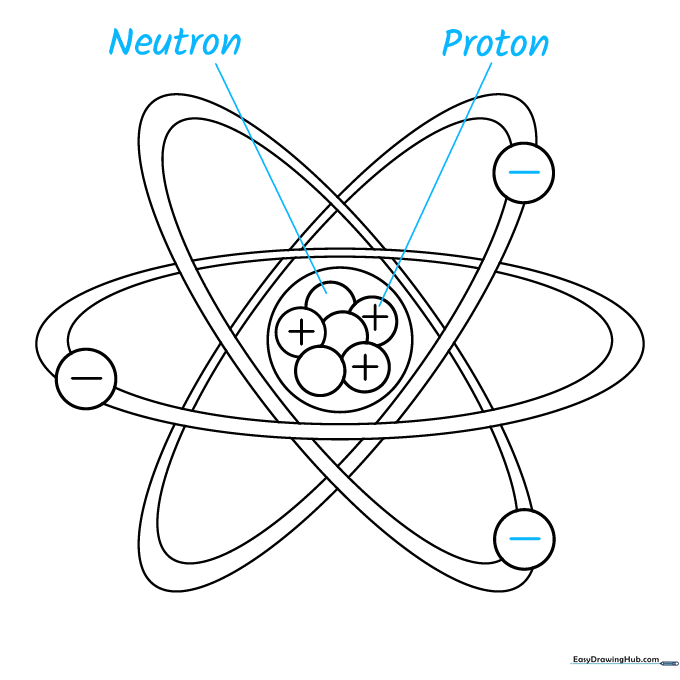
Finish the charges and draw straight lines pointing from the nucleus particles to empty space. Tip: Use a ruler for your label lines to keep the diagram looking clean and scientific.
Step 9: Finalizing Labels

Write the terms 'Electron', 'Orbit', and 'Nucleus' at the ends of your lines. Tip: Use neat, block lettering so your teacher can easily read your diagram.
Step 10: Adding Color
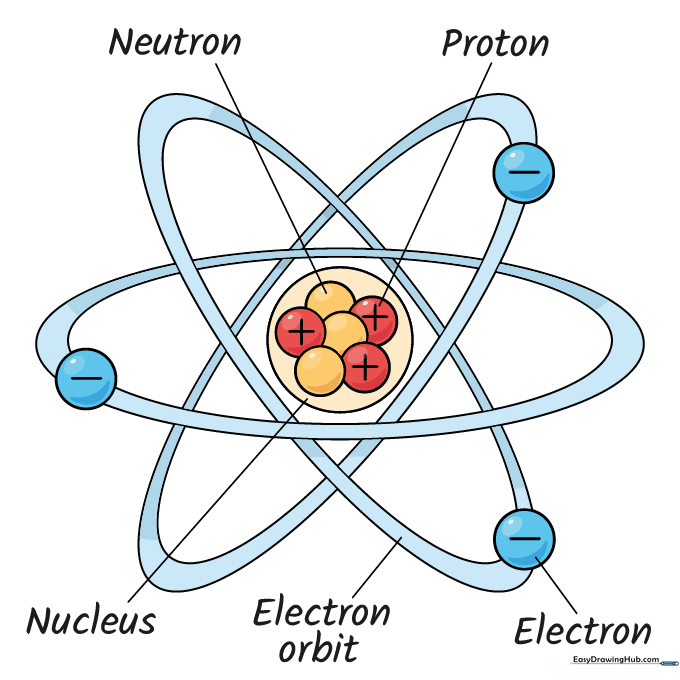
Color-code your diagram! Use one color for protons, another for neutrons, and a third for electrons. Tip: Use colored pencils rather than markers to avoid bleeding through the paper.
More Tutorials


